Twisted Tower Mallet Guide: Secret Uses & Max Toy Arsenal Upgrade Strategy
There is something wonderfully stupid about starting a horror FPS with a Whack-a-Mole Mallet. You wake up inside a nightmare theme park filled with murderous fairy-tale mascots, grotesque attractions, broken machinery, and enough nightmare fuel to make a normal amusement park look downright wholesome. Then the game hands you a giant toy hammer and basically says, “Good luck.”
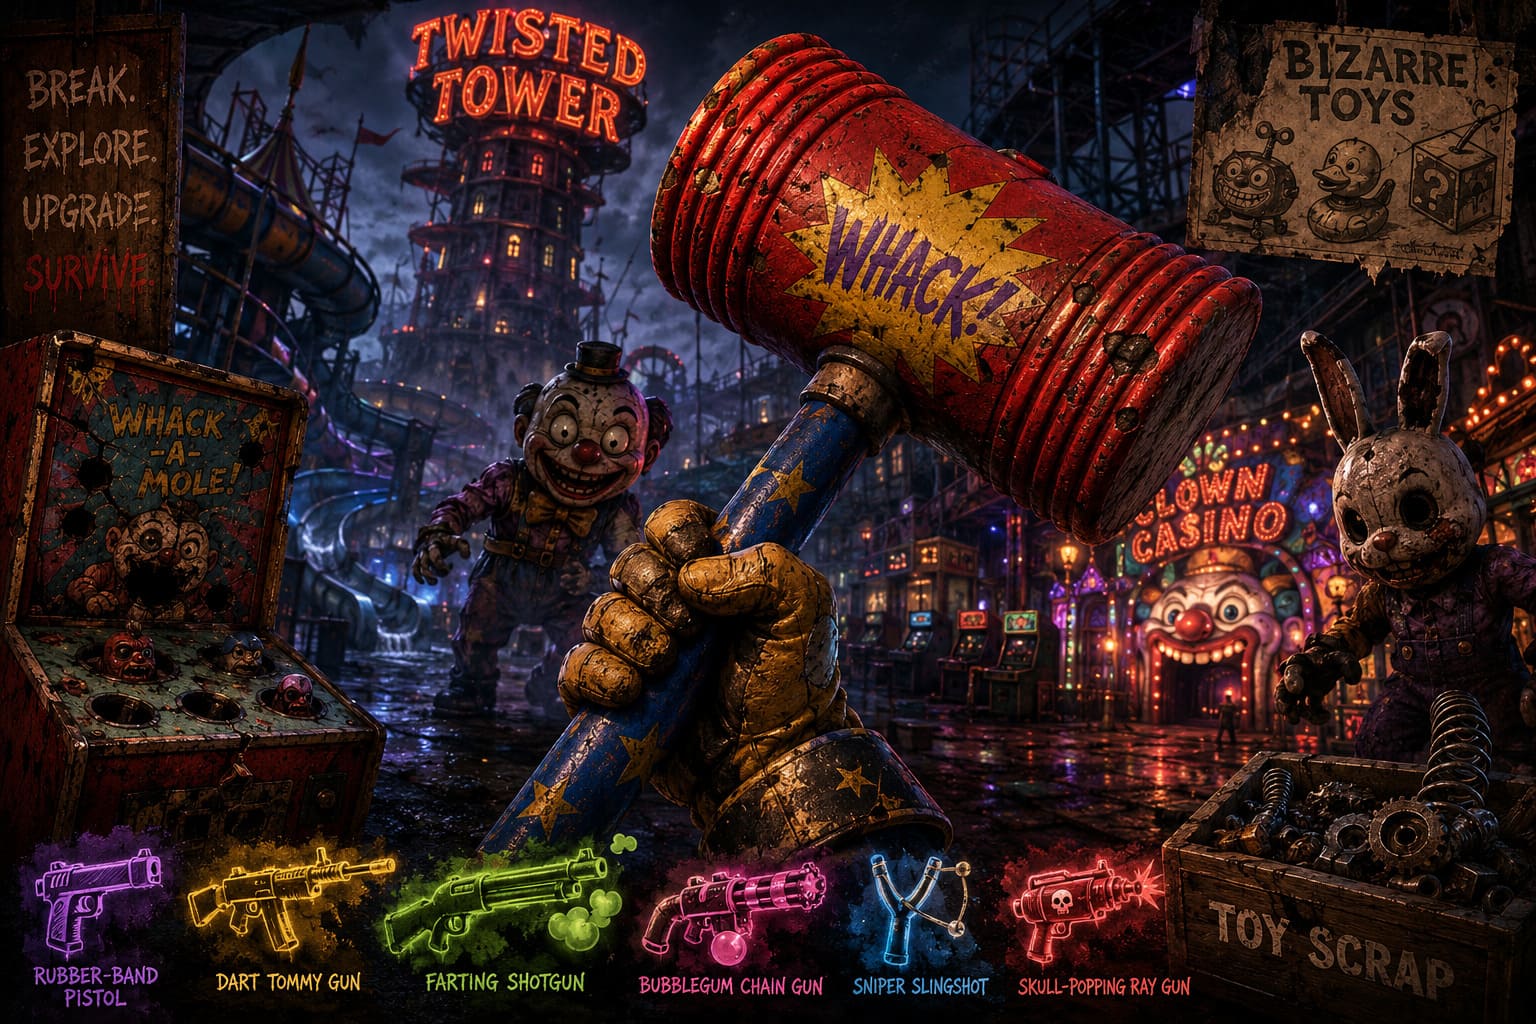
I expected the Mallet to become obsolete almost immediately. After all, Twisted Tower gives you increasingly ridiculous firearms, including a rubber-band pistol, dart-firing Tommy gun, farting shotgun, bubblegum chain gun, sniper slingshot, and eventually a skull-popping ray gun.
But after spending serious time messing around with the weapon, the Mallet starts to feel less like a starter item and more like the actual foundation of your run.
It is an infinite-use melee weapon, environmental tool, puzzle-solving device, resource farming machine, and surprisingly effective combat option. The game doesn’t exactly put a giant arrow over every one of these functions, either. Some of the Mallet’s best tricks are the kind of things you discover by experimenting because you got bored of shooting everything.
And that’s exactly why it deserves its own guide.
What Makes the Whack-a-Mole Mallet So Valuable?
The obvious advantage is ammunition conservation. Guns are powerful, but ammunition and upgrade resources are finite. The Mallet never needs a reload, never needs ammunition, and can be used repeatedly against certain environmental objects.
The bigger advantage is that it interacts with the world in ways your firearms simply cannot.
| Mallet Function | Best Use | Why It Matters |
|---|---|---|
| Environmental Damage | Breaking objects and barriers | Opens hidden routes and rewards |
| Heavy Attacks | Staggering enemies | Saves ammunition during tough encounters |
| Projectile Deflection | Fighting ranged enemies | Turns enemy attacks against them |
| Ground Slam | Activating mechanisms | Solves specific environmental puzzles |
| Resource Farming | Breaking interactive objects | Improves your upgrade economy |
If you’re playing Twisted Tower like a conventional shooter and ignoring the hammer after picking up your first gun, you’re leaving a surprising amount of value on the table.
Part 1: Hidden Whack-a-Mole Mallet Mechanics
1. Smash Those Whack-a-Mole Machines
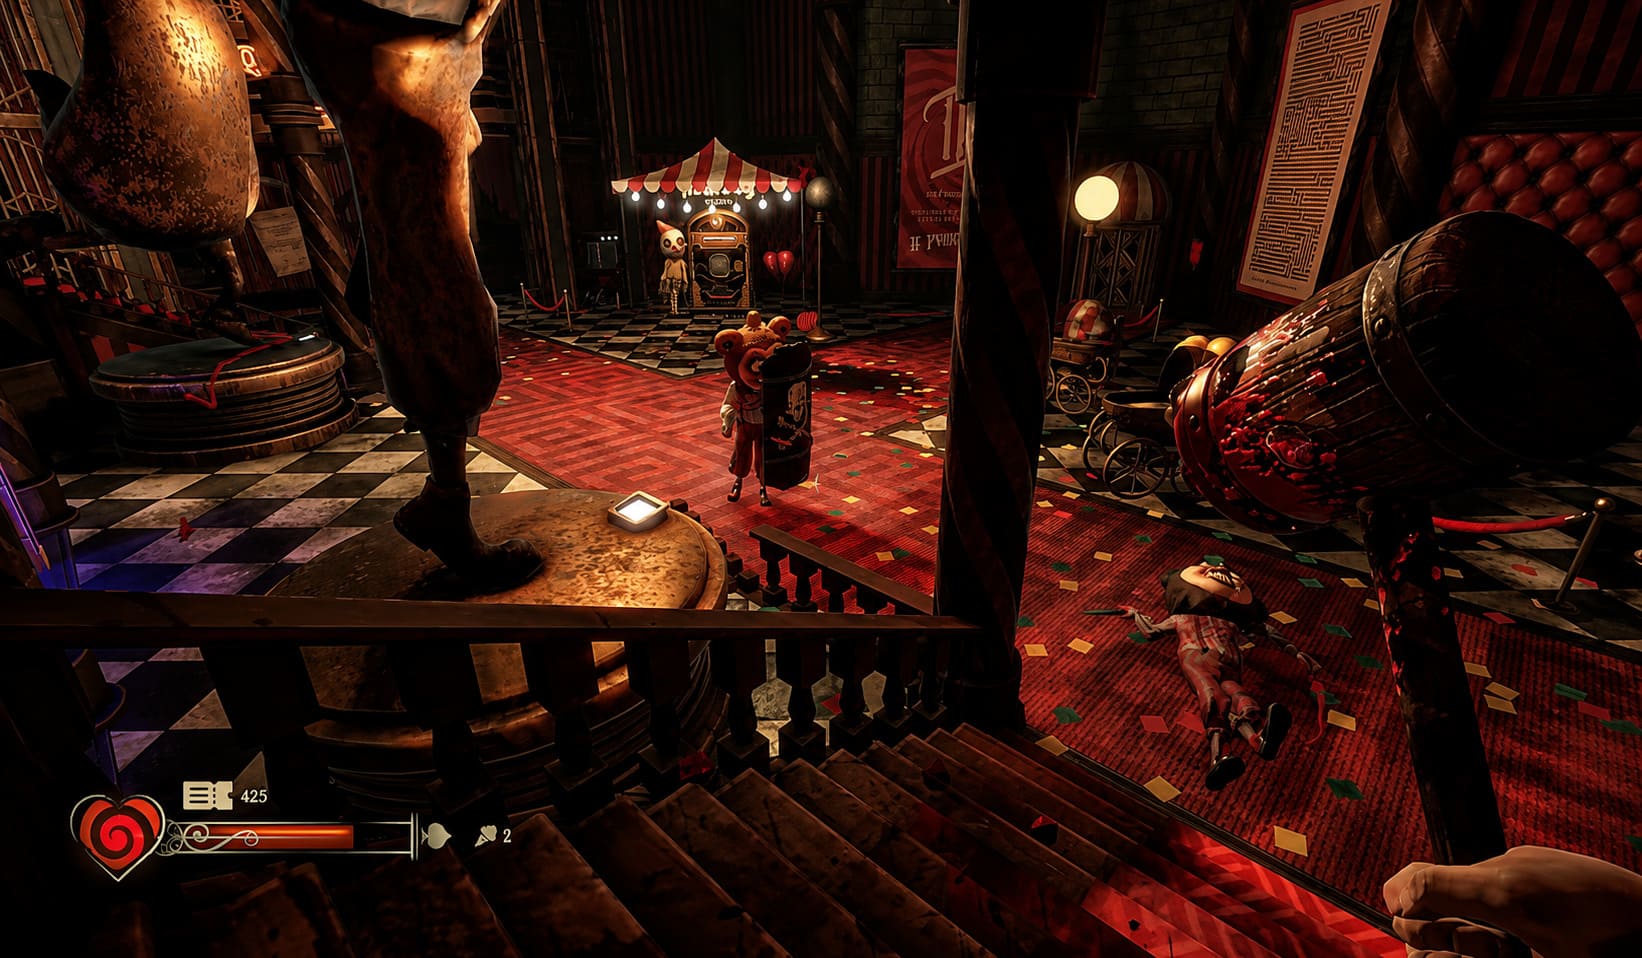
The broken arcade cabinets scattered around the Hotel and Clown Casino aren’t always just background decoration.
When you find a damaged Whack-a-Mole cabinet, try the obvious solution: hit it with the Mallet.
This is one of those wonderfully gamey interactions that rewards curiosity. Certain cabinets can trigger hidden prize mechanisms, potentially producing valuable upgrade components and lore-related collectibles.
I strongly recommend developing the habit of hitting suspicious objects.
If something looks slightly too interactive, slightly too damaged, or slightly too conveniently positioned, give it the hammer treatment.
The worst-case scenario is that nothing happens.
The best-case scenario is that you’ve just found something the game expected you to walk past.
2. Look for Cracked Floors and Weak Walls
The environment in Twisted Tower has plenty of visual noise. That’s part of what makes identifying destructible surfaces so satisfying.
Keep an eye out for:
- Cracked floor sections
- Weak wooden walls
- Damaged vents
- Suspicious structural panels
- Areas that look slightly different from surrounding geometry
A heavy Mallet strike can destroy certain environmental barriers and expose alternate routes.
These areas are especially important when you’re trying to collect everything rather than simply rushing toward the next objective. Hidden routes can contain resources, collectibles, upgrade components, and other goodies that can dramatically improve your economy.
There’s also a practical reason to explore them early: resource accumulation compounds over the course of a run.
The more scrap you collect in the first half of the game, the less painful your later upgrade decisions become.
3. Use Heavy Mallet Attacks to Break Enemy Armor
The Mallet isn’t just for furniture.
Some tougher mascots have protective porcelain or plastic masks that reduce the effectiveness of your early firearms. Shooting these enemies repeatedly can feel like throwing rubber bands at a refrigerator.
The Mallet gives you another answer.
A direct heavy strike against the head can break protective armor and expose the vulnerable target underneath. Once that happens, switching back to a firearm becomes much more efficient.
This creates a simple but effective combat rhythm:
Mallet → break armor → firearm burst → reposition.
That is far more ammunition-efficient than unloading an entire magazine into an armored enemy.
It also makes the Mallet useful even after you’ve unlocked stronger weapons. The hammer doesn’t need to kill everything itself to be valuable. Sometimes its job is simply to make the target easier to kill.
4. The Mallet Stun Loop
The heavy attack has another major advantage against standard enemies: stagger potential.
A charged Mallet strike can interrupt an enemy and create a brief opening. Against individual tough targets, you can exploit this window with a simple movement pattern.
Strike hard.
Back away.
Let the enemy recover.
Close the distance.
Strike again.
It sounds primitive, and honestly, it is. But that’s part of the fun.
The trick is not to become greedy. You don’t need to stand directly in front of an enemy trying to chain attacks while everything else in the room is trying to murder you.
The Mallet works best when you combine its stun potential with movement.
Think of it as a hit-and-reset weapon, not a button-mashing melee system.
5. You Can Deflect Certain Projectiles
This is one of the more satisfying Mallet mechanics.
Some enemies encountered later in the game use slow-moving projectile attacks. When one of these energy or toy-like projectiles comes toward you, a properly timed horizontal Mallet swing can send it back toward its source.
Timing is everything.
Swing too early and you’ll simply miss.
Swing too late and you’ll eat the projectile.
But when you get the timing right, watching an enemy get destroyed by its own attack is exactly the kind of ridiculous horror-comedy payoff that fits Twisted Tower perfectly.
This becomes particularly useful in areas such as the Carnival Forest and Space Station, where ranged enemies become more common and ammunition management becomes increasingly important.
Don’t rely on projectile deflection for every encounter, but absolutely practice it.
Once the timing clicks, it’s free damage.
6. The Mallet Is a Puzzle Tool Too
Twisted Tower isn’t just about shooting creepy mascots.
Certain environmental puzzles use oversized mechanical switches and carnival-style pressure plates that demand a heavy physical impact.
This is where the Mallet’s identity as a tool becomes particularly important.
Some switches resemble the classic “Test Your Strength” carnival attraction. Your firearms aren’t enough to trigger them properly, but a jumping overhead Mallet slam can provide the force needed to activate the mechanism.
These interactions can power elevators, open vault-style doors, and unlock new sections of the level.
So when you hit a progression roadblock, don’t immediately assume you’ve missed a key.
Look around.
If there’s a suspiciously large pressure plate nearby, the answer may be hanging from your hand.
Part 2: How to Build the Ultimate Toy Arsenal
Twisted Tower’s weapon system becomes much more interesting once you stop treating every upgrade equally.
The arsenal revolves around three broad upgrade areas:
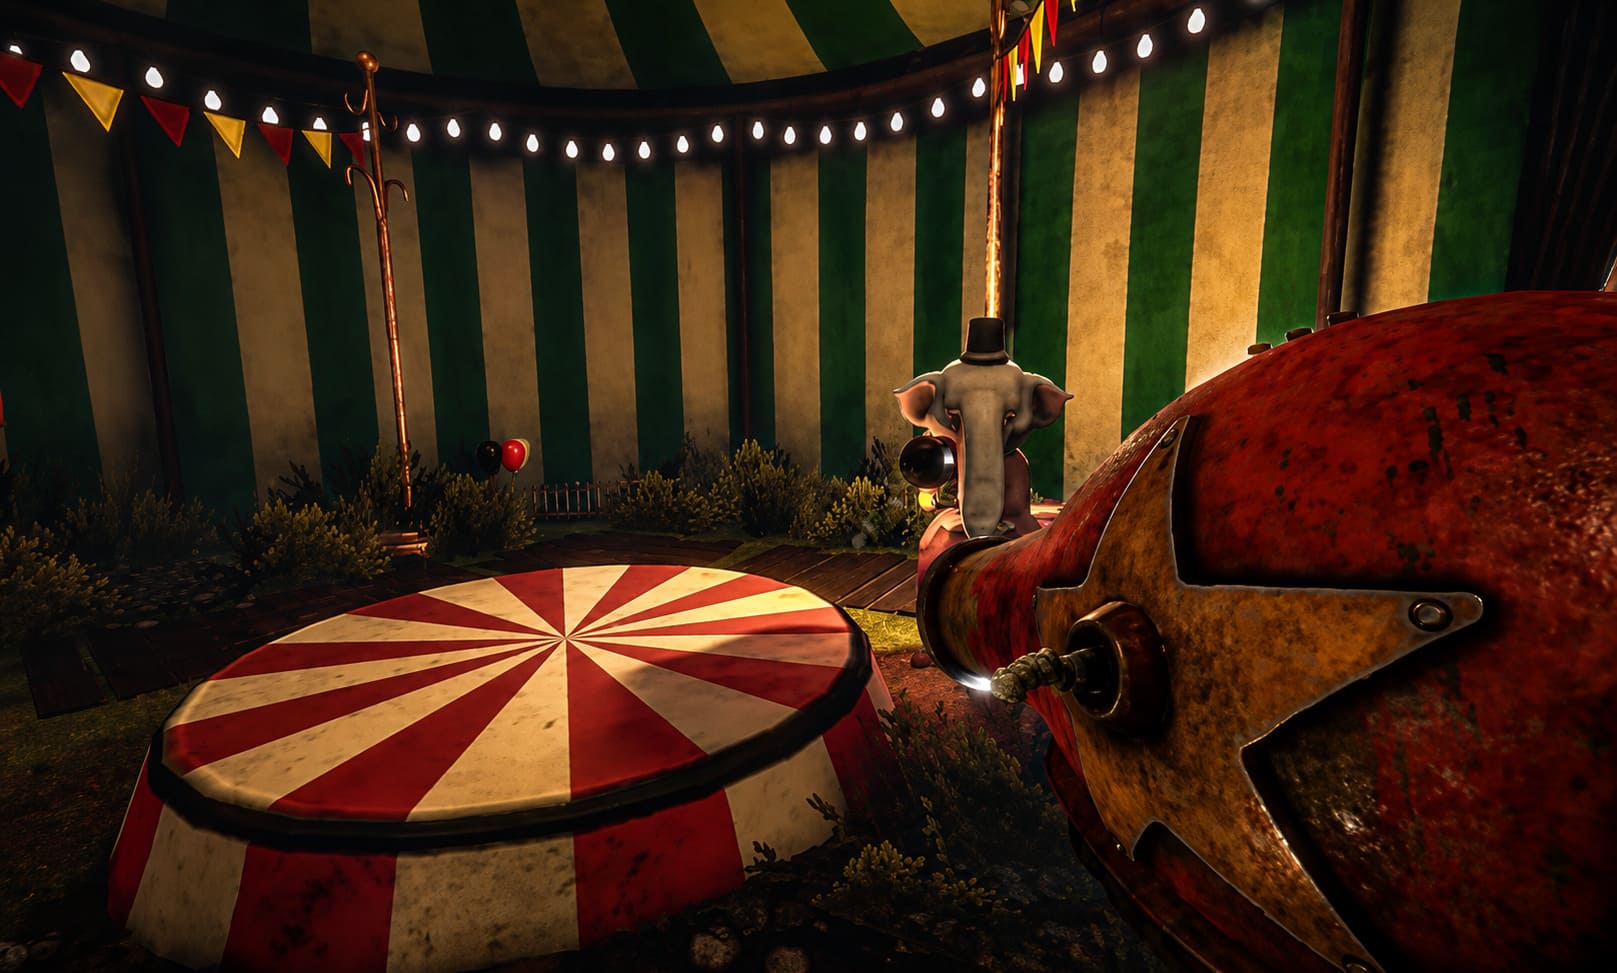
Damage/Impact, Range/Velocity, and Special Gimmick Efficiency.
The temptation is to spread resources evenly across every weapon. I wouldn’t recommend it.
You get much better results by building your economy first and investing heavily in weapons that solve specific combat problems.
The primary arsenal includes:
- Whack-a-Mole Mallet — Melee and environmental tool
- Rubber-Band Pistol — Precision weapon
- Dart-Throwing Tommy Gun — Automatic crowd control
- Farting Shotgun — Close-range area damage
- Bubblegum-Spitting Chain Gun — High-volume suppression
- Sniper Slingshot — Long-range elimination
- Skull-Popping Ray Gun — End-game powerhouse
Each weapon has a role. The trick is knowing when that role matters.
Phase 1: Build Your Economy in the Hotel and Waterpark
The early game is where I would be most conservative with upgrade materials.
Don’t immediately dump every resource into whichever gun you happen to enjoy the most.
Your first priority should be the Mallet and Rubber-Band Pistol.
The reason is simple: the Mallet helps you farm the environment, while the Rubber-Band Pistol gives you a reliable ranged option.
Improving the Mallet’s damage and utility can make breaking environmental objects faster, which means you can collect Toy Scrap more efficiently.
And Toy Scrap is the backbone of your upgrade economy.
That creates a useful feedback loop:
Upgrade Mallet → break objects faster → collect more Scrap → afford better upgrades.
That’s much stronger than spending everything on a weapon you won’t fully exploit until later.
Waterpark Exploration
The Waterpark deserves special attention.
Check behind broken water slides, inspect maintenance areas, and explore rooms that look like they were designed to be ignored.
This is where you can find important components such as Reinforced Spring and Hardened Rubber blueprints, which help push your equipment beyond the early upgrade tiers.
Don’t sprint through this section.
The time spent exploring pays off later.
Phase 2: Farm Scrap and Hunt Bizarre Toys
Once you’ve established your early-game setup, your next objective is improving the overall efficiency of your run.
The branching structure of Twisted Tower makes route selection important. If your goal is maximum resources, the Clown Casino is particularly attractive because of its concentration of arcade machines and carnival attractions.
It’s basically a giant resource piñata.
Hit suspicious machines.
Explore side rooms.
Check alternate routes.
Break interactive objects.
Then check your surroundings again before leaving.
The other major collectible to watch for is the Bizarre Toys system.
These hidden collectibles can provide passive bonuses that affect resource gathering and upgrade efficiency. Depending on what you find, they can help improve scrap acquisition or reduce the overall burden of expensive upgrades.
This is where completionist behavior starts paying dividends.
Phase 3: Prepare for the Carnival Forest and Space Station
The late game is where Twisted Tower starts throwing considerably more pressure at you.
Enemy density rises, encounters become less forgiving, and relying exclusively on early weapons becomes increasingly uncomfortable.
This is when you should start shifting your resources toward high-output weapons.
The Farting Shotgun is especially interesting because its gimmick can become a serious area-control tool.
Investing in its Gimmick efficiency allows the weapon to create a lingering toxic cloud that continues dealing damage after the initial attack.
That gives you a powerful way to control chokepoints.
Drop the cloud.
Back away.
Let enemies walk through it.
Use the Mallet to finish anything that survives.
It sounds ridiculous on paper, but that’s exactly the kind of build that can work beautifully in Twisted Tower.
Save Your Rare Materials for the Ray Gun
The Skull-Popping Ray Gun is where I would become extremely stingy with rare upgrade resources.
The Space Station contains Atomic Batteries, and these should be treated as premium currency if your goal is a fully optimized end-game arsenal.
Don’t burn them casually.
The Ray Gun is designed to become one of your strongest tools once properly upgraded, particularly against major enemies and bosses.
A fully developed Ray Gun can shred high-health targets at a frightening rate, turning encounters that previously felt like endurance tests into very short executions.
This is exactly why saving your rare materials matters.
The difference between “good weapon” and “monster weapon” often comes down to whether you actually invested in the right upgrades.
The Best Upgrade Order
If I were starting a fresh run and wanted to reach the strongest possible end-game setup without wasting resources, I’d follow this general priority:
| Priority | Upgrade Target | Main Reason |
|---|---|---|
| 1 | Mallet | Resource farming and utility |
| 2 | Rubber-Band Pistol | Reliable early ranged damage |
| 3 | Dart-Throwing Tommy Gun | Crowd control |
| 4 | Farting Shotgun | Chokepoint and area control |
| 5 | Bubblegum Chain Gun | Sustained suppression |
| 6 | Sniper Slingshot | Long-range precision |
| 7 | Skull-Popping Ray Gun | End-game damage |
This isn’t a rigid rule for every playstyle. If you absolutely love a particular weapon, build around it.
But from a pure progression standpoint, this order makes sense because it balances early economy, mid-game crowd control, and late-game boss damage.
Twisted Tower Lore Explained: Dark Secrets of the Past & Ending Explained
Final Arsenal Checklist
Before entering the final stretch, I would make sure the following boxes are checked.
- Mallet: Reach Level 5 and unlock its special Earthquake Slam property.
- Toy Scrap Wallet: Fully expand it using the Golden Ticket collectible from the Hotel lobby.
- Weapons: Unlock all seven base weapons by thoroughly exploring the major routes across the five zones.
- Bizarre Toys: Equip at least three useful passive bonuses.
- Rare Materials: Reserve Atomic Batteries for the Skull-Popping Ray Gun.
- Exploration: Revisit suspicious rooms and destructible areas before committing to the final route.
The passive Bizarre Toy bonuses are particularly useful when they complement your actual build. Reload speed, melee swing speed, and movement velocity are all strong choices because they improve the feel of your entire arsenal rather than only boosting one niche situation.
Twisted Tower Optimization Guide: How to Fix Low FPS and Stuttering on PC
Final Thoughts: Don’t Throw Away the Hammer
The biggest mistake you can make with the Whack-a-Mole Mallet is assuming that a starter weapon must eventually become irrelevant.
In Twisted Tower, that’s simply not how the weapon is designed to feel.
The Mallet saves ammunition, breaks environmental objects, reveals secrets, helps solve puzzles, strips enemy armor, creates stun opportunities, and can even turn certain enemy projectiles against them.
That’s a ridiculous amount of utility for one giant carnival hammer.
And honestly, I love that.
The best horror shooters often give you a tool that feels slightly silly at first and gradually reveal that it has more depth than expected. The Mallet fits that philosophy perfectly. It isn’t competing directly with the Ray Gun or Sniper Slingshot for raw damage. It’s doing something arguably more important: making the entire run more efficient.
So don’t ditch it the second you pick up a shiny firearm.
Smash the arcade machines.
Test suspicious walls.
Check cracked floors.
Break enemy masks.
Farm your Scrap.
Use the hammer to activate those ridiculous carnival mechanisms.
Then save the expensive stuff for the weapons that really need it.
By the time you reach the Space Station, you’ll have a much stronger economy, a more flexible arsenal, and a Mallet that has quietly been carrying your entire run from the beginning.
That’s the secret of Twisted Tower’s toybox: the funniest weapon in your inventory might also be one of the most useful.