How to Fix Star Wars Zero Company Texture Popping and Low FPS on PC
Star Wars Zero Company is exactly the kind of tactical Star Wars game I have wanted for years. The turn-based combat has weight, the maps are packed with detail, and watching a carefully planned squad operation fall apart because one enemy flanked you is painfully satisfying. But there is one problem that can ruin the whole experience on PC: performance.
During the August 2026 launch window, PC players have been reporting FPS drops, stuttering during camera movement, delayed asset streaming, blurry textures, and aggressive texture popping. One second you’re looking at a detailed battlefield worthy of a modern Star Wars production. The next, a character looks like the game forgot to load half the textures.
That is not the experience anyone wants from a premium tactical strategy game.
The good news is that several practical changes can make Zero Company considerably smoother. Some are basic Windows maintenance. Others involve graphics settings, shader cache management, texture streaming, and configuration files. You don’t need to blindly turn everything to Low either. That is the lazy solution, and it usually makes a good-looking game look terrible without fixing the underlying problem.
This guide focuses on reducing texture pop-in, improving asset streaming, stabilizing frame times, and recovering lost FPS while keeping the visual quality as high as your hardware reasonably allows.
Why Star Wars Zero Company Can Stutter and Pop Textures
Before changing settings, it helps to understand what is actually happening.
Star Wars Zero Company constantly streams environmental assets as you move the tactical camera around large battlefields. Rocks, buildings, foliage, characters, props, effects, and other objects have to be loaded at different levels of detail.
If your storage drive, VRAM, shader cache, or CPU is struggling, the game may not load those assets quickly enough.
That creates the classic symptoms:
- Textures remain blurry for several seconds.
- Objects suddenly switch from low detail to high detail.
- Camera movement causes short freezes or frame-time spikes.
- FPS collapses when viewing complicated areas.
- Characters or environmental props appear visually unfinished.
- Stuttering becomes worse after entering a new area.
And yes, an HDD can make this dramatically worse. If you are still running a modern game like this from a mechanical hard drive, I would start there before touching anything complicated.
1. Check Your Hardware and Install the Game on an SSD
The first mistake is assuming every texture problem requires an INI tweak.
It doesn’t.
If your PC is below the game’s intended hardware target, software tricks can only do so much. Zero Company is asking for a reasonably modern system, especially when rendering detailed tactical environments.
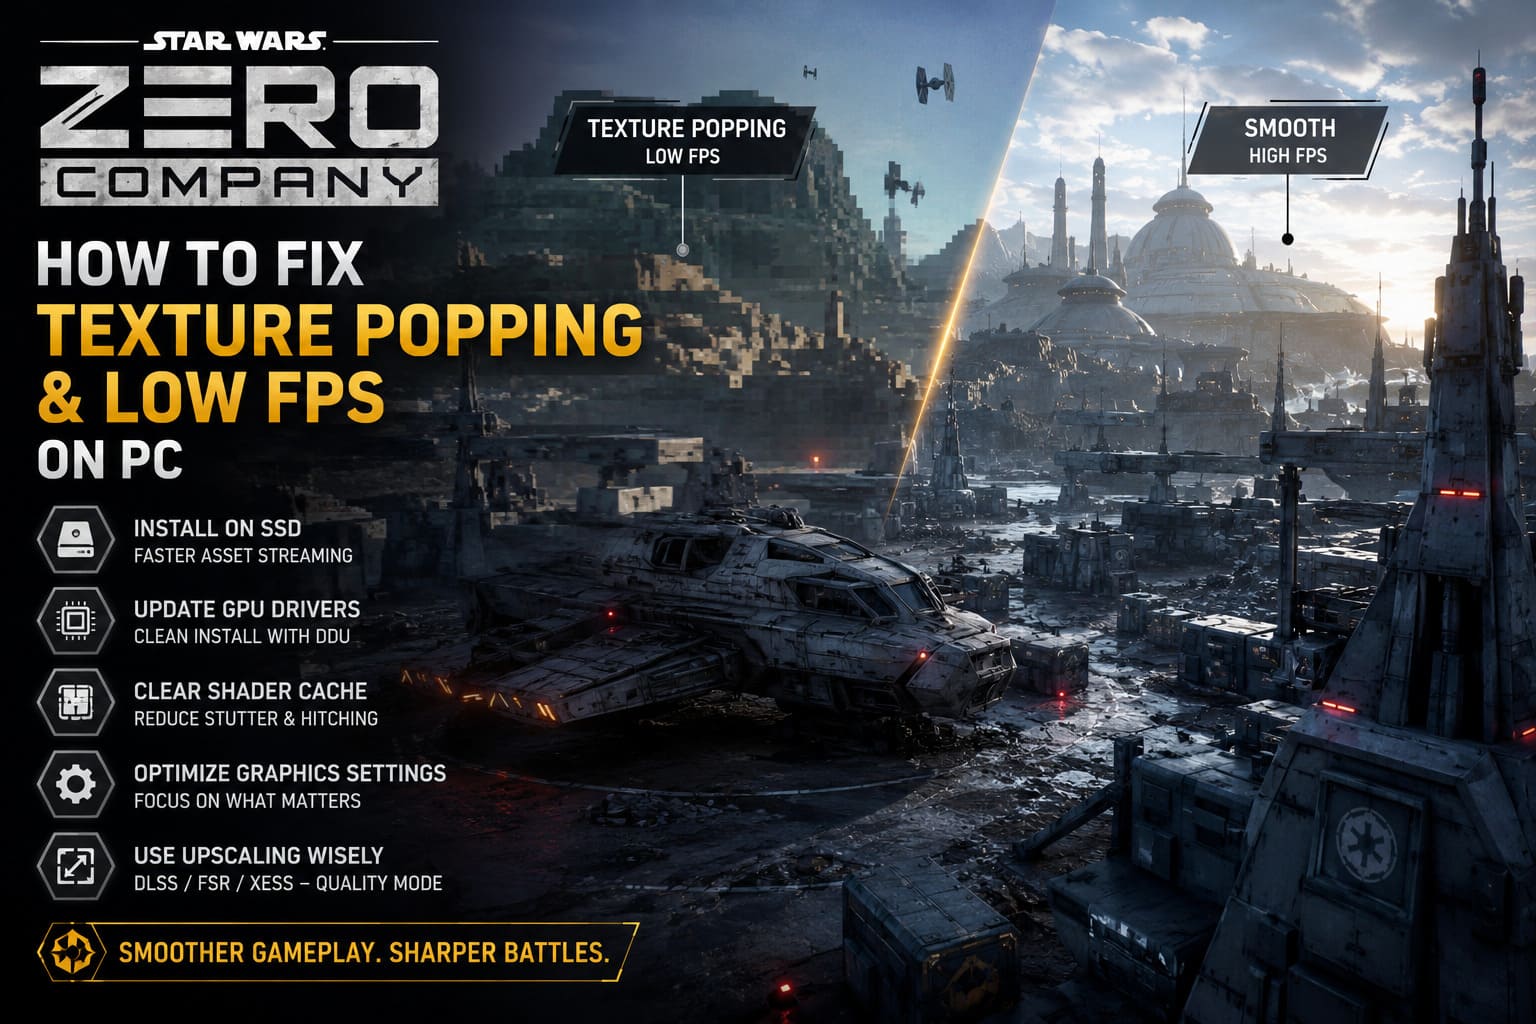
| Component | Baseline Target |
|---|---|
| Operating System | Windows 10/11 64-bit |
| CPU | Intel Core i5-8400 / Ryzen 5 2600X |
| RAM | 16 GB |
| GPU | GTX 1080 / RX 5600 XT / Intel Arc B580 |
| Storage | 50 GB |
| Drive | SSD strongly recommended |
The SSD is the big one for texture streaming.
A fast NVMe SSD gives the game much quicker access to environmental assets. An old HDD can turn normal asset streaming into a waiting game, particularly when you rotate the camera quickly across a large battlefield.
If Zero Company is installed on an HDD, move it to an SSD before spending an hour editing configuration files. Seriously. This is one of those boring fixes that can matter more than twenty mysterious launch commands copied from a forum post.
2. Clean Install Your GPU Driver
Don’t underestimate driver problems.
A graphics driver that has been upgraded repeatedly across several games and GPU configurations can accumulate enough junk to cause strange behavior. You don’t necessarily need to reinstall Windows, but a proper GPU driver cleanup is worth trying if Zero Company suddenly performs badly.
Use Display Driver Uninstaller (DDU) and perform the cleanup from Windows Safe Mode.
The basic process is:
- Download the current DDU utility.
- Boot Windows into Safe Mode.
- Run DDU.
- Select your NVIDIA, AMD, or Intel graphics driver.
- Use the Clean and Restart option.
- Install the newest driver available for your GPU.
After that, reboot once more and launch the game.
I prefer doing this when a brand-new PC release behaves strangely because it removes one variable from the equation. If performance is still awful afterward, you know the driver installation probably isn’t the culprit.
3. Rebuild the DirectX Shader Cache
Shader compilation is another major source of stuttering.
When the game encounters certain effects, materials, lighting conditions, or visual effects for the first time, shaders may need to be compiled or retrieved from cache. If the cache is corrupted or simply full of outdated data, you can get nasty hitching.
Windows gives you an easy way to clean it.
Press Win + R, type:
%localappdata%
Then look for the relevant shader/cache directories associated with the game, Steam, or your graphics driver.
You can also use Windows Disk Cleanup:
- Search for Disk Cleanup.
- Select your Windows drive.
- Choose DirectX Shader Cache.
- Confirm the cleanup.
- Restart Windows.
The first launch afterward may actually stutter a little more while shaders are rebuilt. Don’t panic immediately. Give the game time to recreate its cache before judging the result.
NVIDIA Shader Cache
If you’re using an NVIDIA GPU, open the NVIDIA Control Panel and go to:
Manage 3D Settings → Global Settings → Shader Cache Size
If the option is available on your driver, increasing the cache allocation can help prevent excessive cache eviction.
I would use 10 GB or Unlimited if you have plenty of storage available. There is little reason to starve a modern game of shader-cache space when you have a large SSD.
4. Stop Using the Maximum Preset Blindly
This is where a lot of PC players go wrong.
Ultra isn’t a badge of honor.
If your system has 8 GB of VRAM and the Ultra preset is hammering the memory budget, dropping every setting simultaneously to Low isn’t the answer either. You want to attack the settings that actually cost performance.
Start with these:
| Setting | Recommended Starting Point |
|---|---|
| Display Mode | Fullscreen |
| Resolution | Native |
| Texture Quality | High for 8 GB VRAM |
| Shadow Quality | Medium |
| Anti-Aliasing | Medium/High |
| View Distance | Medium |
| Upscaling | Quality |
| FPS Limiter | Off initially |
Texture Quality
Textures consume VRAM. A lot of it.
If you have 8 GB or less VRAM, start with High rather than Ultra. If the game continues unloading textures or swapping them aggressively, test Medium.
With a 12 GB or higher GPU, you have considerably more breathing room, although that doesn’t automatically mean Ultra will perform perfectly.
Shadow Quality
Drop shadows to Medium first.
Tactical games can be surprisingly demanding when the camera pulls back and exposes a large section of the battlefield. Shadows have a habit of eating GPU resources without providing enough visual improvement to justify the cost.
View Distance
This setting deserves special attention because it affects more than just how far you can see.
A higher detail distance can increase the number of objects that need to be processed and streamed as you move the camera. If your biggest complaint is object pop-in accompanied by frame-time spikes, Medium is a sensible starting point.
You can raise it later.
5. Use DLSS, FSR, or XeSS Properly
Modern upscalers are incredibly useful, but there is a point where aggressive upscaling destroys image quality.
For most players, Quality mode should be the first choice.
Use:
- DLSS Quality on compatible NVIDIA GPUs.
- FSR Quality on AMD hardware.
- XeSS Quality on supported Intel systems.
Don’t immediately jump to Performance or Ultra Performance because the FPS counter looks better.
The tactical camera in Zero Company makes image clarity particularly important. You need to distinguish characters, terrain, cover positions, environmental objects, and combat effects at a glance.
If the image turns into a blurry mess, those extra frames aren’t doing much for you.
6. Fix Texture Streaming With Engine Configuration
This is the more advanced part.
If your system has enough VRAM but Zero Company still behaves as though it is constantly forgetting what textures exist, you can experiment with the game’s configuration files.
First, make a backup of the file. Seriously. If something goes wrong, restoring the original is much easier than figuring out which setting caused the problem.
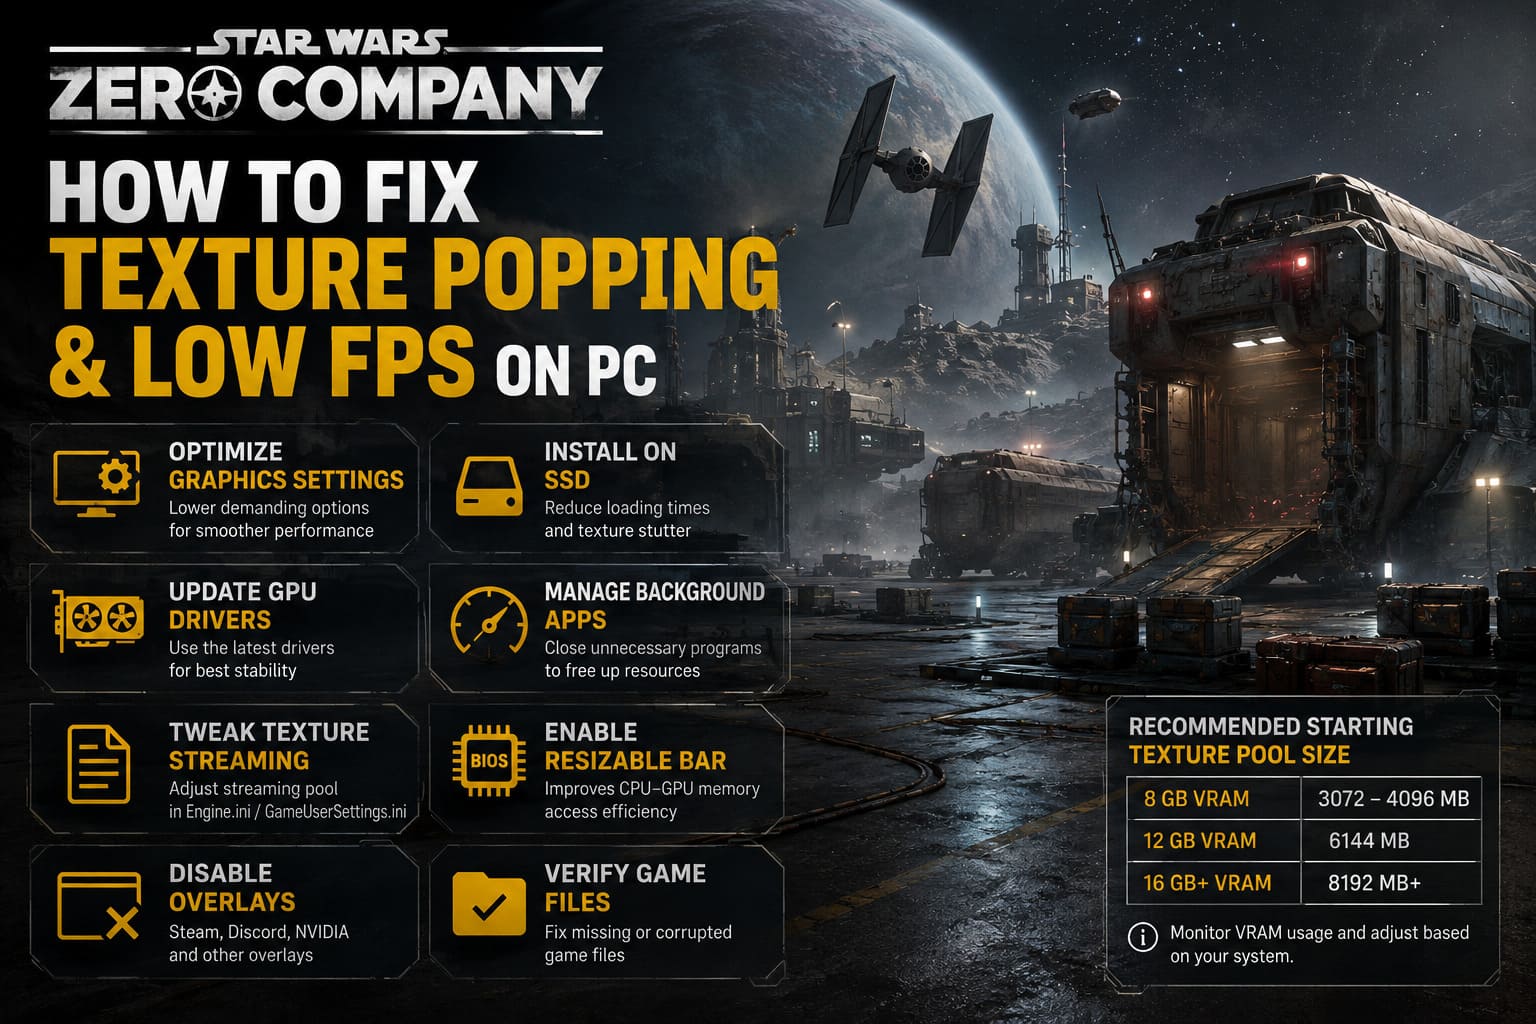
A commonly used location is:
C:\Users\[YourUsername]\AppData\Local\StarWarsZeroCompany\Saved\Config\WindowsNoEditor\
Look for:
GameUserSettings.ini
or
Engine.ini
The exact directory can vary depending on the final PC build and configuration, so don’t assume this path is guaranteed on every installation.
If the relevant configuration file exists, you can experiment with texture streaming parameters such as:
[SystemSettings]
r.TextureStreaming=1
r.Streaming.PoolSize=4096
r.Streaming.LimitPoolSizeToVRAM=1
r.Streaming.MaxTempMemoryAllowed=512
r.Streaming.Boost=1.5
r.Streaming.DefragDynamicBounds=1
r.ViewDistanceScale=1.5
The important thing here is not to blindly copy values designed for somebody else’s PC.
A streaming pool that makes sense on a 16 GB GPU doesn’t automatically make sense on an 8 GB card.
A reasonable starting point is:
| GPU VRAM | Streaming Pool Starting Point |
|---|---|
| 8 GB | 3072–4096 MB |
| 12 GB | 6144 MB |
| 16 GB+ | 8192 MB or higher |
Monitor VRAM usage after making changes.
If the game begins stuttering harder, crashing, or showing even more texture degradation, undo the modification. More memory allocation is not automatically better.
And I would avoid making the INI file Read-only immediately. That can prevent the game from saving legitimate settings changes and can create additional troubleshooting headaches. Test your configuration first.
7. Enable Resizable BAR
Resizable BAR is another feature worth checking on a modern gaming PC.
It allows the CPU to access larger portions of GPU memory more efficiently instead of relying on smaller transfer windows. Depending on the game and hardware combination, the performance improvement can range from negligible to noticeable.
Enter your motherboard BIOS using the appropriate key, usually Delete or F2, then look for:
- Above 4G Decoding
- Resizable BAR Support
Enable both if your motherboard, CPU, and GPU support them.
Save the BIOS changes and boot back into Windows.
NVIDIA users can verify Resizable BAR status through NVIDIA’s software tools. AMD users can check Smart Access Memory support through the Radeon software and system configuration.
Don’t expect Resizable BAR to magically turn 40 FPS into 100 FPS. That’s not what it does. Think of it as removing a potential hardware bottleneck rather than installing a performance cheat code.
8. Kill Overlay Conflicts
Overlays are useful until they aren’t.
Steam, Discord, EA software, NVIDIA software, recording utilities, monitoring applications, and other background tools can all hook into a game’s rendering pipeline.
If Zero Company is suffering from strange stutters, crashes, or inconsistent frame pacing, temporarily disable:
- Steam Overlay
- EA App Overlay
- Discord Overlay
- NVIDIA overlay
- Recording and capture utilities
This is especially useful because it takes about two minutes and gives you a clean troubleshooting environment.
If the stuttering disappears, re-enable the overlays one at a time until you find the offender.
9. Disable Fullscreen Optimizations and Test Administrative Access
Windows compatibility settings can occasionally help with unusual fullscreen behavior.
Navigate to the game’s main executable, right-click it, select Properties, then open the Compatibility tab.
You can test:
Disable fullscreen optimizations
Running the executable as administrator can also be tested, although I wouldn’t treat administrator privileges as a universal performance fix. They aren’t.
The fullscreen optimization setting is the more relevant experiment when you’re dealing with inconsistent presentation, focus changes, or strange behavior when switching between the game and desktop.
10. Verify the Game Files
If textures are missing completely, characters are rendering incorrectly, or the game crashes while loading specific cinematics or maps, suspect corrupted files.
On Steam:
Library → Star Wars Zero Company → Properties → Installed Files → Verify integrity of game files
Let Steam finish the scan.
If you’re using another launcher, use its equivalent repair or file verification feature.
This can take a while, especially on a large installation, but it is far better than assuming every missing texture is an engine bug.
Star Wars Zero Company Steam Deck Performance Guide: Best Settings and Controller Layouts
My Recommended Zero Company PC Preset
If I were sitting down with a mid-to-high-end gaming PC and trying to get Zero Company stable, this is where I would start:
Fullscreen + native resolution + High textures + Medium shadows + Medium view distance + DLSS/FSR/XeSS Quality + uncapped in-game FPS for testing.
Then I’d monitor GPU utilization, VRAM usage, CPU utilization, and frame-time consistency.
The goal isn’t simply a bigger FPS number.
Stable frame pacing matters more in a turn-based tactical game.
You’re not playing a competitive shooter where 180 FPS versus 120 FPS might genuinely change responsiveness. If Zero Company sits at a consistent 60–90 FPS with clean frame delivery, that is far more pleasant than bouncing between 100 FPS and 45 FPS every time you rotate the camera.
Star Wars Zero Company Holotable Operations Guide: How to Maximize Influence Across All 12 Zones
Final Verdict: Fix the Streaming Pipeline Before Sacrificing Visual Quality
Star Wars Zero Company has the kind of tactical gameplay that makes you want to spend hours staring at a battlefield and planning the perfect move. That makes texture popping and camera stutter particularly annoying. You’re constantly inspecting the environment, and every blurry building or late-loading character breaks the presentation.
Start with the fundamentals:
Install the game on an SSD. Update or clean-install your GPU driver. Clear the shader cache. Reduce VRAM-heavy settings. Use Quality upscaling. Disable unnecessary overlays. Verify the game files.
Only after that should you start experimenting with INI streaming parameters.
And don’t turn every setting to Low just because your FPS is bad. That’s throwing away visual quality without necessarily addressing the real bottleneck.
The best Zero Company PC setup is about balance. Give the game enough VRAM, enough storage bandwidth, reasonable texture settings, and a clean rendering environment. Once the asset streaming stops fighting your hardware, the game can finally show what its tactical battlefields are supposed to look like.
Because when your squad finally executes a perfect flanking maneuver, the last thing you want is for the enemy commander to turn into a blurry potato halfway through the cinematic.