Star Wars Zero Company Holotable Operations Guide: How to Maximize Influence Across All 12 Zones
I went into Star Wars Zero Company expecting the tactical battles to be the main attraction. And honestly, they are. The turn-based combat is the part that immediately grabbed me, especially when a clean flanking move or a perfectly timed ability saves a mission that looked completely doomed two turns earlier.
But after spending more time with the campaign, I started appreciating another part of the game just as much: the Holotable.
This is where the larger war actually takes shape.
The Galaxy Map isn’t just a menu you visit between missions. It is the strategic layer that determines how much influence your squad can build, which rewards you unlock, how powerful the Infinite Coil becomes, and whether your roster enters the next combat mission prepared or already struggling with injuries and bad relationships.
The galaxy is split into 12 separate Zones, and each one has its own Influence progression. If you ignore this system, the campaign can become noticeably harder. If you understand it, though, the Holotable becomes one of the most satisfying parts of the entire game.
And that’s exactly how I like it. Give me a strategic system that actually affects the battlefield instead of another pointless progression screen.
The 12 Zones Are Your Real Long-Term Progression
The Galaxy Map covers 12 distinct Zones, including recognizable locations such as Lothal and Dantooine, alongside newer worlds such as Linata.
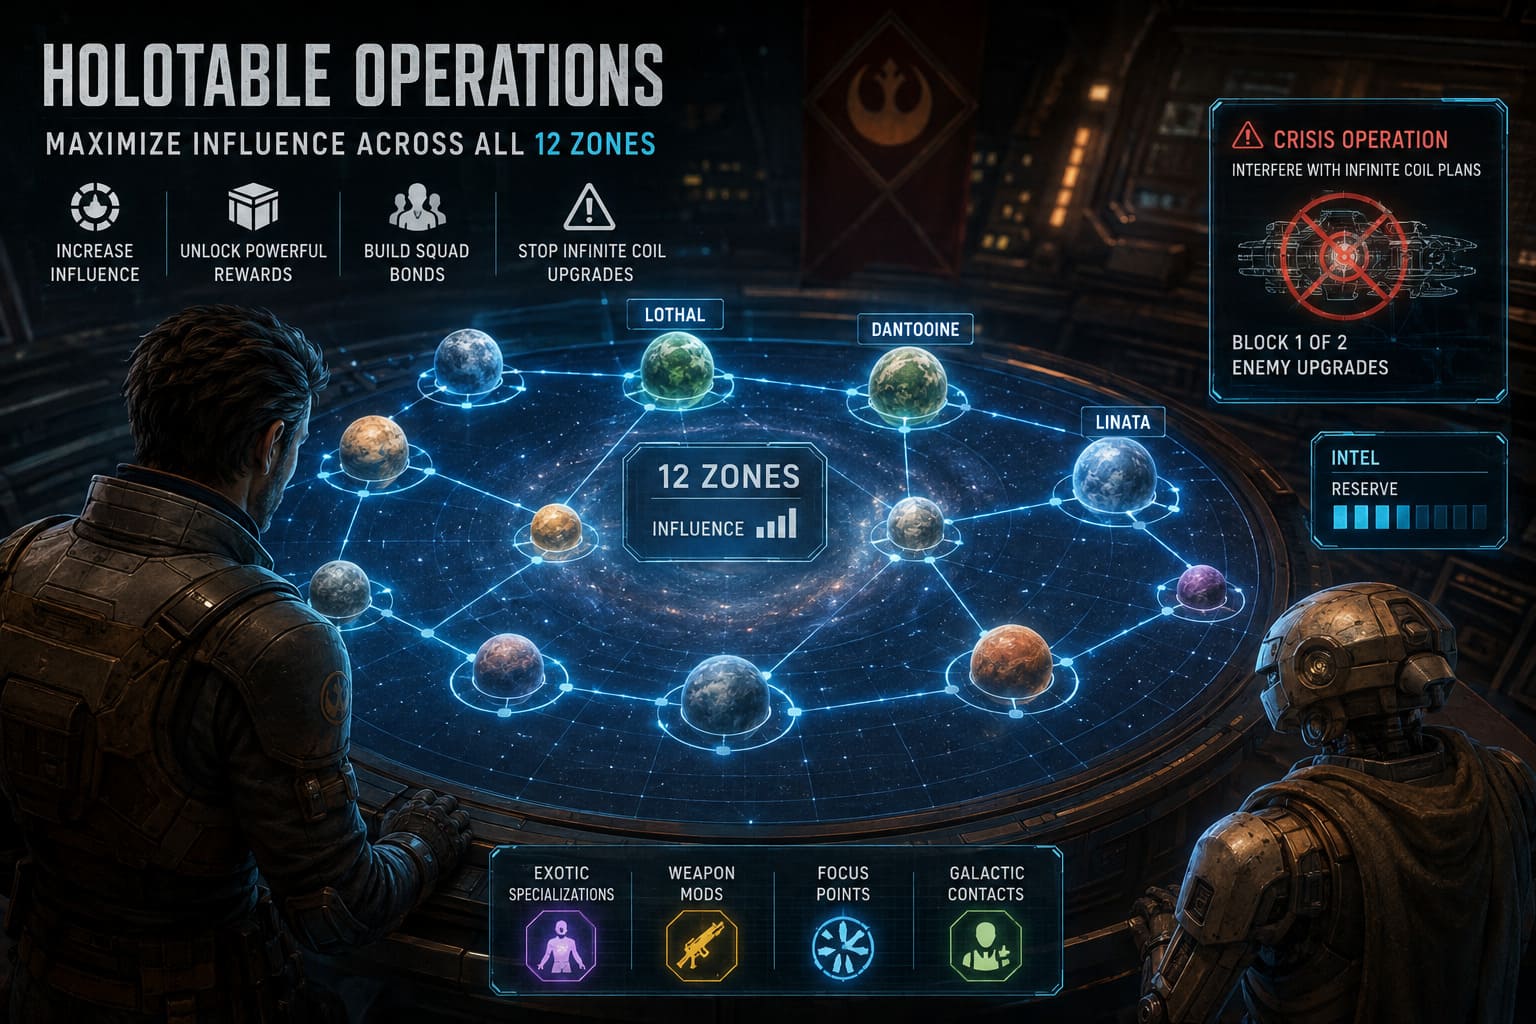
Each Zone has its own Influence value. You increase that number by completing Operations and making smart strategic decisions during the campaign.
The important part is that Influence isn’t just there for bragging rights.
As you reach different Influence Thresholds, the game starts handing out genuinely useful rewards. Depending on your progression, these can include:
- Exotic character specializations and companion options
- Weapon modifications and powerful utility equipment
- Additional Focus Points for Focus Trees
- Galactic Contacts that provide ongoing regional benefits
This is why I wouldn’t recommend randomly spreading your attention across the map.
You want to think about which Zone benefits your current squad the most and then push that region toward its next major threshold.
| Strategic Reward | Why I Care About It |
|---|---|
| Exotic Specializations | Adds powerful build options |
| Weapon Mods | Improves combat efficiency |
| Focus Points | Strengthens long-term character progression |
| Galactic Contacts | Provides persistent regional influence |
The higher you go into the campaign, the more important this becomes. Enemy forces don’t simply sit around waiting for you to become stronger. The Infinite Coil continues improving its units, so falling behind strategically can eventually make your tactical missions much nastier than they need to be.
How Holotable Operations Actually Work
After your combat missions, you return to The Den, your mobile base aboard the Gallofree Yards bulk freighter at the Ring of Kafrene.
This is where I usually take a breath, check the squad, deal with whatever injuries I’ve accumulated, and then head over to the Holotable.
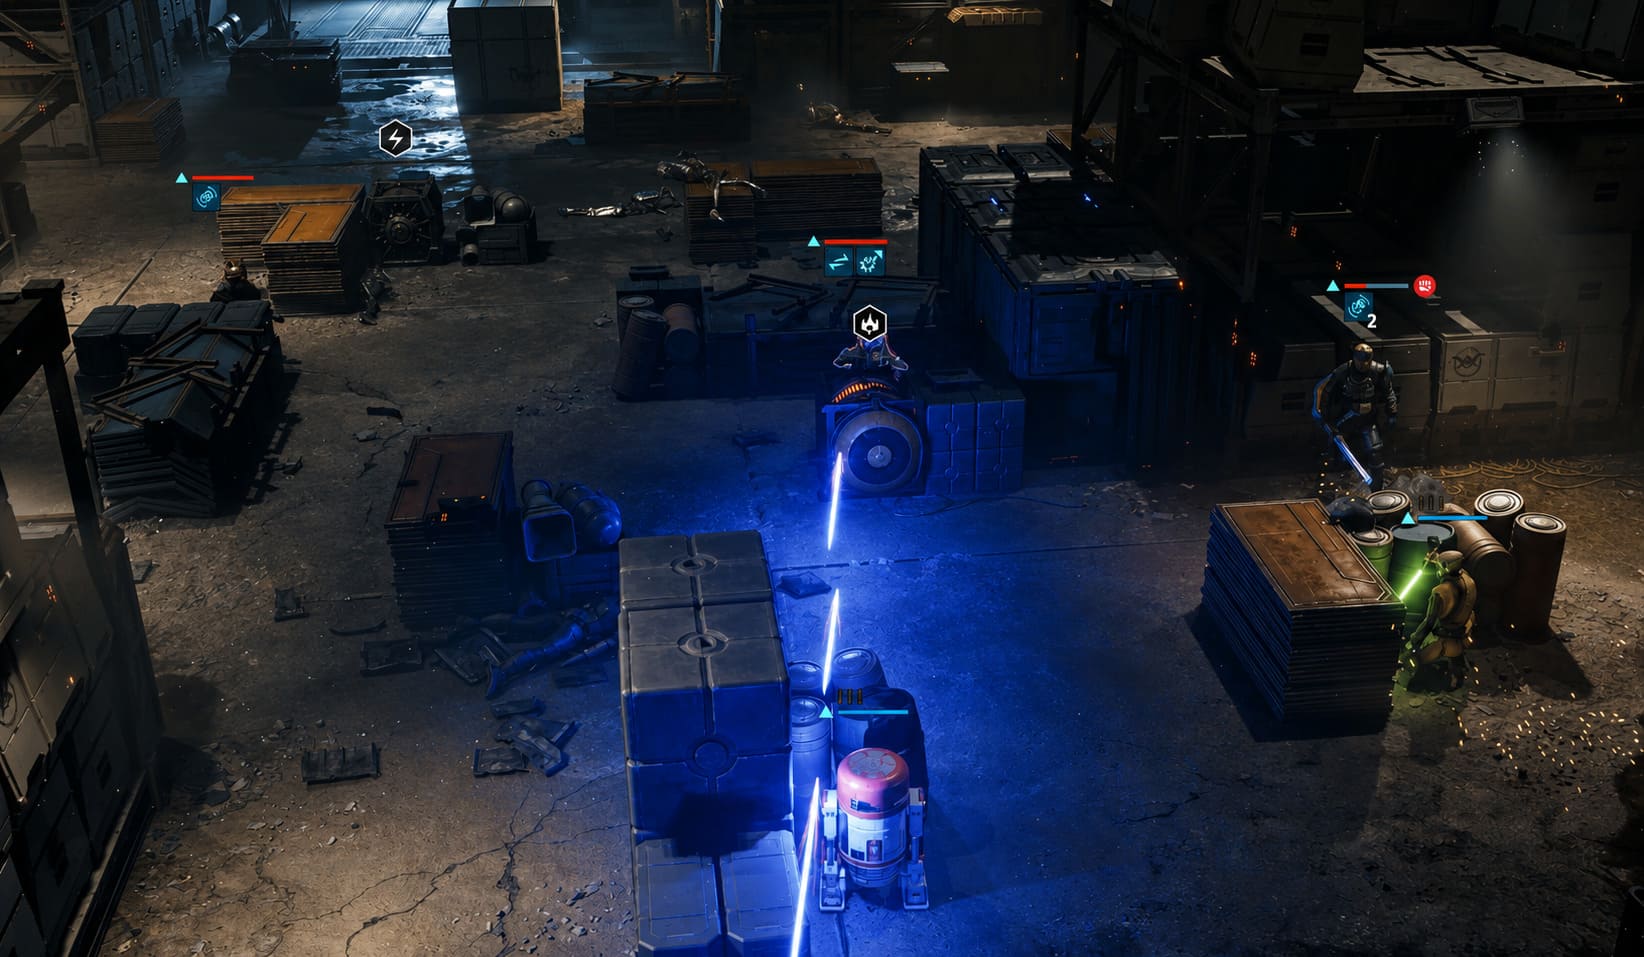
Operations are essentially the game’s text-based strategic missions. You’re making decisions involving intelligence gathering, infiltration, political manipulation, sabotage, and other jobs that don’t require you to control the squad on a battlefield.
They might look simple compared with a full tactical mission, but don’t make the mistake of treating them like filler.
They can absolutely mess up your next combat mission.
Intel Is the Currency That Keeps Everything Moving
Every Operation requires Intel.
The problem is that Intel isn’t unlimited.
You primarily gain it from successfully completing tactical missions, which means your battlefield performance directly affects how much strategic activity you can perform afterward.
That creates a nice gameplay loop:
Fight → Earn Intel → Run Operations → Increase Influence → Unlock Rewards → Prepare for the next fight.
I really like this structure because it makes the combat and strategic layers feel connected.
If you waste Intel on mediocre Operations early in a campaign cycle, you may find yourself unable to deal with something much more important later.
My advice is simple: don’t spend Intel just because an Operation is available.
Look at what it gives you and ask whether that reward actually matters right now.
Build an Operations Roster, Not Just a Combat Roster
This is probably one of the biggest mistakes I see players making with systems like this.
You shouldn’t build your roster entirely around combat performance.
Yes, you need strong frontline characters. Obviously.
But you also need specialists who are excellent at Operations.

Different assignments favor different types of operatives. A Scout or Scoundrel can be much better suited to infiltration, tracking, deception, or stealth-oriented assignments than a Heavy who was built to absorb damage and destroy enemies.
That doesn’t mean your combat characters are useless outside battle. It means you should stop thinking of every character as interchangeable.
I like having a small bench of characters specifically suited to strategic assignments.
That way, when an Operation appears, I’m not forced to pull my best frontline fighter away from an upcoming combat mission just to improve my odds of success.
It’s a small roster-management decision that pays off constantly.
Don’t Ignore Squad Bonds
This is where the Holotable gets surprisingly personal.
Operations aren’t just about assigning the character with the highest apparent specialization. Squad relationships matter too.
When multiple operatives participate in an assignment, their Bonds can influence how effectively they work together. Strong relationships can improve the overall result, while friction between characters can make an already risky assignment even worse.
And then you get the dialogue decisions.
This is where I stop clicking through text.
Seriously.
Read the choices.
Different companions have different personalities, moral standards, and opinions about how the Company should operate. A decision that looks fantastic financially can create problems with a character who strongly disagrees with it.
Imagine taking the option that gives you a pile of credits by selling out a local contact. Great short-term reward.
Then you discover that one of your more honorable companions absolutely hates what you just did.
Now you’ve traded immediate profit for damaged relationships.
That’s the kind of consequence I actually want from a strategy game.
Operations Can Injure Your Best Characters
This is the part that makes me much more careful with risky assignments.
A failed Operation isn’t necessarily just a lost reward.
Your operative can come back injured.
Those injuries can persist into later campaign cycles and may require time in the Medbay under M-3VO’s supervision.
Think about the timing.
You send one of your strongest characters on a risky assignment because you want extra Influence. The Operation goes badly. That character comes back injured.
Then the next major tactical mission starts.
Suddenly, the character you planned your entire combat strategy around isn’t available at full strength.
That’s a horrible trade.
So when an Operation looks particularly dangerous, I ask myself one question:
Is the reward worth risking this character?
If the answer is no, I don’t take the gamble.
Crisis Operations Should Be Your Highest Priority
This is probably the most important Holotable tip in the entire guide.
Watch for Crisis Operations.
The Infinite Coil is constantly attempting to improve its forces, and during each campaign cycle it can try to implement permanent upgrades.
The Holotable gives you opportunities to interfere with those plans.
Successfully completing a Crisis Operation can block one of the two upgrades the Coil is attempting to implement during that cycle.
That’s huge.
If you ignore these Operations and simply continue pushing the story, the enemy can receive both upgrades.
And when those upgrades start stacking across campaign cycles, the difficulty curve can get ugly.
This is why I prioritize Crisis Operations even when another activity appears to offer a more attractive immediate reward.
Credits are nice.
A cosmetic reward is nice.
Another piece of gear is nice.
But stopping an enemy upgrade that could affect future battles across the campaign?
That’s the kind of reward that keeps paying you back.
How I Approach Influence Across All 12 Zones
If I were starting a fresh campaign, I wouldn’t try to max every Zone simultaneously.
Instead, I’d use a controlled rotation.
1. Identify Your Most Valuable Zone
Look at the rewards available from the next Influence Threshold.
If a particular Zone offers something that directly improves your current squad composition, prioritize it.
Don’t chase Influence numbers for their own sake.
2. Build Toward a Threshold
Once you’ve chosen a Zone, commit enough Operations to actually reach its next meaningful milestone.
Half-investing everywhere can leave you with a galaxy full of mediocre progress.
Focused investment gets you rewards faster.
3. Use Galactic Contacts Strategically
When you unlock a Galactic Contact, don’t leave it sitting unused.
Assign it to a Zone you’re actively developing.
The passive boost can make future Operations in that region more productive and help accelerate your progression.
This is one of those little optimization choices that doesn’t feel exciting when you make it, but becomes extremely valuable over an entire campaign.
4. Keep Intel in Reserve
I never want to hit the Holotable with zero Intel and suddenly discover that a Crisis Operation has appeared.
Keep some resources available whenever possible.
The strategic layer rewards players who think one step ahead.
5. Protect Your Best Combat Characters
If a specialist can handle an Operation almost as well as your elite combat operative, use the specialist.
Your strongest fighter belongs on the battlefield unless there’s a very good reason to pull them away.
My Favorite Rule: Check the Consequences Before Choosing
The text-based Operations can tempt you into making decisions based purely on rewards.
Don’t.
Before selecting a response, look at what the game tells you about companion reactions and potential risks.
I usually rank choices like this:
- Protect squad cohesion
- Prevent serious injuries
- Stop Infinite Coil upgrades
- Increase Influence
- Take valuable secondary rewards
That order isn’t absolute. Sometimes a reward is too good to ignore.
But it keeps me from making stupid decisions just because a button promises more credits.
And let’s be honest, we’ve all clicked the greedy dialogue option in a game and immediately regretted it.
Star Wars Zero Company Buy or Skip? Full Game Overview, Review & Verdict (2026)
The Best Holotable Strategy in One Table
| Priority | Action | Reason |
|---|---|---|
| 1 | Complete Crisis Operations | Prevent enemy upgrades |
| 2 | Build Zone Influence | Unlock powerful strategic rewards |
| 3 | Deploy Galactic Contacts | Improve long-term regional growth |
| 4 | Preserve Squad Bonds | Maintain roster effectiveness |
This approach keeps the strategic layer manageable without turning the campaign into spreadsheet simulator territory.
Final Thoughts: The Holotable Is Where You Win the War
What I appreciate about Star Wars Zero Company is that the Holotable doesn’t feel disconnected from the tactical game.
Your decisions here have consequences.
Intel determines how many opportunities you can pursue. Operative selection changes your chances of success. Dialogue choices affect relationships. Failed assignments can create injuries. Influence unlocks new tools. Crisis Operations determine how quickly the Infinite Coil escalates.
That’s a proper strategy layer.
If you’re trying to maximize Influence across all 12 Zones, don’t treat Operations as something you do while waiting for the next combat mission. They are part of the campaign’s core progression system.
Build a versatile roster. Spend Intel carefully. Prioritize Crisis Operations. Protect your strongest characters from unnecessary risks. And use Galactic Contacts where they can accelerate the Zone you’re actively developing.
Most importantly, pay attention to the people in your squad.
The numbers matter, but the personalities matter too.
That’s what makes the Holotable interesting. You’re not simply moving Influence around a galaxy map. You’re managing a group of specialists who have different skills, opinions, relationships, and limits.
And when the next major tactical battle begins, you’ll feel the difference.
A well-managed Holotable campaign means better upgrades, stronger relationships, more strategic options, and an enemy that hasn’t been allowed to snowball out of control.
For me, that’s the sweet spot of Star Wars Zero Company: win the small fights on the battlefield, then win the larger war from the Holotable.