Star Wars Zero Company Best Late Game Squad Synergies & Team Compositions
I’ve played enough turn-based strategy games to know that the late game is where a good squad either becomes a beautiful machine or completely falls apart. Star Wars Zero Company is no different.
When I first started playing, I was happy enough throwing together characters who individually looked strong. A good shooter here, a melee fighter there, someone with healing abilities in the back. It worked. For a while.
Then the missions started getting nastier.
The Infinite Coil began throwing enemies at me that could survive punishment I previously considered excessive. Suddenly, simply having four powerful characters wasn’t enough. I needed characters who actually worked together.
That’s the big lesson I took from the late game: in Star Wars Zero Company, raw damage is useful, but synergy is what turns a decent squad into a terrifying one.
After experimenting with different combinations, Focus Tree choices, Bonds, and battlefield setups, these are the late-game team compositions I keep coming back to. They aren’t the only viable options, but they’re the squads I’d recommend to anyone who wants to make the final stretch of the campaign considerably more manageable.
Why Late-Game Squad Synergy Matters So Much
The early missions can sometimes hide how important team composition really is. Enemies aren’t quite as durable, positioning mistakes are easier to recover from, and you can often brute-force an encounter with enough firepower.
Late-game missions punish that approach.
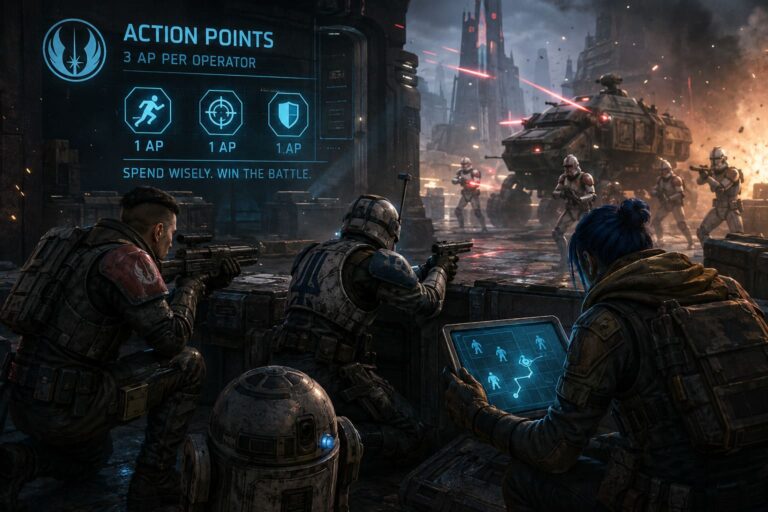
The 3 AP system gives every operative considerable flexibility, but it also means there are more ways to waste a turn. Moving, attacking, applying a debuff, taking cover, repositioning and setting up an ability can all compete for those precious action points.
Then there’s Advantage, which I consider one of the most important resources to understand if you’re struggling with difficult encounters. The entire squad contributes to the shared pool, so your characters aren’t just fighting individually. One operative can create an opportunity that another character immediately exploits.
And finally, there are Character Bonds.
This is where things get particularly interesting. When two operatives have strong chemistry, your squad can gain benefits that make coordinated attacks feel significantly more efficient. I’ve had fights where a Bond interaction was the difference between finishing an enemy immediately and leaving them alive for another devastating turn.
So when building a late-game squad, I don’t ask, “Who does the most damage?”
“Who makes everyone else better?”
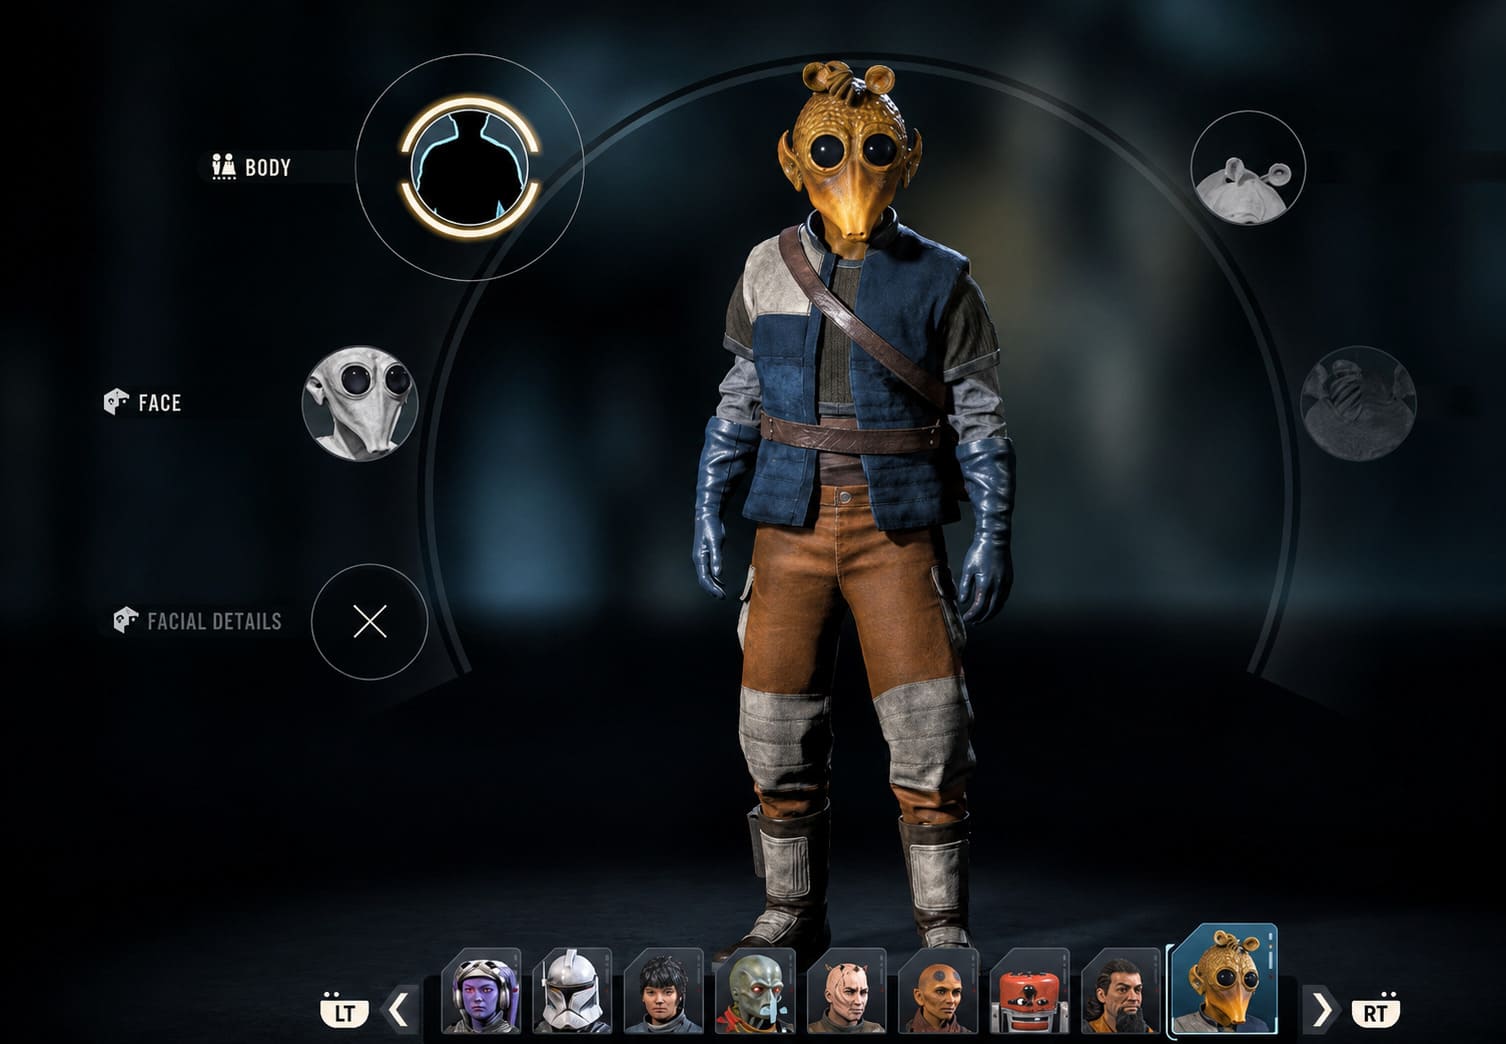
My #1 Late-Game Pick: Scoundrel + Sharpshooter Burst Team
If I’m going into a mission blind and I want something reliable, this is probably my favorite setup.
| Role | Recommended Operative | Main Job |
|---|---|---|
| Leader | Hawks | Mid-range support and suppression |
| Enabler | Custom Scoundrel | Debuffs and target setup |
| Damage Dealer | Luco Bronc | Precision burst |
| Support | Custom Medic | Healing and combat buffs |
The entire composition revolves around turning one enemy into a giant flashing target.
The Scoundrel is the key. Instead of trying to win every gunfight through conventional damage, the Scoundrel sets up the target for somebody else. The important ability here is Identify Weakness, which can strip away the enemy’s defensive advantages and create the perfect opening for your Sharpshooter.
And this is where the fun starts.
Once the target has been marked, I bring in Luco Bronc or another heavily optimized Sharpshooter and deliver the precision shot.
This is one of those combinations that makes you sit back and think, “Yep, that’s exactly what I wanted.”
The Scoundrel isn’t necessarily the star of the turn. The Sharpshooter gets the spectacular kill. But without the Scoundrel creating the opening, that shot wouldn’t be nearly as effective.
That’s what makes the composition work.
How I Usually Play It
I like keeping Hawks somewhere around the middle of the formation rather than throwing him directly into the enemy’s face. He can provide pressure, suppress troublesome enemies, and help stabilize the battlefield while the Scoundrel searches for the priority target.
The Medic stays relatively safe but close enough to provide Combat Stims when the Sharpshooter is ready to fire.
The ideal turn looks something like this:
Scoundrel sets up the target → Medic buffs the damage dealer → Sharpshooter takes the shot → Hawks controls the remaining threats.
When everything lines up correctly, you can generate a serious amount of Advantage in a very short period.
For me, this is the most satisfying late-game composition because it feels deliberate rather than random. You’re not hoping for a lucky attack. You’re building a kill.
My #2 Pick: Jedi Force Push + Overwatch Trap
Now, if the first composition is about deleting one enemy, this one is about making the entire battlefield cooperate with you.
My preferred lineup is:
- Tel-Rea Vokoss
- Custom Heavy
- Luco Bronc or Custom Sharpshooter
- Custom Medic
This squad is especially nasty on maps where enemies hide behind high cover.
Normally, you have to spend AP moving around that cover, finding a flank, or slowly forcing the enemy out of its defensive position.
Why bother?
Just throw them out.
That’s where Tel-Rea Vokoss becomes the centerpiece.
Her mobility and Force abilities give her a completely different way of approaching enemy defenses. Instead of treating cover as an obstacle that has to be navigated around, you can sometimes treat the enemy sitting behind it as the actual problem to be physically relocated.
The basic concept is simple:
Set the trap first. Push the target second. Let the guns finish the job.
I position my Heavy and Sharpshooter so their Overwatch zones overlap the area where I expect the enemy to land. Then Tel-Rea moves into position and uses Force Push.
Suddenly, that comfortable enemy behind cover isn’t comfortable anymore.
They’ve been shoved into the open.
And that’s exactly where my Overwatch weapons are waiting.
The result can be spectacular, particularly when multiple reactions trigger against the exposed target.
The important thing is not to get greedy with Tel-Rea. She’s powerful, but sending her too far forward without support is a great way to turn a clever strategy into a rescue mission.
I learned that one the hard way.
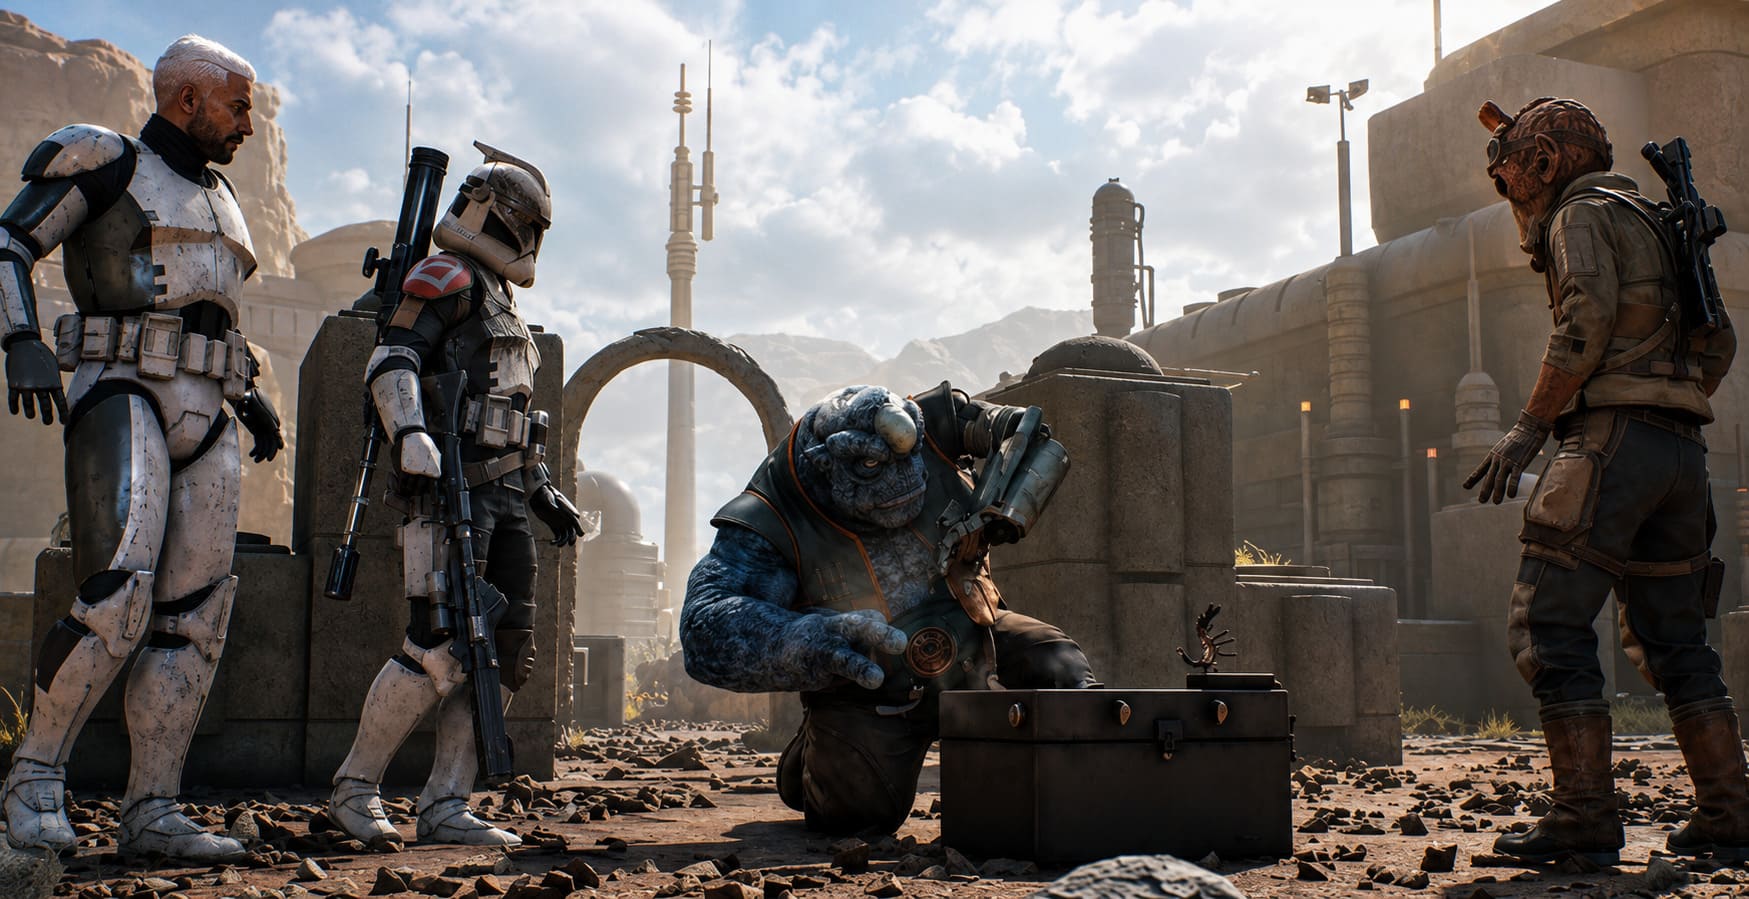
My #3 Pick: The Double-Melee Brawler Squad
Sometimes I don’t want to sit back and play chess.
Sometimes I want to kick the door down.
That’s where my aggressive melee composition comes in:
- Hawks
- Kabb Uppercut
- Tel-Rea Vokoss
- Custom Scout
Kabb Uppercut and Tel-Rea Vokoss are the stars here.
Having two powerful frontline characters changes the rhythm of the mission completely. Instead of waiting for enemies to expose themselves, you’re actively disrupting their formation.
Kabb’s ability to knock enemies out of cover pairs beautifully with Tel-Rea’s melee pressure. If an enemy thinks they’re safe behind cover, Kabb can create the opening, and Tel-Rea can capitalize on it.
I especially like using Bonds to make this kind of aggressive setup even more dangerous. When your frontline characters have strong relationships, their coordinated actions can make an already aggressive strategy feel surprisingly efficient.
Hawks stays slightly behind them, providing the support that prevents the whole squad from becoming four people sprinting toward certain death.
And then there’s the Scout.
I don’t use the Scout as a traditional fourth damage dealer. I use them as the problem creator.
Get around the side. Find a vulnerable enemy. Attack from an advantageous angle. Generate Advantage. Relocate before the enemy can punish you.
That constant pressure keeps the shared resource pool moving while the frontline characters cause chaos.
The Biggest Mistake I Made With Custom Characters
This deserves its own section because I made this mistake repeatedly.
Don’t build custom characters in isolation.
A Focus Tree can contain an excellent ability, but that doesn’t automatically mean it’s the right ability for your squad.
If your team is built around Overwatch, then abilities that improve your Overwatch setup are naturally more valuable.
If your composition revolves around burst damage, prioritize abilities that make your setup turns more efficient.
And if you’re running a melee-heavy squad, mobility and survivability can be worth far more than another tiny increase to raw damage.
The strongest custom character isn’t necessarily the one with the most impressive individual statistics.
It’s the one who makes the rest of your squad’s plan easier to execute.
Don’t Ignore Bonds at The Den
I also think Bonds are one of those systems that players can easily underestimate.
During the early game, you might look at them as a nice bonus. By the late game, I start treating them as part of the squad-building process.
If two characters are regularly deployed together, pay attention to how their relationship develops.
A Scoundrel + Sharpshooter pairing makes obvious sense for the burst composition.
A Jedi + Heavy combination is interesting for the Force Push and Overwatch setup.
And the Kabb + Tel-Rea pairing fits naturally into the aggressive melee composition.
The exact bonuses can vary depending on your progression, but the larger principle remains the same: build relationships around your tactical plan rather than treating Bonds as a completely separate system.
Weapon Upgrades: Spend Resources Where They Actually Matter
Another late-game trap is spreading your resources too thin.
I’ve definitely been guilty of upgrading equipment simply because I had enough resources to do it.
That’s not always the best approach.
If your entire strategy depends on a Sharpshooter deleting priority targets, that weapon deserves serious investment.
If your Scoundrel is the engine of the strategy, utility upgrades that improve their ability to create openings can be more valuable than giving them slightly better direct damage.
Likewise, a Heavy who’s responsible for maintaining an Overwatch kill zone benefits enormously from upgrades that support that specific job.
Upgrade the strategy, not the character sheet.
That’s probably the simplest way I’d describe it.
Which Late-Game Composition Should You Use?
| Composition | Best For | Difficulty | My Take |
|---|---|---|---|
| Scoundrel + Sharpshooter | Elite target deletion | Medium | My overall favorite |
| Force Push + Overwatch | Defensive control | Medium-High | Fantastic on cover-heavy maps |
| Double Melee | Aggressive players | High | Extremely fun but less forgiving |
If you’re new to late-game optimization, I’d start with the Scoundrel + Sharpshooter composition. It gives you a clear game plan without requiring every turn to be perfect.
The Force Push setup is my choice when I know the map is going to reward positional control.
And the double-melee team?
That’s for when I’m feeling confident and want to make the mission personal.
How to Fix Star Wars Zero Company Audio Not Working: Complete Guide for PC and Consoles (2026)
Final Thoughts
The biggest change in my approach to Star Wars Zero Company happened when I stopped thinking about individual characters and started thinking about turns.
A great squad isn’t four powerful characters standing next to each other.
It’s four characters creating opportunities for one another.
The Scoundrel doesn’t need to be the biggest damage dealer. The Scoundrel needs to make the Sharpshooter’s shot devastating.
Tel-Rea doesn’t need to kill everything herself. She needs to move enemies into places where the rest of the squad can destroy them.
Kabb doesn’t need to dominate every encounter. Sometimes knocking one enemy out of position is more valuable than dealing another chunk of damage.
And your Medic isn’t just there to repair mistakes. With the right timing, support abilities can turn an already strong offensive sequence into an Advantage-generating machine.
That’s why I enjoy the late game so much. Star Wars Zero Company stops feeling like a collection of individual character turns and starts feeling like you’re actually commanding a specialized tactical unit.
And when a complicated setup works exactly as planned?
Honestly, that’s the good stuff.