Call of Duty Modern Warfare 4 DMZ Extraction Guide: How to Exfil Safely in Hajin
After hundreds of hours in extraction shooters, I’ve learned one painful lesson: a backpack full of amazing loot means absolutely nothing if you die 20 meters from the extraction point.
That philosophy sits at the heart of Call of Duty: Modern Warfare 4 and its dramatically expanded DMZ 2.0 mode. The new version moves beyond the experimental feeling of earlier DMZ releases and turns the Hajin Exclusion Zone into a persistent, high-pressure sandbox where every deployment can go from routine scavenging to absolute chaos in seconds.
You are not simply dropping onto a map to rack up kills. Your real objective is to infiltrate, complete objectives, acquire valuable equipment, and extract alive. Everything else is secondary.
Hajin is built to constantly punish autopilot play. Dynamic weather can destroy visibility, AI factions can turn previously quiet areas into firefights, and enemy operators are always looking for an opportunity to take your gear. A great run can collapse because you called an extraction helicopter too early, crossed an exposed road, or assumed the rooftop overlooking your Exfil was empty.
And that is exactly why extraction deserves to be treated as a separate phase of every DMZ match.
Prepare Your Operator Before Infiltration
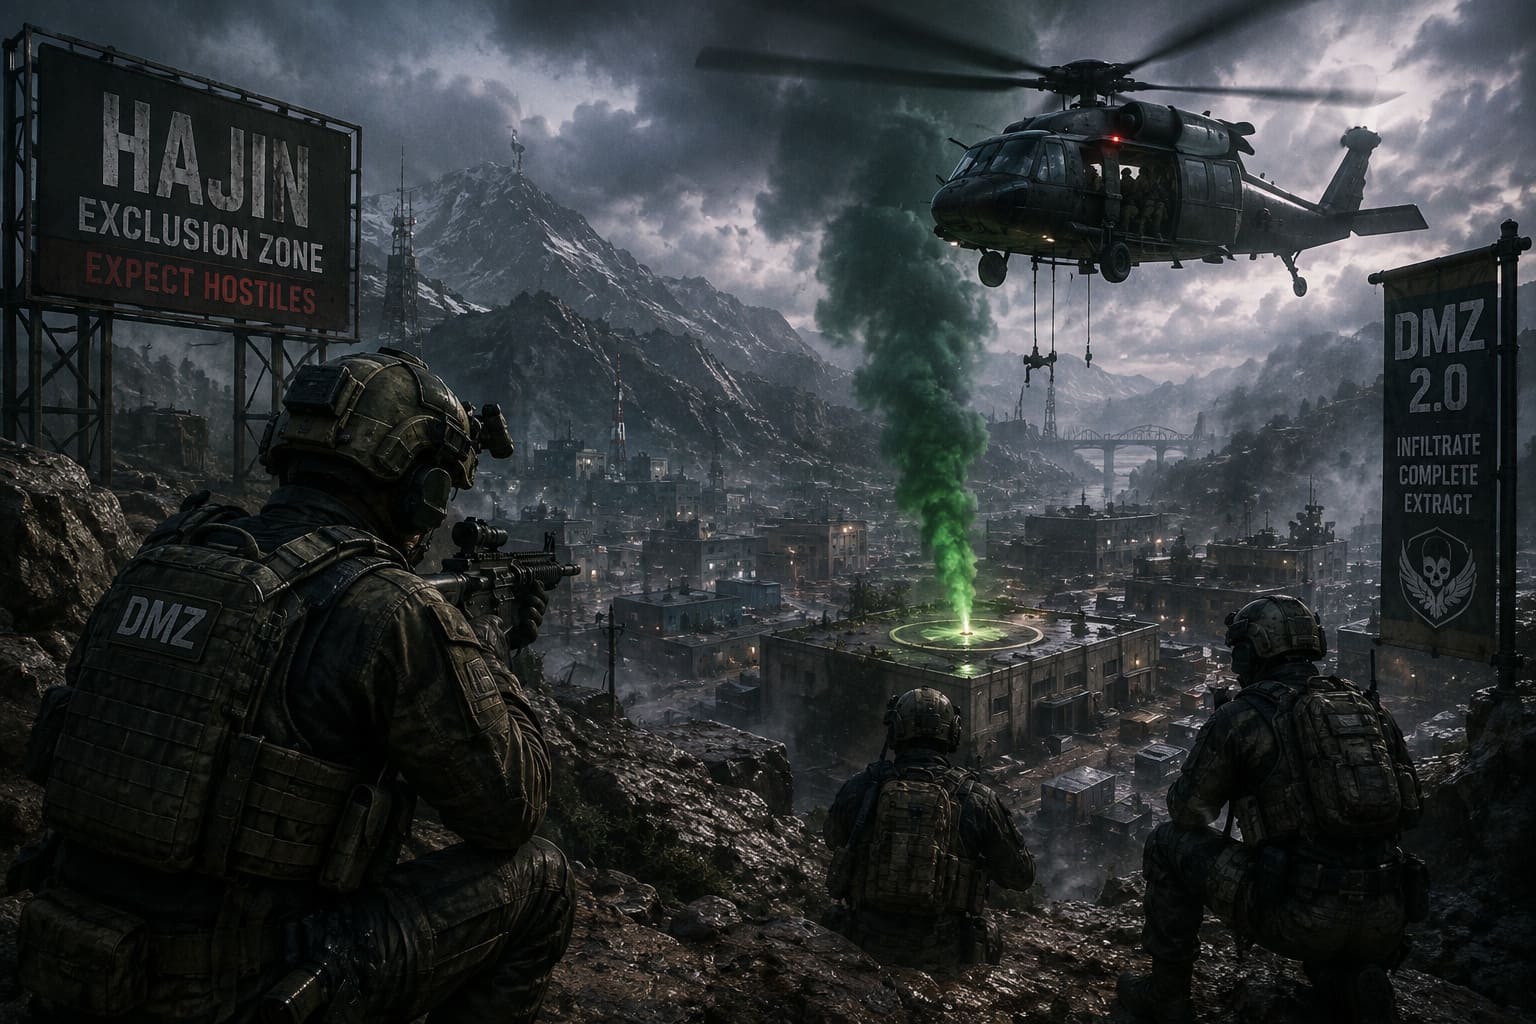
One of the biggest improvements to the Modern Warfare 4 DMZ structure is the Forward Operating Base, which acts as your persistent headquarters between deployments.
This is where you should think about preparation rather than simply throwing together whatever equipment happens to look powerful. Your loadout needs to match the kind of deployment you intend to run.
The Forward Operating Base allows you to manage your inventory, configure loadouts, interact with the Weapon Vendor, and invest in permanent Operator Trait Trees. That persistent progression gives successful extractions considerably more value because every surviving deployment can contribute to your long-term setup.
Before deploying, you also need to understand the three main activity types.
| Activity | Best For | What To Expect |
|---|---|---|
| Story Missions | Narrative progression | Structured objectives and important Points of Interest |
| Dynamic Operations | Fast progression and loot | Randomized multi-stage contracts |
| Free Roam | PvPvE exploration | Scavenging, hunting, exploration and player combat |
Story Missions are the most structured option. These scenarios can involve complicated objectives such as casino operations, restoring power, cracking secure locations, or rescuing hostages. Because these missions can become extremely chaotic when multiple teams interfere, only one squad is assigned to a particular Story Mission Point of Interest during a match.
Dynamic Operations are closer to the classic extraction-shooter loop. They give squads objectives to chase while encouraging movement around Hajin for cash, upgrade materials, and equipment.
Then there is Free Roam, which is basically DMZ unleashed. You can explore, hunt high-value targets, search caches, complete whatever objectives you want, or deliberately pick fights with other operators.
Personally, Free Roam is where the mode feels most unpredictable. You never really know whether the next building contains a rare weapon component or three players waiting behind a doorway.
Know What You’re Up Against in Hajin
A standard deployment can contain up to 20 squads of three players, meaning there may be as many as 59 enemy operators somewhere in the same exclusion zone.
That number matters.
Even if you haven’t heard gunfire for several minutes, it doesn’t mean Hajin is empty. Other squads may simply be completing objectives on the other side of the map, waiting for a high-value target, or quietly preparing their own extraction.
The weather makes this even more interesting.
Torrential rain and heavy snow can progressively make the battlefield harder to read. Visibility drops, sound becomes less reliable, and familiar routes can suddenly become dangerous. A route that was perfectly safe five minutes ago might become an exposed death trap once the weather shifts.
Never plan your extraction based exclusively on the current conditions.
Ask yourself what the map will look like when you actually reach the Exfil.
Standard Helicopter Exfil: Reliable but Extremely Loud
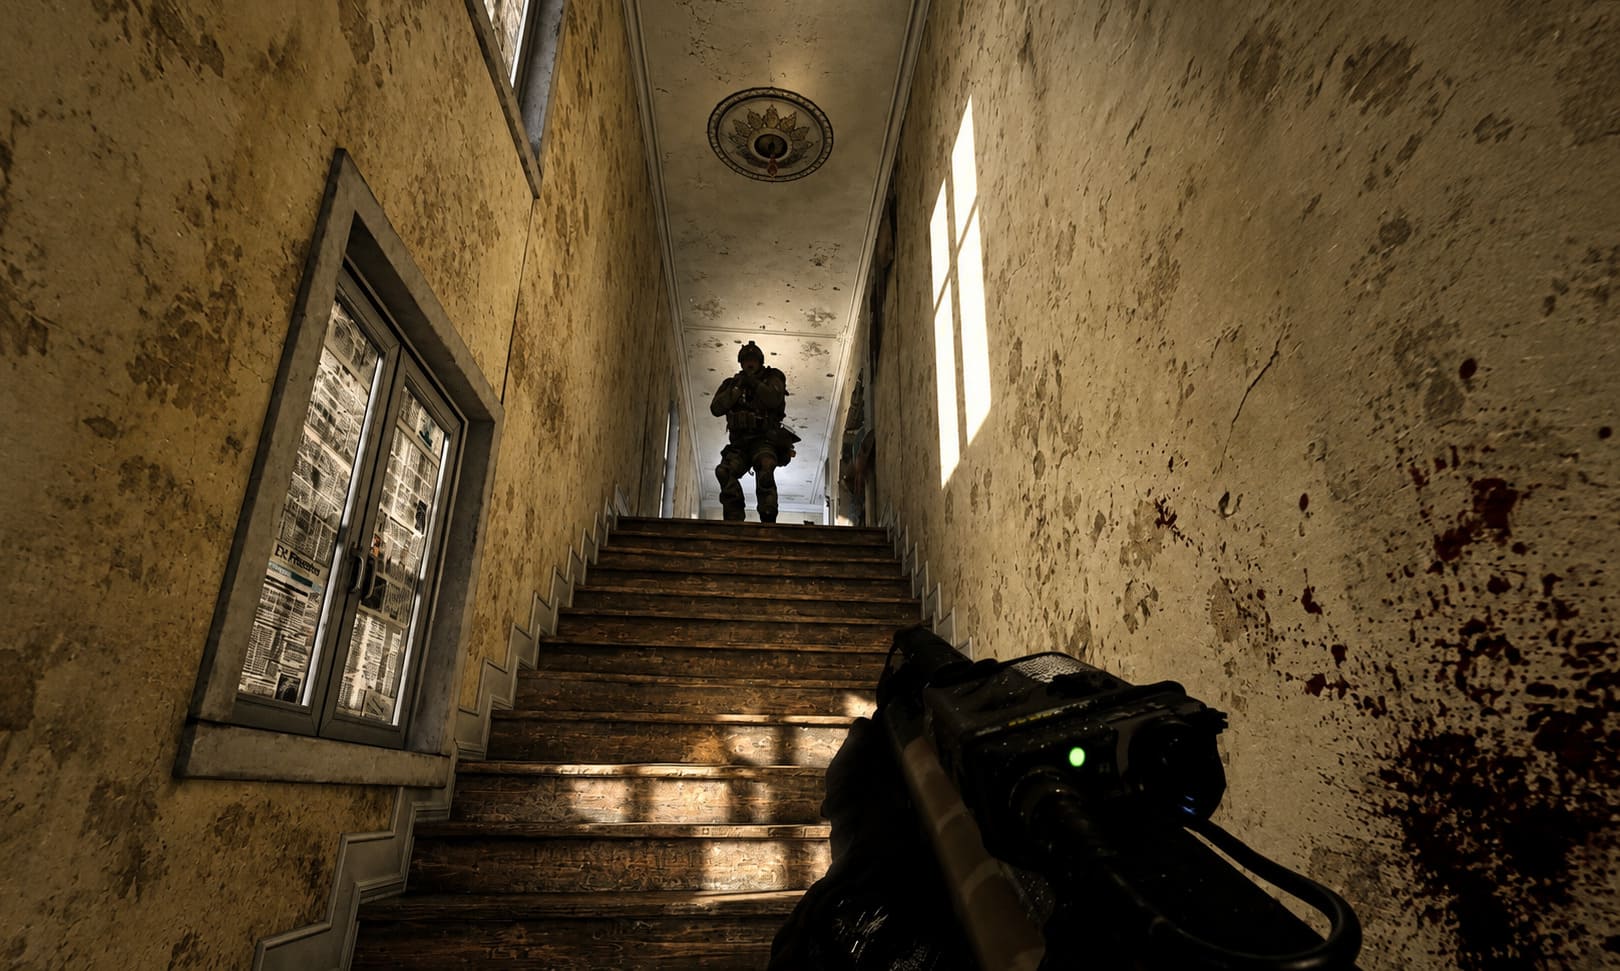
The traditional green-smoke helicopter remains the most obvious extraction method.
It is also one of the easiest places to get ambushed.
When you activate a standard Exfil, the helicopter requires roughly a minute to arrive. That creates a long window during which nearby operators can hear what you’re doing and start moving toward your position.
Once the helicopter lands, you have approximately 30 seconds to get aboard and survive until departure.
The important detail is that calling the helicopter is not the same thing as extracting.
The dangerous portion of the process begins the moment that smoke appears.
A smart squad should already have the surrounding area under observation before triggering the Exfil. Running directly into green smoke with your entire team is basically putting a giant neon sign above your head saying, “Please shoot us.”
Skyhook Extraction Changes Everything
The Skyhook system is one of the most interesting additions to the 2026 DMZ formula.
Instead of waiting for a large helicopter to land in a predictable location, operators can use designated Skyhook stations or deploy the system when available.
The concept is simple: a balloon and cable system allows operators to attach themselves to a harness. An aircraft then sweeps overhead and rapidly pulls the attached players out of the exclusion zone.
From a survival perspective, the biggest advantage is speed.
A conventional helicopter gives enemies time to react. Skyhook dramatically compresses that danger window. Ground-based squads have fewer opportunities to establish a proper firing position, and anyone trying to gatekeep the extraction has to react much faster.
It isn’t completely safe, though.
You are still exposed while the hook sequence is happening, and using the system in an open area can leave you vulnerable to players with a clear line of sight.
Still, if I have valuable contraband and a Skyhook gives me a realistic alternative to sitting beside a helicopter for a full minute, I’m taking the Skyhook almost every time.
The Notoriety System Can Turn PvP Into a Giant Distraction
Modern Warfare 4 DMZ also introduces a more aggressive PvP Notoriety and Wanted system, and understanding it can make a surprisingly big difference when you’re trying to extract.
Players who aggressively hunt other operators can build Notoriety. Eventually, repeated PvP activity can result in a public Wanted status.
Once that happens, the player’s approximate location becomes visible to the rest of the lobby.
That is terrible news if you’re the target.
It’s fantastic news if you’re somewhere else on the map.
Why?
Because a Wanted squad can become a giant magnet for everyone interested in PvP. Other operators can use communication stations or spend cash at specialized vendors to acquire more precise tracking information.
Suddenly, half the lobby might be chasing one team.
That is your opportunity.
If you notice a Wanted squad attracting attention far away from your planned extraction, do not rush toward the fighting. Let the chaos happen. Use those few minutes to rotate toward a quieter Exfil, scout the area, and leave while everyone else is busy shooting each other.
The rare Wanted dogtags also have substantial value, which makes these players even more attractive targets.
That means the Wanted icon isn’t merely information.
It is a map-wide warning that someone is about to have a very bad day.
My Five-Step Extraction Routine
If I’ve got high-tier equipment in my backpack, I stop treating extraction as an afterthought. I switch into what I call the “nothing stupid” phase.
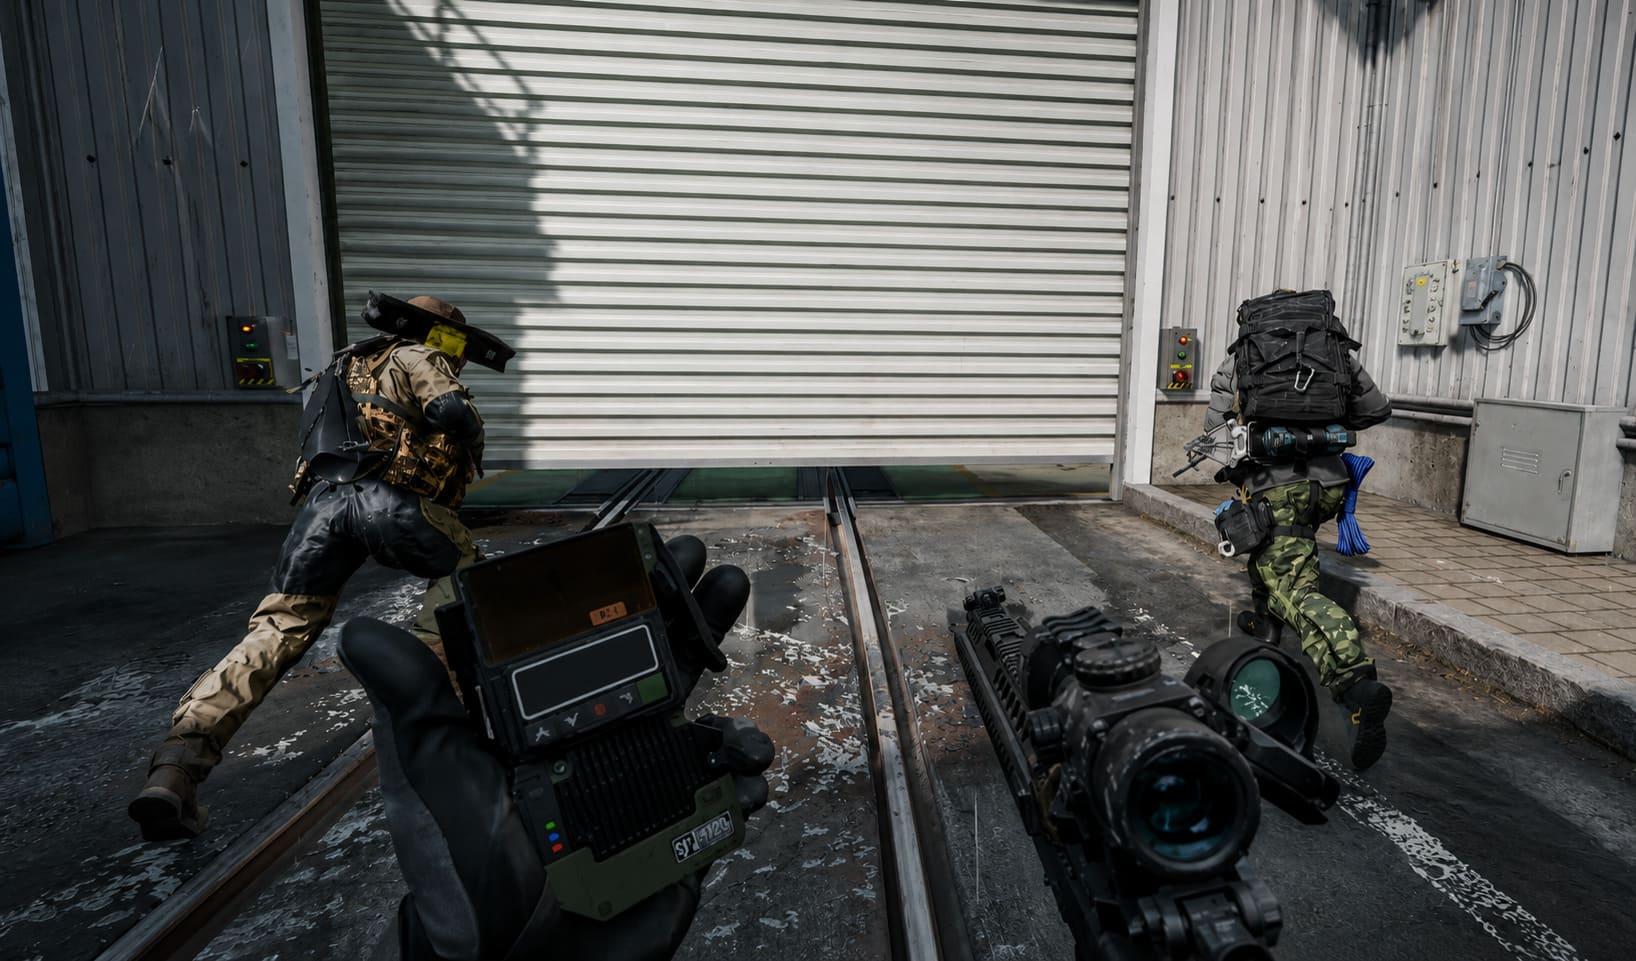
1. Scout Before You Call
Never sprint straight into an Exfil zone.
Stop around 50 to 100 meters away and observe.
Use Spotter Scopes, Recon Drones, snapshots, or whatever reconnaissance equipment you brought. Check rooftops, windows, ridgelines, dense vegetation, balconies, and other elevated positions.
You’re looking for players, but don’t ignore AI activity either.
Discarded loot, recently disturbed areas, dead AI, equipment on the ground, and suspicious movement can all provide clues that another squad has recently passed through.
If something feels wrong, trust that feeling.
Extraction shooters reward paranoia.
2. Clear the AI Around the Exfil
AI can become a nightmare during extraction.
The noise of an incoming helicopter can attract nearby hostile factions, and the last thing you want is to be fighting armored AI while another squad watches from a rooftop.
Whenever possible, clear the immediate extraction perimeter before activating the Exfil.
Use suppressed weapons when practical and avoid turning the entire neighborhood into a fireworks display.
The objective isn’t to kill every AI enemy within 300 meters.
You simply want to eliminate the threats capable of interfering with your boarding window.
3. Don’t Put Your Entire Squad on the Button
This is one of the easiest mistakes to avoid.
If you’re playing with two teammates, designate one operator as the Exfil caller.
That player moves in, activates the extraction, and immediately falls back.
The other two players should already be positioned to watch the likely approaches.
High ground is extremely valuable here.
You want overlapping fields of fire covering roads, rooftops, alleys, and common approach routes. If another squad sees the helicopter arriving and decides to make a desperate push, your team should already be waiting for them.
Never make three players stand together in the most obvious location on the map.
4. Break Line of Sight During Boarding
Smoke grenades become incredibly useful during the final seconds.
Once the helicopter or extraction mechanism is ready, use smoke to disrupt distant sightlines, especially from rooftops and elevated terrain.
Then move.
Don’t run in a predictable straight line while staring at the helicopter.
Use sliding, sprinting, mantling, crouching, and other movement options to make yourself harder to track.
The goal isn’t to perform some flashy movement montage.
The goal is simply to make the enemy miss.
Once you’re inside, get into position immediately.
5. Treat the Helicopter Like a Combat Zone
This is where inexperienced players get complacent.
They make it inside and immediately start thinking about the post-match screen.
You’re not safe yet.
Stay alert until the extraction actually completes.
Position yourself toward the open sides of the helicopter and maintain sightlines toward the most likely attack angles. Crouching or going prone can reduce exposure depending on the cabin layout.
If an enemy squad launches a last-second push, your team needs to be ready to fight rather than stare at the departure timer.
I’ve lost enough extraction games to know that the final ten seconds can be more dangerous than the previous ten minutes.
Solo DMZ: Stealth Beats Heroics
Playing solo in Hajin is a completely different experience.
You don’t have a teammate to revive you, watch your back, or trade kills with an enemy squad.
That means your best weapon is information.
Proximity voice chat can also be surprisingly useful. If you encounter a three-player squad near your intended extraction, immediately opening fire isn’t always the smartest move.
Tell them you’re solo.
Offer information, loot, or a peaceful extraction.
Of course, some players will shoot you anyway. That’s DMZ. But forcing a negotiation costs almost nothing, and sometimes the other squad simply doesn’t want to waste resources chasing a solo operator.
Keep a Self-Revive Kit or Revive Pistol whenever possible.
A sniper hitting you during the boarding sequence doesn’t necessarily have to end your run if you can get yourself back on your feet quickly enough.
For solos, one recovery item can be the difference between a successful extraction and watching your entire backpack disappear.
The Final Exfil Is Basically a Bloodbath
When the normal extraction window closes, the Final Exfil becomes the last opportunity to escape.
At this point, subtlety becomes incredibly important.
Every remaining squad understands exactly what is happening. The available extraction location becomes a magnet for desperate operators carrying everything they managed to survive with.
For a solo player, charging directly into the Final Exfil is usually suicide.
Instead, approach early and establish a concealed position nearby.
Watch the other teams.
Let them fight.
This sounds cowardly until you remember the objective of DMZ.
You’re not there to win a deathmatch. You’re there to extract.
If two squads destroy each other while you’re hiding in a smart position, that’s not wasted gameplay. That’s free survival.
Wait for the right moment, move under cover, and board as late as safely possible.
Sometimes the best kill in an extraction shooter is the one you never had to take.
Extraction Mistakes That Keep Killing Players
| Mistake | Why It Fails | Better Approach |
|---|---|---|
| Running directly into green smoke | You’re exposed and predictable | Scout first and approach from cover |
| Calling Exfil with the entire squad together | One ambush can wipe everyone | Send one player to trigger it |
| Ignoring rooftops | High-ground players can control the landing zone | Always scan elevated positions |
| Fighting unnecessary AI | Gunfire attracts human players | Clear only immediate threats |
| Staying too long after securing loot | More time means more opportunities to die | Start planning extraction early |
| Chasing Wanted players near your Exfil | You’re walking into concentrated PvP | Use the chaos as a distraction |
Will Ghost Return in Call of Duty: Modern Warfare 4 (2026)? Leaks and Rumors Explained
The Best DMZ Habit: Plan Your Exit Before You Need It
The biggest change in mindset I recommend is simple:
Start thinking about extraction before your backpack is full.
If you wait until you’ve collected everything you want, you may already be too deep into Hajin, the weather may have deteriorated, and nearby squads may have started rotating toward the same Exfil.
Know your nearest alternatives.
Know where the high ground is.
Know which routes offer cover.
Know whether a Skyhook is available.
And most importantly, always have a backup plan.
If your primary Exfil suddenly becomes occupied by another squad, don’t stubbornly force the fight just because you already marked it on the map. Extraction shooters punish emotional decisions.
Call of Duty Modern Warfare 4 Campaign Story Explained (2026 Game)
Final Verdict: Survival Is the Real Progression
Modern Warfare 4 DMZ is at its best when every decision feels meaningful.
The tension doesn’t come solely from enemy players. It comes from knowing that the rare weapon component in your backpack, the upgraded armor, the valuable mission item, and everything else you’ve collected can disappear because of one bad decision.
That’s what makes Hajin so addictive.
A successful extraction isn’t just the end of a match. It’s the payoff for everything you did correctly during the deployment.
Scout your Exfil. Control the surrounding terrain. Use Skyhook when the situation favors it. Watch the Notoriety system. Don’t underestimate AI. Keep a recovery item. And when the opportunity to leave safely appears, take it.
You don’t get extra points for dying with a backpack full of loot.
You get progression for getting out alive.