Factory Town 2 Paradise Guide: How to Feed the Volcano & Best Production Layouts
Factory Town 2: Paradise completely changes the rhythm of automation compared to its predecessor. The peaceful town-building formula is still here, but everything now revolves around one massive objective: keeping an ancient volcano deity satisfied. That single mechanic transforms how you design production lines, expand your settlement, and even decide where every house, workshop, and conveyor should be placed.
After spending dozens of hours experimenting with layouts and comparing strategies shared by experienced players, one thing becomes obvious—the volcano isn’t just another resource sink. It’s the heart of your entire economy. Every decision eventually leads back to feeding it faster, smarter, and more consistently.
If you’re approaching Paradise like the original Factory Town, expect to hit progression walls surprisingly early. This sequel rewards organized logistics, localized infrastructure, and long-term planning far more than simply producing massive quantities of materials.
The Volcano Is Your Progression System
One of the smartest design choices in Factory Town 2: Paradise is replacing traditional progression with something that always feels meaningful.
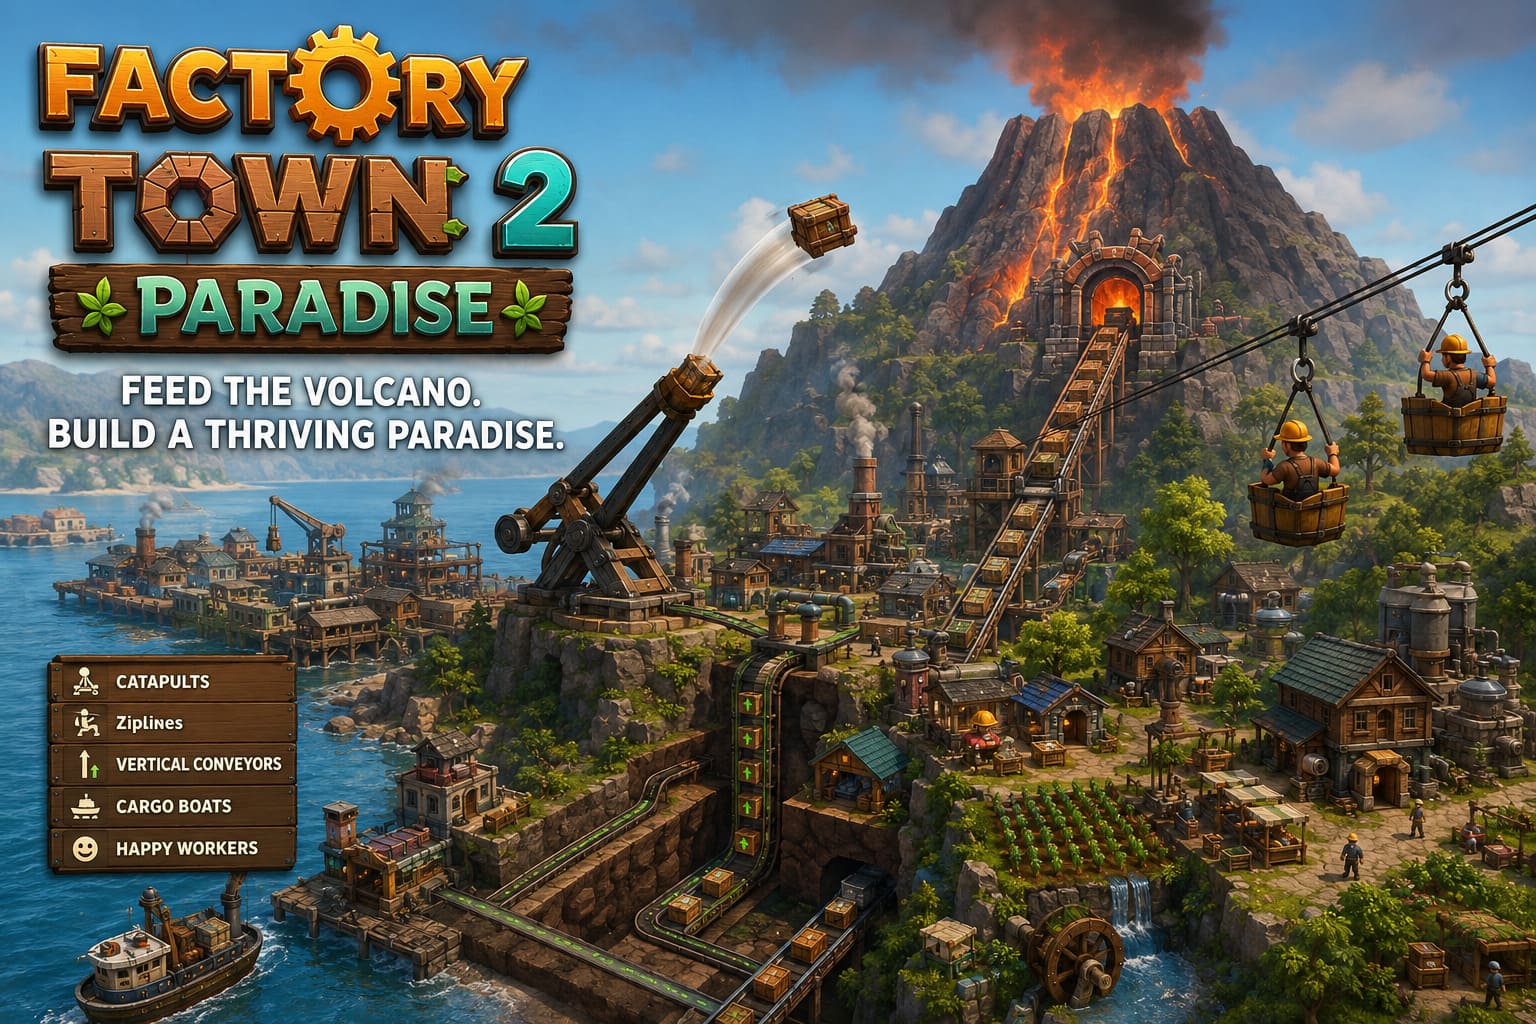
Instead of endlessly storing excess materials inside warehouses, nearly everything you manufacture has value because the volcano eagerly consumes it. Every shipment contributes Favor, gradually unlocking better technology, stronger production options, and eventually completely new islands.
The system constantly pushes your factory forward.
Rather than asking yourself:
“Where do I store these extra resources?”
You’re asking:
“How quickly can I get these resources into the crater?”
That subtle difference changes your priorities from the very beginning.
As your Favor Level rises, new milestones become available. One of the biggest upgrades is the ability to summon additional islands from the ocean. These aren’t cosmetic expansions—they introduce new climates, exclusive crops, rare ores, and production chains unavailable on your starting island.
Because of that, efficient volcano logistics directly determine how quickly your entire civilization grows.
Early Volcano Deliveries: Skip Expensive Roads
Many newcomers waste enormous amounts of resources trying to build roads leading all the way to the volcano.
Honestly, it’s rarely worth the effort during the opening phase.
The new transportation tools make climbing mountains almost unnecessary.
Build a Dedicated Launch Zone
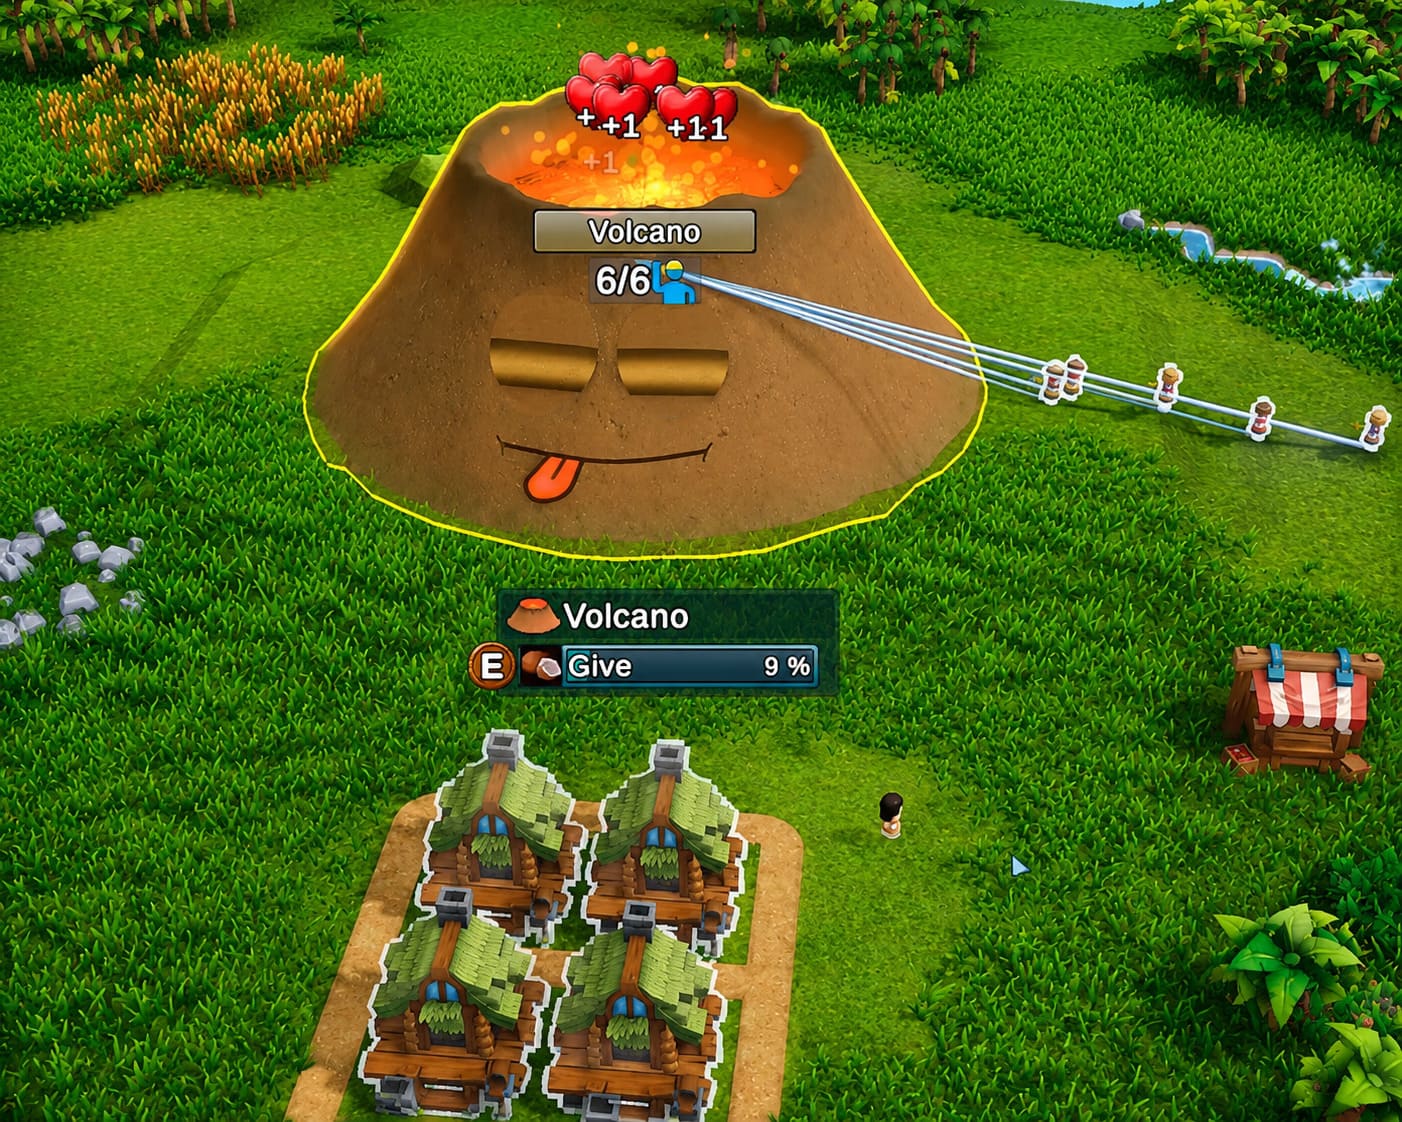
Instead of forcing workers uphill, establish a centralized shipping area near the volcano’s base.
Good early-game cargo includes:
- Bananas
- Stone
- Refined Planks
- Basic crafted materials
Using Catapults dramatically reduces travel time while freeing workers to remain inside productive areas.
Adding Ziplines for worker movement creates another noticeable improvement. Citizens spend far less time walking, allowing workshops to operate more consistently without constant interruptions.
It’s one of those mechanics that initially looks like a fun gimmick but quickly becomes part of every optimized settlement.
Transition to Automated Vertical Logistics
Catapults eventually reach their limits.
Once advanced recipes enter the production chain, item volume increases dramatically, making aerial transport less reliable.
This is where Paradise’s vertical building tools become incredibly satisfying.
Instead of wrapping conveyor belts around mountainsides, you can construct efficient transport shafts using:
- Vertical Conveyors
- Underground Belts
- Terrain Tunnels
- Hidden Transport Corridors
One feature I genuinely love is how underground logistics no longer become visual nightmares. Running belts beneath hills keeps factories clean while reducing congestion across your main production districts.
A dedicated transport shaft leading directly into the volcano often becomes one of the most valuable investments in mid-game progression.
Expand Beyond One Island
Late-game Paradise becomes less about manufacturing and more about logistics management.
Eventually, your volcano starts requesting materials unavailable on your original island.
That forces expansion.
Rather than manually transporting goods, create automated shipping routes between islands.
A strong cargo network usually follows this pattern:
| Production Stage | Recommended Transport |
|---|---|
| Resource Collection | Local Conveyors |
| Harbor Storage | Stockpile Buffers |
| Ocean Transport | Cargo Boats |
| Volcano Delivery | High-Speed Belts or Rail |
Keeping boats permanently assigned to fixed delivery schedules eliminates countless supply interruptions.
One overloaded harbor can bottleneck your entire economy, so treating docks like miniature distribution centers pays off enormously.
Workers Are No Longer Living Conveyor Belts
The original Factory Town allowed workers to function almost like moving inventory slots.
Paradise completely changes that philosophy.
Citizens now behave much more naturally.
Every worker has basic needs, including:
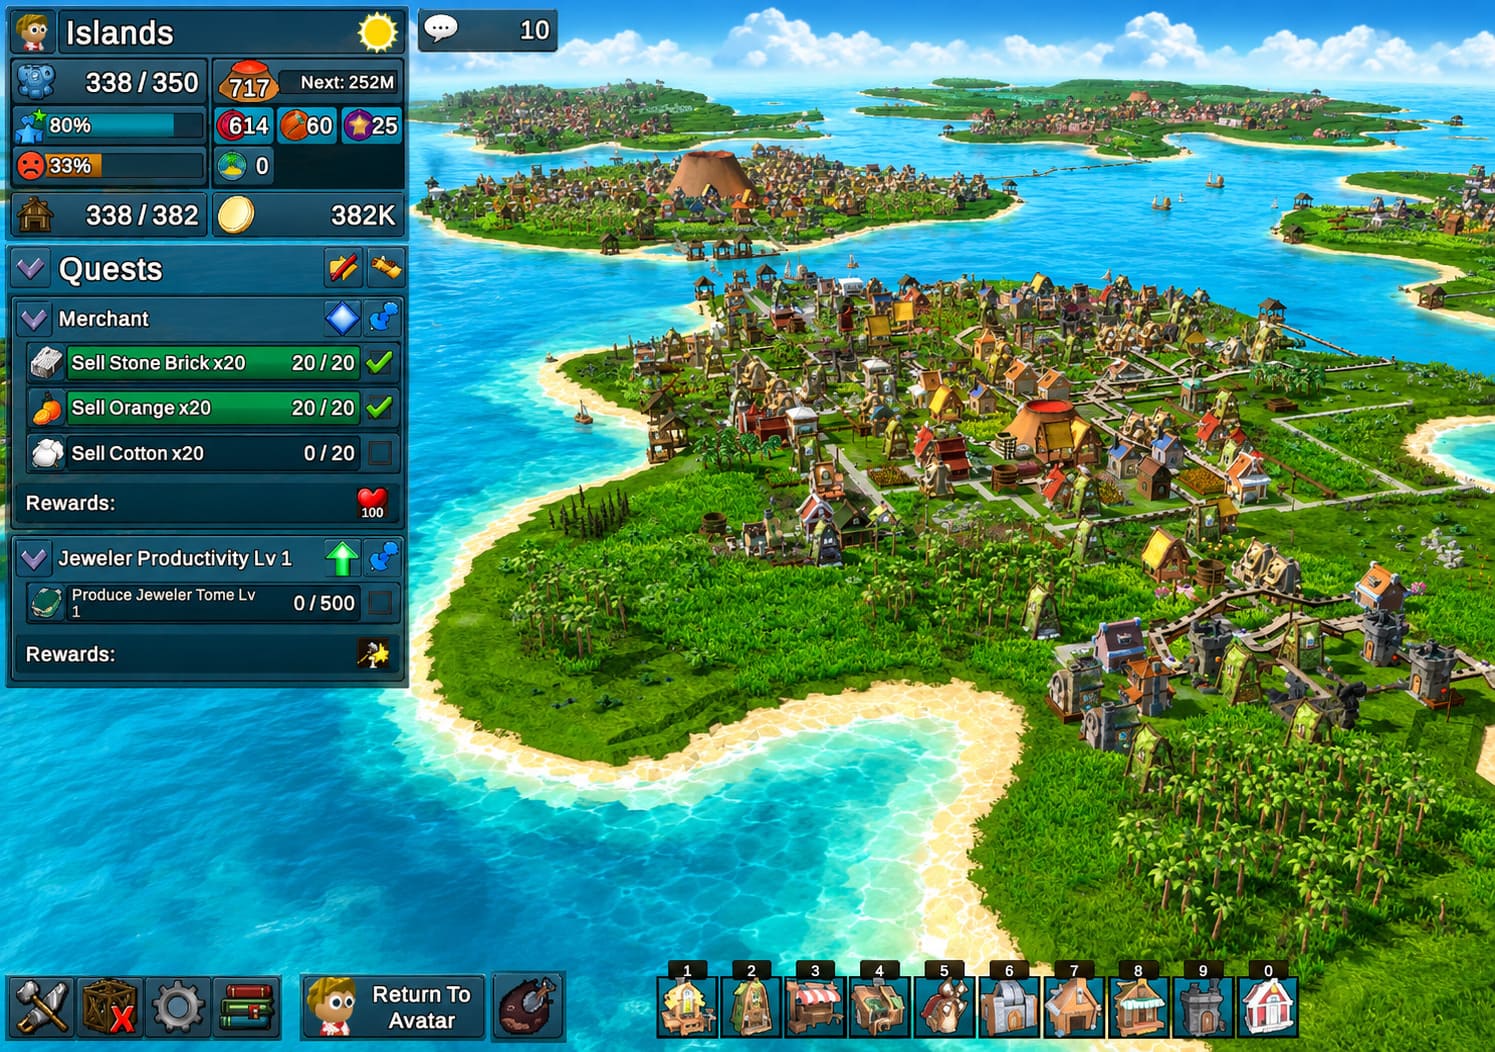
- Food
- Water
- Sleep
Ignoring these systems destroys productivity.
A lumberjack walking halfway across the island just to grab lunch isn’t chopping wood.
He’s wasting production time.
That simple behavioral upgrade means city planning suddenly matters far more than before.
Instead of gigantic industrial districts stretching across the island, smaller self-contained neighborhoods perform significantly better.
Each production hub should include nearby:
- Houses
- Food Markets
- Water Supplies
- Storage
- Workshops
Keeping travel distances short has a surprisingly massive effect on long-term efficiency.
Always Equip Your Workforce
One mistake I see repeatedly is players forgetting to distribute tools.
Workers technically function without equipment.
They simply work much slower.
Basic tools dramatically improve gathering speed, farming efficiency, mining output, and workshop productivity.
The resource investment looks expensive during the early game, but the payoff snowballs quickly.
Whenever new equipment becomes available, prioritize worker upgrades before expanding production elsewhere.
The increased output usually funds every future construction project.
My Favorite Modular Factory Layout
After testing several city designs, modular construction consistently produces the smoothest gameplay.
Rather than creating one enormous industrial complex, divide your settlement into specialized districts.
Agricultural Module
This area should always sit close to natural water.
Benefits include:
- Faster Irrigation
- Easy Crop Expansion
- Natural Water Wheel Placement
- Short Worker Travel Paths
Building homes directly beside farms prevents harvest delays while keeping food production stable.
Industrial Processing District
Separate raw production from manufacturing.
Typical chain:
Raw Resources → Processing Workshops → Intermediate Goods → Central Storage
Keeping processors together minimizes conveyor complexity while making future upgrades much easier.
Whenever additional recipes unlock, expanding one organized industrial block feels much cleaner than rebuilding your entire city.
Power Generation Zone
Electricity becomes increasingly important as automation scales upward.
A dedicated power district should contain:
- Water Wheels
- Steam Engines
- Generators
- Power Transmission Lines
Locating everything around rivers or waterfalls dramatically reduces infrastructure costs while simplifying maintenance.
Power lines can then spread toward nearby industrial districts without creating unnecessary overlap.
Central Distribution Hub
This might be the single most valuable structure in an optimized settlement.
Instead of sending products directly everywhere, funnel finished goods into one centralized storage network.
From there, automated splitters can intelligently distribute inventory.
A balanced approach works extremely well:
| Destination | Suggested Output |
|---|---|
| Local Markets | 50% |
| Volcano Delivery | 50% |
Markets keep citizens productive.
The volcano keeps your technology advancing.
Starving either one eventually slows your economy.
Respect Water Physics
Paradise introduces one feature that caught many veterans off guard.
Water actually behaves like water.
Divert too much into pipes, and rivers downstream lose flow.
That creates unexpected problems.
- Water Wheels stop spinning.
- Power production drops.
- Factories lose electricity.
- Entire production chains stall.
Whenever modifying rivers, always check downstream infrastructure before redirecting large amounts of water.
It’s surprisingly easy to accidentally sabotage your own factory.
Choosing New Islands Carefully
Unlocking additional islands feels exciting.
Random generation makes every expansion different.
The temptation is to immediately grab whatever looks interesting.
I’d recommend slowing down.
Instead, examine your volcano’s current requests first.
Ask yourself:
- Which crops am I missing?
- Which ores limit production?
- Which recipes generate the highest Favor?
Choosing islands that directly solve production shortages creates much faster progression than selecting locations purely because they look appealing.
Long-term planning always beats short-term curiosity here.
Factory Town 2: Paradise Gameplay Walkthrough and Automation Guide (PC 2026)
Advanced Tips That Make a Huge Difference
- Keep logistics layered. Underground belts reduce traffic while keeping surface space available for future buildings.
- Avoid oversized production lines. Several compact factories generally outperform one giant manufacturing block because workers travel shorter distances.
- Never allow storage to overflow. Every full warehouse represents materials that could already be earning Volcano Favor.
- Upgrade transport before adding factories. Faster logistics usually increase production more than simply constructing another workshop.
- Monitor bottlenecks regularly. A single missing intermediate resource can silently slow half your city without immediately standing out.
Final Thoughts
Factory Town 2: Paradise isn’t simply a bigger version of the original game—it feels like a smarter one. Every mechanic, from worker routines to water physics and inter-island shipping, feeds into a deeply satisfying automation loop where efficient planning is constantly rewarded.
The volcano deity isn’t just a quirky centerpiece; it’s the engine that drives your entire campaign. Once you stop treating it as a destination and start designing your settlement around keeping it constantly supplied, the whole game clicks into place. Well-organized worker hubs, compact production districts, layered logistics with conveyors and underground routes, and automated cargo shipping all combine into a factory that grows almost organically.
For me, that’s what makes Paradise so addictive. You’re never simply producing items—you’re building a living tropical industrial ecosystem where every conveyor, every worker, and every shipment has a purpose. Keep your layouts modular, invest in your workforce early, respect the island’s natural terrain, and your volcano will reward you with the steady progression needed to transform a quiet paradise into one of the most efficient automation empires imaginable.