Bodycam 4K Graphics Settings Guide For Max Photorealism (2026)
Bodycam has become one of those rare games that makes people stop scrolling because they genuinely think they’re watching real footage. I’ve streamed plenty of Unreal Engine 5 games over the last couple of years, but this one still gets the same reaction in chat: “Wait… is this gameplay?”
The funny part is that many players crank every option to Epic and expect magic. That’s not how Bodycam works. The game’s visual style is built around imperfections. The slight softness, lens warping, noisy shadows, and natural camera blur are exactly what sell the illusion.
After dozens of hours testing different settings while streaming in native 4K, I ended up with a configuration that looks noticeably better than the default Ultra preset. It keeps the cinematic bodycam identity while avoiding the overly sharpened “video game” look.
This guide is based on what I actually use when I want Bodycam to look as realistic as possible.
Why Bodycam Looks Different From Every Other Shooter
Most shooters chase perfect clarity. Bodycam goes in the opposite direction.
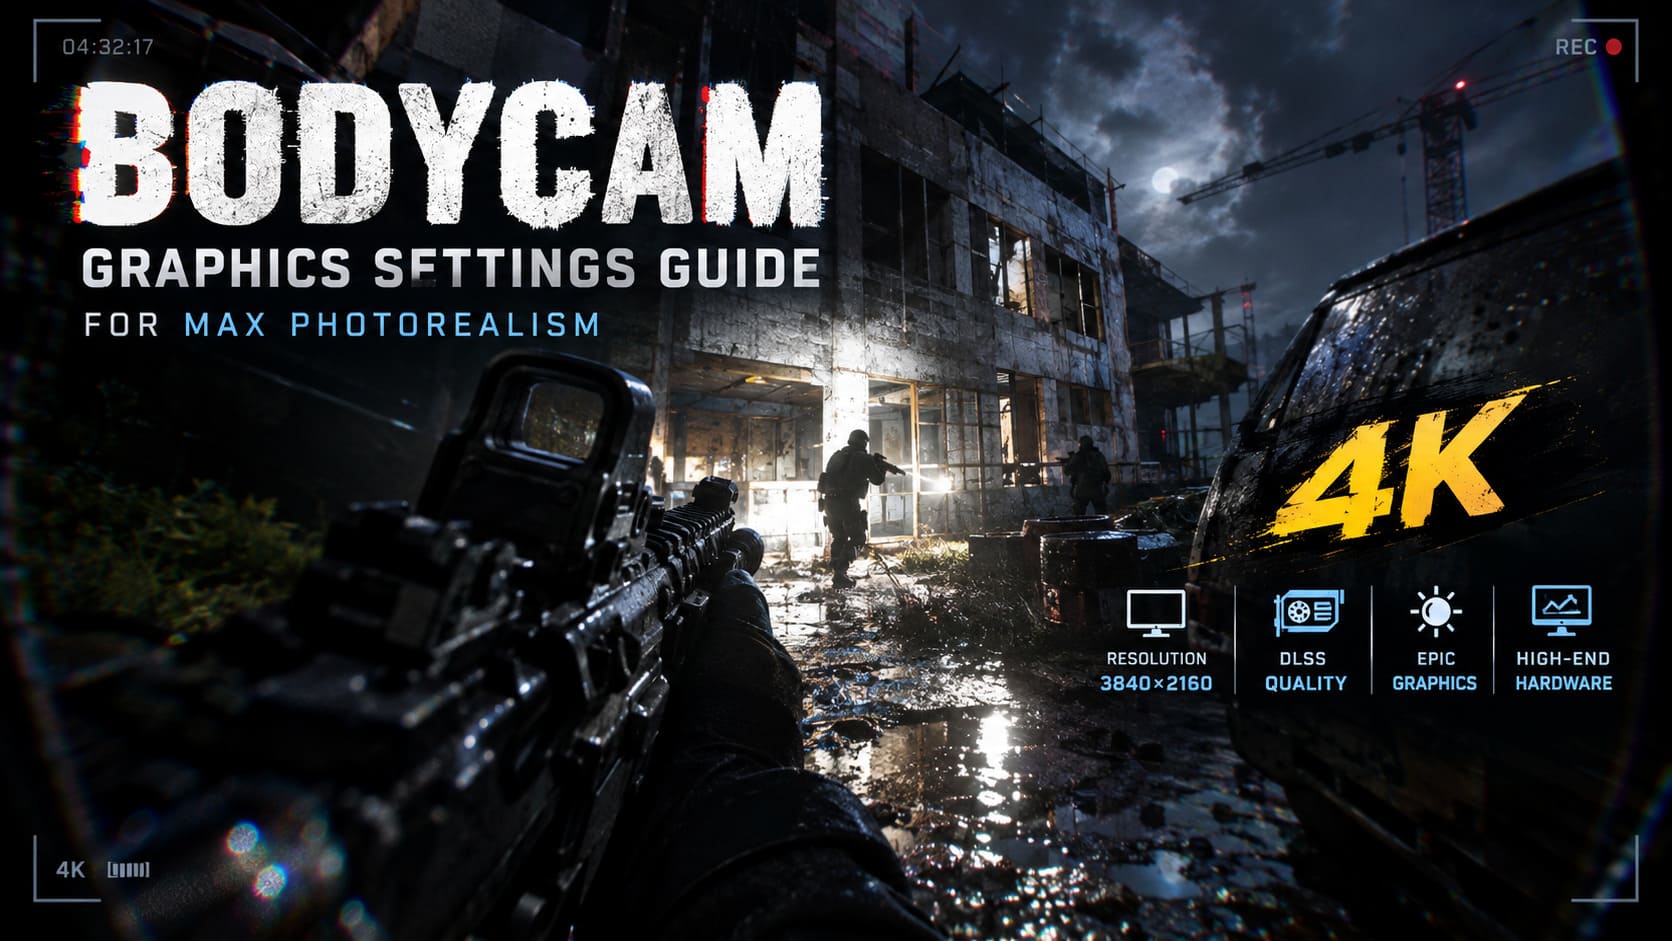
Instead of pretending your monitor is a perfect window into a 3D world, Unreal Engine 5 simulates an inexpensive tactical body camera attached to someone’s chest. That changes everything.
The visual style depends on several layers working together.
- Lumen creates realistic indirect lighting.
- Wide-angle lens distortion bends the edges of the image.
- Slight chromatic aberration adds color separation on bright edges.
- Controlled motion blur mimics a real camera shutter.
- Minimal film grain adds digital sensor noise.
None of these effects look impressive individually. Together they create something surprisingly convincing.
When I’m streaming night maps, viewers constantly comment on flashlight reflections and smoke lighting because they behave much closer to real footage than typical FPS games.
The Hardware I Recommend for True 4K Quality
Bodycam is demanding. Unreal Engine 5 loves GPU power and fast storage.
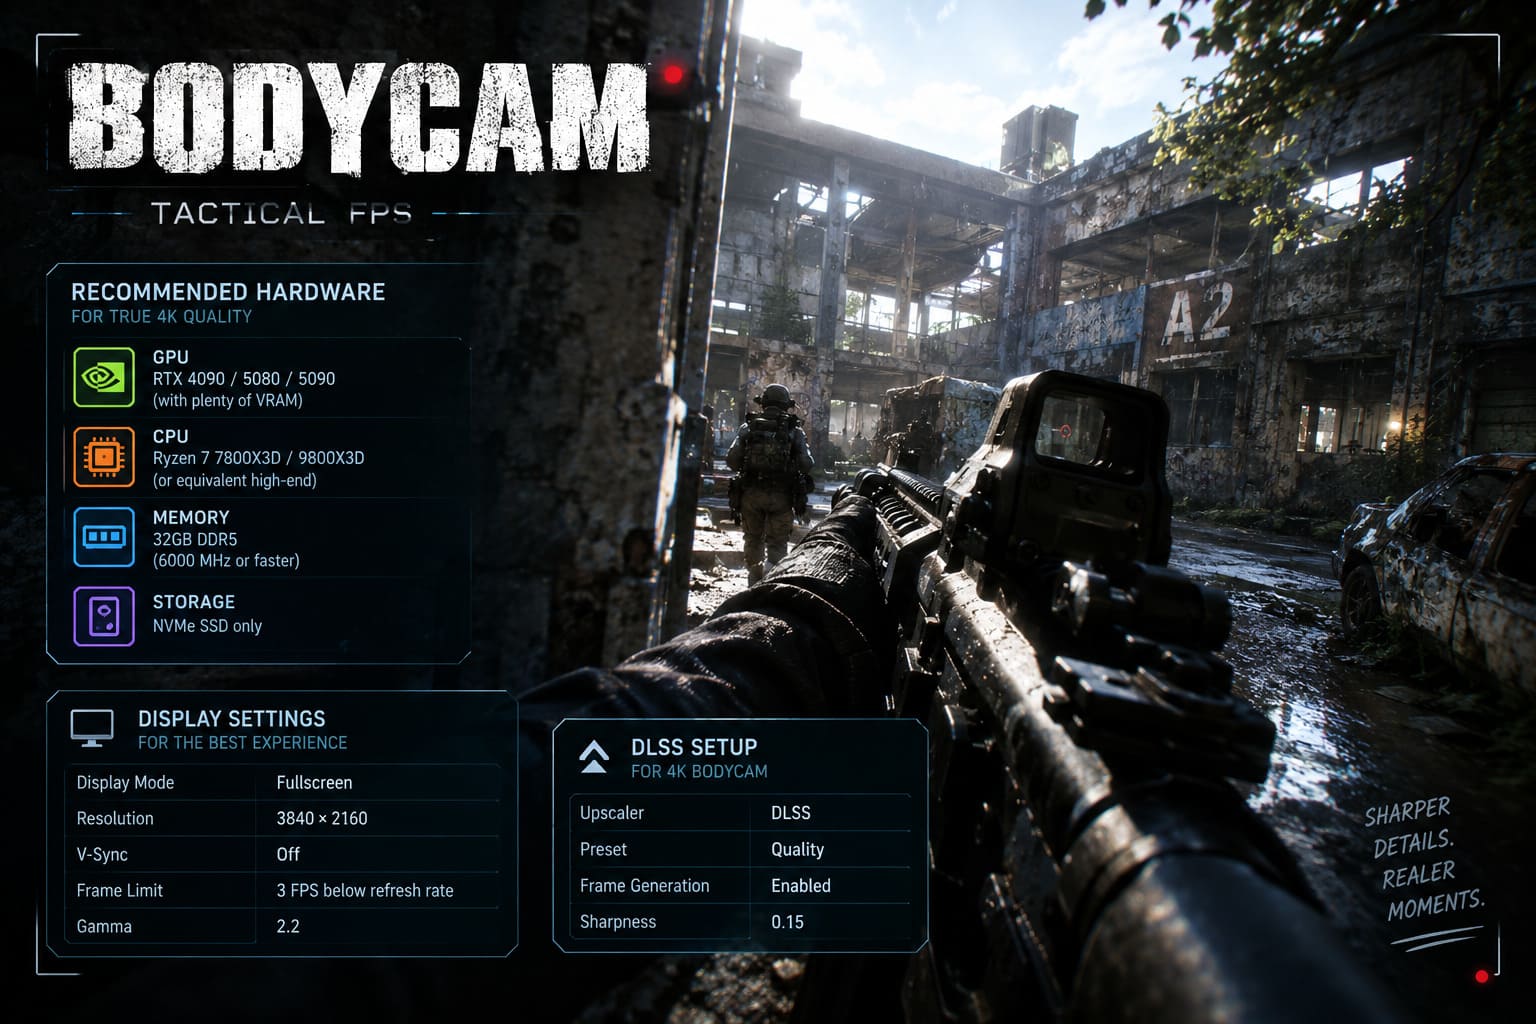
| Component | Recommendation |
|---|---|
| GPU | RTX 4090, RTX 5080, or RTX 5090 with plenty of VRAM. |
| CPU | Ryzen 7 7800X3D, Ryzen 7 9800X3D, or an equivalent high-end gaming CPU. |
| Memory | 32GB DDR5 (6000 MHz or faster). |
| Storage | NVMe SSD only. |
Running Bodycam from a hard drive immediately ruins immersion because textures and geometry stream in late. Even SATA SSDs can introduce noticeable hitching during large firefights.
Start With These Display Settings
Before touching graphics sliders, fix the display setup.
| Setting | Best Choice |
|---|---|
| Display Mode | Fullscreen |
| Resolution | 3840×2160 |
| V-Sync | Off |
| Frame Limit | 3 FPS below monitor refresh rate. |
| Gamma | 2.2 |
I keep my frame cap at 141 FPS on a 144Hz display. That keeps G-Sync active without adding V-Sync latency.
Gamma matters more than people think. Raising it too much makes abandoned buildings lose their contrast, while lowering it crushes shadow detail and hides enemies in places that should still be visible.
DLSS Is the Best Choice for 4K Bodycam
I’ve compared native rendering, TSR, DLSS, FSR, and XeSS.
DLSS consistently produces the cleanest image in Bodycam.
My Upscaling Setup
| Option | Recommended |
|---|---|
| Upscaler | DLSS |
| Preset | Quality |
| Frame Generation | Enabled |
| Sharpness | 0.15 |
A lot of players max sharpening because they want “crisp 4K.”
I actually think that’s a mistake.
Real bodycams aren’t razor sharp. DLSS Quality with very low sharpening keeps small details like concrete cracks, cables, and foliage visible without creating bright halos around objects.
Frame Generation is also worth enabling if you’re using an RTX 40 or RTX 50 GPU. Bodycam isn’t a twitch arena shooter, so the smoother camera movement is much more valuable than chasing the lowest possible latency.
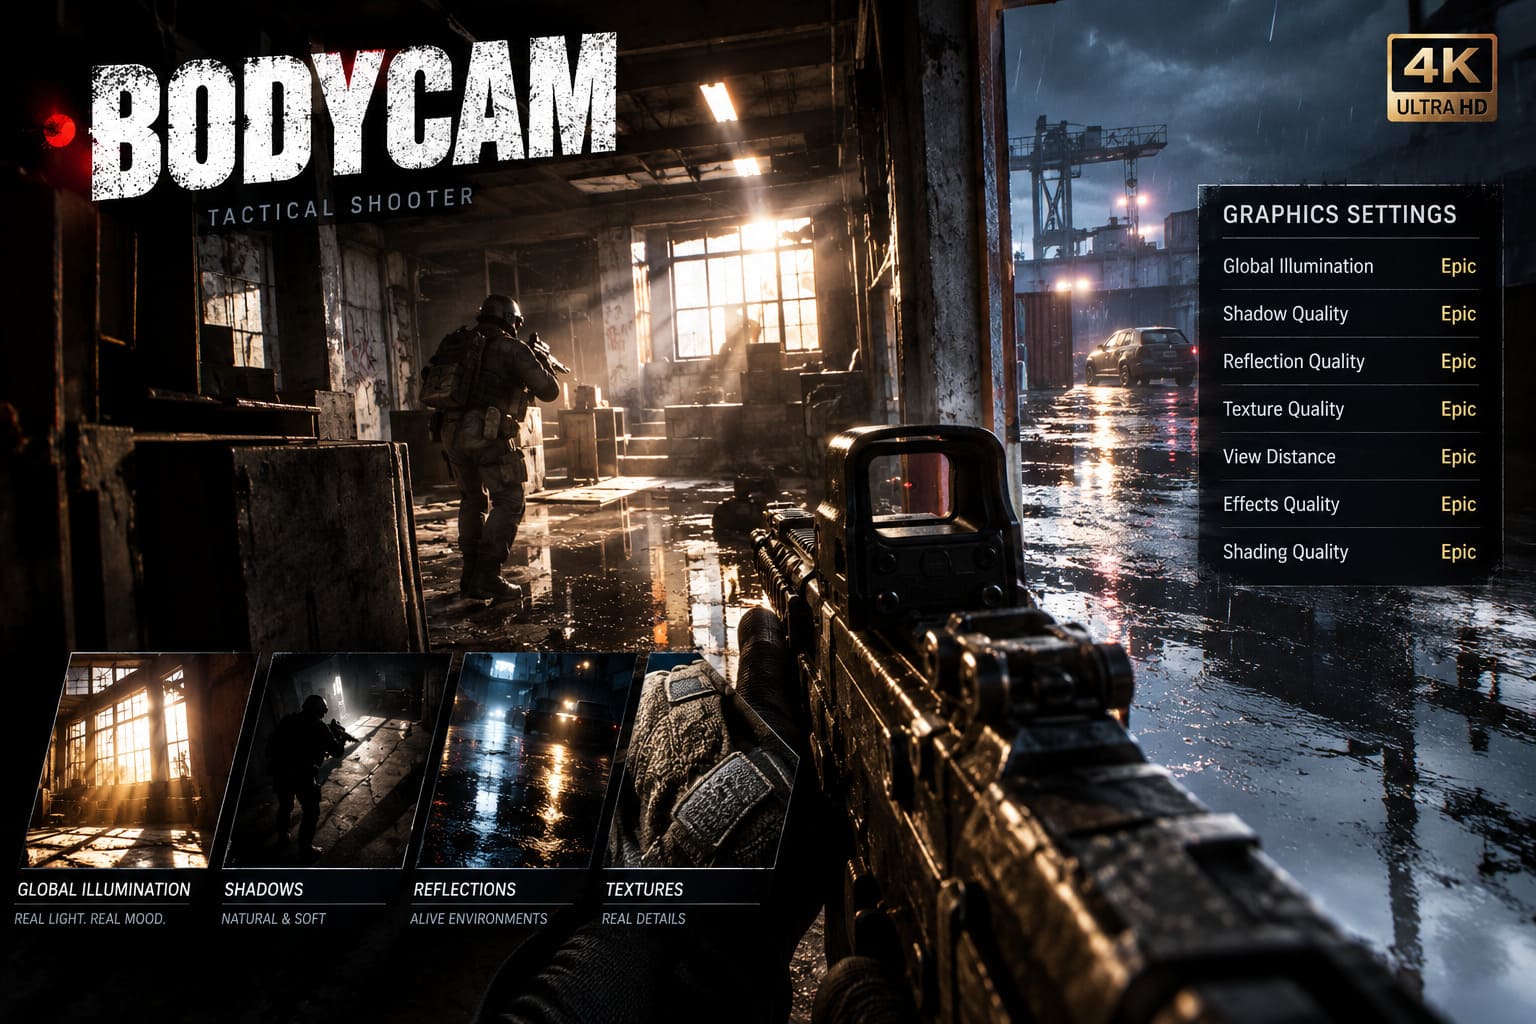
My Favorite Graphics Settings for Pure Photorealism
These are the settings I settled on after testing nearly every map.
| Graphics Option | Streamer Preset |
|---|---|
| Global Illumination | Epic |
| Shadow Quality | Epic |
| Reflection Quality | Epic |
| Texture Quality | Epic |
| View Distance | Epic |
| Effects Quality | Epic |
| Shading Quality | Epic |
Global Illumination Changes the Entire Mood
If I could keep only one Epic setting, it would be Global Illumination.
Lumen bounce lighting completely transforms interiors.
Flashlights illuminate walls naturally, sunlight spills through broken windows, and colored surfaces reflect onto nearby objects. Without Epic GI, rooms suddenly look flat and artificially lit.
During streams, this is usually the first difference viewers notice.
Shadows Need Maximum Quality
Bodycam depends on realistic shadow transitions.
Epic shadows add soft penumbras instead of hard outlines, and contact shadows keep weapons, debris, and players grounded in the environment.
Lower settings create that familiar floating-object effect that instantly reminds you it’s a game.
Reflections Make Wet Maps Look Incredible
Rain maps are where Epic reflections really shine.
Puddles mirror nearby lights, windows reflect movement, and polished floors respond dynamically to explosions and flashlights.
It’s one of the biggest reasons industrial environments feel so convincing.
Texture Quality Is Worth the VRAM
If your GPU has 16GB or more VRAM, keep textures on Epic.
At native 4K the difference is obvious.
You’ll notice:
- Fabric stitching on tactical gear.
- Rust layers on metal.
- Concrete imperfections.
- Dirt buildup on walls.
- Detailed weapon materials.
High textures still look good, but Epic textures remove that slightly blurry look when inspecting objects closely.
Don’t Ignore View Distance
Some graphics options barely matter.
View Distance isn’t one of them.
Epic View Distance prevents buildings, vegetation, poles, vehicles, and environmental clutter from popping into existence.
Large outdoor maps feel much more believable because the horizon stays stable while moving quickly.
The Post-Processing Settings That Sell the Camera Effect
Here’s where Bodycam becomes Bodycam.
| Post Effect | Best Setting |
|---|---|
| Lens Distortion | High |
| Chromatic Aberration | Enabled |
| Vignette | Enabled |
| Film Grain | 0.10 |
| Motion Blur | 0.40 |
| Bloom | Enabled |
Lens Distortion Stays On
Normally I disable lens distortion immediately in games.
Not here.
Bodycam is built around an ultra-wide tactical camera.
The slight fisheye effect expands peripheral vision and makes movement feel more authentic, especially indoors.
Turning it off actually makes the game look less realistic.
Chromatic Aberration Finally Makes Sense
Most PC gamers hate chromatic aberration.
I’m usually one of them.
But Bodycam uses it subtly. Tiny red and blue fringes appear only around bright edges, which looks surprisingly similar to footage from lower-cost action cameras.
Keep it enabled.
Vignette Helps Focus Your Eyes
The darker corners recreate light falloff from a real lens.
It’s subtle enough that you stop noticing it after a few minutes, but disabling it makes the image feel strangely flat.
Motion Blur at Medium Is Better Than Off
This might be my most unpopular opinion.
Motion blur in Bodycam actually improves realism.
Real cameras blur movement because of shutter speed. Medium blur smooths quick turns without creating the smeared mess you see in older shooters.
I’d avoid maximum blur, but around 0.35–0.45 feels natural.
Film Grain Should Stay Tiny
Bodycam isn’t VHS footage.
A value around 0.10 adds sensor noise in dark rooms without destroying 4K image quality.
Anything higher becomes distracting during movement.
Small Tweaks I Always Make Before Streaming
I also change a few things outside the graphics menu.
NVIDIA Control Panel
- G-Sync enabled.
- Low Latency Mode enabled.
- Texture Filtering on Quality.
- Maximum Performance power mode.
Windows
- Hardware Accelerated GPU Scheduling enabled.
- Game Mode enabled.
- Latest GPU driver installed.
These tweaks don’t magically increase FPS, but they reduce inconsistent frame pacing during long sessions.
Should You Use ReShade?
I do — but lightly.
Heavy ReShade presets often make Bodycam look fake by oversaturating colors or crushing shadows.
Instead, I only use three subtle adjustments.
| Effect | Why I Like It |
|---|---|
| Tonemapping | Slightly reduces oversaturated colors. |
| LumaSharpen | Adds a tiny amount of texture clarity after DLSS. |
| LiftGammaGain | Makes dark maps feel closer to real tactical footage. |
The key word is subtle.
If someone notices your ReShade immediately, it’s probably too strong.
Performance Expectations at Native 4K
Here’s roughly what I experienced on high-end hardware.
| Hardware Class | Expected FPS (4K) |
|---|---|
| RTX 5090 + Frame Generation | 120–170 FPS |
| RTX 5080 + DLSS Quality | 100–140 FPS |
| RTX 4090 + DLSS Quality | 95–135 FPS |
| RTX 4080 Super + DLSS Quality | 75–110 FPS |
Heavy smoke, explosions, and multiple flashlights can temporarily reduce performance because Lumen has significantly more lighting calculations to process.
The Biggest Mistakes Players Make
I’ve seen these settings recommended everywhere, and I disagree with most of them.
Oversharpening the Image
High sharpening makes fences shimmer, creates white outlines around objects, and removes the soft camera feel.
Disabling Every Camera Effect
Turning off motion blur, vignette, distortion, and chromatic aberration makes Bodycam look like a standard Unreal Engine shooter.
You lose the game’s visual identity.
Lowering Global Illumination First
If performance becomes an issue, I’d reduce Effects before touching Global Illumination.
Epic GI contributes more to realism than almost any other option.
Bodycam System Requirements: 2026 PC Specs and Optimization Guide
My Final 4K Streamer Preset
If someone asked me for one configuration to install and never touch again, this would be it.
| Setting | Final Recommendation |
|---|---|
| Display Mode | Fullscreen |
| Resolution | 3840×2160 |
| DLSS | Quality |
| Frame Generation | On |
| Sharpness | 0.15 |
| Global Illumination | Epic |
| Shadows | Epic |
| Reflections | Epic |
| Textures | Epic |
| View Distance | Epic |
| Effects | Epic |
| Shading | Epic |
| Lens Distortion | High |
| Chromatic Aberration | Enabled |
| Vignette | Enabled |
| Film Grain | 0.10 |
| Motion Blur | 0.40 |
| Bloom | Enabled |
| Gamma | 2.2 |
Why This Is Still My Favorite Way To Play Bodycam
I’ve tested countless graphics presets over the last year, and I always end up coming back to this one because it feels closest to the vision Reissad Studio was clearly aiming for. Bodycam isn’t trying to be the cleanest-looking tactical shooter on PC. It’s trying to convince you that you’re watching raw footage from a chest-mounted camera in the middle of a real operation.
Keeping Epic lighting, reflections, and textures while resisting the temptation to oversharpen the image creates a much more believable presentation. The soft lens characteristics, realistic bounce lighting, subtle sensor noise, and natural motion blur all work together instead of fighting each other.
If your PC is powerful enough to handle native 4K with DLSS Quality and Frame Generation enabled, this setup delivers the best mix of photorealism, smooth performance, and cinematic immersion I’ve found in Bodycam throughout 2026. Every map feels more atmospheric, every firefight looks more authentic, and the game finally captures the unsettling realism that made it stand out from nearly every other Unreal Engine 5 shooter I’ve streamed this year.