Best Aliens: Fireteam Elite 2 Squad Compositions: Meta 4-Player Team Guides
Aliens: Fireteam Elite 2 changes the squad game in a way that becomes obvious the moment four Marines are standing together and the first serious Xenomorph swarm hits. The original three-player structure demanded good positioning and class awareness, but AFE2 gives teams another player, more enemies to deal with, and far more opportunities for a run to go completely sideways.
That fourth Marine is not simply “one more gun.” It changes how a squad controls space, manages cooldowns, handles elite enemies, and protects its weakest flank. On higher difficulties, especially in Annihilation and Horde modes, random class combinations stop being funny and start becoming a fast track to a wipe.
After spending a lot of time looking at how these kinds of co-op shooters actually work at high difficulty, I would approach AFE2 team building with one simple rule: every player should solve a different problem.
You need someone who can delete crowds. Someone has to control the battlefield. Somebody needs to shut down dangerous elites. And, unless your squad enjoys watching a perfectly good run collapse because nobody brought sustain, you need a reliable Medic.
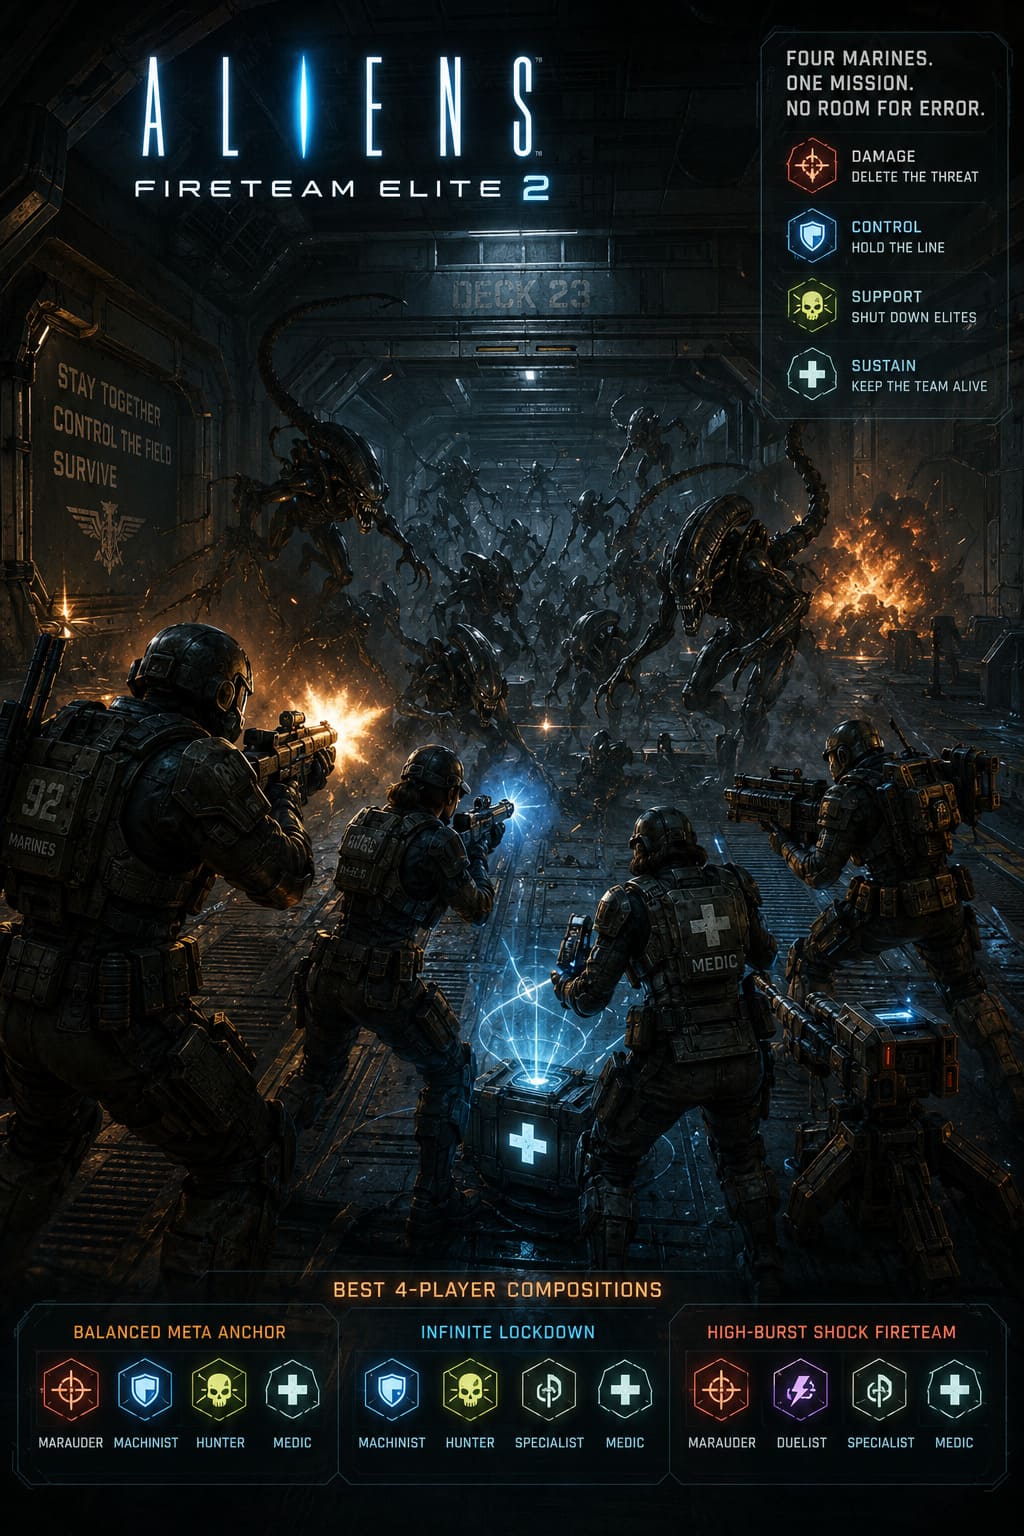
Here are the best AFE2 four-player squad compositions, including the balanced setup I would recommend to most groups, a brutal lockdown team for Horde, and an aggressive damage-focused lineup for synthetic-heavy missions and speed-oriented runs.
Understanding the Six AFE2 Classes
Before copying a meta squad, it helps to understand why each class exists in the first place. The six roles cover very different combat jobs, and their value becomes much clearer when enemies start arriving from multiple directions.
| Class | Primary Role | Biggest Strength |
|---|---|---|
| Marauder | Heavy DPS / Crowd Clearing | Explosive damage and swarm control |
| Machinist | Area Denial / Defense | Turrets and sustained crossfire |
| Hunter | Crowd Control / HVT | Slows, debuffs and weak-point setups |
| Duelist | Mobile DPS | Close-range pressure and mobility |
| Medic | Sustain / Support | Healing and team-wide combat buffs |
| Specialist | Hybrid Utility | Customizable modules and flexible builds |
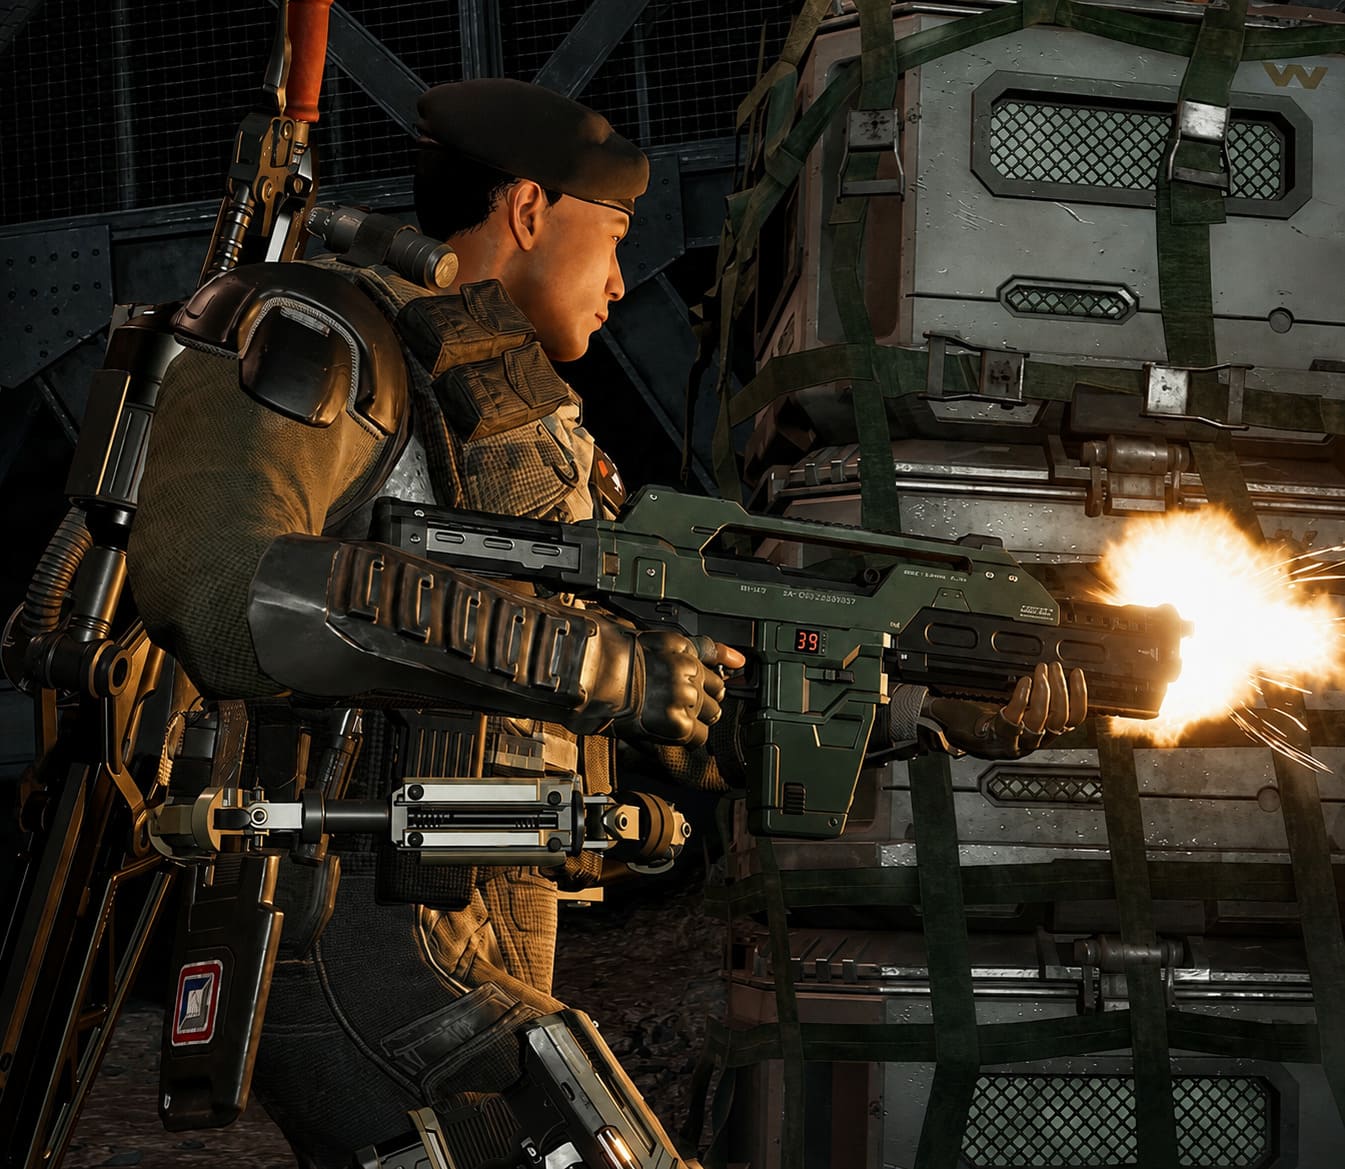
Marauder
The Marauder is the squad’s heavy artillery. This is the Marine you want when the screen starts filling with enemies and somebody needs to make the problem disappear immediately.
Blast cannons, Titan rockets, Rampage and reactive charges give the class excellent burst potential. Marauder is particularly valuable when the team needs to create breathing room during a swarm.
Machinist
The Machinist is basically a portable defensive position.
The Sentry Turret can lock down a lane while the Bodyguard Turret provides mobile support around the team. That makes the Machinist incredibly useful when enemies attack from multiple angles.
The class is not about flashy kill numbers. Its real strength is making the battlefield more predictable.
Hunter
Hunter is where crowd control and elite-target management come together.
Tools such as Particle Pulse and Stasis Bolt can slow dangerous enemies, while No Mercy improves the team’s ability to punish vulnerable targets. Against elite Xenomorphs, that setup can be the difference between a clean kill and a broken defensive line.
Duelist
The Duelist is the aggressive option.
This class works best for players who hate sitting behind a turret and waiting for enemies to arrive. The Duelist can move quickly, attack from better angles and exploit openings created by crowd-control abilities.
The Shrapnel Grenade is especially useful for breaking up groups before pushing into close-range combat.
Medic
If the Marauder is your hammer, the Medic is the reason the hammer gets to keep swinging.
The Trauma Station gives the squad a dependable healing zone, while Combat Stims provide important buffs and cooldown support. A strong Medic does more than heal damaged teammates. They manage the squad’s ability economy.
Specialist
Specialist is the class that can make experienced squads look completely different from one mission to another.
Its customizable module grid allows you to compensate for weaknesses elsewhere in the lineup. Need additional crowd control? Build for it. Missing damage? Change the grid. Want scanning and tactical information? The Specialist can cover that role too.
That flexibility makes Specialist particularly powerful in coordinated groups.
Best AFE2 Squad Composition #1: Balanced Meta Anchor
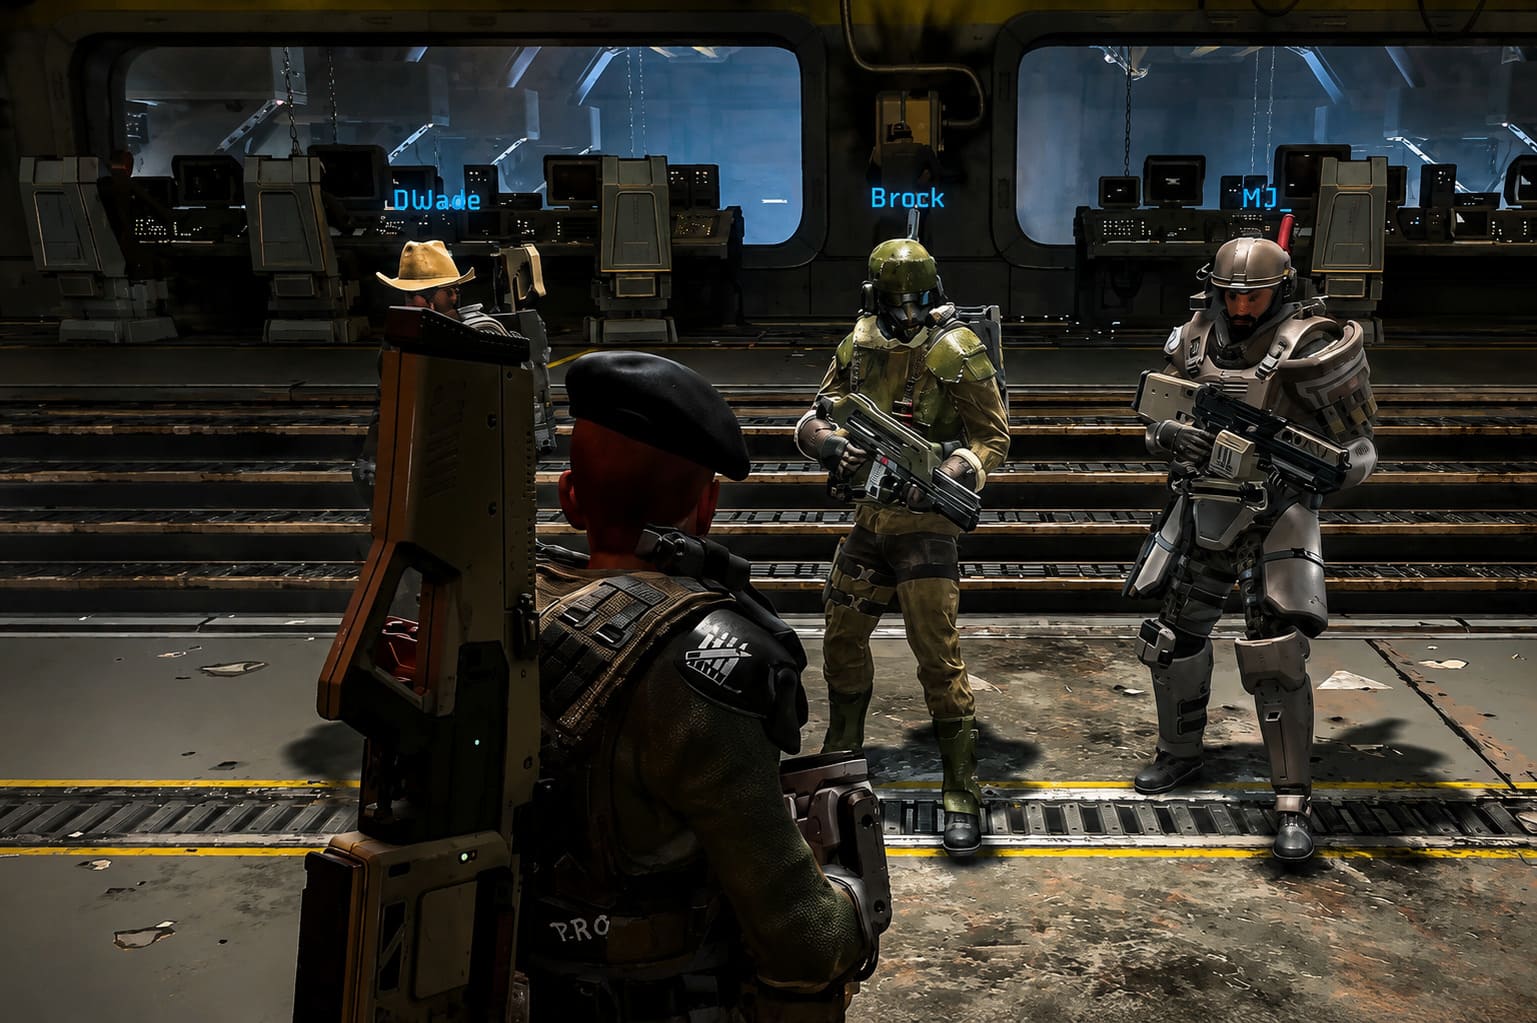
Marauder + Machinist + Hunter + Medic
If I had to recommend one composition to a group that wants to clear high-difficulty campaign missions without constantly rebuilding its team, this would be it.
It covers nearly everything you can reasonably expect to encounter: crowd clearing, area control, elite suppression, burst damage and healing.
The Machinist establishes the defensive structure. Put the Sentry Turret on one vulnerable side of the formation and use the Bodyguard Turret to help cover the rear. That means your squad doesn’t have to personally babysit every corridor.
The Hunter then becomes the team’s elite-control specialist.
When something nasty like a Warden or Crusher appears, the Hunter can use Stasis Bolt or Particle Pulse to slow the target. This gives everyone a much cleaner opportunity to focus fire.
And this is where the Marauder earns the paycheck.
Once the target is controlled, activate Rampage and unload the heavy weapons into its weak point. Titan Rockets become far more valuable when you’re not trying to hit a sprinting elite while six smaller Xenomorphs are chewing on your ankles.
The Medic holds the whole structure together.
Set the Trauma Station at the team’s intended defensive position rather than dropping it randomly whenever somebody loses a chunk of health. Combat Stims should be timed around major engagements so the squad can maintain its ability rotation.
Why This Composition Works
- Marauder: Deletes swarms and heavily damaged elites.
- Machinist: Controls lanes and protects the team’s blind spots.
- Hunter: Slows priority targets and improves focus-fire opportunities.
- Medic: Keeps the squad alive and supports ability uptime.
This is the lineup I would choose when I don’t know exactly what a mission is going to throw at me.
It isn’t the most specialized squad possible. That’s exactly why I like it.
Best AFE2 Squad Composition #2: Infinite Lockdown
Machinist + Hunter + Specialist + Medic
If the Balanced Meta Anchor is the reliable campaign setup, this is the lineup I would look at for Horde and Annihilation.
The entire philosophy is simple: make the enemy’s advance miserable.
Horde encounters can punish squads that depend on endlessly firing down one corridor. Ammunition becomes a real concern, and enemies eventually find ways around static defensive positions.
The Machinist and Hunter work together to solve that problem.
Turrets maintain constant pressure while the Hunter uses Particle Pulse and other control tools to slow incoming waves. Instead of allowing a huge group to arrive at full speed, the team turns the battlefield into a series of controlled kill zones.
That creates a much better environment for the Specialist.
Building the Specialist for Lockdown
For this composition, I would build the Specialist around Assault and Tactical Scanning modules.
Scanning provides valuable information about incoming threats and can help identify enemies approaching from less obvious directions. This becomes particularly important against disruptive enemies such as the Siren.
The Specialist can also use modules focused on weapon handling and reload efficiency.
That sounds less exciting than adding another massive damage ability, but ammunition efficiency matters in long survival encounters. Better handling and accuracy mean fewer wasted shots, fewer reload problems and more consistent damage throughout the wave.
The Medic has a slightly different job here too.
Instead of thinking of Combat Stims as an emergency button, use them as part of the squad’s regular rotation. Cooldown-focused support allows the Hunter to return to Stasis Bolt and other control abilities more frequently.
The result is a nasty feedback loop:
Slow the wave → concentrate fire → eliminate priority targets → recover cooldowns → slow the next wave.
When everything lines up, the Xenomorphs barely get a chance to reach the defensive line.
Why This Composition Works
- Machinist: Creates constant automated pressure.
- Hunter: Controls enemy movement.
- Specialist: Adds scanning, utility and ammunition efficiency.
- Medic: Keeps cooldowns and survivability under control.
For Horde, I would take this over a four-player damage stack every single time.
Raw DPS looks great on a scoreboard. Battlefield control keeps you alive when the scoreboard doesn’t matter anymore.
Best AFE2 Squad Composition #3: High-Burst Shock Fireteam
Marauder + Duelist + Specialist + Medic
Now we get to the fun stuff.
This is the aggressive lineup for squads that don’t want to slowly establish a defensive position. It is particularly useful when dealing with Weyland-Yutani synthetic enemies, heavily armored targets and encounters where fast target deletion is more valuable than prolonged area control.
The Duelist is the spearhead.
Use its mobility to get into favorable positions and disrupt enemy formations. Against groups of synths or runners, a well-placed Shrapnel Grenade can create the opening the rest of the team needs.
The Specialist follows by focusing on DPS and debuff stacking.
The exact module configuration can change depending on the mission, but the basic idea remains the same: weaken important targets so the heavy hitters can finish them quickly.
Then comes the Marauder.
Once the target is staggered or its defenses have been compromised, activate Rampage and let the heavy weapons do what they were designed to do.
This is where the composition feels fantastic.
The Duelist creates the opening. The Specialist makes the target easier to kill. The Marauder delivers the punishment.
And the Medic keeps this whole aggressive mess from turning into a respawn screen.
Playing the Medic Aggressively
A common mistake is treating the Medic as a character who should stand twenty meters behind everyone else.
Don’t.
In this composition, the Medic should actively support the frontline.
Use Combat Stims when the Duelist and Marauder are preparing to push. Movement bonuses and defensive support allow both classes to stay aggressive without immediately paying for every mistake with half their health bar.
The Trauma Station should still be positioned intelligently. The goal isn’t to heal after every little hit. The goal is to establish a recovery point that lets the squad continue pushing without completely abandoning its safety net.
Why This Composition Works
- Marauder: Provides huge burst and heavy target destruction.
- Duelist: Opens fights and maintains mobile pressure.
- Specialist: Supplies adaptable DPS and debuff support.
- Medic: Enables aggressive pushes while providing recovery.
This is the squad I’d pick when the mission rewards speed and decisive target deletion.
The Four Rules That Separate Good Squads From Wiped Squads
A strong composition only gets you halfway there. Four players using the perfect classes can still get demolished if everyone plays like they’re in a solo shooter.
1. Control the Attention Economy
Four players means four potential firing directions, but it also means more enemies can exploit the team’s blind spots.
Don’t have all four Marines staring at the same doorway.
One player should be watching the flank. Another should monitor the rear. The Machinist can use turret placement to reinforce those responsibilities, but turrets shouldn’t become an excuse to stop paying attention.
The ceiling, rear and side corridors are just as important as the obvious entrance.
2. Kill the Disruptors First
Not every enemy deserves equal attention.
The dangerous target is often the one that breaks your formation rather than the one with the biggest health bar.
The Siren should be treated as an immediate threat because allowing its disruption to escalate can turn a manageable wave into chaos.
The Warden also deserves rapid attention. If it gets through your defensive line and starts forcing players out of position, your carefully prepared formation can collapse in seconds.
Target priority matters more than chasing easy kills.
3. Stop Wasting Cooldowns Together
This is one of those mistakes every co-op team makes eventually.
Hunter uses Stasis Bolt.
Duelist immediately throws Shrapnel Grenade.
Another player burns their crowd-control ability.
The wave is now completely controlled… and then the next wave arrives with everybody’s abilities on cooldown.
Don’t do this.
Coordinate your utility.
If the Hunter has the swarm slowed, let the team exploit that window. Save the Duelist’s grenade for the next pressure point. Staggering abilities creates continuous control instead of short bursts followed by dead zones.
Voice communication helps enormously here.
Even a simple call like “stasis up” or “save grenade” can make the entire squad feel more organized.
4. Build the Specialist Around the Team
The Specialist should never be selected in isolation.
Look at what everyone else is bringing before locking in the module grid.
If your squad already has plenty of damage but almost no control, don’t build another glass cannon.
If the team is struggling to kill armored targets, shift toward offensive modules.
If information and positioning are the problem, tactical scanning becomes much more valuable.
Specialist is strongest when it fills the gap nobody else wants to fill.
Fix Aliens Fireteam Elite Out of Video Memory Error on RTX 3060 (2026 Guide)
AFE2 Squad Composition Quick Reference
| Squad | Best Use | Main Advantage | Main Weakness |
|---|---|---|---|
| Marauder + Machinist + Hunter + Medic | High-Difficulty Campaign | Extremely balanced | Less specialized |
| Machinist + Hunter + Specialist + Medic | Horde / Annihilation | Exceptional battlefield control | Lower burst damage |
| Marauder + Duelist + Specialist + Medic | Synths / Speed Runs | Huge burst and mobility | Less static defense |
Aliens Fireteam Elite 2 Heavy Weapons Guide: Best Options to Shred Xenomorphs
Final Verdict: Build Around Problems, Not Popularity
The biggest lesson with Aliens: Fireteam Elite 2 four-player squad compositions is that there isn’t one magical lineup that makes every mission easy.
The Balanced Meta Anchor is the safest choice for general high-difficulty play. It gives you tools for almost every situation and doesn’t demand perfect execution from every member.
The Infinite Lockdown is the specialist’s dream. It turns Horde and Annihilation into a battle of controlled zones, cooldown timing and enemy movement manipulation.
The High-Burst Shock Fireteam is for the squad that wants to hit hard, move fast and melt priority targets before the situation gets ugly.
Personally, I’d start with the balanced composition and only move away from it once the mission gives you a reason to do so. That’s the real trick with AFE2. Don’t build a team because a class is considered meta. Build it because the class solves a problem your squad actually has.
Four Marines give you a ridiculous amount of tactical freedom, but they also give the game more ways to punish sloppy coordination. Watch your flanks. Protect the Medic. Don’t waste crowd control. Focus the enemies that can destroy your formation. And when the swarm finally starts pouring through the door, make sure everyone knows exactly what they’re supposed to be doing.
Because in AFE2, the difference between a clean extraction and four Marines screaming over voice chat is often nothing more than one well-timed ability rotation.
Stay frosty, Marines.