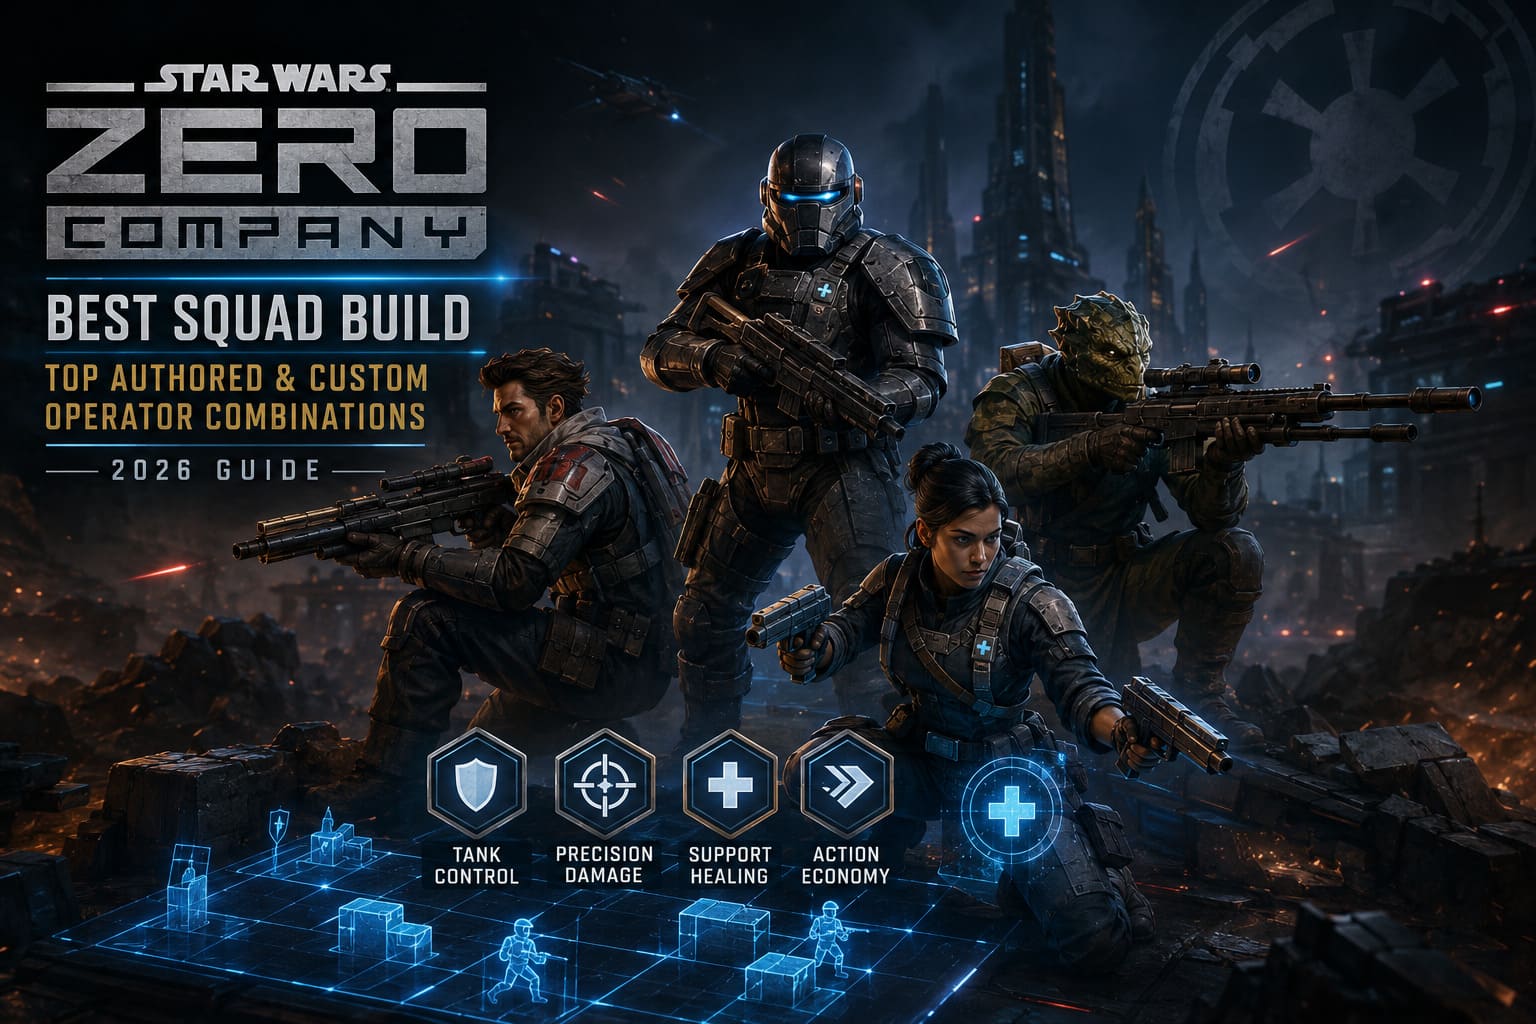
Star Wars Zero Company Best Squad Build: Top Authored and Custom Operator Combinations (2026 Guide)
If there is one thing Star Wars Zero Company gets right, it is making me care way too much about four characters standing on a grid.
I have spent enough time with turn-based tactics to know that a squad can look incredible on paper and still collapse the moment the game throws a nasty encounter at you. Zero Company is especially good at creating those situations. You can have a great damage dealer, a strong tank, a healer, and a flexible support character — and then one bad positioning decision turns the whole fight into a disaster.
That is why I don’t think there is one magical “best squad” that works everywhere.
There is, however, a squad structure that I keep coming back to because it gives me exactly what I want from a tactical Star Wars game: survivability, strong action economy, reliable damage, and enough flexibility to recover when the battlefield stops cooperating.
With four operators available for a mission, the real question is not simply which characters are strongest. It is how their classes, talents, movement, and abilities interact.
And this is where the combination of Authored Operators and Custom Operators becomes really interesting.
Authored vs. Custom Operators: What Actually Matters?
Before getting into my favorite squad, it is worth understanding the two major operator categories.
| Operator Type | Main Advantage | Main Limitation |
|---|---|---|
| Authored Operators | Unique talents, personalities, story abilities | Less flexible |
| Custom Operators | Extremely flexible builds and roles | No exclusive narrative talents |
| Hawks | Customizable commander with huge versatility | Mission failure if defeated |
Authored Operators are the named characters you meet throughout the campaign. Characters such as Trick, Luco Bronc, Jae Mordant, Cly Kullervo, and Tel-Rea Vokoss bring something that a generic recruit simply cannot reproduce.
Then there are Custom Operators. These are the characters I actually love experimenting with because they let me fix whatever weakness my current roster has.
Need another Medic? Make one.
Need a Gunslinger who can finish wounded enemies? Make one.
Want a completely different personality and appearance? Go for it.
That flexibility becomes particularly valuable once the game starts allowing secondary Specializations. Suddenly, you are not simply choosing a class anymore. You are creating a role.
And that is where squad building gets addictive.
My Favorite Four-Person Squad
If I wanted to enter a difficult mission without overthinking the roster screen for twenty minutes, this is the team I would take:
- Hawks — Heavy / Soldier
- Trick — Soldier / Medic
- Luco Bronc — Sharpshooter / Scout
- Custom Operator — Medic / Gunslinger
I call this setup the Action Economy Squad.
The basic philosophy is simple: Hawks controls the pressure, Trick provides aggressive support and survivability, Luco removes priority targets, and the Custom Operator fills whatever gap the battlefield creates.
It is not the flashiest possible team.
It is better than that.
It is consistent.
And consistency is incredibly valuable in a game where one disastrous turn can ruin an otherwise perfect mission.
Hawks — The Squad’s Anchor
Recommended Build: Heavy / Soldier
Weapon: Repeater Blaster
Hawks is a strange character to build because he is simultaneously your commander and one of the most important pieces on the battlefield.
If Hawks goes down, you don’t simply lose an operator.
The mission ends.
That immediately changes how I approach his role.
I don’t want Hawks trying to be the team’s superstar damage dealer. I want him to be the character who makes everyone else safer.
That is why I prefer Heavy as the primary specialization.
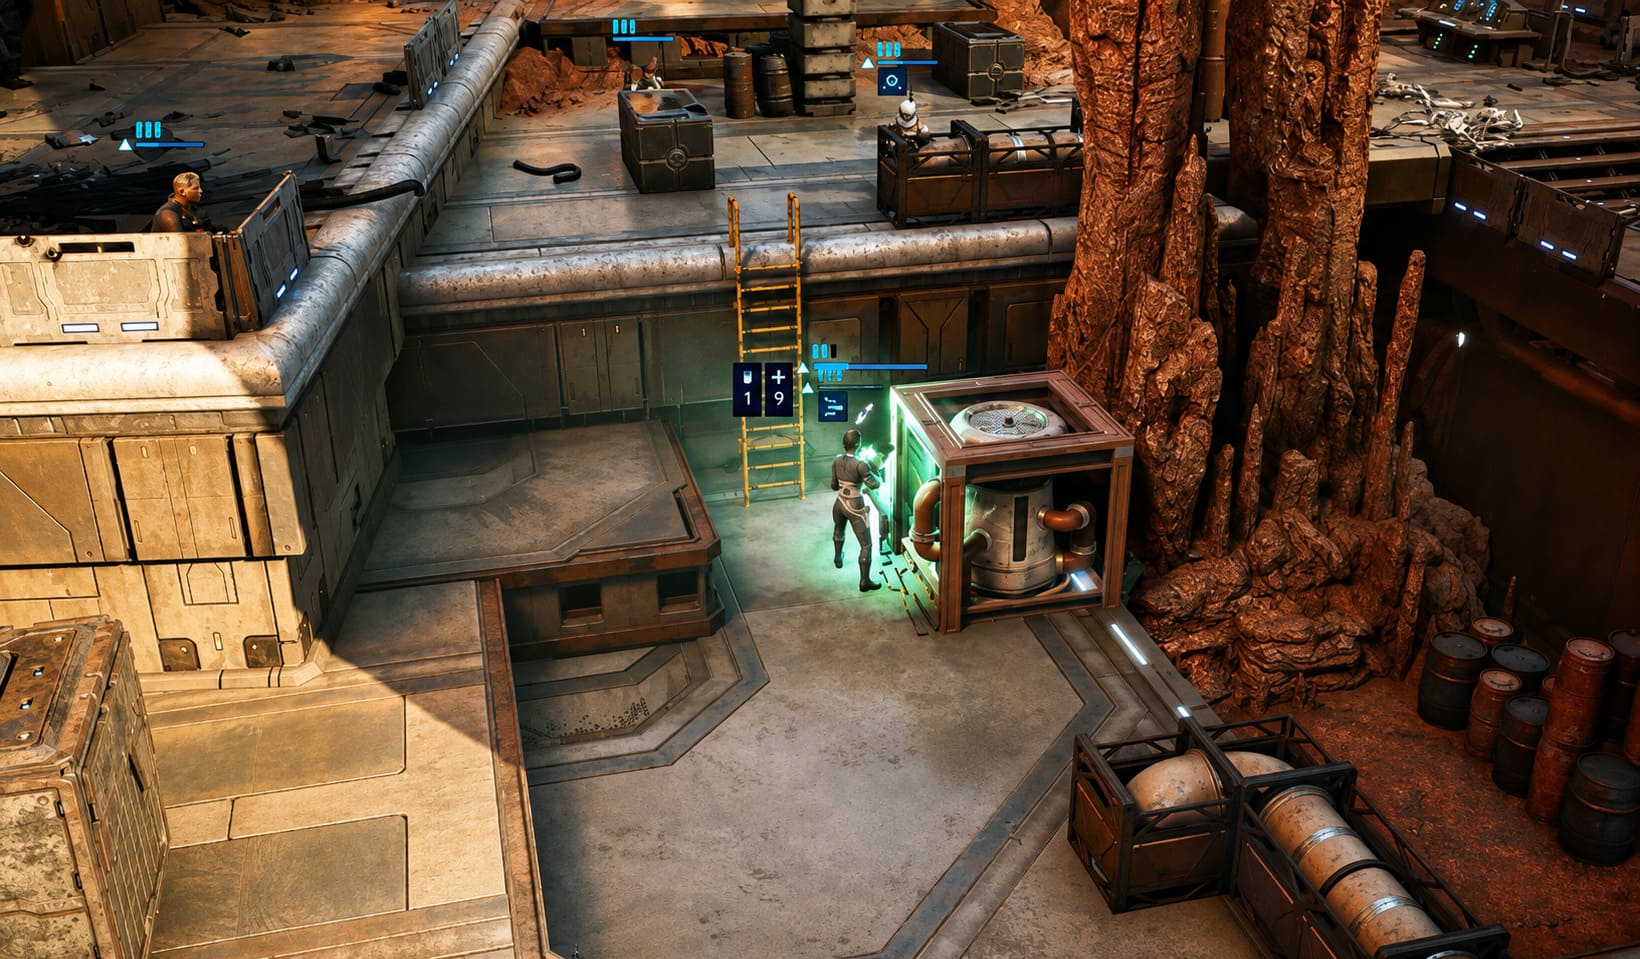
The Heavy’s defensive tools, especially Bulwark, give Hawks the ability to absorb pressure and manipulate enemy targeting. Put him into appropriate cover, establish your defensive position, and suddenly your more fragile operators have room to work.
The Soldier secondary specialization then gives Hawks additional offensive and defensive utility.
The result is exactly what I want from a commander: a character who can sit in the middle of the fight without becoming dead weight.
My biggest tip: don’t get greedy with Hawks.
If Luco has a perfect shot but Hawks needs to remain in a defensive position, I would rather sacrifice a little damage than expose the commander. There is no reward for winning a fight with Hawks standing in the open.
Trick — The Operator I Keep Taking
Recommended Build: Soldier / Medic
Weapon: Blaster Rifle
Some characters are good because their stats are excellent.
Trick is good because his Unique Talent changes how aggressively I can play him.
His automatic self-revive is one of those abilities that immediately affects your decision-making. Normally, pushing a character deep into enemy territory can feel reckless. With Trick, there is considerably more room to take calculated risks.
That does not mean I treat him as immortal.
I don’t.
But it does mean Trick can be the guy who takes the dangerous position when somebody else absolutely cannot.
I like Soldier as his primary specialization because it keeps him useful as dependable mid-range fire support. The Medic secondary then gives him a completely different job when the situation demands it.
Healing allies, supporting damaged operators, and using Combat Stim can turn Trick into a fantastic utility character.
And there is another reason I like this setup: squad bonds.
Zero Company rewards you for building relationships between operators, so having Trick actively supporting teammates isn’t just useful during the current encounter. It contributes to your longer-term campaign progression.
That makes him one of my favorite “always useful” characters.
Luco Bronc — Delete the Target That Needs to Die
Recommended Build: Sharpshooter / Scout
Weapon: Long Arm Blaster
Every tactical squad needs someone who can look at an enemy officer, elite unit, or other high-priority target and basically say:
“You’re not making it to the next turn.”
For me, that’s Luco.
His Combat Gas and Sharpened Sense mechanics make him particularly dangerous when you have time to build his effectiveness before taking the big shot.
His Sharpshooter specialization provides the obvious part of the equation: range and precision.
But the part I really like is adding Scout as the secondary specialization.
Snipers traditionally have one annoying weakness in tactical games:
They are amazing until the enemy forces them to move.
Then everything falls apart.
Scout helps solve that problem.
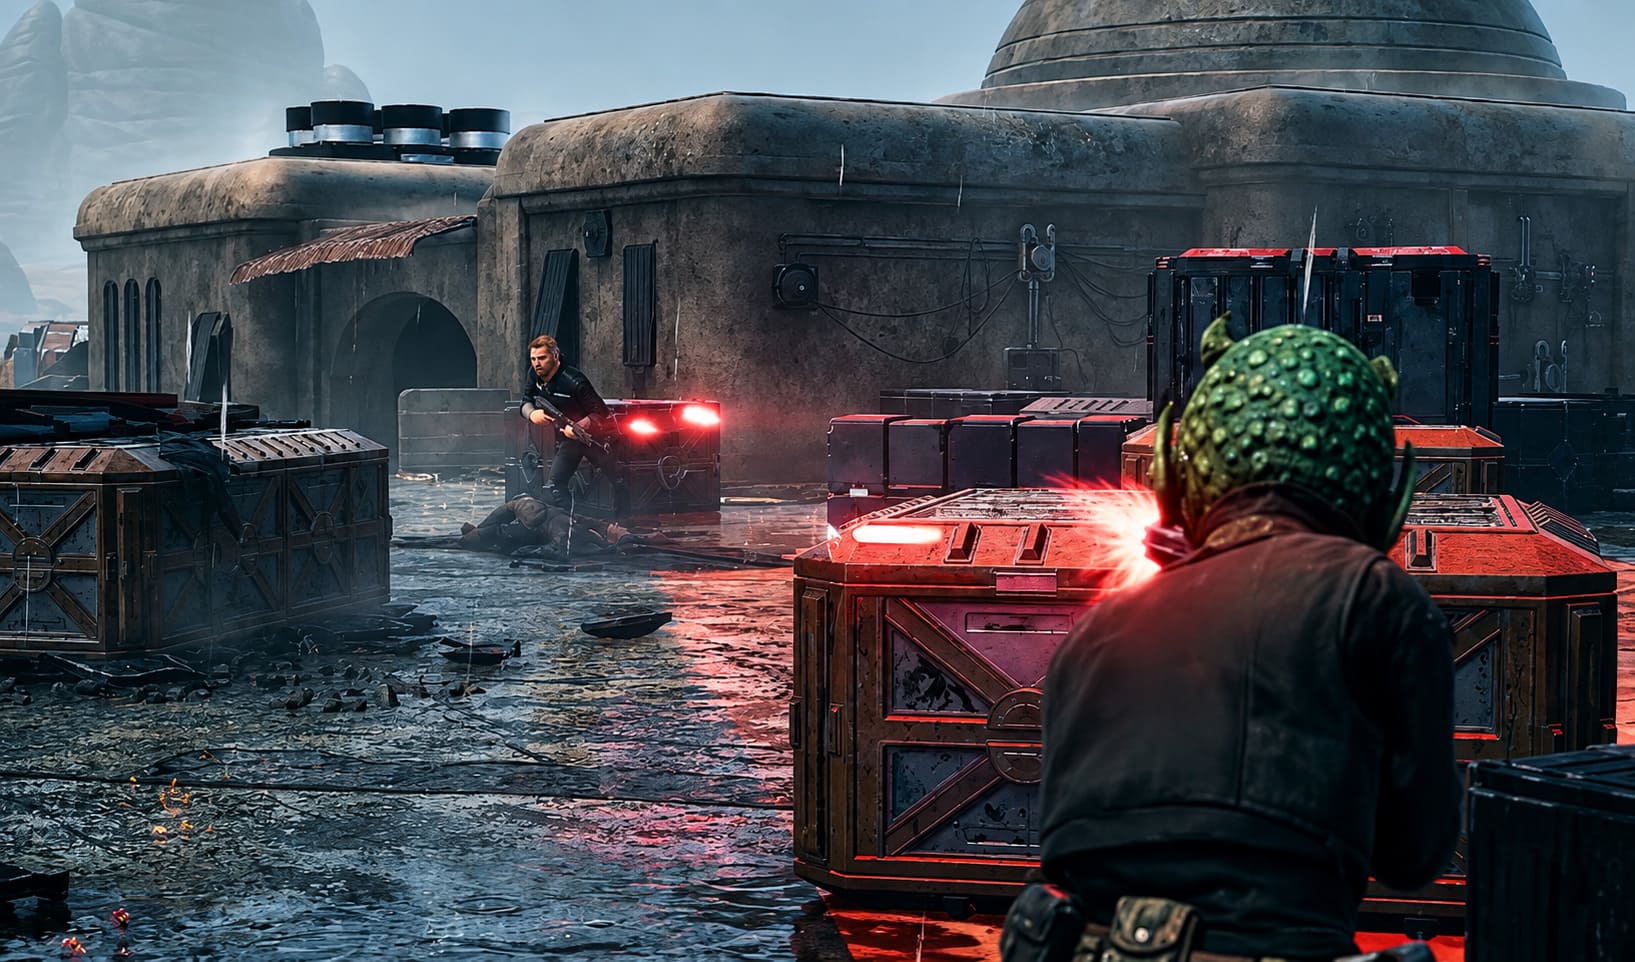
Extra mobility and concealment tools allow Luco to reposition without completely destroying his offensive rhythm. Put him on high ground, find a good firing lane, build his bonuses, and start removing priority targets.
His Precision Shot is especially nasty because it gives him a reliable way of dealing with enemies hiding behind cover.
I would still avoid exposing Luco unnecessarily.
A great sniper isn’t the character who gets the most kills.
It’s the character who gets the most important kills without getting shot back.
Custom Operator — The Flexible Piece
Recommended Build: Medic / Gunslinger
Weapons: Dual Blaster Pistols
This is the slot I refuse to lock into a single character.
The reason is simple: Custom Operators exist to solve problems.
For this particular squad, I like building one as a Medic first and Gunslinger second.
The Medic specialization gives the squad another source of healing and emergency support. That’s especially useful because Trick can then focus more heavily on his offensive responsibilities rather than being permanently chained to the team’s health bars.
Then comes the Gunslinger secondary.
This is where things get fun.
Dual blaster pistols turn the character into a close-to-mid-range cleanup specialist. Instead of spending an entire turn trying to eliminate one healthy enemy, the Gunslinger can become extremely efficient at finishing several weakened targets.
That makes the Custom Operator an excellent cleanup crew.
Luco eliminates the dangerous enemy.
Hawks absorbs pressure.
Trick keeps the team functioning.
The Gunslinger runs around asking, “Who has 20% health left?”
That’s a role I absolutely want somewhere in my squad.
When I Would Replace Someone
The best Zero Company squad isn’t necessarily the one you use for every mission.
Certain Authored Operators become much more attractive depending on the map and objective.
Tel-Rea Vokoss — When You Want Something Completely Different
Tel-Rea is the obvious exception to normal class-building rules.
As a Jedi Padawan, she has her own specialized kit rather than simply jumping between the standard Specializations.
And honestly, sometimes that’s exactly what the squad needs.
Her Harmony mechanics, lightsaber attacks, Force abilities, and battlefield control make her particularly interesting on maps with verticality or dangerous environmental positions.
Force Push can completely change a fight.
An enemy that was perfectly comfortable behind cover can suddenly be somewhere else entirely.
And if that “somewhere else” happens to be off a ledge, even better.
I would seriously consider bringing Tel-Rea on maps where environmental manipulation matters more than sustained ranged damage.
Cly Kullervo — The Flanker
Cly is another character I would happily rotate into the squad when the map rewards mobility.
Her Mandalorian Warrior identity gives her a completely different battlefield profile, particularly thanks to her jetpack mobility.
Normal movement rules suddenly feel less important.
High ground becomes easier to reach.
Flanking positions become much more accessible.
And enemies who thought they had created a safe defensive position can suddenly discover that Cly is standing behind them.
This is exactly why I don’t believe in blindly following a single meta composition.
A squad that dominates an open battlefield might feel awkward inside a cramped urban environment.
Likewise, a map full of vertical opportunities can make a highly mobile operator dramatically more valuable.
How I Actually Play This Squad
The biggest mistake I see with tactical squad compositions is focusing too much on individual abilities.
The abilities aren’t the point. The interactions are.
With this squad, I generally approach combat in a simple sequence.
1. Establish Hawks’ Defensive Position
Get Hawks into strong cover and use Bulwark when appropriate.
The objective isn’t to make Hawks invincible. It’s to make enemy attacks less effective against the rest of the squad.
2. Use Support Before Damage
If your Custom Operator can improve Trick’s position or effectiveness before the shooting starts, do it.
This is one of those situations where spending an action on preparation can produce much more value than immediately firing a weapon.
3. Let Trick Take the Risk
Once the defensive structure is established, Trick can move more aggressively.
His unique survivability means he is one of the better candidates for dangerous plays, although I still wouldn’t throw him into an obviously losing situation.
4. Set Up Luco
This is where patience pays off.
Find high ground.
Get the right angle.
Build your Sharpened Sense advantages.
Then use Luco’s precision tools to remove the enemy who would otherwise cause the biggest problem.
5. Let the Gunslinger Clean Up
Once the major threat has disappeared, the Custom Operator becomes your execution crew.
Finish weakened targets.
Heal whoever needs it.
Reposition for the next turn.
It sounds simple, but that’s exactly what makes the composition work.
The Real Secret: Action Economy
If there is one concept I would tell every new player to understand early, it’s action economy.
Having four operators isn’t automatically useful if every character spends their turn walking into position, taking one shot, and ending the turn.
The strongest squads are the ones that make their actions overlap.
A movement ability that lets a sniper reach high ground without wasting their entire turn is valuable.
A support ability that lets another operator attack more effectively is valuable.
A defensive skill that prevents your team from losing future actions is valuable.
This is why I rate hybrid builds so highly.
A Medic who can also shoot is better than a Medic who becomes useless once everybody is healthy.
A sniper who can reposition is better than one who needs three turns to find a firing angle.
A frontline commander who can contribute damage is better than a tank who simply stands there.
Every AP should ideally accomplish more than one thing.
That’s the mindset that turns a decent squad into a frightening one.
How to Fix Star Wars Zero Company Texture Popping and Low FPS on PC
My Final Ranking
If I were putting together my personal Zero Company roster for a serious campaign, I’d prioritize the characters like this:
| Operator | Preferred Role | Best Use |
|---|---|---|
| Hawks | Heavy / Soldier | Defensive anchor |
| Trick | Soldier / Medic | Aggressive support |
| Luco Bronc | Sharpshooter / Scout | Priority target elimination |
| Custom Operator | Medic / Gunslinger | Healing and cleanup |
| Tel-Rea Vokoss | Jedi Padawan | Crowd control and environmental kills |
| Cly Kullervo | Mandalorian Warrior | Mobility and flanking |
For me, the first four form the most reliable general-purpose squad.
But I would absolutely keep Tel-Rea and Cly available for missions where their unique mechanics have a clear advantage.
Star Wars Zero Company Steam Deck Performance Guide: Best Settings and Controller Layouts
Final Thoughts
The thing I enjoy most about Star Wars Zero Company is that squad building doesn’t feel like simply selecting four characters with the biggest numbers.
The interesting part is creating a team where everyone’s weaknesses are covered by someone else’s strengths.
Hawks absorbs the pressure. Trick refuses to stay down. Luco removes the target that matters most. Your Custom Operator keeps the whole machine running.
That combination gives me the kind of tactical flexibility I want from Zero Company.
And while there will probably always be another “broken” build discovered by the community, I wouldn’t obsess over chasing a theoretical perfect squad. In a game built around positioning, AP management, cover, bonds, and unpredictable encounters, a flexible team that you understand is often stronger than a supposedly perfect meta team you don’t know how to pilot.
If you’re starting a new campaign, I’d begin with the Hawks / Trick / Luco / Custom setup and then adjust from there.
Because honestly, that’s half the fun.
You start with a plan.
Then the battle goes completely sideways.
And suddenly your Medic is standing on a roof with two blasters, your sniper is hiding behind a crate, Hawks is being shot by half the map, and Trick is somehow still alive.
That’s when Zero Company starts feeling like Star Wars.