Bodycam Game Optimization Guide: How to Disable Motion Blur and Master Leaning/Peeking for Competitive Advantage
Bodycam is one of those shooters that can look absolutely incredible while simultaneously making you wonder whether your monitor is broken. I love the idea behind it. The bodycam perspective, realistic lighting, violent camera movement, weapon sway, and generally messy visual presentation give every firefight a completely different feeling from a traditional competitive FPS.
But there is a problem.
When you’re actually trying to win, realism can get in the way.
I’ve spent enough time in tactical shooters to know that there is a huge difference between a game looking realistic and a game giving you the information you need to make a fast decision. Bodycam sometimes crosses that line. Motion blur, film grain, camera shake, chromatic aberration, and other post-processing effects can make an already chaotic fight even harder to read.
And when an enemy appears for half a second in a dark doorway, I don’t want cinematic blur. I want to see the guy.
That’s why my first priority with Bodycam is always visibility. Once the image is clean, the next step is learning how to use leaning and peeking properly. Those two things go together extremely well because Bodycam rewards players who understand positioning rather than simply sprinting toward every gunshot.
This is my practical Bodycam optimization and leaning guide, based around the settings and habits I would personally use when playing seriously.
My Priority: Make Bodycam Easier to Read
Before changing dozens of graphics options, I recommend focusing on the settings that actually affect what you see during combat.
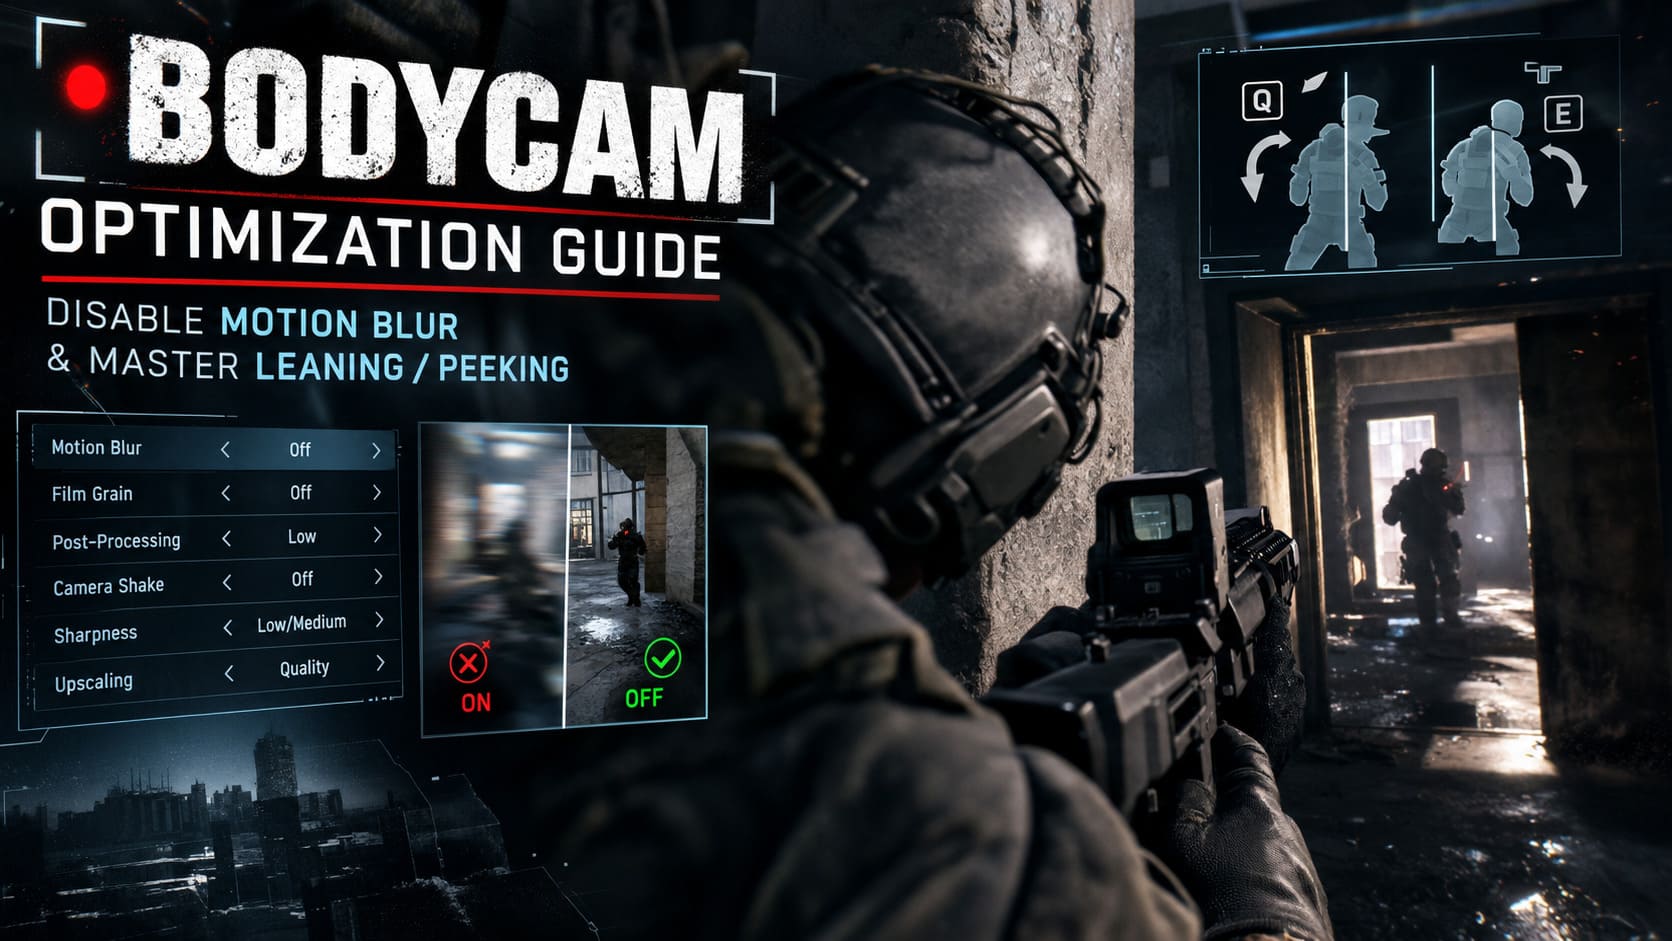
| Setting | My Recommendation | Why |
|---|---|---|
| Motion Blur | Off | Removes unnecessary movement smearing |
| Post-Processing | Low / Minimum | Reduces visual effects and haze |
| Film Grain | Off | Creates a cleaner image |
| Camera Shake | 0% / Lowest | Improves target tracking |
| Display Mode | Fullscreen | Better consistency and frame pacing |
| Sharpness | Low / Medium | Keeps the image clear without excessive sharpening |
| Upscaling | Quality | Better detail than aggressive performance modes |
I wouldn’t obsess over making the game look as pretty as possible. In a tactical shooter, clarity wins fights.
Why Motion Blur Bothers Me So Much
Motion blur can look fantastic in screenshots and trailers. While you’re actually playing, though, it’s another story.
When you quickly turn your camera, the effect blends moving objects together. That might not sound like a major issue until you’re fighting someone at close range and trying to track their head through a dark hallway.
The problem becomes even more noticeable when Bodycam’s other effects are stacked on top of it.
You’ve got camera movement, weapon movement, lighting changes, grain, depth-of-field effects, and potentially frame-generation artifacts all happening at once. The result can be an image that feels impressive but isn’t particularly useful.
For competitive play, I want the cleanest possible image.
How I Disable Motion Blur in Bodycam
Start with the normal graphics menu before touching configuration files.
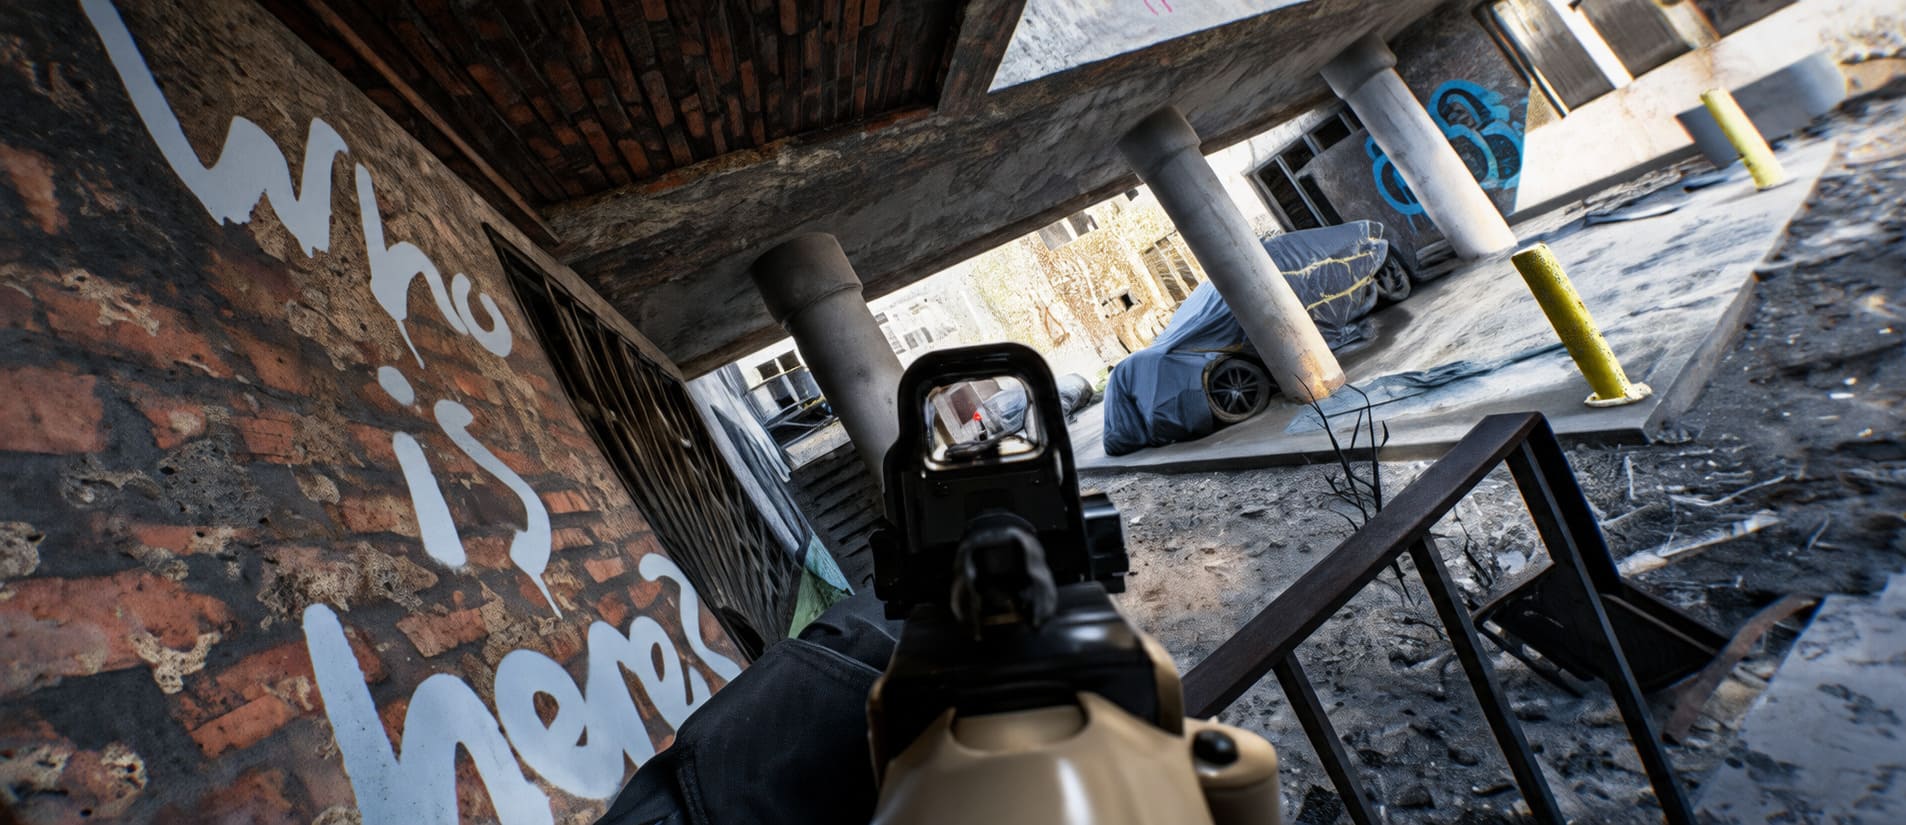
Open Settings → Graphics and look for the post-processing options.
The first setting I’d change is Post-Processing. Put it on Minimum or Low. This is more important than many players realize because post-processing controls a collection of visual effects rather than just one specific feature.
After that:
- Set Motion Blur to Off.
- Turn Film Grain / Post-Process Grain off.
- Keep Sharpness around Low or Medium.
- Use Fullscreen instead of Borderless if your system behaves better in exclusive fullscreen.
- Apply everything and restart the game if the visual changes don’t seem to stick.
The exact names of settings can change between patches, so don’t panic if your menu doesn’t look exactly like someone else’s screenshot. The principle is simple: remove unnecessary post-processing first, then tune image sharpness.
I personally prefer a slightly less cinematic image if it means enemies are easier to distinguish.
When the Normal Settings Aren’t Enough
This is where things get more interesting.
Some players report that disabling Motion Blur through the menu doesn’t completely remove the smeared or processed look. If Bodycam keeps restoring visual settings or something appears to be overriding your choices, configuration files may be worth checking.
One commonly referenced location is the game’s local configuration area under:
%localappdata%
From there, the relevant Bodycam folders may contain saved configuration files. Depending on the current version of the game, the exact folder structure and filenames can change, so I strongly recommend making a backup before editing anything manually.
If you find a configuration file containing an option related to motion blur, such as EnableMotionBlur, check whether it is enabled. A value representing true/enabled can potentially be changed to false/disabled depending on how that particular configuration is structured.
I would not blindly copy a configuration from an old guide, though.
This is one of those areas where an update can make yesterday’s tweak useless—or worse, cause the game to reset the file.
A Quick Warning About Read-Only Files
You’ll sometimes see optimization guides recommending that you make configuration files Read-only after editing them.
I’ve used tricks like this in other games, but I don’t consider it a first-choice solution.
If the game needs to update or rewrite that configuration later, a read-only file can create another problem. So my advice is:
Back up the file first, test the game, and only use read-only protection if the game repeatedly overwrites a setting you genuinely need.
There is no reason to turn a five-minute graphics adjustment into a troubleshooting nightmare.
Should You Use Engine.ini Tweaks?
Advanced Unreal Engine configuration tweaks can sometimes be useful, but this is another area where I would be careful.
Parameters affecting motion blur, depth of field, chromatic aberration, and other post-processing effects can potentially produce a much cleaner image. However, Bodycam is updated regularly, and engine-level commands aren’t guaranteed to behave identically across versions.
If you’re comfortable with Unreal Engine configuration files, you can experiment with settings related to:
- Motion blur quality
- Depth of field
- Scene color fringe
- Other post-processing effects
But make a backup first.
Personally, I wouldn’t start here. The in-game settings should always be Plan A.
The Bigger Competitive Upgrade: Learn to Lean
Once your image is clean, you can finally start working on the part that actually makes a difference in fights.
Leaning.
Bodycam doesn’t feel like a traditional arcade shooter. Movement has weight, the camera has a physical quality to it, and exposing yourself around a corner can be extremely punishing.
The standard controls are generally:
| Action | Default Key |
|---|---|
| Lean Left | Q |
| Lean Right | E |
The default layout works, but I’ve never been a huge fan of it for serious tactical play.
Why?
Because you’re already using WASD to control your movement. Trying to strafe and lean in the same direction can feel awkward, particularly when you need to make a tiny adjustment rather than a full movement.
My Favorite Lean Setup
One solution is to swap the lean keys.
For example:
E = Lean Left
Q = Lean Right
It sounds backwards at first, but it can make certain movement combinations more comfortable.
Another option—and probably my favorite if your mouse has usable side buttons—is to bind leaning to Mouse Button 4 and Mouse Button 5.
This separates movement from leaning.
Your left hand controls positioning with WASD while your thumb handles the lean. Once you get used to it, this can feel much more natural.
I wouldn’t claim that one layout is universally superior, though. If your current bindings feel comfortable, don’t change them just because someone on the internet says they’re “pro.”
The best keybind is the one you can activate without thinking about it.
How I Peek Corners in Bodycam
This is where Bodycam starts feeling like a completely different game.
The biggest mistake I see in tactical shooters is people hugging corners too closely.
Don’t do it.
When you stand directly against a wall, you have less room to work with, and your weapon can become an obstacle. You also make it harder to perform controlled peeks.
Instead, give yourself some space.
1. Stay Back From the Corner
I like to keep a few feet between myself and the edge whenever the environment allows it.
The exact distance isn’t sacred. The important thing is having enough room to move laterally without immediately exposing your entire body.
2. Get Into ADS
If you’re expecting someone, don’t casually walk around the corner and start aiming afterward.
Get your weapon ready first.
3. Lean Toward the Angle
Use your lean to expose as little of your body as possible.
You’re not trying to perform a dramatic tactical pose. You’re trying to get just enough information to decide whether the next step is safe.
4. Move in Tiny Increments
This is the part that takes practice.
Don’t swing around the corner in one massive movement.
Move a little.
Look.
Move a little more.
Look again.
You’re effectively clearing the area one section at a time.
This technique is commonly called slicing the pie, and it works particularly well in games where positioning and reaction time matter.
Don’t Treat Every Corner the Same
One of the things I really like about Bodycam is that the environment matters.
A right-hand corner, left-hand corner, doorway, staircase, hallway, and open room all create different problems.
Your weapon position and character model can affect how much of yourself you’re exposing. This means you shouldn’t automatically use the exact same peek every time.
If I have the choice between two approaches, I’ll usually favor the one that lets me expose less of my character while maintaining a good sightline.
Cover isn’t just something that stops bullets. It’s something you should actively use to control information.
Camera Shake Is Another Setting I’d Kill
If Bodycam’s camera movement is making you lose targets, turn Camera Shake down as far as the game allows.
I know some players enjoy the aggressive movement because it makes explosions and impacts feel more convincing.
I get it.
But when you’re trying to track someone through a firefight, screen shake can turn a precise gunfight into a guessing game.
For competitive play, I want my camera to communicate what’s happening—not physically throw my vision around every time something explodes.
Be Careful With Frame Generation
Frame generation is another thing worth testing rather than automatically enabling.
If you’re struggling for performance, technologies such as FSR and frame generation can make a massive difference to perceived smoothness. However, generated frames can sometimes introduce ghosting or strange edges.
And if you’re already trying to eliminate motion blur, the last thing you want is to mistake frame-generation artifacts for another graphics problem.
My preference is:
Native resolution or a high-quality upscaling mode first.
Then experiment with more aggressive performance options if you actually need them.
A stable, clean 80 FPS is much more useful to me than a huge number on the counter if half the image looks smeared.
Toggle or Hold for Leaning?
This one is completely personal.
With Hold, releasing the button immediately returns you to your normal position. I prefer this when I’m playing aggressively because I can peek, see something, and instantly disappear behind cover.
With Toggle, you don’t have to keep pressure on the button while holding an angle.
Neither option is objectively better.
Try both for a few matches and see which one becomes automatic.
Bodycam Best Settings for High FPS: 2026 Competitive Optimization Guide
My Final Bodycam Setup
If I were setting up Bodycam from scratch for competitive play, I’d start with this:
- Motion Blur: Off
- Film Grain: Off
- Post-Processing: Low/Minimum
- Camera Shake: Lowest possible
- Sharpness: Low/Medium
- Fullscreen: On
- Upscaling: Quality if needed
- Lean: Mouse buttons or comfortable custom layout
- Lean Mode: Hold for aggressive play
Then I’d stop touching the settings and actually play.
That’s an important part of optimization that gets overlooked constantly. You can spend three hours chasing the “perfect” configuration and forget that your real problem is simply not knowing the maps or movement system yet.
Can You Play Bodycam on ASUS ROG Ally X at 60FPS? Best Settings Guide (2026)
Final Thoughts
Bodycam doesn’t need to become a completely sterile competitive shooter to be enjoyable. The crazy camera movement and realism are part of what makes it special.
But there is a difference between atmospheric realism and visual clutter.
I want the atmosphere. I just don’t want a layer of artificial blur sitting between me and the enemy.
Once you’ve cleaned up the image, the next step is learning how to use cover properly. Leaning, controlled movement, and slow corner clearing can give you a much bigger advantage than blindly chasing higher FPS numbers.
For me, the ideal Bodycam experience is simple: clean image, stable performance, minimal camera shake, comfortable lean controls, and disciplined peeking.
Do that, and the game stops feeling like you’re watching chaotic bodycam footage and starts feeling like you’re actually controlling the operator inside it.
And trust me, that’s when Bodycam gets seriously addictive.