How to Fix Onimusha: Way of the Sword Fatal Error Memory Allocation Block
Onimusha: Way of the Sword looks like exactly the kind of Capcom comeback I want from this series: brutal swordplay, spectacular Oni-powered abilities, cinematic boss fights, and visuals that finally make the classic samurai formula feel built for modern hardware. Unfortunately, getting into the action is proving to be less exciting for some PC players.
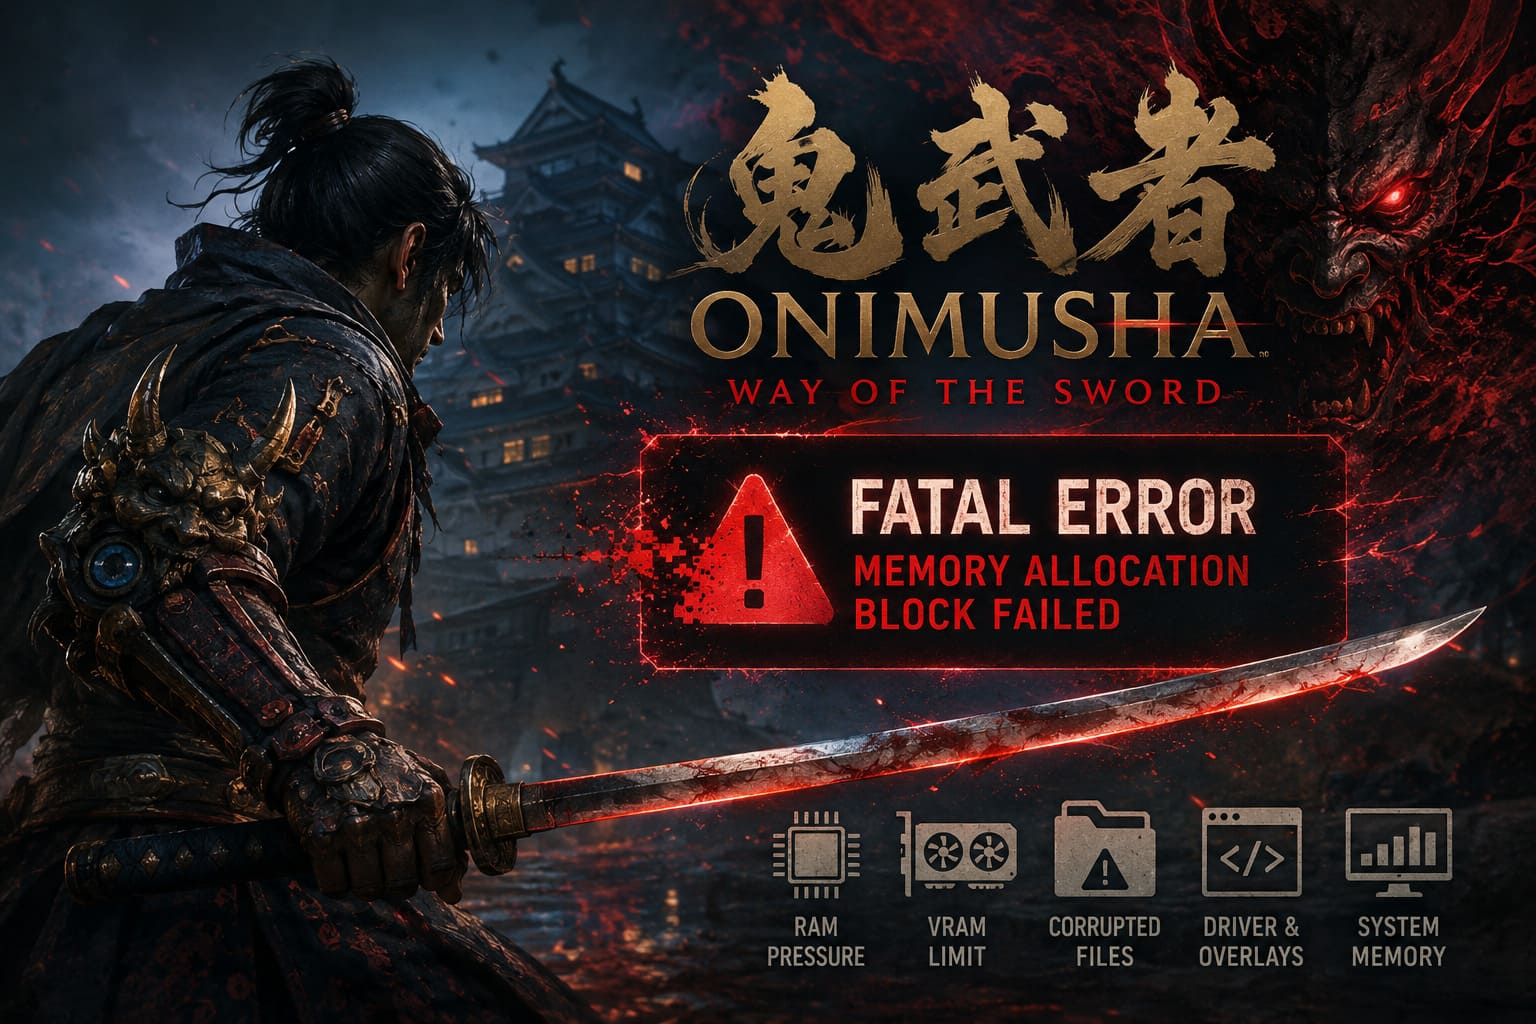
One particularly nasty problem is the “Fatal Error: Memory Allocation Block Failed” crash. When it hits, the game can freeze during startup, collapse while loading a new area, or suddenly disappear during a demanding combat sequence. In some cases, players can get into the game normally and only encounter the crash later, particularly during visually heavy transitions or menus involving equipment and upgrades.
That is the worst kind of PC crash because it gives you just enough hope to think everything is fine before throwing you straight back onto the desktop.
If you are dealing with this error in Onimusha: Way of the Sword, there are several things worth trying before you start blaming your GPU or reinstalling Windows. The important part is approaching the problem systematically. Memory allocation errors can involve system RAM, virtual memory, VRAM, shader data, corrupted game files, drivers, or another program interfering with the game.
What Causes the “Memory Allocation Block Failed” Error?
The wording of the error makes it sound like your PC has simply run out of RAM. That is not necessarily what is happening. A memory allocation failure can occur when the game cannot obtain the particular block of memory it needs at that moment, even when Windows still reports plenty of free memory.
Modern PC games are particularly demanding in this regard. Large texture pools, shader compilation, streaming assets, particle effects, cinematic transitions, and background loading can create sudden spikes in memory usage.
For Onimusha: Way of the Sword, there are several likely areas to investigate:
- VRAM pressure: High-resolution textures and demanding graphics settings can push a GPU close to its VRAM limit.
- Shader compilation problems: A damaged or problematic shader cache can cause crashes when the game rebuilds rendering data.
- Windows virtual memory: A restrictive or poorly configured pagefile can make large allocation requests fail.
- Corrupted game files: Missing or damaged assets can cause failures when the engine attempts to load them.
- Driver or overlay conflicts: GPU utilities, recording software, monitoring tools, and overlays can occasionally interfere with demanding games.
So don’t immediately assume that you need more physical RAM. Start with the fixes that are easiest to reverse and work your way toward deeper system changes.
1. Increase Windows Virtual Memory
This is the first serious workaround I would try if the crash happens during loading or heavy gameplay rather than immediately after launching the game.
Windows uses a pagefile as virtual memory. It is not a replacement for actual RAM, and increasing it will not magically make a weak PC faster. What it can do is provide Windows with a larger pool of committed virtual memory when an application suddenly asks for a substantial allocation.
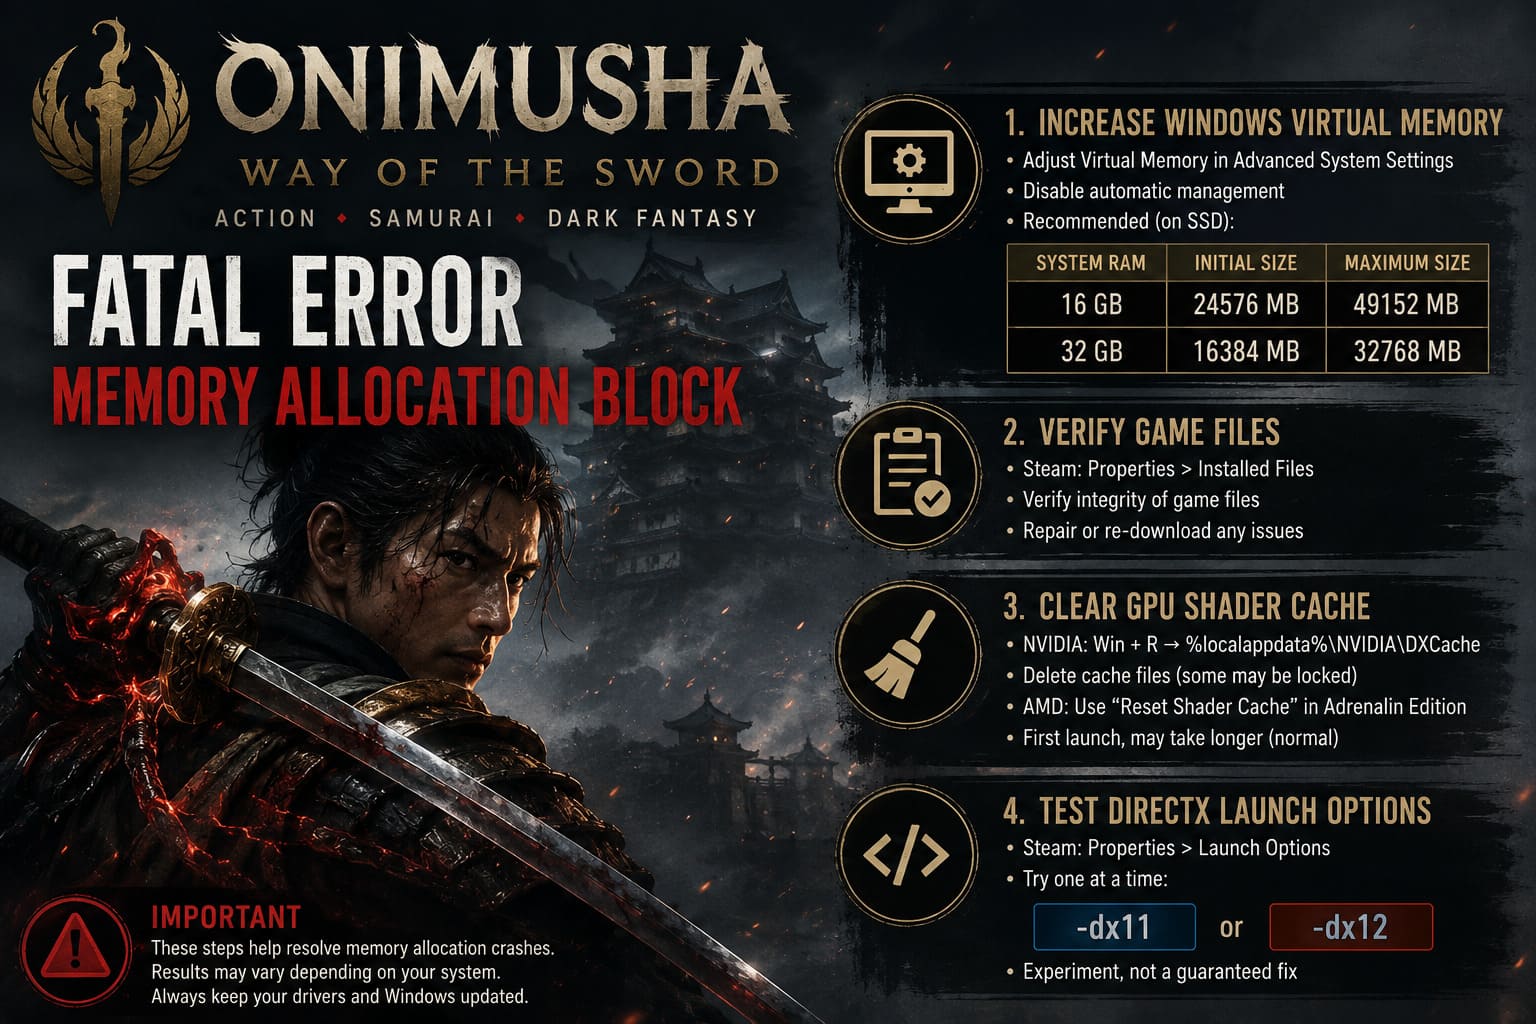
To manually configure it:
- Press the Windows key and search for Advanced system settings.
- Open View advanced system settings.
- In the System Properties window, open the Advanced tab.
- Under Performance, click Settings.
- Open the Advanced tab again.
- Find Virtual memory and click Change.
- Disable Automatically manage paging file size for all drives.
- Select the SSD where you want the pagefile stored.
- Select Custom size.
A practical starting point is:
| System RAM | Initial Size | Maximum Size |
|---|---|---|
| 16 GB | 24576 MB | 49152 MB |
| 32 GB | 16384 MB | 32768 MB |
After entering the values, click Set. This button is easy to overlook, and without it Windows may not apply the custom configuration.
Click OK through the remaining windows and restart your PC.
One important warning: I would not treat those numbers as universal requirements. If Windows already manages your pagefile correctly and your system has plenty of available disk space, automatic management can be perfectly fine. The goal here is to test whether virtual-memory pressure is contributing to the crash, not to blindly assign half your SSD to a pagefile.
2. Verify Onimusha: Way of the Sword Game Files
Before messing with drivers or Windows settings, make sure the installation itself is healthy. A single corrupted asset can cause an engine to crash when it reaches that file.
On Steam, open your Library and right-click Onimusha: Way of the Sword. Go to Properties → Installed Files and select Verify integrity of game files.
Let the process finish completely. If Steam discovers damaged or missing files, allow it to download replacements before launching the game again.
If you are playing through another PC launcher, use its equivalent Verify or Repair function.
This is not the most glamorous fix in the PC gaming toolbox, but it works often enough that skipping it makes little sense. Don’t start rebuilding Windows when your installation might simply have a bad file.
3. Clear the GPU Shader Cache
Shader caches are supposed to make games run more smoothly by storing compiled rendering data. The downside is that cached data can occasionally become outdated or corrupted after driver updates, game patches, or configuration changes.
If Onimusha: Way of the Sword crashes while entering a new area or during the first few minutes of a session, clearing shader data is worth trying.
For NVIDIA hardware, you can investigate the local DirectX shader cache through Windows. Press Win + R and enter:
%localappdata%\NVIDIA\DXCache
Close your games first, then remove the temporary cache contents that Windows allows you to delete. Some files may be locked, so don’t worry if Windows refuses to remove every single item.
For AMD GPUs, AMD Software: Adrenalin Edition provides a Reset Shader Cache option under its graphics settings.
The next launch may take longer than usual. That’s normal. The game needs to rebuild shader data, and the first run after clearing the cache can involve additional compilation.
4. Test Different DirectX Launch Options
This is where things get more experimental.
If the game supports alternative DirectX startup parameters on your configuration, testing another rendering path can help determine whether the allocation failure is connected to the current graphics API configuration.
On Steam, open the game’s Properties and find the Launch Options field. You can test:
-dx11
If that does not help and the game supports it, you can test:
-dx12
Do not stack a pile of random commands into the launch box. Test one change at a time.
Also, don’t assume that DX11 is automatically “better” just because it is older. A modern game may be designed primarily around DX12, and forcing another API can introduce different problems or simply do nothing. This is a troubleshooting experiment, not a guaranteed solution.
5. Reduce VRAM Pressure Before Changing Hardware
If the crash appears during graphically intense scenes, don’t ignore your graphics settings.
Texture quality is particularly important because it can consume a large amount of VRAM. If you are running everything at maximum with a GPU that has limited VRAM, the engine may be forced to constantly stream assets in and out of memory.
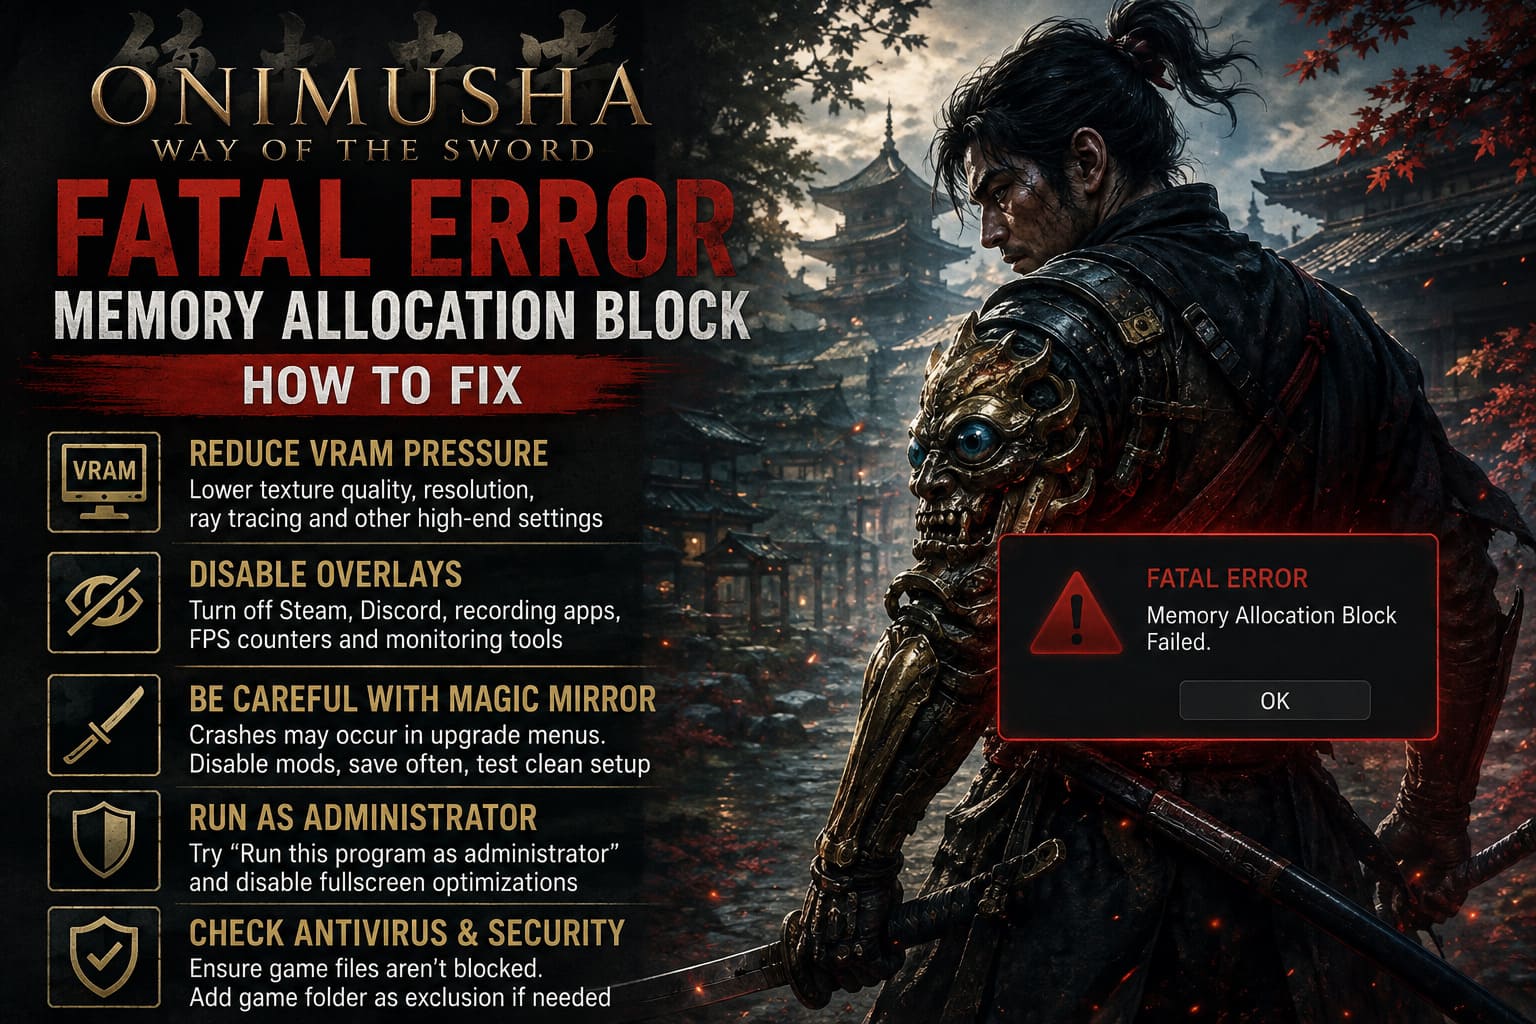
Before testing again, lower the most memory-heavy settings first. Texture quality, resolution, ray-tracing features, and other high-end rendering options are the obvious candidates.
You don’t need to turn the entire game into a blurry mess. Drop the settings that have the largest VRAM impact, restart the game, and see whether the crash returns.
If the error suddenly disappears, that is a strong clue that memory pressure is part of the problem.
6. Disable Overlays and Background Monitoring Tools
PC gamers love overlays. Steam, Discord, GPU software, recording applications, performance monitors, RGB utilities and hardware-monitoring tools can all be running while you play.
Most of the time, they behave perfectly. But when you’re troubleshooting a low-level crash, “most of the time” isn’t good enough.
Temporarily disable unnecessary overlays and close applications that hook into the game. This includes third-party recording tools, FPS counters, hardware monitoring software, trainers, and mods.
Then launch Onimusha: Way of the Sword with as clean a background environment as possible.
If the crash stops, re-enable your applications one at a time. That makes it much easier to identify the offender.
7. Be Careful Around the Magic Mirror Upgrade Menu
One particularly interesting reported trigger involves the Magic Mirror and weapon-upgrade interactions. If your crash repeatedly happens while opening an upgrade menu, spending Red Souls, or moving between equipment-related screens, treat that pattern as important evidence.
Don’t immediately assume your save is broken. First, eliminate variables.
- Disable third-party mods and trainers.
- Turn off recording and overlay software.
- Restart the game before entering the menu.
- Keep a manual save before major upgrade sessions.
- Avoid changing several graphics or system settings at the same time.
If the crash happens consistently at exactly the same menu or action even after a clean installation and cache reset, the problem may be on the game’s side rather than your PC. At that point, a future Capcom patch could be more important than another hour of Windows tweaking.
8. Test Administrator Rights Carefully
Running the executable as administrator is another troubleshooting step, although I would place it below file verification, cache cleanup, and graphics testing.
Locate the game’s executable, open its Properties, switch to Compatibility, and test Run this program as an administrator.
You can also test Disable fullscreen optimizations.
Restart the game after applying the change.
Don’t permanently give every game elevated privileges without a reason. Administrator access changes how an application interacts with Windows, so use it as a diagnostic step rather than treating it as mandatory for every PC title.
9. Check Windows Security and Antivirus Interference
Security software can occasionally interfere with games when files are being created, modified, or accessed rapidly. If Windows Security or another antivirus application is blocking part of the installation, the resulting behavior can look much more mysterious than a simple permissions problem.
Check your security software’s protection history for anything related to the game.
If you have confirmed that a legitimate game file is being incorrectly blocked, you can consider adding the game’s installation folder as an exclusion. Only do this for a legitimate installation from a trusted source.
I would not recommend randomly disabling antivirus protection just to make a game launch. That’s an unnecessary security trade-off and usually isn’t the first troubleshooting step you need.
Best Order to Troubleshoot the Memory Allocation Crash
Instead of changing ten things at once and then wondering which one worked, use this order:
| Priority | Fix | Why Try It |
|---|---|---|
| 1 | Verify Game Files | Rules out damaged or missing installation data. |
| 2 | Clear Shader Cache | Forces fresh shader compilation. |
| 3 | Lower VRAM-Heavy Settings | Reduces GPU memory pressure. |
| 4 | Disable Overlays | Removes common software conflicts. |
| 5 | Adjust Pagefile | Provides more virtual-memory headroom. |
| 6 | Test DX11/DX12 | Checks for rendering API-specific instability. |
| 7 | Administrator/AV Checks | Rules out permission and security interference. |
Don’t Ignore Your Hardware Limits
There is another uncomfortable possibility: your system may simply be running too close to its limits.
Modern games can behave very differently depending on the combination of GPU VRAM, system RAM, CPU, storage, drivers, resolution, and graphics settings. A machine with plenty of raw processing power can still struggle if its VRAM pool is saturated.
Keep an eye on GPU memory usage while playing. If VRAM is consistently sitting at the limit immediately before the crash, that’s a much more useful clue than simply saying, “I have 32 GB of RAM, so memory can’t be the problem.”
Also make sure the game is installed on a reasonably fast SSD. An SSD will not magically fix a genuine memory-allocation bug, but modern games depend heavily on rapid asset streaming, and an old mechanical drive can make loading and streaming behavior considerably less forgiving.
Onimusha Way of the Sword ROG Ally X Performance Guide: How to Get 60 FPS Optimized Settings
What If Nothing Fixes It?
If you’ve verified the installation, rebuilt shader caches, updated your GPU driver, lowered VRAM-heavy settings, disabled overlays, tested the relevant launch options, and adjusted virtual memory without success, stop randomly changing Windows settings.
At that point, the pattern of the crash matters more than another generic “PC optimization” trick.
If it happens at the exact same location every time, during the same cutscene, or whenever you enter the same upgrade screen, record the circumstances. Note your GPU, CPU, RAM amount, driver version, graphics settings, and whether the crash occurs after a fresh boot.
That information is far more useful for identifying a reproducible game bug than simply reporting that Onimusha: Way of the Sword crashes on PC.
Final Verdict
The “Fatal Error: Memory Allocation Block Failed” message is frustrating because it sits right at the intersection of hardware, Windows, drivers, and the game engine. There isn’t one magic button that fixes every configuration.
My recommendation is to start with the boring stuff: verify the game, clear shader caches, reduce VRAM pressure, and disable overlays. Those steps are quick, reversible, and tell you a lot about where the problem is coming from. If the crash continues, move on to virtual-memory adjustments and DirectX launch testing.
And if the crash is tied specifically to a particular menu, cinematic, boss encounter, or loading transition despite a clean PC configuration, don’t spend your entire evening blaming your hardware. Sometimes the game really is the problem.
Capcom’s samurai revival deserves a stable PC launch. When the swordplay is working, that’s where you want your attention—not staring at a Windows desktop after another unexplained allocation crash. Until a permanent software fix arrives for configurations affected by the issue, these troubleshooting steps give you the best practical route toward getting back into the fight.