WARDOGS Drone Guide: How to Master FPV Kamikaze Drones in Bulkhead’s Shooter
There are plenty of modern shooters that give you a drone and call it a day. You press a button, fly around for a few seconds, mark somebody, and move on.
WARDOGS is not really that kind of game.
The first time I got my hands on the FPV kamikaze drone, I honestly expected something fairly simple. Instead, I launched the thing, watched it shoot into the sky like it had somewhere very important to be, tried to turn too aggressively, and nearly sent several thousand credits directly into the ground.
After spending more time with WARDOGS, though, I started to understand why the drone works the way it does. This isn’t designed to be a cheap kill-streak toy. It’s a tactical weapon that can completely change a battle when you use it against the right target.
And that’s what makes it so much fun.
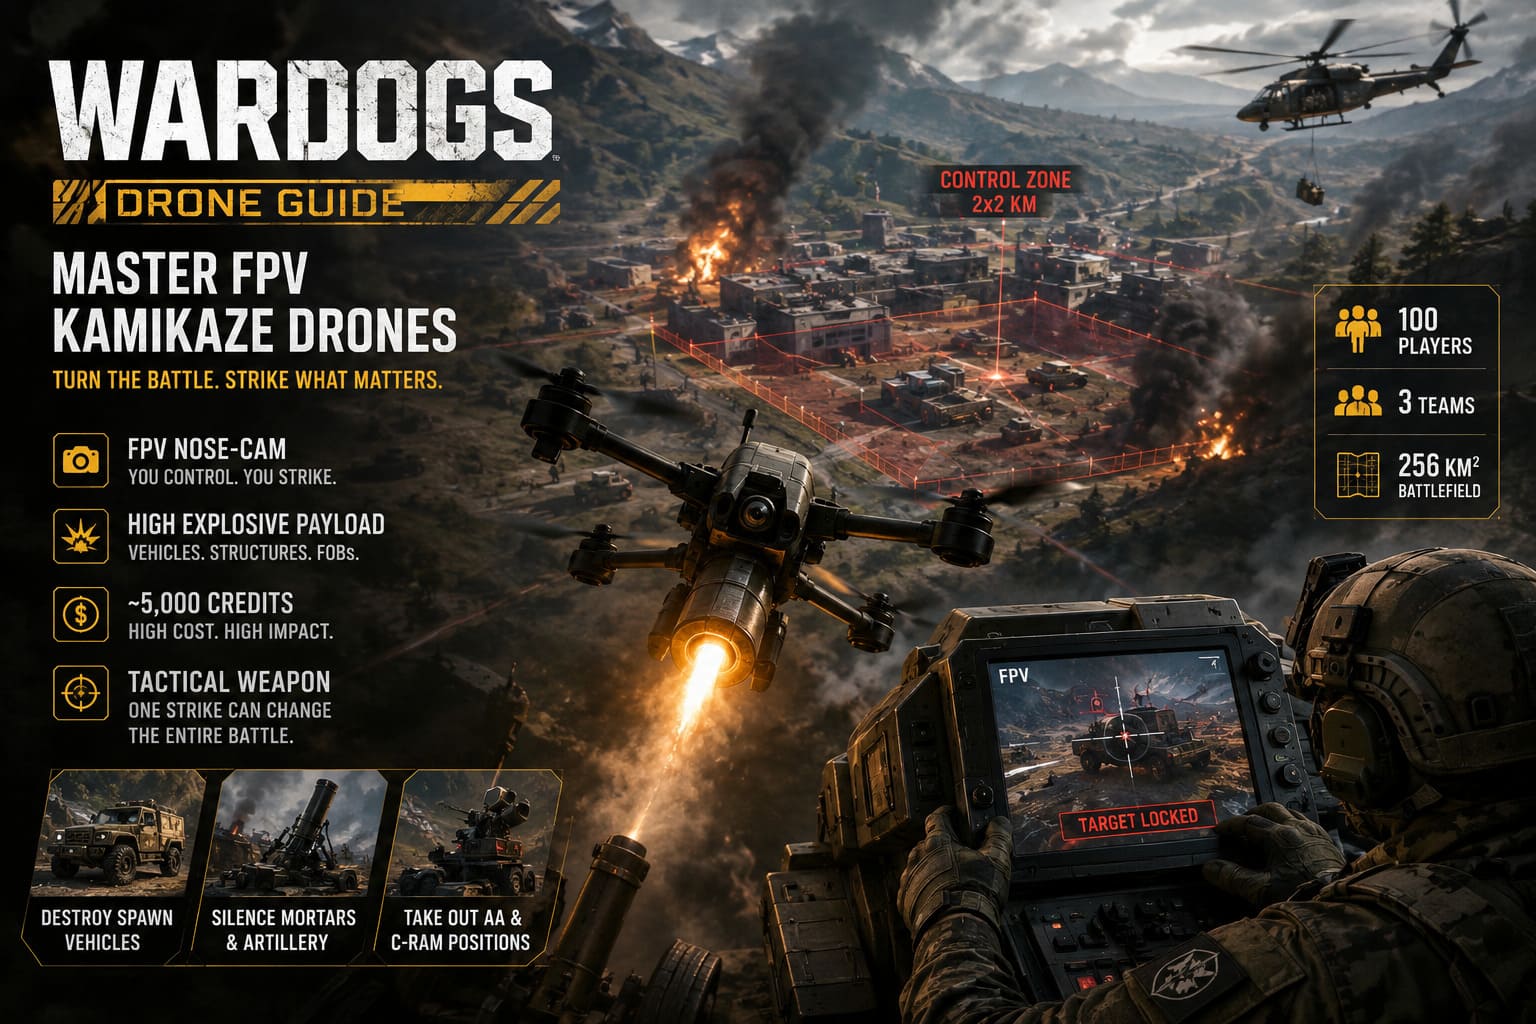
WARDOGS throws 100 players across three teams into enormous battles, with everyone fighting over a randomized 2×2 km Control Zone inside a massive 256 km² battlefield. Infantry, armored vehicles, artillery, helicopters, fortifications and logistics all collide around that objective. In the middle of all this chaos, an FPV drone gives you a way to reach targets that would otherwise be incredibly difficult to touch.
So, after getting plenty of experience with the system, here’s how I recommend approaching WARDOGS drones, especially if you’re still crashing more often than you’re hitting targets.
Why the FPV Drone Is Actually Worth Learning
The drone is expensive, difficult to control and surprisingly vulnerable.
So why bother?
Because the right drone strike can accomplish something that would otherwise require an entire squad.
Imagine an enemy team has pushed a spawn vehicle deep into a fortified FOB. Infantry are pouring out of it, mortars are firing over the walls, and your squad can’t get close without being shredded.
You could spend ten minutes trying to break that position.
Or you can find a drone launch point, get airborne, make one good approach and remove the most important asset in the entire base.
That’s where the drone becomes incredibly powerful.
| Drone Feature | What It Means In Practice |
|---|---|
| FPV Nose-Cam | You directly control the drone after launch |
| Mortar Launch | The drone gains significant altitude and speed immediately |
| High Explosive Payload | Best suited for vehicles, structures and fortified positions |
| High Cost | Every launch needs to have a tactical purpose |
| Difficult Handling | Wide turns and planned approaches work much better |
Personally, I think this is one of the better examples of WARDOGS trying to make modern military technology feel like part of the battlefield rather than a traditional FPS killstreak.
How Do You Unlock and Launch a Drone in WARDOGS?
You don’t simply select an FPV drone from your loadout and spawn with it.
Infrastructure comes first.
WARDOGS ties advanced battlefield tools into its construction and logistics systems, which means you’ll need to participate in the support side of the game before you can start treating drones as your personal air force.
1. Progress Through Support and Logistics
If you want access to advanced forward structures, you need to invest in the Support progression track.
Construction is particularly important here. Keep a hammer available in your loadout and actually use it. Building fortifications, maintaining positions and contributing to your team’s infrastructure isn’t just busywork.
It directly opens up more tactical possibilities.
2. Establish a Forward Position
Your team needs a suitable forward position before you can make serious use of drones.
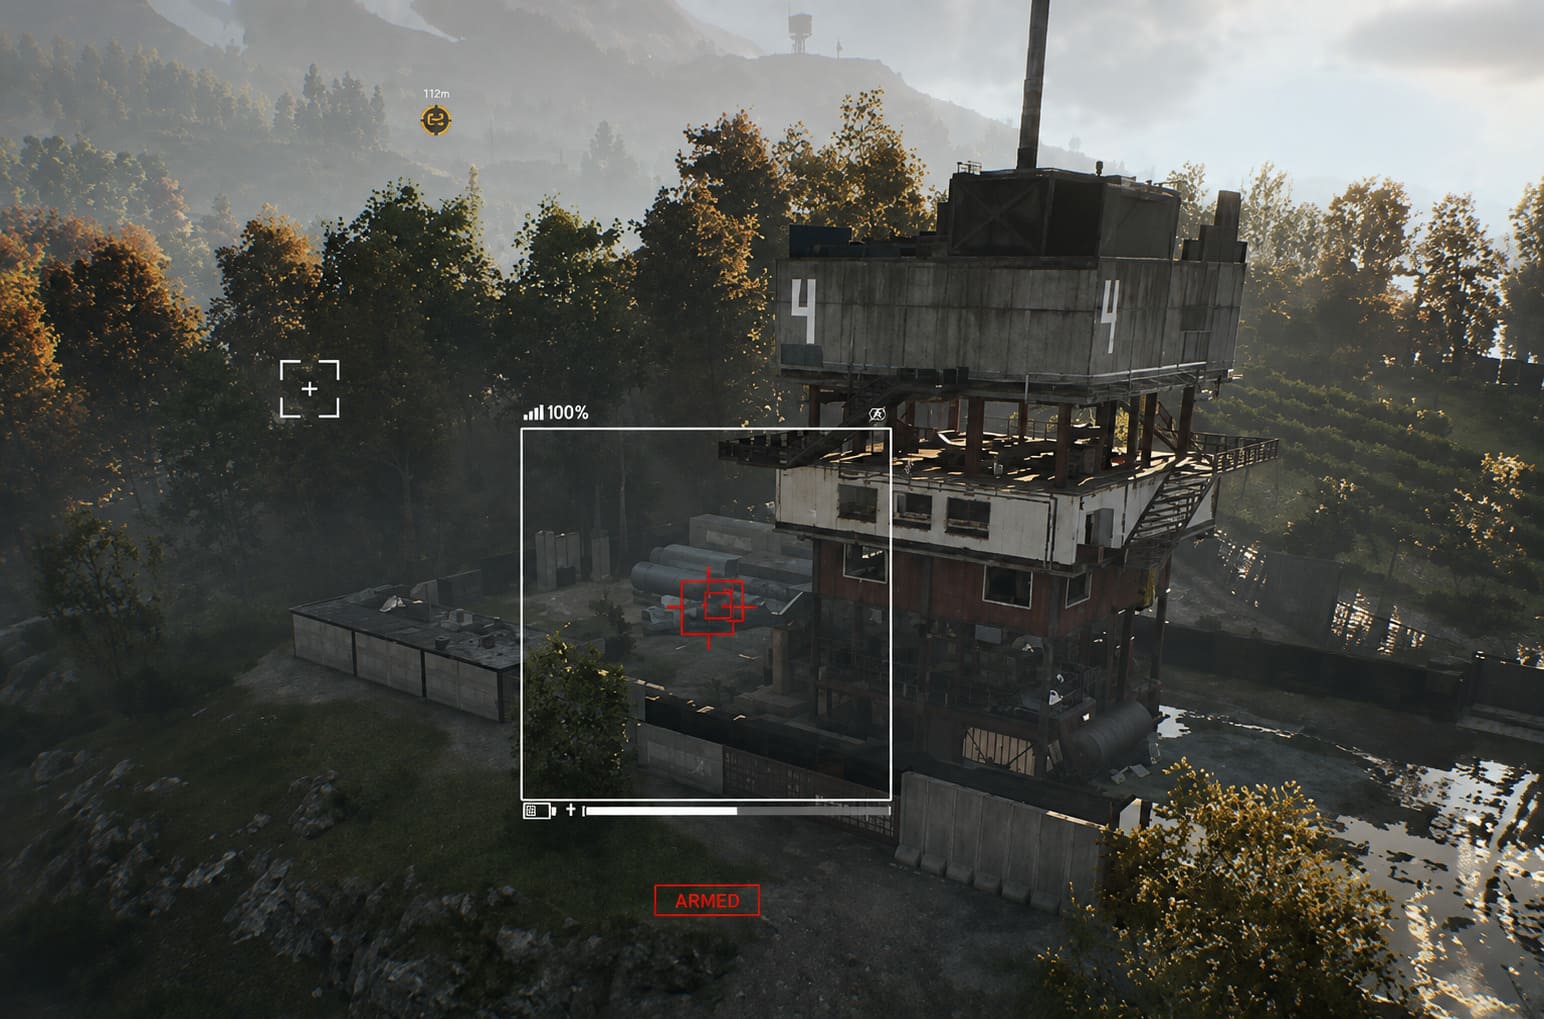
That can mean building up a Forward Operating Base or developing a captured strategic tower. WARDOGS’ enormous maps make logistics extremely important, so getting construction materials where they need to go is often just as important as winning a gunfight.
Once the position reaches the appropriate technical level, you can install the infrastructure needed for drone operations.
3. Don’t Forget the Cost
This is the part that caught me off guard.
Drones are not something I’d recommend launching every time you see an enemy vehicle.
A launch can cost around 5,000 credits, depending on the game’s economy and progression. That’s a serious investment.
Before launching, ask yourself one question:
“If I hit this target, will it actually change the battle?”
If the answer is no, keep your money.
The Biggest Mistake: Fighting the Drone’s Physics
This is probably the most important thing I can tell new drone pilots.
Stop trying to turn immediately after launch.
The drone doesn’t behave like a tiny helicopter. The initial launch sends it upward and forward at considerable speed, and the handling can feel extremely heavy when you first start using it.
My first few attempts were basically:
Launch → panic → turn too hard → miss everything → crash.
Once I stopped doing that, things became much easier.
Give Yourself Room
When the drone leaves the launcher, let it climb.
Don’t immediately attempt a dramatic 180-degree turn because you spotted a tank nearby. The drone needs room to maneuver, and fighting its momentum is a great way to lose control.
Instead, I prefer a broad approach:
- Launch and climb.
- Move away from the launch position.
- Create a wide turning arc.
- Line up with the target from a useful angle.
- Begin the final dive only after the approach is stable.
It feels slower, but it is dramatically more reliable.
My Favorite Drone Targets
Here’s where I think new players often misunderstand the role of the FPV drone.
You shouldn’t be looking for the player with the biggest kill count.
You should be looking for the asset that is enabling the enemy team to keep fighting.
1. Enemy Spawn Vehicles
If I see an enemy spawn vehicle parked close to the front line, it immediately jumps near the top of my target list.
Why?
Because destroying that vehicle isn’t just one kill.
It can potentially interrupt an entire stream of reinforcements.
An enemy team might have dozens of players repeatedly spawning from that position and immediately returning to the Control Zone. Remove the spawn vehicle and suddenly their frontline becomes much harder to maintain.
That’s an excellent trade for a drone.
2. Mortars and Artillery
A well-positioned mortar battery can make attacking a fortified position miserable.
If enemy artillery is sitting somewhere your infantry can’t realistically reach, a drone gives you another option.
This is especially useful when the opposing team has established a defensive setup around the Hot Zone and is using indirect fire to keep your players pinned down.
I would much rather spend one expensive drone destroying the enemy’s artillery network than use three drones trying to hunt random infantry.
3. AA Guns and C-RAM Positions
Air defenses can make helicopter operations extremely dangerous.
If your team is trying to move troops by helicopter but keeps losing aircraft before they reach the objective, look for the source of the problem.
Stationary AA positions are excellent drone targets because they are predictable, relatively large and extremely valuable to the enemy’s defensive setup.
Destroying one can suddenly make the entire sky safer for your team’s pilots.
4. Helicopters
This one is considerably harder.
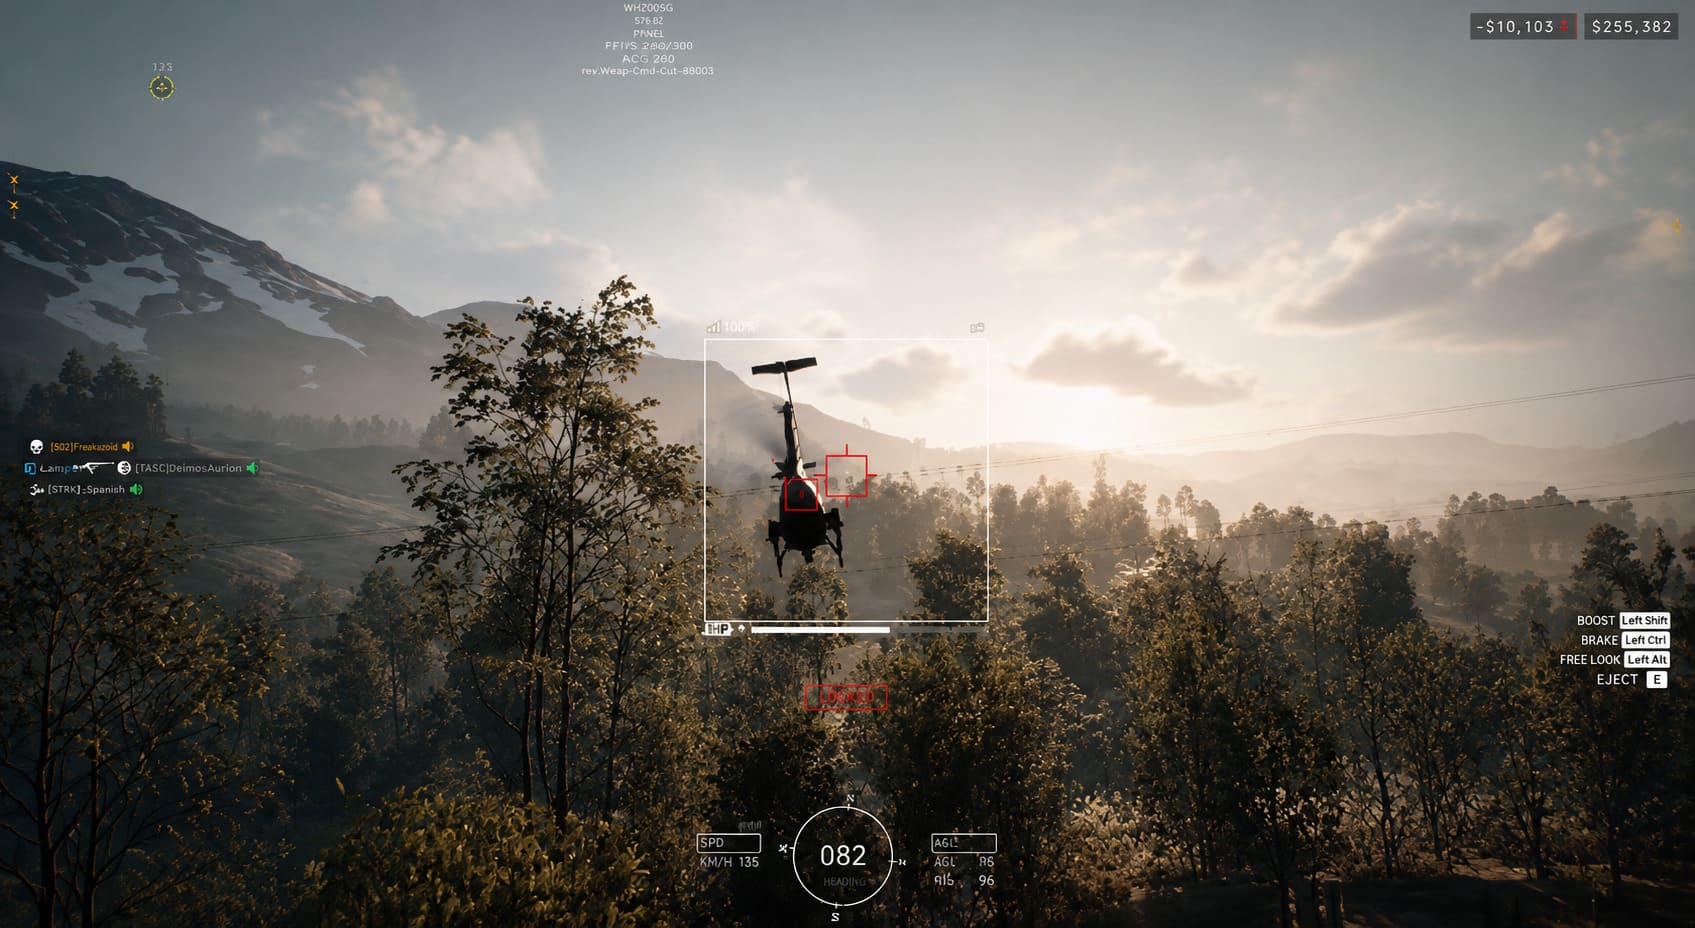
A moving helicopter is not an easy target for an FPV drone, particularly while you’re still learning the controls.
However, helicopters become much more vulnerable when they’re hovering to unload players or supplies.
If you already have good control of the drone, catching a stationary or predictable helicopter can be an incredible play.
I wouldn’t make this my primary strategy, though. A guaranteed ground target is usually worth more than a risky helicopter chase.
The Economy Matters More Than Your Kill Count
One thing I really like about the drone system is that it forces you to think beyond individual kills.
In a normal shooter, wasting a piece of equipment can be annoying.
In WARDOGS, wasting an expensive drone can hurt your team’s overall ability to maintain pressure.
That’s why logistics players are so important.
Your drone operation should ideally be connected to a larger supply network. Transport vehicles and supply crates keep forward positions functional and help your team maintain the resources necessary for continued operations.
So if you’re playing the dedicated drone operator role, don’t ignore the logistics guys.
They might be the reason you can launch another drone five minutes later.
How to Avoid Getting Your Drone Shot Down
Even when you’ve mastered the controls, the enemy can still ruin your day.
C-RAM systems, AA guns and attentive players can all turn your expensive drone into scrap metal.
The biggest mistake here is flying the same predictable route every time.
If you always launch from the same FOB and fly directly toward the enemy base, eventually someone will notice.
Try changing your approach angle and using the terrain and available airspace to make your final attack less obvious.
Protect the Operator Too
There’s another problem that is easy to forget.
While you’re sitting at the drone terminal, your actual soldier isn’t doing much to protect himself.
You’re focused on the FPV camera rather than what’s happening around your character.
That means the terminal should ideally be inside a protected position, preferably behind walls or other defenses. If possible, have a teammate watching the area.
There’s nothing worse than lining up the perfect 5,000-credit strike only to discover that an enemy player walked into your FOB and eliminated you while you were flying.
WARDOGS Economy Guide: How to Buy Weapons, Manage the Buy Menu, and Build Meta Loadouts (2026)
My Simple WARDOGS Drone Routine
After experimenting with the system, this is the routine I’d recommend:
Build → Supply → Launch → Climb → Wide Turn → Identify → Dive → Impact → Reassess.
Don’t rush it.
The drone is at its best when you’re patient.
If the enemy has a critical spawn vehicle, artillery battery or AA emplacement that is causing serious problems, that’s when you spend the money.
If you see a random jeep driving across the map?
Let it go.
Save the drone.
How to Fix WARDOGS High Ping and Packet Loss: Network Optimization Guide (2026)
Final Thoughts: Is the WARDOGS Drone Worth It?
Absolutely — but only if you treat it like a strategic weapon.
I wouldn’t recommend building your entire playstyle around drones. They’re too expensive and too dependent on infrastructure for that. WARDOGS is at its best when you move between roles: fight as infantry, help build the FOB, drive logistics, operate vehicles and then jump onto the drone terminal when the battlefield presents a genuinely valuable target.
And that’s exactly why I enjoy the system.
The drone isn’t powerful because it gives you free kills. It’s powerful because it rewards good battlefield awareness.
Once you understand the physics and stop trying to fly it like an arcade drone, the whole thing starts making sense. Get altitude, create space, choose your target carefully and commit to the final dive.
My biggest piece of advice is simple:
Don’t ask how many kills your drone can get. Ask what enemy asset your drone can remove that your team is currently struggling to deal with.
That’s when the FPV drone stops being an expensive toy and becomes one of the most satisfying tactical tools in WARDOGS.
Quick Drone Checklist
- Have enough credits before launching.
- Build and protect your forward drone infrastructure.
- Let the drone gain altitude after launch.
- Use wide turns instead of aggressive corrections.
- Prioritize spawn vehicles, artillery and AA defenses.
- Avoid wasting drones on individual infantry.
- Coordinate with logistics and supply players.
- Protect the drone terminal from enemy flankers.
- Change your approach angles when possible.
- Most importantly, make every launch count.
WARDOGS has plenty of flashy weapons and vehicles, but for me, the FPV drone is one of the systems that best captures what makes the game interesting: the battlefield is huge, resources matter, and sometimes the smartest move isn’t pulling the trigger yourself — it’s finding the one target that makes the entire enemy position collapse.