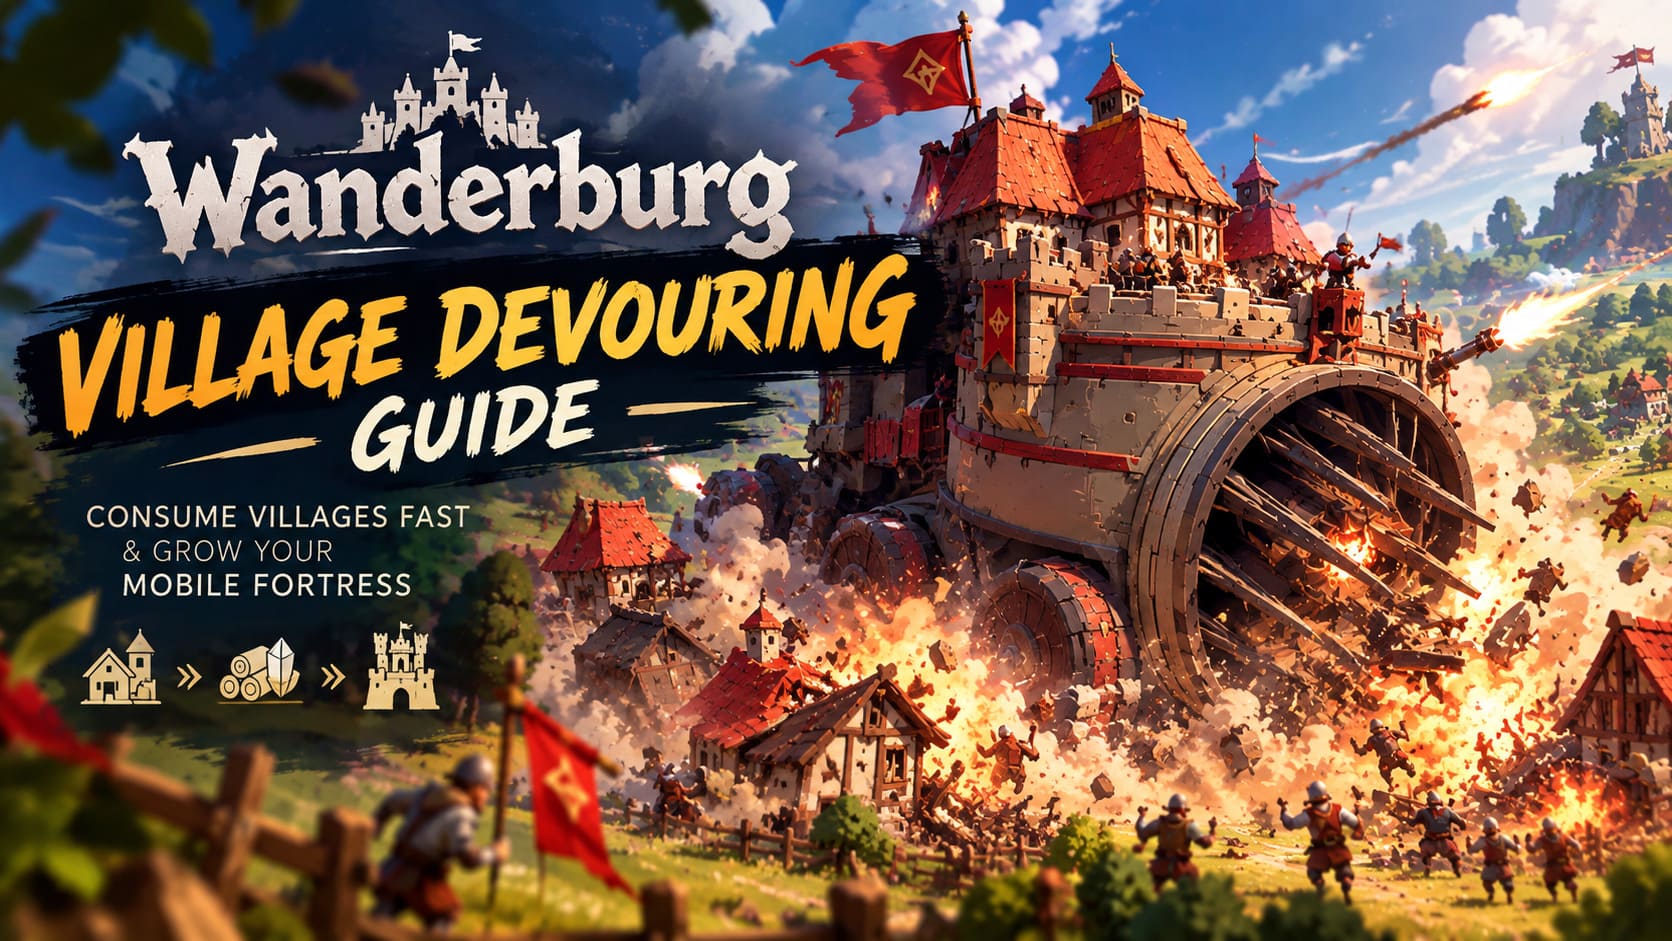
Wanderburg Village Devouring Guide: How to Consume Villages Fast and Grow Your Mobile Fortress
If there is one thing Wanderburg taught me pretty quickly, it is that you should stop thinking like a traditional strategy-game player. You are not sitting behind castle walls waiting for an enemy army to attack. You are driving a gigantic fortress around the map, chasing settlements that are actively trying to escape you, while everything from projectiles to rival strongholds is doing its best to turn your run into scrap metal.
That is what makes devouring villages in Wanderburg so much fun. It sounds ridiculous at first, but it is actually one of the most important mechanics in the entire game. Villages are your fuel for growth. They provide resources, population, experience, and the materials needed to turn a relatively modest castle into a ridiculous mobile war machine.
After spending enough time experimenting with different approaches, I found that simply driving toward every village you see is not particularly efficient. The real trick is learning how to control their escape routes, keep your momentum, and build your fortress specifically for fast clearing. In this guide, I will go through the methods that have worked best for me when trying to consume villages quickly in Wanderburg.
Why Village Devouring Is So Important in Wanderburg
Village consumption is not just another way to collect loot. It directly affects how quickly your castle develops during a run. Every successful harvest pushes your fortress further toward the absurd late-game machines that Wanderburg is built around.
The first major benefit is castle expansion. As you consume settlements, your fortress grows physically and gains additional grid space. That extra room is extremely valuable because it gives you more opportunities to mount weapons, defensive modules, magical towers, and other upgrades.
There is also a substantial resource advantage. Villages can provide large amounts of the materials and experience required to keep your build scaling. If you spend too much time wandering around without harvesting settlements, you can reach later encounters feeling dramatically underpowered.
| Village Reward | Why It Matters | Impact On Your Run |
|---|---|---|
| Castle Growth | Expands your available grid | More weapons and modules |
| Resources | Funds upgrades and construction | Stronger fortress |
| Experience | Accelerates progression | Better scaling |
| Population | Supports your growing fortress | Improved overall development |
Personally, I think this is one of the best parts of Wanderburg’s design. The game constantly encourages you to take risks. You are not farming villages because the game tells you to complete a checklist. You are doing it because the difference between a well-fed fortress and an underdeveloped one becomes painfully obvious later.
The Biggest Mistake: Chasing Villages Head-On
This was probably my biggest early mistake. I used to see a village, point the castle directly at it, and assume that being a giant moving fortress meant I would eventually run it over.
That sounds logical. It is also surprisingly inefficient.
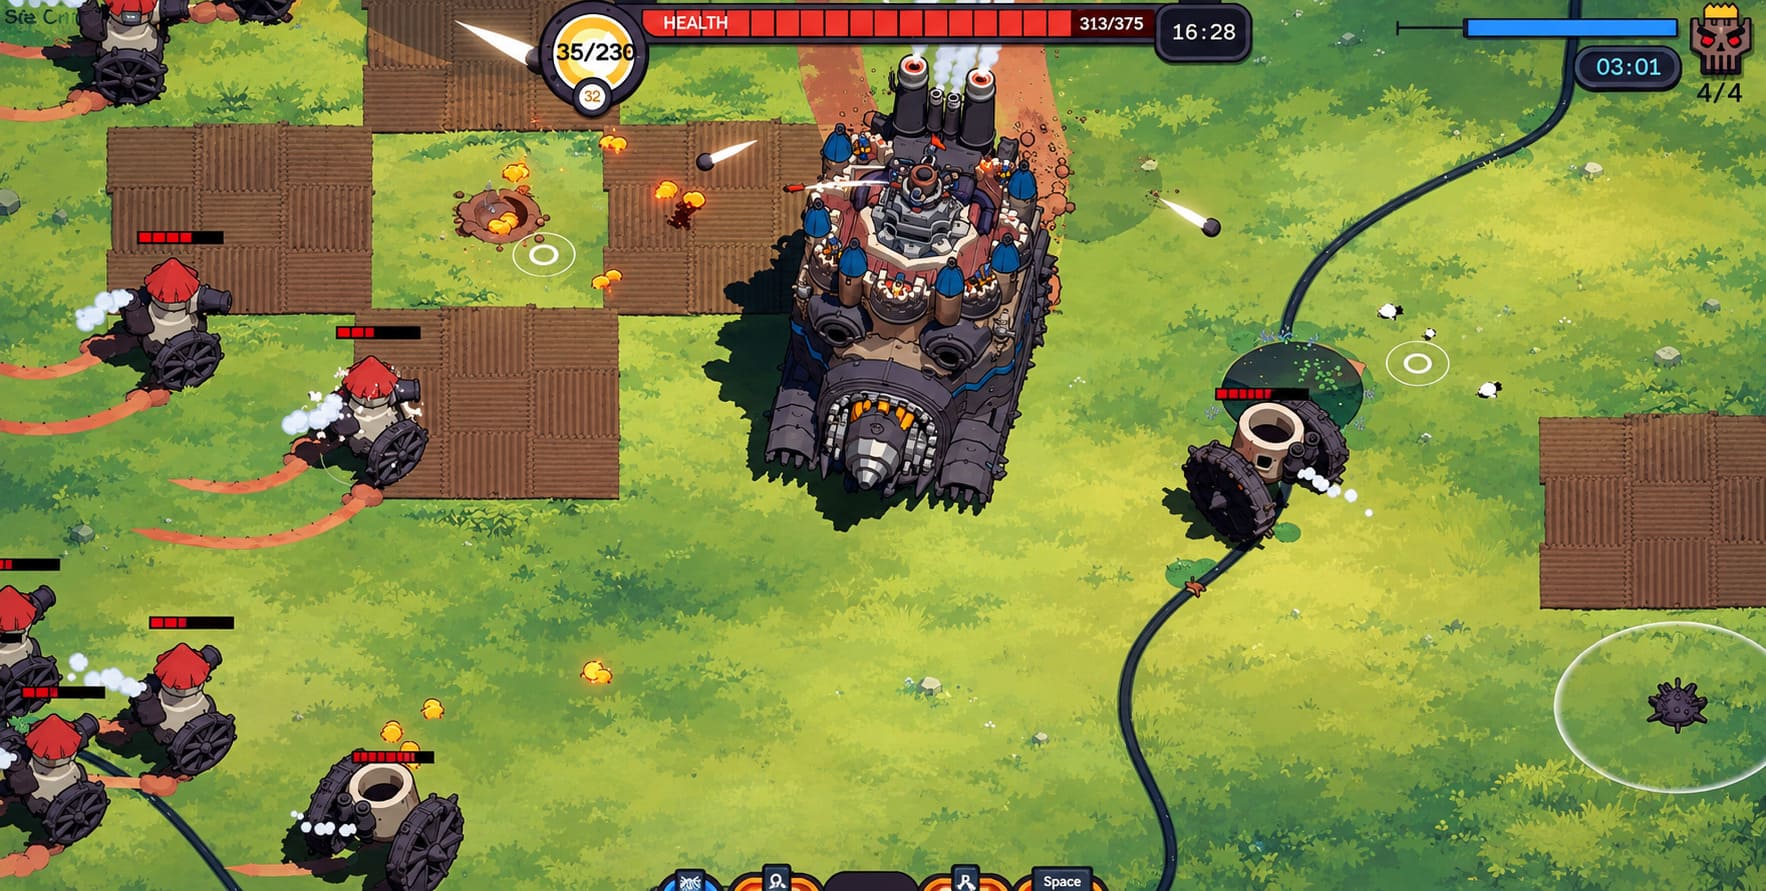
Villages start scattering once you get close enough. Individual buildings and mobile units begin moving in different directions, and suddenly you are turning your enormous castle around trying to catch targets that were originally sitting in one convenient cluster.
The solution is to think about where the village will flee, rather than where it is standing right now.
1. Upgrade Movement and Master Your Castle Dash
If your goal is fast village farming, movement speed is one of the most valuable investments you can make during the early portion of a run.
Wanderburg’s castle has weight and momentum, so changing direction is not as simple as moving a character in a conventional action game. That matters enormously when a settlement starts running away. If your fortress is slow to accelerate or has a long recovery between movements, you can lose a lot of time before you even reach the village.
My priority is engine upgrades early. I would much rather have a slightly less destructive castle that can actually reach its targets than a walking arsenal that takes forever to get anywhere.
The Castle Battle Dash is especially useful here. Save it for the moment when the village begins scattering instead of wasting it simply to move around the map. A well-timed dash can close the gap and put the main body of the settlement directly under your wheels.
- Improve engine performance early.
- Prioritize movement speed when possible.
- Use the Castle Battle Dash to intercept fleeing clusters.
- Avoid unnecessary sharp turns that destroy your momentum.
2. Use the Map to Trap Fleeing Villages
This is where village hunting starts becoming genuinely interesting.
Open terrain is actually one of the worst places to chase a settlement because the enemy has room to run in almost every direction. Instead of following behind them, I recommend looking for natural barriers.
Map edges, valleys, narrow passages, and other terrain features can effectively become invisible walls. If you approach from the correct angle, you can force the village toward one of these barriers and dramatically reduce the number of directions it can escape.
Think of it as herding rather than chasing.
Once the settlement is compressed into a smaller area, your AoE weapons become much more effective. More importantly, your castle does not need to perform three-point turns every five seconds just to catch a single fleeing building.
The best village clear is the one where the village never gets the opportunity to spread out.
3. Deal With Watchtowers Before They Slow You Down
Larger settlements are not completely helpless. Their defensive structures can create serious problems if you ignore them.
Watchtowers and barricades can bombard your fortress as you approach, forcing you to spend time dealing with incoming fire instead of focusing on movement. Even if they do not destroy you, constant damage can interrupt your approach and make an otherwise easy village take much longer to consume.
This is where I prefer a high-damage setup that can quickly remove peripheral defenses.
You do not necessarily need to stop and systematically destroy every defensive structure. The goal is simply to remove the threats that are actively preventing you from maintaining momentum. Once the dangerous perimeter is gone, you can drive directly through the settlement and let your castle’s weapons finish the job.
Best Weapons for Fast Village Clearing
This is another area where I think players can easily build for the wrong situation. A weapon that is fantastic against a single massive fortress is not automatically the best tool for harvesting a spread-out village.
For village clearing, I strongly prefer AoE damage, coverage, and crowd control over pure single-target damage.
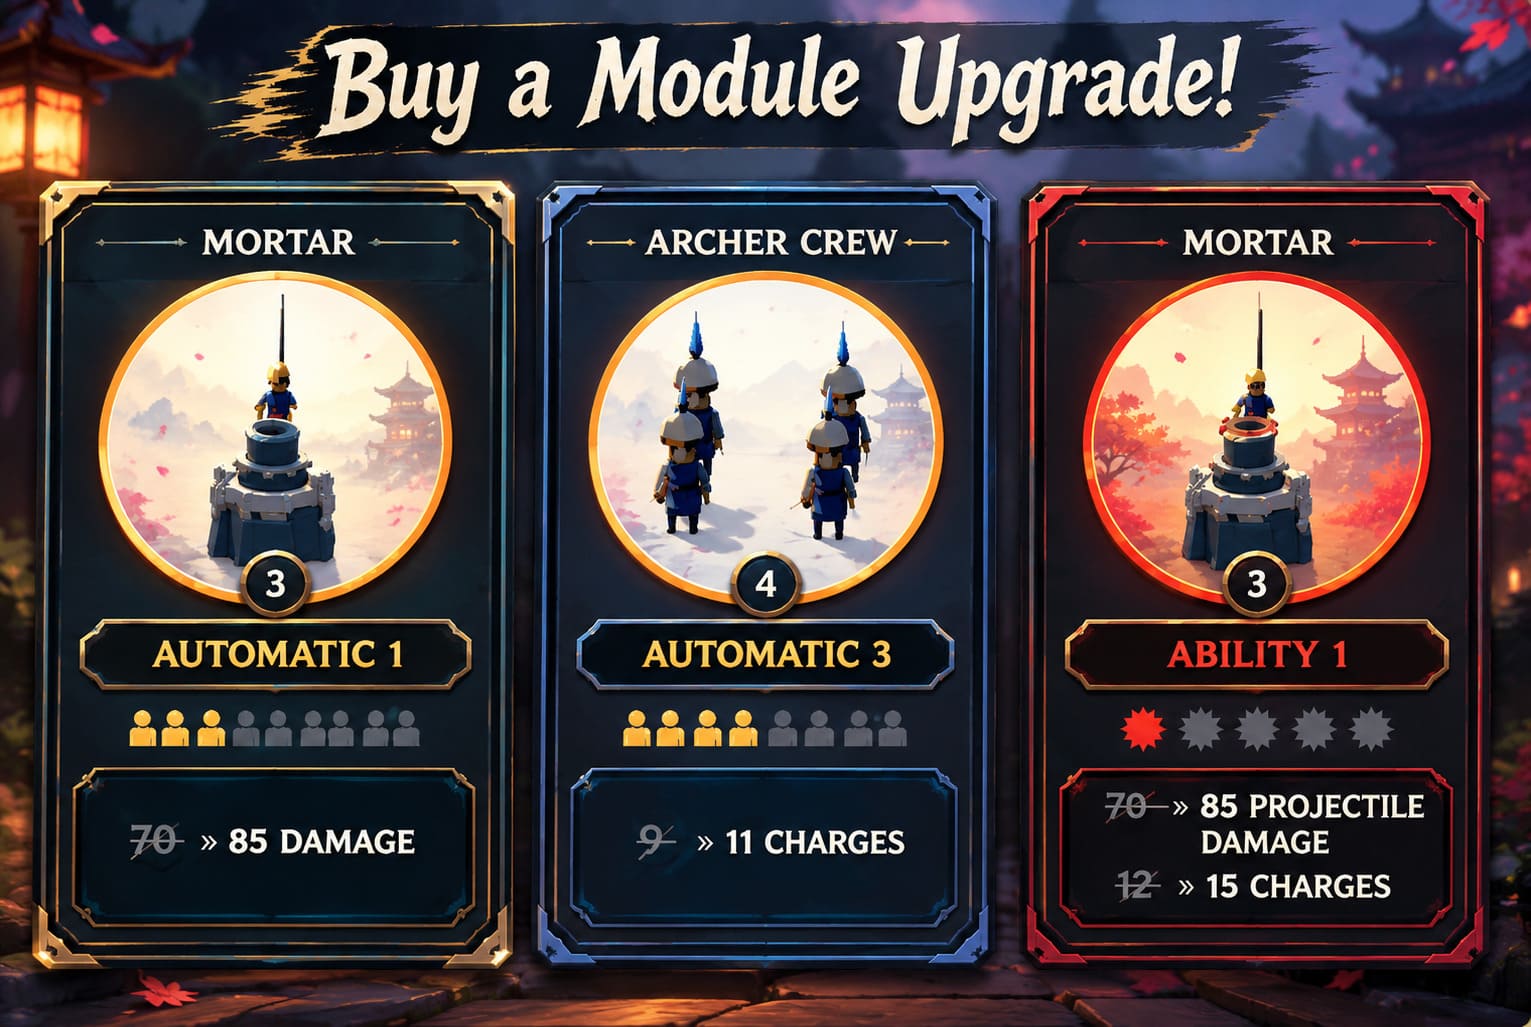
The Mortar
The Mortar is one of my favorite choices for village farming. Its ability to fire explosives over obstacles and into clustered targets makes it extremely useful when settlements start scattering.
Instead of trying to line up every target manually, you can cover an area and let the explosions do the work. This becomes particularly strong when combined with improvements to reload speed and explosion radius.
If I had to choose one weapon as the backbone of a village-farming build, the Mortar would be near the top of my list.
Magma Core
The Magma Core takes the opposite approach. Rather than attacking from a distance, it rewards you for getting extremely close.
For aggressive players, this thing can be brutal. Drive straight through the center of a settlement and the Magma Core can burn everything around your fortress while you maintain forward movement. There is something extremely satisfying about watching a village disappear while your castle never even stops rolling.
The downside is obvious: you have to get close. If the village is heavily defended, rushing straight into it without adequate protection can turn a farming trip into a repair bill.
Arcane and Wizard Towers
Once your castle has enough grid space, magical towers can provide another useful layer of coverage. Their homing projectiles are particularly handy for dealing with scouts, stragglers, or mobile targets that escape the main group.
I would not build an entire fortress around them just for village farming, but they are excellent as supporting weapons. They reduce the number of annoying survivors that would otherwise force you to turn around and chase them.
| Module | Best Use | My Take |
|---|---|---|
| Mortar | Long-range AoE | Excellent all-round village weapon |
| Magma Core | Close-range destruction | Fantastic for aggressive ramming |
| Arcane Towers | Homing support fire | Great for finishing stragglers |
Grasslands Village Farming Strategy
The Grasslands are deceptively simple. You get plenty of space to drive around, but that also means villages have plenty of room to escape.
Here, I put more emphasis on raw movement speed and wide-area weapons. Mortars are particularly comfortable because they allow you to keep damaging the village while repositioning your castle.
The map edges are also extremely valuable. If you can push a settlement toward the boundary without accidentally running into another major threat, you can turn a huge open field into a controlled killing zone.
Do not rush into the middle of the map simply because you see a village. Look at the terrain first. A few seconds of planning can save you a surprisingly long chase.
Desert Strategy: Change the Way You Hunt
The Desert is where I stop trying to play Wanderburg like the Grasslands. The environment changes the way your fortress moves, and the villages come with their own nasty defensive tricks.
Mechanical legs become much more useful here, especially when terrain gaps and uneven surfaces start disrupting conventional movement. The ability to jump over obstacles and land directly inside a settlement can completely change how quickly you can clear an outpost.
Desert settlements can also feature mobile hammer towers and large walking cannons. On top of that, sandstorms can reduce visibility and make ranged attacks less predictable.
Because of this, I like a much more aggressive setup in the Desert. Magma Core, melee-oriented modules, and mobility upgrades work extremely well together. Instead of sitting at range while the settlement escapes, close the distance, land inside the enemy formation, and start crushing everything immediately.
Village Devouring Mistakes I Try to Avoid
Even after you understand the basic strategy, there are several ways to waste time during a run.
Chasing Low-Value Targets
If one tiny mobile unit breaks away from the village, do not automatically turn your entire fortress around to chase it. This is one of the easiest ways to destroy your momentum.
Take the village core first. If you can collect the majority of its value quickly, move on. Wanderburg rewards momentum more than perfection.
Building a Complete Glass Cannon
Speed and AoE damage are fantastic, but you still need protection. A fortress that can devour a village in seconds but gets destroyed by the next encounter is not exactly an efficient build.
I always want at least some armor or defensive protection around the front of the castle. You are going to ram things. It is better to accept that fact and build accordingly.
Entering a Trap Without Checking the Map
Using a canyon to trap a village sounds great until you realize that you have trapped yourself in there with a stronger enemy fortress.
Before committing to a chase, take a quick look at the surrounding terrain and threats. The best shortcut in Wanderburg is sometimes simply choosing not to enter a bad position.
How to Fix Wanderburg Black Screen on Launch: Complete PC Troubleshooting Guide
My Ideal Fast-Devour Build
If I am specifically starting a run with the goal of scaling my fortress as quickly as possible, my general priority looks something like this:
- Movement and engine upgrades early in the run.
- Castle Dash improvements for fast interceptions.
- Mortar as the primary AoE clearing tool.
- Magma Core when the build supports aggressive close-range attacks.
- Defensive upgrades to survive ramming and perimeter fire.
- Arcane Towers once additional grid space becomes available.
This is not the only viable setup, and I would not treat it like a rigid meta build. Wanderburg is at its best when you adapt to what the run gives you. Sometimes the game hands you upgrades that make a completely different strategy much stronger.
Is Wanderburg Coming to PS5 and Xbox Series X/S? Release Date and Console Rumors
Final Thoughts
For me, the most enjoyable part of Wanderburg village devouring is that it turns resource gathering into an actual gameplay challenge. You are not walking around collecting glowing objects from the ground. You are hunting a moving settlement with a giant castle while trying to predict where it will run.
The fastest players are not necessarily the ones with the biggest weapons. They are the ones who understand movement, positioning, terrain, and momentum.
Upgrade your engine early, learn to use the Castle Battle Dash, herd villages toward terrain barriers, and build around AoE weapons rather than obsessing over single-target damage. Mortars are my personal favorite for reliable clearing, while Magma Core becomes incredibly entertaining when you want to turn your castle into a rolling flamethrower.
Most importantly, do not waste time chasing every last straggler. Consume the valuable part of the settlement, keep moving, and find the next target. That rhythm is what turns an average Wanderburg run into a snowballing monster of a fortress.
Once you get that loop down, the early game feels completely different. Instead of desperately trying to survive with a small castle, you start actively hunting the map for your next meal. And honestly, that is when Wanderburg starts feeling at its best.