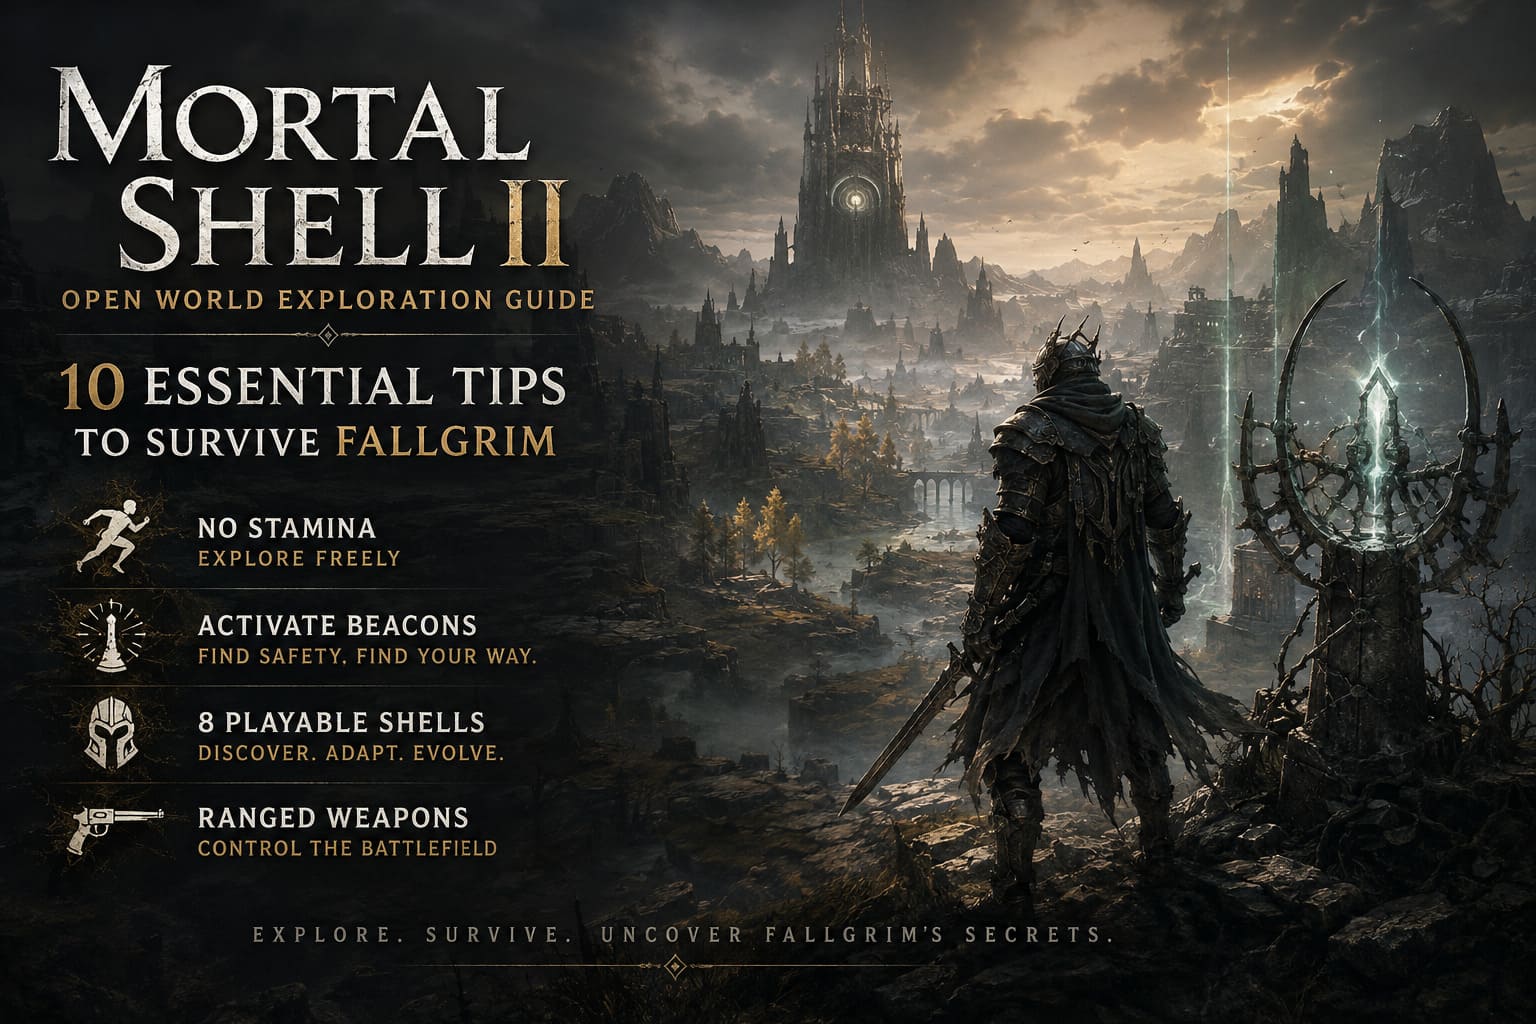
Mortal Shell 2 Open World Exploration Guide: 10 Essential Tips to Survive Fallgrim
If there is one thing Mortal Shell 2 gets right immediately, it is the feeling that Fallgrim is a place rather than a collection of levels. The original game was compact, brutal, and deliberately claustrophobic. Its sequel takes that foundation and stretches it into a much larger interconnected world filled with hidden routes, strange landmarks, optional dungeons, dangerous enemies, and enough secrets to make wandering around feel like a game in itself.
I have played plenty of soulslikes where “open world” really means a large map with a few activities scattered between fast-travel points. Mortal Shell 2 doesn’t feel like that. Fallgrim constantly gives you reasons to leave the obvious road. A strange light in the distance, a suspicious cliff, a blocked passage, or an enemy camp you can see from a ridge can all lead somewhere worthwhile.
There is also a major mechanical change that completely affects exploration: the traditional stamina bar is gone. That sounds like a small adjustment on paper. It isn’t. It changes how you move, escape, fight, and even how you approach an unfamiliar area.
After spending time getting lost, finding shortcuts, dying in stupid places, and eventually learning how the world wants to be explored, these are my 10 essential Mortal Shell 2 open-world tips.
1. Stop Treating Fallgrim Like a Linear Soulslike
My biggest early mistake was playing Mortal Shell 2 as if I were still inside the original game.
Don’t.
The sequel’s interconnected map rewards curiosity. Areas connect through winding paths, vertical routes, shortcuts, caves, and unexpected entrances. Central locations such as Marrow Keep and Fainweald act as useful reference points, but the real rewards are often somewhere off the main route.
Whenever you reach a new area, take a moment to look around before charging toward the next objective.
Ask yourself:
- Is there a path below me?
- Can I climb that ridge?
- What is that structure in the distance?
- Is there a suspicious dead end or wall nearby?
Some of the best early upgrades and lore discoveries are tucked away precisely where the game expects you not to look.
2. Abuse the No-Stamina System
This is probably my favorite change in Mortal Shell 2.
You can sprint without managing a traditional stamina bar.
That completely changes exploration. In older soulslikes, running through an unfamiliar area while low on stamina can be terrifying because one mistake leaves you unable to escape. Here, you have much more freedom.
And you should use it.
If you accidentally walk into a camp filled with enemies that clearly look stronger than you, there is no shame in turning around and running. In fact, I would argue that this is part of the intended gameplay loop.
Sprint out, break enemy aggression, get your bearings, and approach from another direction. You can also use your mobility to scout dangerous areas before deciding which fights are actually worth taking.
Exploration first, fighting second. That mindset saved me more often than any weapon upgrade.
3. Activate Every Beacon You See
Beacons are some of the most valuable landmarks in Fallgrim.
Whenever I enter a new biome, I make activating the nearest Beacon a priority. These glowing structures give you a reliable point of reference and make the surrounding area much easier to understand.
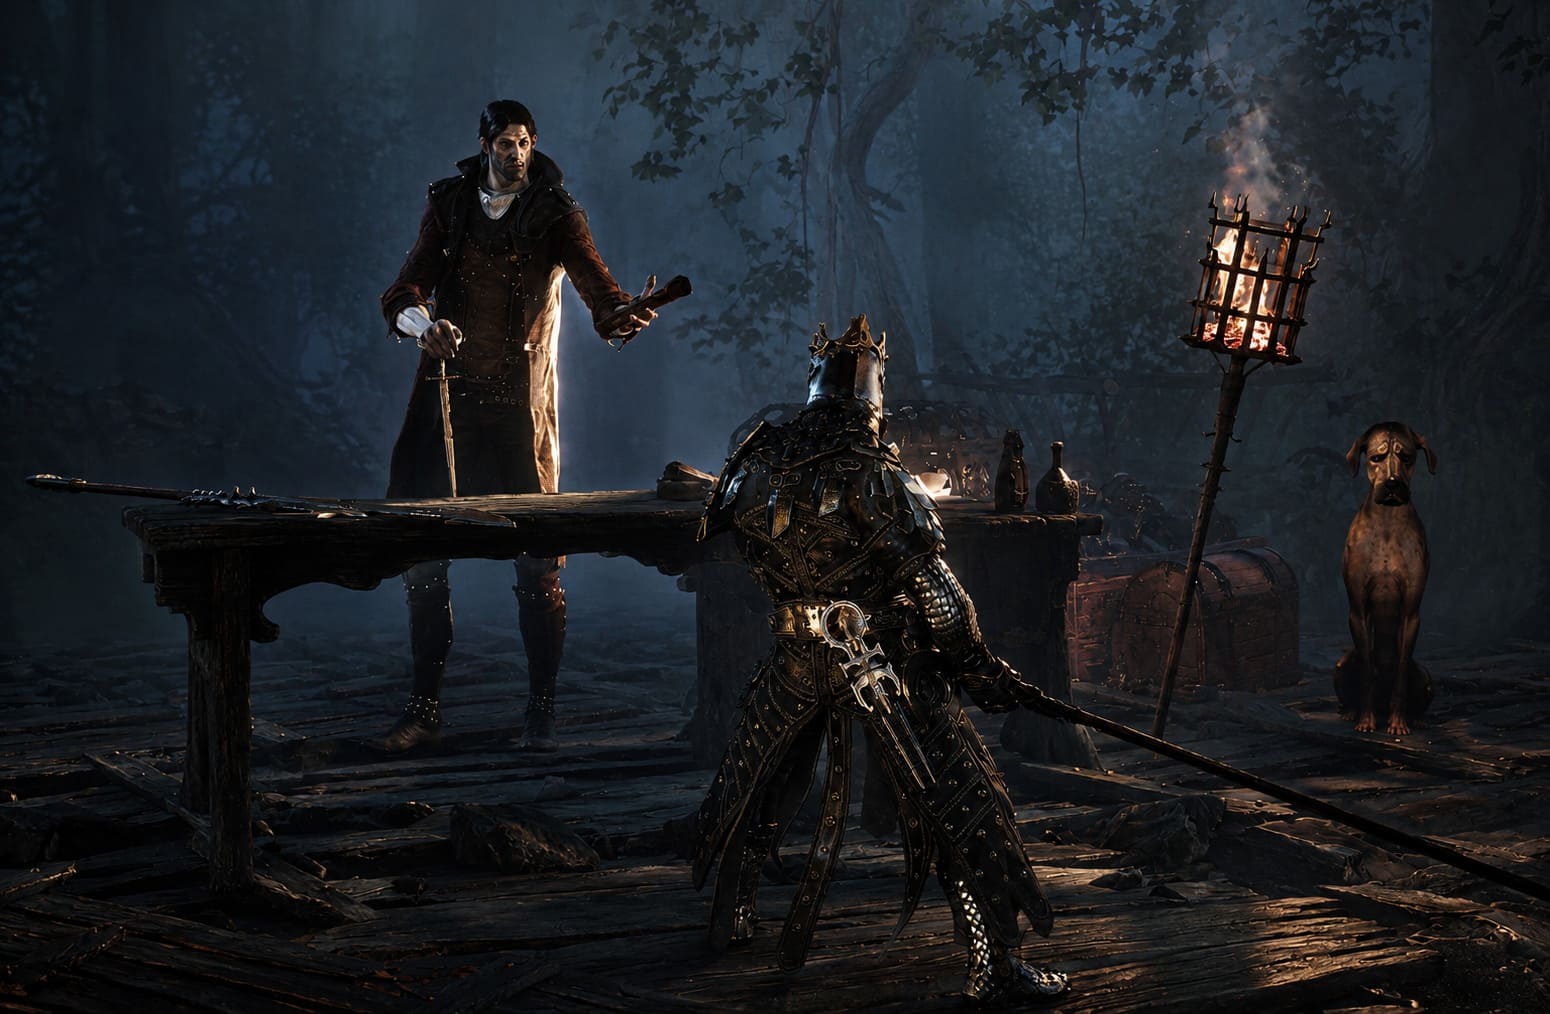
The Outskirts of Mammon Beacon and Mushroom Village Beacon, for example, can become important anchors when you’re exploring nearby routes.
Don’t just run past them because you want to reach the next dungeon.
Get the Beacon active first.
Once you have one established, you have a much safer starting point for exploring caves, valleys, camps, and side paths. I also recommend keeping a mental picture of where your nearest Beacon is before entering a particularly dangerous area.
4. Find the Eight Shells as Early as Possible
If you’re only using the first Shell you find, you’re missing one of the most interesting parts of Mortal Shell 2.
There are eight playable Shells, and each one changes the way your Harbinger approaches combat. Their passive abilities and specialized mechanics can dramatically alter your preferred build.
One of the earliest useful discoveries is Tiel the Acolyte. You can find Tiel near the Widow’s Overlook Beacon by heading down the southern hillside beyond a campsite and investigating the buried glowing skeleton.
That’s exactly the sort of discovery you should be looking for.
I strongly recommend experimenting with different Shells instead of immediately deciding that one is “your character.” A Shell that seems mediocre during your first few encounters can become extremely powerful once you understand its strengths.
And then there is Smert, whose time-manipulation abilities can completely change how certain encounters feel.
Explore. Collect them. Experiment.
5. Get a Ranged Weapon Early
Mortal Shell 2 is still heavily focused on close-range combat, but ranged weapons give you something incredibly valuable: control.
Revolvers, shotguns, medieval firearms, and other ranged tools allow you to pull individual enemies away from groups or damage dangerous targets before entering melee.
The Forgotten Crossbow is particularly useful early on. From the Widow’s Overlook area, make your way toward the Blackridge Pass Beacon, then follow the route across the bridges and investigate the surrounding paths.
Having a ranged option doesn’t mean you should suddenly play the game like a shooter.
Use it intelligently.
Pull one enemy away from a crowd. Trigger an environmental hazard. Damage an elite before closing the distance. Remove a dangerous target from a position where approaching it directly would be a nightmare.
That little bit of range can make a huge difference.
6. Learn How Bone Gates Work
Fallgrim loves vertical traversal, and Bone Gates are one of the easiest things to overlook when you’re focused on enemies.
These structures aren’t simply decoration. They can become launch points and traversal tools that allow you to reach areas that initially appear completely inaccessible.
One example is the route south of the Outskirts of Mammon, where carefully timed Bone Gate jumps can help you cross a huge gap toward Castigator’s Keep.
Another memorable route appears near the snowy rock formations around the Synaptic Vessel. A series of Bone Gate jumps can take you toward the Forgotten Tower, where discovering and shooting a hidden bell beneath the bridge can repair the route and create a valuable shortcut.
Whenever you see a Bone Gate, don’t immediately assume you’ve found a dead end.
Look up. Look across. Look for the next jump.
7. Understand the World’s Difficulty Systems
One thing I appreciate about Mortal Shell 2 is that difficulty isn’t handled exclusively through a conventional menu option.
Certain world-altering items can change the way your journey works.
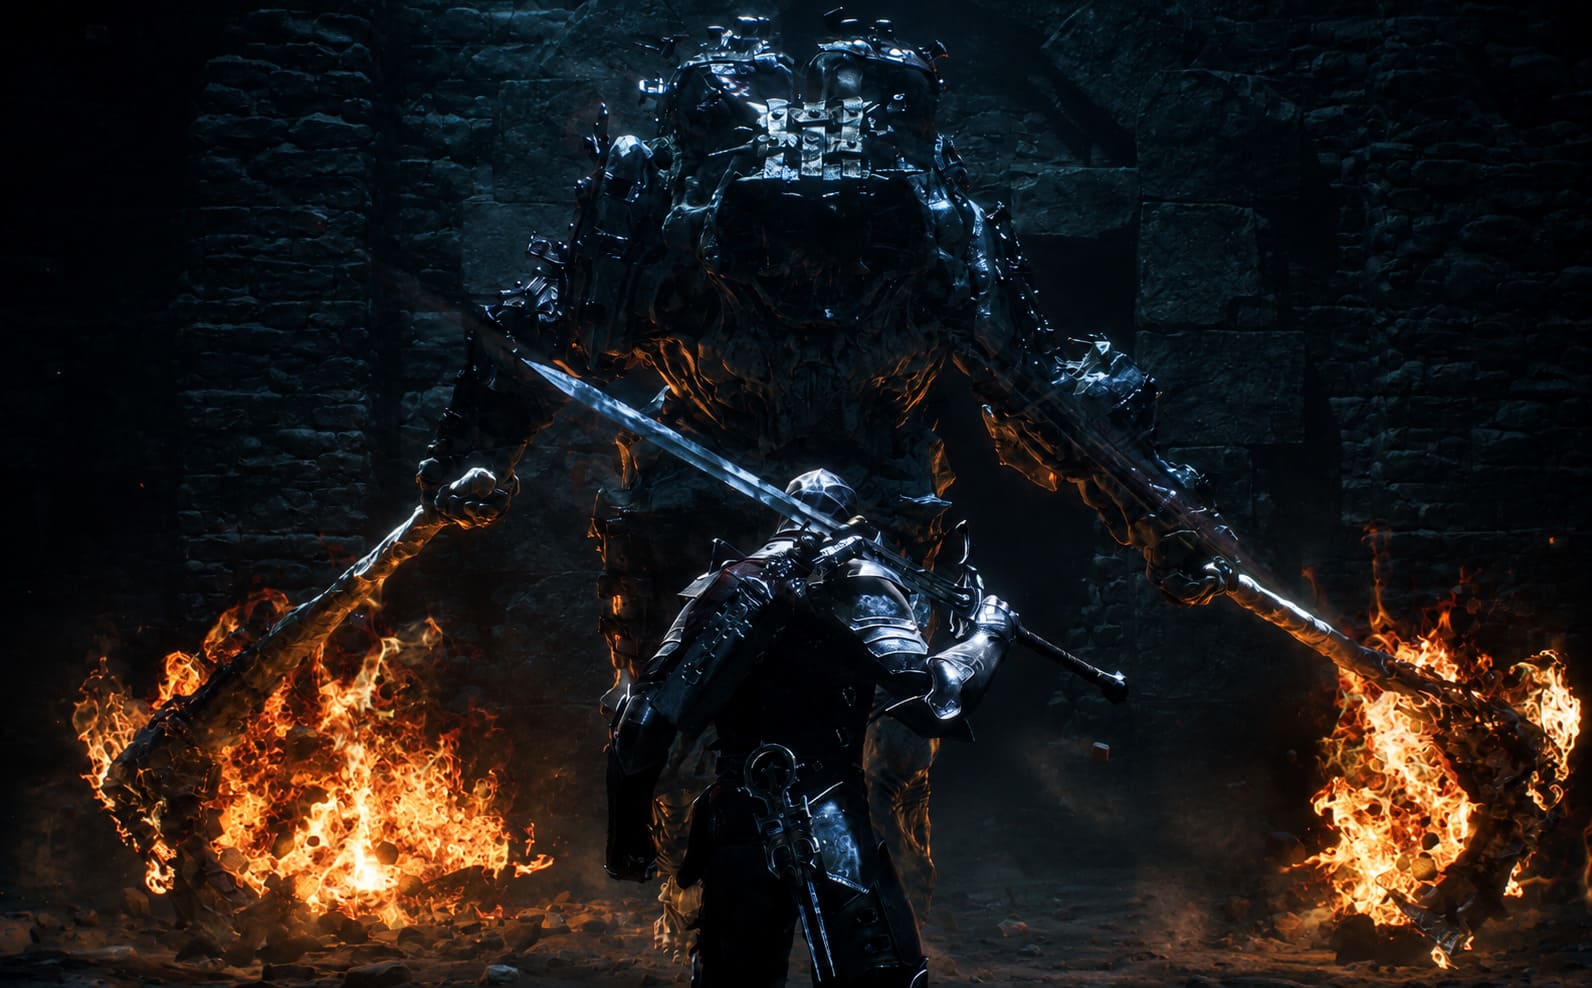
The Slayer Seal, for example, provides powerful execution-based advantages that can restore health and resolve. The trade-off is significant: activating it disables achievements.
Then there’s Night Mode, which is much more interesting if you’re chasing better rewards and additional world events.
To activate it, you’ll need the Gloombound Flame from the Great Arbiter of Flesh area. Bring it to the top of Marrow Keep and speak with Thestus.
The result is a darker and more dangerous version of the world with additional rewards and encounters.
Personally, I wouldn’t rush into these systems blindly. Learn the normal world first. Once you’re comfortable navigating Fallgrim, experimenting with its modifiers becomes much more enjoyable.
8. Hit Suspicious Walls and Talk to Everyone
Classic soulslike advice, but it remains important.
If a wall looks suspicious, hit it.
Illusory walls, hidden caves, forgotten ruins, and concealed entrances can contain exactly the sort of rewards you need later. Fallgrim is designed to make environmental curiosity worthwhile.
The same goes for NPCs.
Some side quests aren’t marked with giant icons telling you where to go. You need to notice the people living in these remote areas and actually speak with them.
In Fainweald, for example, crossing the western bridge from the Mushroom Village Beacon can lead to a fenced area with a giant cauldron. Talking to Hilga and Gorf starts a substantial questline involving valuable upgrade materials and unique items.
These are the moments I remember most from exploration. Not the obvious objective markers, but the strange little discoveries that happen because you decided to investigate something that looked unimportant.
9. Don’t Waste Your Upgrade Materials
This is where the RPG side of Mortal Shell 2 can punish careless players.
Early resources are not exactly overflowing, and spending valuable materials on every interesting weapon or Shell can leave your main build seriously underpowered.
My advice is simple:
Pick a direction before you start throwing resources around.
Prioritize important progression materials such as Synaptic Vessels and Revered Glands, especially when they directly improve the Shell you actually intend to use.
You don’t have to completely ignore experimentation. That’s part of the fun. But there is a difference between testing a weapon and investing half your resources into something you abandon twenty minutes later.
| Priority | What I Recommend |
|---|---|
| High | Main Shell upgrades |
| High | Core passive nodes |
| Medium | A reliable primary weapon |
| Medium | One strong ranged option |
| Low | Experimental weapons you rarely use |
A little restraint during the first several hours can make the difference between a comfortable mid-game build and constantly feeling underpowered.
10. Don’t Be Afraid to Use an Interactive Map
I normally prefer discovering everything myself. There is something satisfying about finding a hidden dungeon without a guide.
But with 60+ dungeons, optional encounters, hidden materials, shortcuts, Shell locations, and a huge number of landmarks, eventually you are going to forget where something was.
That’s where community maps become useful.
Tools created by players on communities such as Reddit and Fextralife can help locate forgotten items, entrances, resources, and awkward traversal routes.
I wouldn’t recommend following a map from the first minute of the game. That can turn exploration into a checklist, and Fallgrim deserves better than that.
Instead, use an interactive map when you are genuinely stuck.
Can’t remember where a Shell was?
Looking for a specific Tarforge material?
Spent an hour circling the same cliff?
That’s when the map comes out.
Mortal Shell 2 Lore Explained: Who is the Harvester and False Gods Breakdown
My Final Advice for Exploring Fallgrim
The best Mortal Shell 2 exploration guide advice I can give is actually pretty simple: slow down.
Not literally. The no-stamina system gives you every reason to move quickly when necessary.
What I mean is that you shouldn’t treat Fallgrim like a highway between objectives.
Look behind buildings. Check cliffs. Activate Beacons. Test strange walls. Talk to NPCs. Experiment with Shells. Use your ranged weapons to control encounters instead of charging into every group.
Mortal Shell 2 Cross Progression: How to Transfer Saves on PS5, Xbox, and PC (2026)
Most importantly, don’t be afraid to run.
The open world is deliberately full of things that can kill you before you’re ready for them. That’s not necessarily the game telling you that you’ve failed. Sometimes it’s telling you to remember the location and come back later.
For me, that’s what makes Mortal Shell 2 more exciting than a simple expansion of the original formula. Fallgrim isn’t just somewhere you pass through on the way to the next boss. It is the puzzle.
And once you stop trying to solve that puzzle as quickly as possible, the world starts revealing why it was built this way.