Wanderburg NVIDIA Control Panel Performance Tweaks: Fix FPS Drops & Stuttering
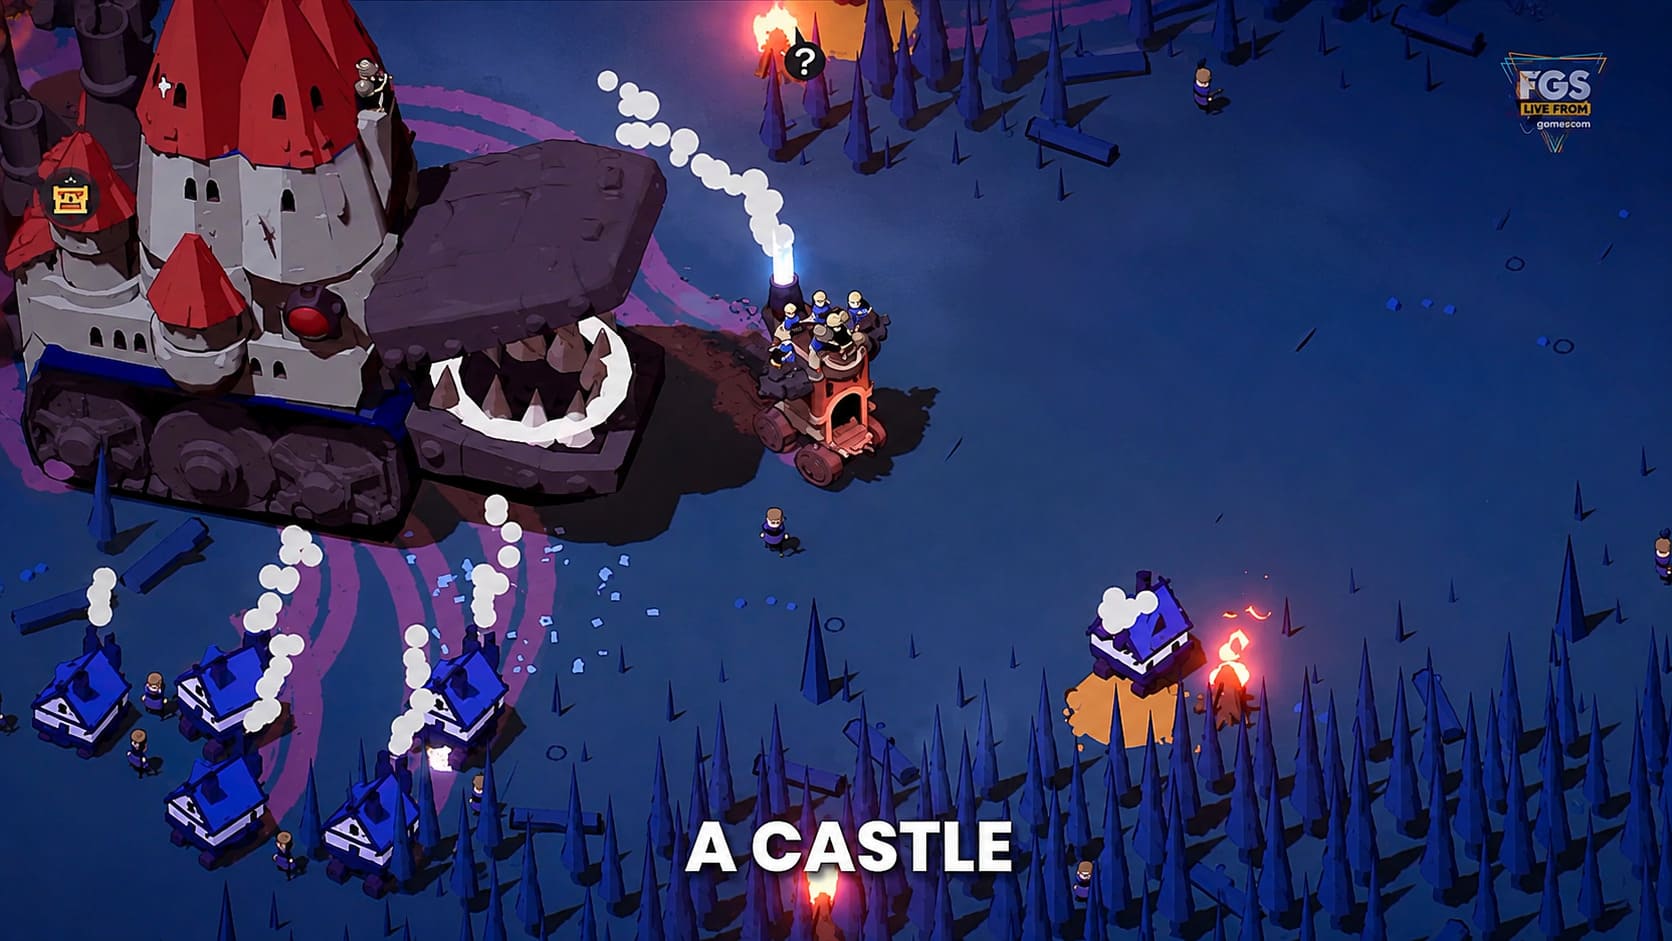
Wanderburg is one of those PC games that looks deceptively simple until you actually start playing it. Randwerk’s rolling fortress concept is brilliant: you build a ridiculous medieval machine, push it across a hostile procedural world, and watch everything around you collapse under the weight of your increasingly overpowered creation. It has a fantastic gameplay loop, but there is a catch. Once your fortress becomes a giant collection of weapons, structures, physics objects, and enemies, your PC suddenly has a lot more work to do.
That is when Wanderburg FPS drops and micro-stuttering can become noticeable. The minimalist visual style might make you assume the game should run on absolutely anything, but graphics are only part of the equation. Large numbers of physical objects, destruction effects, enemies, projectiles, and environmental calculations can hammer both the CPU and GPU. I’ve seen plenty of games like this run beautifully during the first hour and then start behaving completely differently once the action gets ridiculous.
If you’re dealing with inconsistent frame times, sudden FPS dips, stuttering when entering busy areas, or annoying input delay, tweaking the NVIDIA Control Panel is worth trying. It won’t magically transform an entry-level GPU into a high-end card, but the right configuration can give Wanderburg a more consistent performance baseline.
Wanderburg Game Lag with High Unit Count Solution: How to Fix Low FPS and Freezes
Create a Separate NVIDIA Profile for Wanderburg
The first thing I recommend is not touching your global NVIDIA settings. There is absolutely no reason to change your entire PC configuration just because one game is acting weird. Your desktop applications, other games, browsers, and creative software don’t need to inherit settings designed specifically for Wanderburg.
Creating a dedicated profile takes only a minute.
- Right-click an empty area of your Windows desktop and open NVIDIA Control Panel.
- Select Manage 3D Settings from the left-hand menu.
- Open the Program Settings tab instead of Global Settings.
- Click Add and look for Wanderburg in the recently used applications list.
- If it isn’t there, select Browse and locate the game’s executable inside your Steam installation folder.
- Add the executable and make sure Wanderburg is selected as the active program before changing anything.
This is a small step, but it makes troubleshooting much easier. If a setting causes worse performance, you can change it back without accidentally messing with every other game on your system.
Best NVIDIA Control Panel Settings for Wanderburg
There isn’t one universal NVIDIA configuration that will produce identical results on every PC. GPU model, CPU, monitor refresh rate, resolution, VRR support, and even the game’s current build can change the outcome.
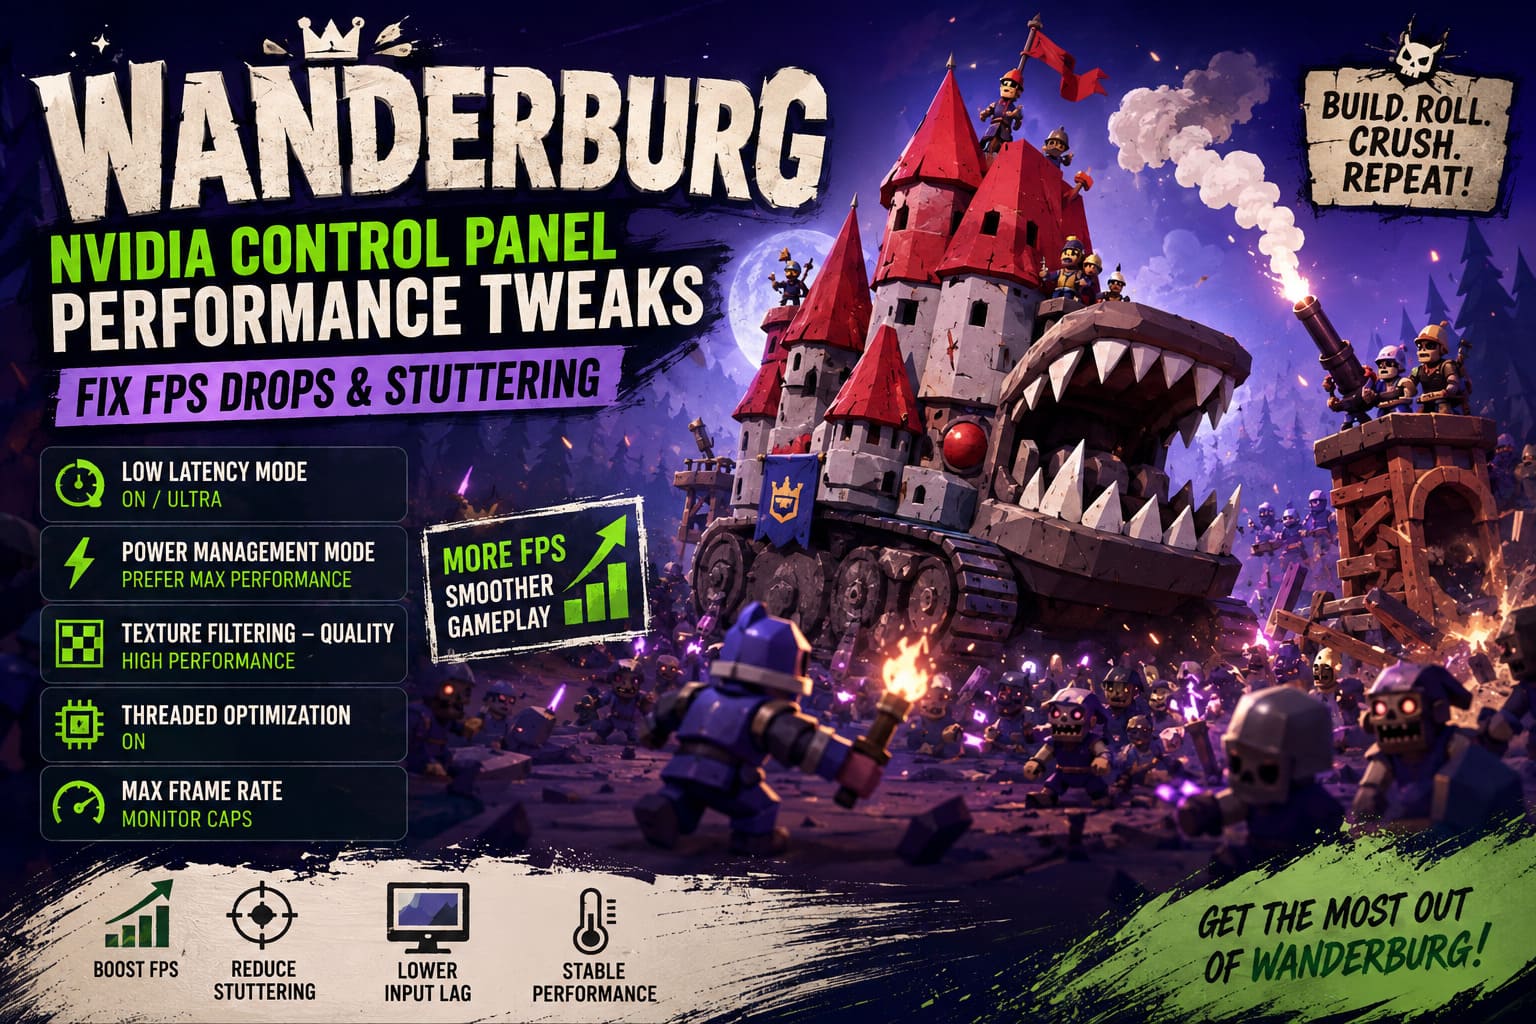
That said, these are the settings I’d start with when trying to improve Wanderburg performance on NVIDIA GPUs.
| NVIDIA Setting | Recommended Starting Point | Why |
|---|---|---|
| Low Latency Mode | On / Ultra | Reduces queued frames and can improve responsiveness |
| Power Management Mode | Prefer Maximum Performance | Helps prevent aggressive clock-state changes |
| Texture Filtering – Quality | High Performance | Small performance gain with limited visual impact |
| Threaded Optimization | On | Allows supported workloads to use multiple CPU threads |
| Vertical Sync | Off / Fast | Avoids unnecessary latency depending on your display |
| Anisotropic Filtering | Application-Controlled | Lets the game handle texture filtering |
| Max Frame Rate | Monitor-dependent cap | Can improve frame pacing and GPU load |
Low Latency Mode: Start With On
Low Latency Mode is one of the first settings people reach for when a game feels sluggish, and Wanderburg’s chaotic combat makes responsiveness important. You don’t want your inputs sitting in a rendering queue while your fortress is getting absolutely demolished.
I’d start with On rather than immediately assuming Ultra is always better. Ultra can be useful on some systems, but it isn’t a guaranteed FPS boost and can occasionally produce less consistent results depending on the game and GPU workload.
If your main problem is input latency rather than raw FPS, experiment with Ultra after testing the standard On setting. The important thing is to compare actual gameplay rather than trusting a theoretical performance improvement.
Power Management Mode: Prefer Maximum Performance
This is one of the settings I particularly like testing when a game suffers from inconsistent GPU clocks.
Set Power Management Mode → Prefer Maximum Performance for the Wanderburg profile. The idea is simple: you’re telling the GPU that this application should prioritize performance rather than aggressively reducing clock speeds whenever the workload changes.
Wanderburg can move between relatively quiet moments and absolute chaos very quickly. One second you’re rolling across an empty medieval landscape, and the next you’re surrounded by enemies, projectiles, destruction effects, and dozens of moving objects. Keeping GPU performance behavior more consistent can help reduce certain forms of hitching.
Don’t expect a massive average-FPS increase, though. This setting is more about consistency than turning 80 FPS into 120 FPS.
Texture Filtering – Quality: High Performance
Wanderburg doesn’t depend on ultra-detailed photorealistic textures to sell its visual style. That’s good news because you can reduce some texture filtering overhead without destroying the game’s appearance.
Try Texture Filtering – Quality → High Performance if you’re chasing every available frame.
The difference may be subtle, particularly because of Wanderburg’s camera perspective and stylized graphics. That’s exactly why I consider this a relatively painless optimization. If you have a powerful GPU and plenty of headroom, you can leave the setting at Quality and enjoy the slightly more conservative image processing.
For weaker hardware, however, High Performance is worth testing.
Threaded Optimization: On
Wanderburg’s biggest performance challenge isn’t necessarily rendering pretty textures. It’s the sheer amount of stuff happening at once.
Your mobile fortress can become a mechanical monstrosity, while enemies, weapons, destruction, and environmental objects are all competing for processing time. Threaded Optimization → On is therefore a sensible starting point on modern multi-core CPUs.
It isn’t a magic ‘use every CPU core’ switch, and NVIDIA cannot force a game to perfectly parallelize its engine. Still, leaving threaded optimization enabled gives the driver more freedom to distribute supported workloads across CPU threads.
If you notice unusual behavior after changing this setting, test Application-Controlled as well. Driver overrides aren’t automatically superior.
V-Sync, G-Sync and Frame Caps Matter More Than People Think
This is where a lot of PC optimization guides get unnecessarily complicated.
If you’re using a G-Sync or G-Sync Compatible monitor, I generally prefer a properly configured variable refresh rate setup over forcing traditional V-Sync behavior everywhere. A stable frame rate inside your monitor’s VRR range can feel dramatically smoother than watching the FPS counter bounce around while frame times go crazy.
For a standard 60Hz monitor, you can experiment with Fast V-Sync if tearing bothers you and the game is capable of maintaining performance above the display refresh rate. Otherwise, simply turning V-Sync off is a perfectly reasonable troubleshooting step.
The bigger point is frame pacing. A stable 60 FPS often feels better than an unstable 80 FPS. I’ve played enough PC games to know that a pretty FPS number doesn’t tell the whole story.
Set a Sensible Maximum FPS
Don’t automatically let your GPU render hundreds of frames per second if your monitor can’t display them.
For example, if you’re gaming on a 60Hz monitor, an FPS cap around 60 can reduce unnecessary GPU workload. With a 120Hz, 144Hz, or 165Hz display, choose a cap appropriate for your monitor and VRR configuration.
With G-Sync or similar VRR technology, many players prefer setting the cap a few frames below the monitor’s maximum refresh rate. The exact number depends on your setup, but the principle is straightforward: leave a little headroom instead of constantly slamming into the refresh ceiling.
This can reduce GPU power consumption, temperatures, and unnecessary frame generation while making frame delivery more predictable.
Anisotropic Filtering: Don’t Overthink It
Wanderburg’s camera doesn’t put the same texture-filtering pressure on the GPU that a first-person game with huge viewing distances might.
I’d leave Anisotropic Filtering on Application-Controlled initially. If the game provides its own setting, let Wanderburg decide how it wants to handle texture filtering.
If you’re desperately squeezing performance out of older hardware, 4x is a reasonable compromise. But honestly, this isn’t where I’d spend most of my optimization time. If Wanderburg is dropping from 100 FPS to 45 FPS during a giant battle, changing anisotropic filtering probably isn’t going to solve the real problem.
Windows Settings Worth Checking
NVIDIA Control Panel isn’t the entire story. Windows itself can interfere with game performance through background applications, graphics scheduling, overlays, and power management.
Test Hardware-Accelerated GPU Scheduling
Open Windows Graphics Settings and look for Hardware-Accelerated GPU Scheduling (HAGS).
If your system supports it, turn it on and restart Windows. Then test Wanderburg again.
The important word here is test. HAGS can improve latency and performance on some hardware combinations while producing little difference—or occasionally worse frame pacing—on others. There is no prize for blindly enabling every Windows gaming option.
Keep whichever configuration produces the better frame-time behavior on your specific machine.
Set Wanderburg to High Performance
While you’re in Windows Graphics Settings, add the Wanderburg executable to the application list.
Open its graphics options and select High Performance if Windows gives you multiple GPU choices. This is particularly useful on systems with integrated and discrete graphics, although desktop PCs with a dedicated NVIDIA card are usually more straightforward.
After changing the setting, restart the game and compare performance.
What About Steam Launch Options?
You’ll often see launch commands recommended for improving PC performance, including:
-high -dx12
I’d treat these with caution.
The -high command is intended to alter process priority, but manually forcing a game to high priority isn’t automatically beneficial. Windows already handles process scheduling, and on some systems this can actually make multitasking behavior less pleasant without fixing the underlying bottleneck.
The same goes for -dx12. A launch option only helps if the game actually supports that command and uses the intended graphics API through it. Never assume that adding a random DirectX parameter from an optimization list will make a game faster.
If Wanderburg officially supports a specific launch parameter, follow the developer’s documentation or current community guidance. Otherwise, I’d rather have a clean configuration than fill Steam with mysterious commands copied from an old forum post.
Don’t Ignore the Real Bottleneck
This is probably the most important advice in the entire guide.
If your GPU is sitting at 60% utilization while one or more CPU threads are getting hammered during massive destruction sequences, NVIDIA Control Panel tweaks won’t magically fix a CPU bottleneck. Likewise, if your GPU is permanently pinned near 99% at your chosen resolution, lowering CPU-related settings won’t suddenly create another 30 FPS.
Use a monitoring tool such as NVIDIA’s overlay or another trusted hardware monitor and watch:
- GPU utilization
- GPU temperature
- GPU clock speed
- CPU utilization
- CPU temperatures
- RAM usage
- VRAM usage
- FPS and, ideally, frame times
Pay special attention to what happens during the exact moment the stutter occurs. That’s much more useful than checking your average FPS after five minutes of walking around an empty map.
My Recommended Wanderburg Optimization Setup
If I were setting up Wanderburg on a typical NVIDIA gaming PC, I’d start with a conservative configuration rather than turning every slider to ‘performance mode.’
NVIDIA Control Panel
- Low Latency Mode: On
- Power Management Mode: Prefer Maximum Performance
- Texture Filtering – Quality: High Performance
- Threaded Optimization: On
- Anisotropic Filtering: Application-Controlled
- V-Sync: Off initially
- Max Frame Rate: Set according to monitor and VRR configuration
Windows
- Hardware-Accelerated GPU Scheduling: Test On
- Wanderburg Graphics Preference: High Performance
- Unnecessary background applications: Close
- GPU driver: Keep reasonably up to date
Then I’d launch the game and actually play it. Not stand in a quiet corner staring at an FPS counter—I’d deliberately create the kind of ridiculous battlefield where Wanderburg starts struggling.
That’s where optimization matters.
Final Thoughts
Wanderburg’s performance problems are a little ironic. Its greatest strength is the same thing that can make your PC sweat: the game loves throwing an absurd number of moving, destructible, interactive elements onto the screen at once. Watching your giant rolling fortress grow from a clumsy contraption into a medieval death machine is fantastic, but the hardware eventually has to process all that nonsense.
NVIDIA Control Panel tweaks can help establish a more consistent baseline, especially when combined with sensible frame limiting and Windows graphics settings. Just don’t fall into the classic PC-gaming trap of believing that every setting labeled ‘Performance’ automatically means more FPS.
The best result is usually a balanced configuration: stable clocks, sensible frame caps, reasonable image quality, low input latency, and—most importantly—consistent frame times.
If Wanderburg still stutters after these changes, don’t keep randomly flipping driver options. Find the bottleneck first. Once you know whether the problem is CPU load, GPU saturation, VRAM, thermals, background software, or the game’s own optimization, fixing the problem becomes much easier.
And honestly, that’s the part I enjoy most about PC gaming. Sometimes getting a game running smoothly feels like a boss fight of its own.