Tyr Tank Shooter Beginner Guide: Best Tips, Tricks, and Strategies (2026)
I’ll be honest: when I first jumped into Tyr, I expected another tank game where the fastest player with the quickest trigger finger would eventually win. After a few matches, it became pretty obvious that Stoke Games had something different in mind.
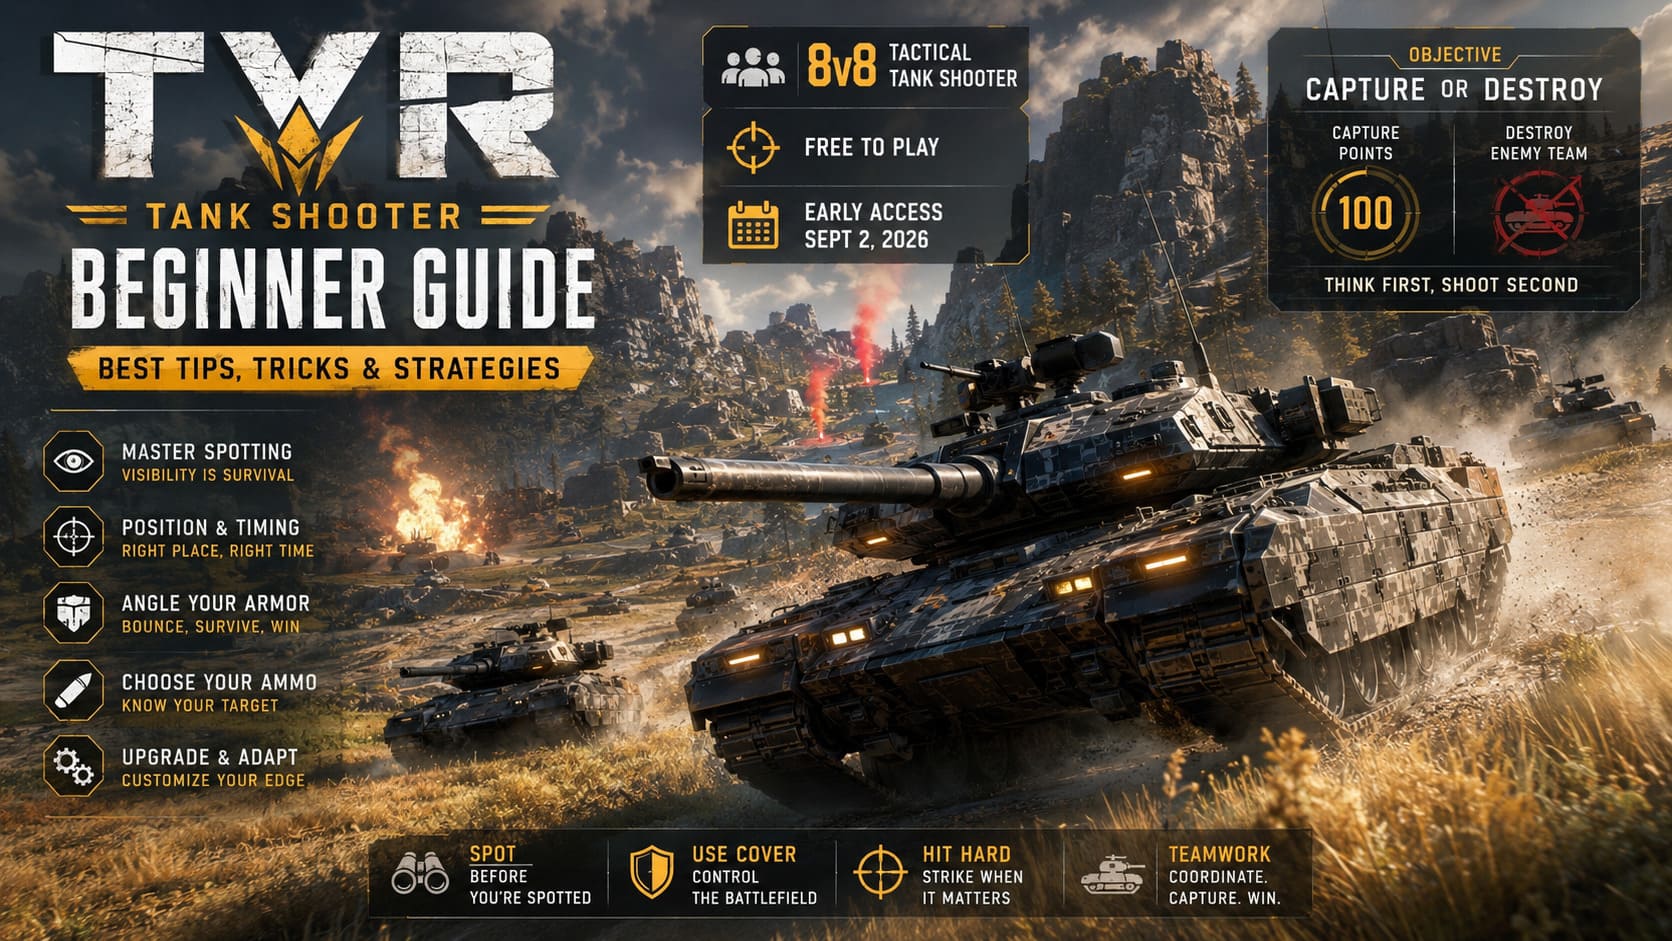
Tyr is an 8v8 free-to-play tactical tank shooter, and its entire design seems built around one simple idea: think first, shoot second. The game entered Steam Early Access on September 2, 2026, and after spending time learning its systems, I think that slower, more deliberate approach is exactly what makes it interesting.
If you come from arcade vehicle shooters, the first few matches can feel strange. You don’t constantly see enemies. You can’t casually expose your tank and expect the armor to save you. Even shooting at the wrong moment can reveal your position to half the enemy team.
And that’s where Tyr starts becoming fun.
This isn’t really about who has the fastest reactions. It’s about information, positioning, timing, and knowing when not to fight.
So, if you’re just starting Tyr, here’s what I wish someone had explained to me before my first serious matches.
Understand How You Actually Win
The biggest beginner mistake is treating Tyr like a deathmatch.
Kills are obviously useful, but they’re not the only way to win. Each team has eight players, and matches can be decided through either destroying the opposing team or capturing the enemy base.
The capture system is particularly important because it completely changes how you approach a late-game fight.
To capture the enemy base, your team needs to build up 100 capture points. There’s a catch, though: taking damage while inside the capture zone causes your progress to be lost.
That means simply parking three tanks inside the zone isn’t necessarily a winning strategy. The defending team can reset your progress with well-timed attacks, area denial, or even a single accurate shot.
If the timer expires before either team finishes the objective, the winner is determined by the number of capture points accumulated.
My advice: don’t judge your team’s performance by the kill feed. A player who stays alive, protects a capture attempt, spots an enemy flank, or forces opponents away from the objective can be far more valuable than someone farming kills.
The Spotting System Is Your First Major Skill Check
This is probably the mechanic I’d spend the most time learning as a new player.
Tyr uses an asymmetric vision system, meaning you aren’t simply visible to everyone across the map. Distance, camouflage, foliage, gunfire, and positioning all influence what the enemy can see.
Every vehicle has a base spotting range of 400 meters. You’ll see this represented by a dashed white circle on the minimap.
Your tank also has a separate camouflage circle. This represents the practical distance at which enemies can detect you under normal conditions.
For example, the Tempest has a 21% camouflage rating. In simple terms, its effective visibility distance can be reduced to around 316 meters.
That difference is enormous.
Instead of thinking, “I’m inside their spotting range, so I’m dead,” you should start thinking about exactly where your camouflage boundary sits.
Bushes Are More Important Than They Look
Foliage isn’t just decorative cover.
Driving into a bush reduces the visible signature of the parts of your tank hidden behind it. However, the game doesn’t magically make the entire vehicle invisible.
If your turret or hull is sticking beyond the foliage, that exposed section can still give away your position.
This creates some really interesting situations where moving backward by a few meters can be the difference between remaining completely hidden and getting instantly focused.
Don’t park in a bush and assume you’re invisible. Check what part of your vehicle is actually concealed.
Getting Spotted Doesn’t Mean You Should Panic
Another mechanic that took me a while to appreciate is the spotting reset.
Once you’re detected, your instinct might be to immediately reverse, turn, and start firing back.
Usually, that’s exactly what you shouldn’t do.
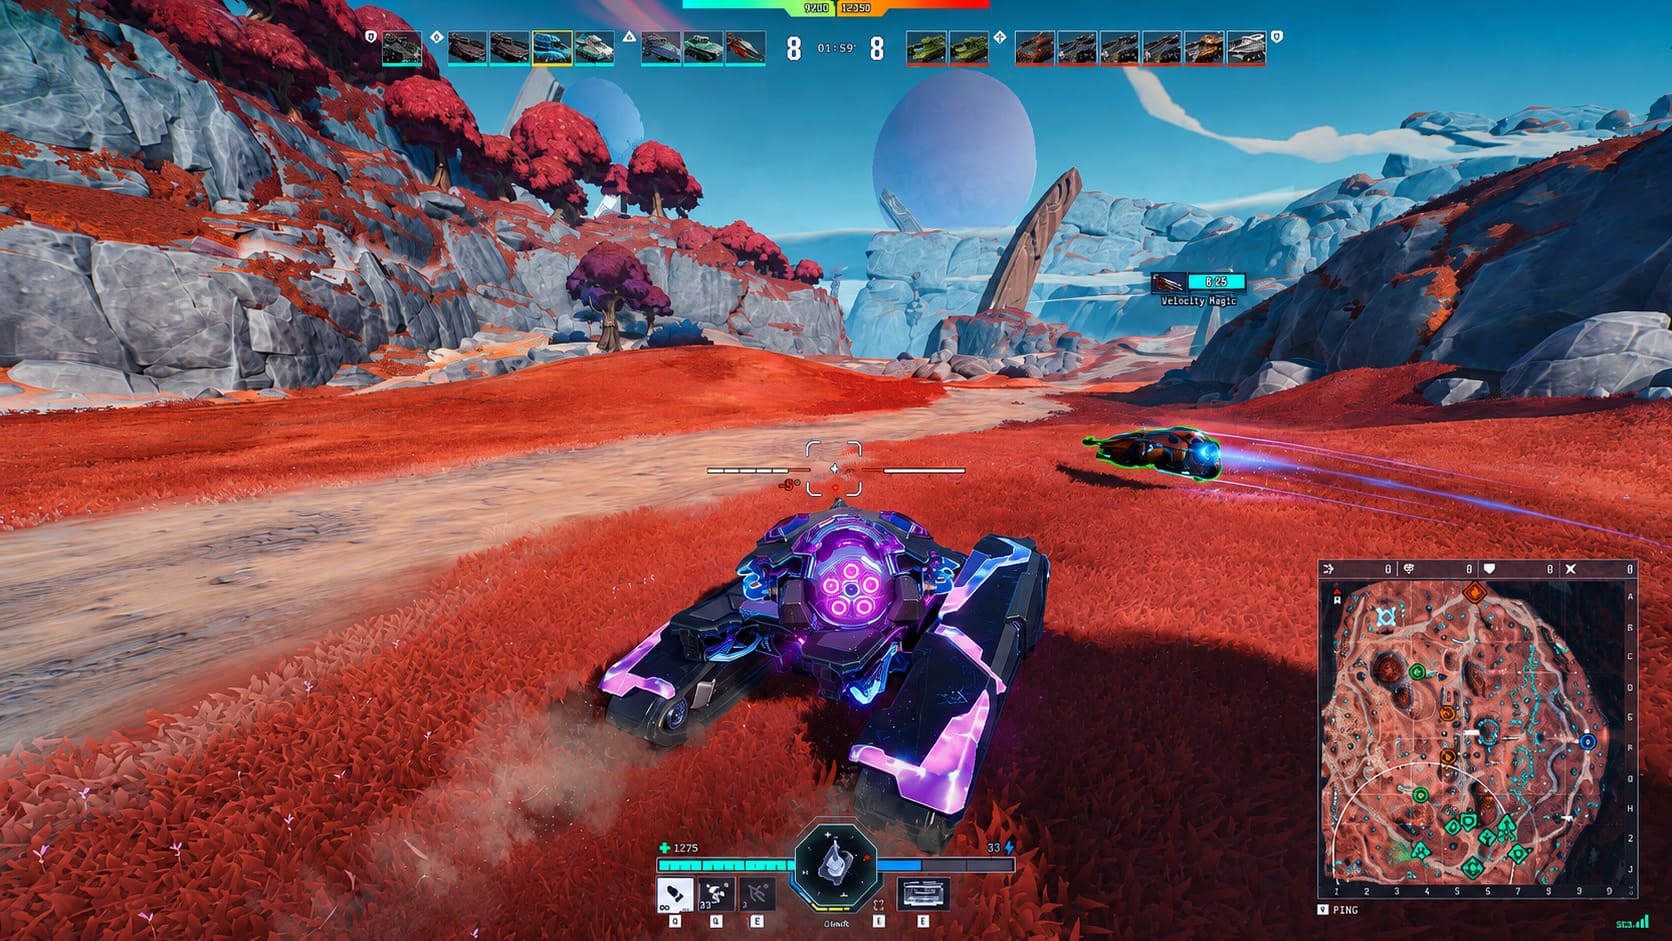
If you can break line of sight and avoid additional spotting triggers, you can disappear from enemy detection after 7 seconds.
Seven seconds sounds like nothing until you’re sitting behind a rock while six enemy tanks are searching for you.
The better habit is:
Get spotted → break line of sight → stop exposing yourself → wait → re-engage from a new angle.
That simple routine will save you from a ridiculous number of unnecessary deaths.
Accuracy Rewards Patience
Tyr’s shooting system reinforces the same philosophy.
Every vehicle has a Base Dispersion value that determines its normal accuracy. You can’t simply expect every shell to land exactly where your crosshair is pointing.
However, the game gives patient players a major advantage through Precision Aiming.
If your hull and turret remain completely still at base dispersion for 5 consecutive seconds, you can reach the game’s precision aiming state.
Five seconds is a long time in an active fight.
That’s why you shouldn’t try to use Precision Aiming in the middle of a chaotic brawl. Instead, use it when you’re watching a predictable route, defending an objective, or preparing an ambush.
As someone who enjoys games that reward deliberate mechanical play, I really like this system. It gives snipers a reason to think about their position rather than simply clicking on targets as quickly as possible.
Learn Your Gun Depression Before You Climb Anything
Here’s a classic beginner death: you climb onto high ground because it looks like an amazing firing position, only to discover that your gun can’t point down far enough.
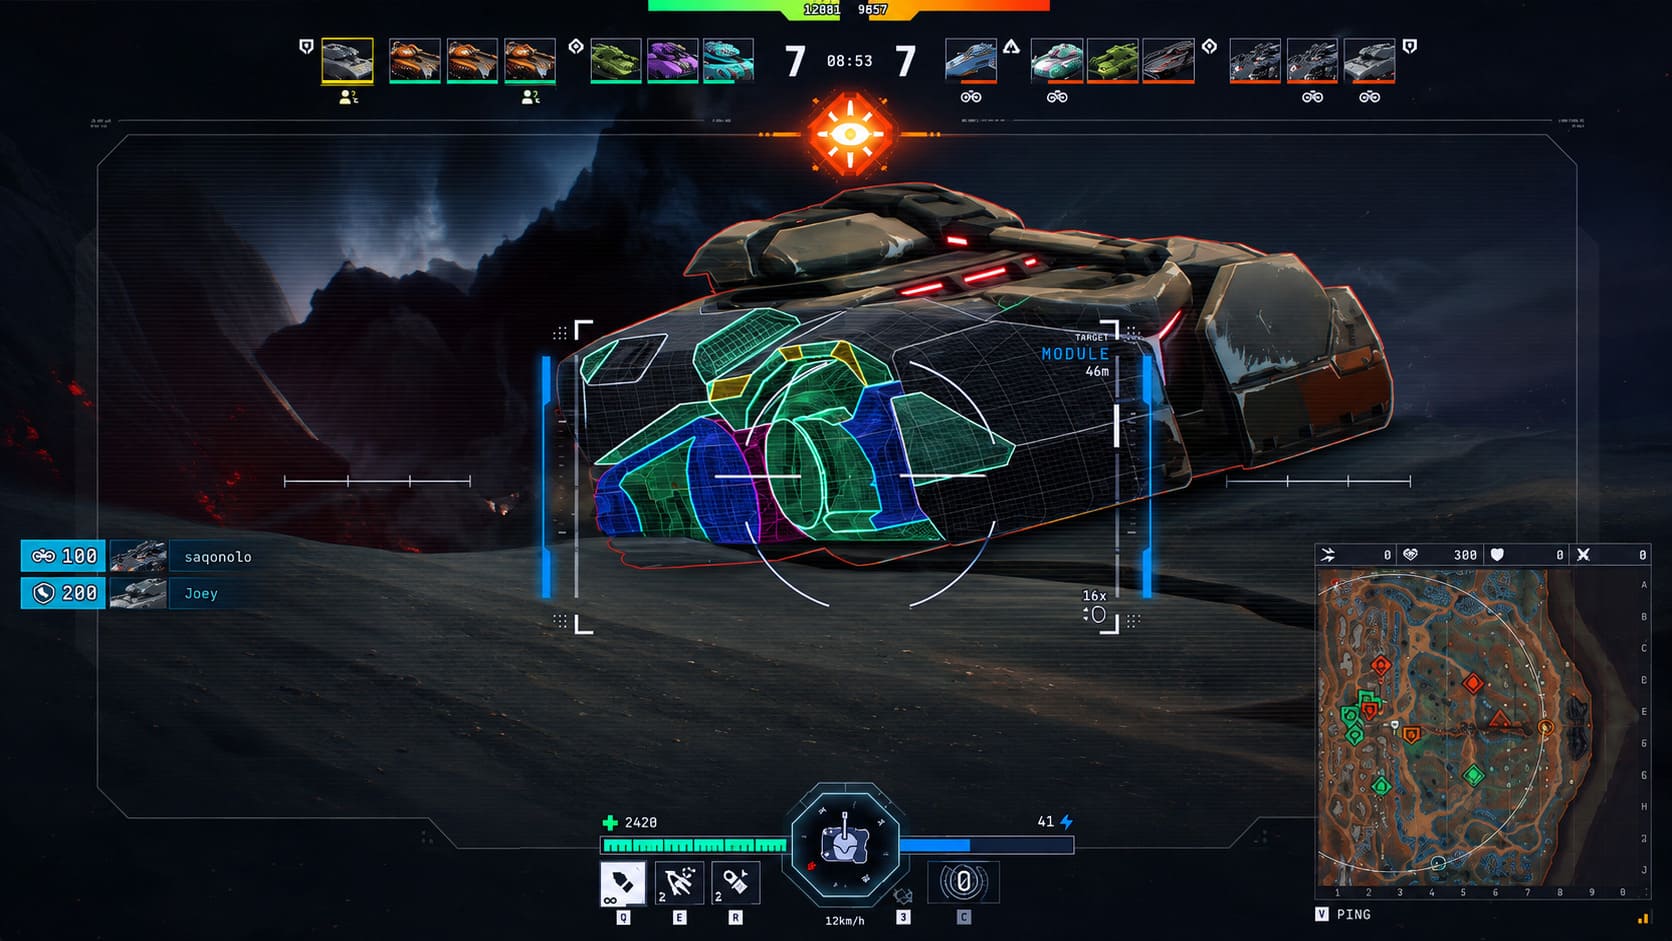
Tyr models gun depression and elevation, and each vehicle has its own limitations.
The red structural indicator shows you the boundaries of your weapon’s movement.
This matters especially around hills.
Before committing to a slope, ask yourself:
- Can my gun reach targets below me?
- Can I retreat if I miss?
- Is my rear exposed?
- Am I giving the enemy an easy shot at my lower armor?
Some hover vehicles are particularly interesting because they can achieve excellent gun depression, but they need to stop completely to take advantage of it.
That trade-off creates some genuinely cool tactical positions.
Armor Angling Can Save You
If you’re coming from a traditional shooter, you may initially treat armor as a health bar.
Don’t.
In Tyr, the angle of impact matters enormously.
Shell penetration values generally fall somewhere around the 50mm–100mm range, while effective armor thickness changes depending on how the shell hits your vehicle.
So if an enemy is shooting directly at your frontal armor, slightly changing your hull angle can dramatically improve your chances of bouncing the shot.
This is where hard cover becomes incredibly powerful.
You can expose just enough of your tank to fire while using terrain to protect weaker sections.
| Tank Principle | Beginner Rule |
|---|---|
| Front Armor | Keep it toward the enemy |
| Side Armor | Avoid exposing it unnecessarily |
| Rear Armor | Protect it at all costs |
| Hard Cover | Use rocks and terrain aggressively |
| Hull Angling | Rotate against incoming fire |
The rear deserves special attention.
A direct rear hit can trigger a catastrophic module failure and set your vehicle on fire. Burning damage is brutal, dealing roughly 20 health per second while the effect lasts.
Fast scouts and mobile vehicles will often try to get behind you for exactly this reason.
Which Tanks Should Beginners Learn?
Tyr’s vehicles don’t simply feel like cosmetic variations of the same machine. Their abilities and weapon systems can completely change how you approach a match.
| Tank | Role | Key Strength |
|---|---|---|
| Atlas | Heavy | Armor + Sonar Pulse |
| Tempest | Mobile Burst | 5-shell Autoloader |
| Deadeye | Sniper Medium | 2-shell Burst |
| Ikarus | Burst Tank | 4-shell Clip |
| Kestrel | Recon Support | 3-shell Clip + UAV Synergy |
Atlas
Atlas is the tank I’d recommend to players who want to learn the fundamentals without constantly worrying about mobility.
It’s huge, heavily armored, and has a massive health pool. The downside is its long reload.
Its standout ability is Sonar Pulse, which can reveal nearby hidden enemies, including targets concealed in bushes.
There’s an important catch: the sonar information is primarily visible to the Atlas player. If you want your teammates to act on it, you need to use the ping wheel.
That makes communication extremely important.
Tempest
Tempest is almost the opposite experience.
It’s fast, has a strong turret, and carries a devastating five-shell autoloader.
The temptation is to unload everything immediately.
Don’t.
The better strategy is to isolate a target, dump your clip, and use your mobility to escape before the enemy can punish the reload window.
Deadeye
Deadeye sits somewhere between flexibility and precision.
Its autoloader fires a two-shell burst, with each shell dealing around 235 damage, while its dispersion deviation is listed at 15%.
At higher upgrades, its apex-elevation perk can increase shell damage when firing from the highest point of its turret elevation.
It’s a vehicle for players who enjoy finding unusual firing angles.
Don’t Ignore Hover Tanks
Hover vehicles have a completely different movement language.
Traditional tanks rely heavily on forward and backward movement, while hover tanks can strafe laterally with Q and E.
You can also hold Space to perform a power drift, allowing the hull to dynamically tilt and align with your camera direction.
At first, this can feel awkward.
After you understand it, though, hover movement becomes one of the most entertaining parts of Tyr.
The important thing is not to drive a hover tank like a tracked tank. Use lateral movement to dodge incoming fire, change angles, and make yourself difficult to predict.
Experiment Before You Grind
One of my favorite beginner-friendly features is Sandbox Mode.
Use it.
You can test vehicles there even before unlocking them normally, which makes it an excellent place to understand different guns, movement systems, armor profiles, and abilities.
I’d much rather spend ten minutes testing a vehicle in sandbox than spend an entire evening losing matches because I don’t understand its reload cycle.
This is especially useful for autoloaders.
Learn exactly how long your clip lasts, how quickly each shell fires, and how vulnerable you are once the magazine is empty.
Ammo and Components Matter
As you progress, Tyr opens up more customization through components, ammunition, and vehicle-specific tech trees.
Components such as the Duplicator can increase damage, while the Shell Charger rewards consecutive penetrating shots by building damage stacks.
Ammo selection also changes how you approach targets.
High Explosive rounds, for example, provide a 1.20x damage multiplier, but their penetration is fixed at only 45mm.
That makes HE interesting against thin armor and exposed rear sections, but it’s a terrible choice when you’re staring at heavily armored frontal plating.
In other words, don’t just equip your favorite ammo and forget about it.
Look at the target first. Then choose the shell.
Tyr’s Monetization Is Refreshingly Straightforward
Another thing worth mentioning is the game’s approach to progression.
Tyr is free-to-play, but Stoke Games has stated that its monetization focuses on cosmetics rather than gameplay advantages.
There are no cash-exclusive weapons, paid stat boosts, or tank hulls locked behind a paywall.
That means your progression is primarily about actually playing, learning vehicles, unlocking technology, and improving your understanding of the battlefield.
Eventually, you can unlock Keystone Tech, which changes core characteristics of fully mastered vehicles and allows for deeper specialization.
For me, that’s exactly the kind of progression system a competitive tank game needs.
Tyr PC System Requirements: Minimum Storage Specs & GB Needed (2026)
My Five Rules for New Tyr Players
- Stop chasing kills. The objective wins matches.
- Respect the 7-second spotting reset. Getting detected isn’t an automatic death sentence.
- Protect your rear. Fire damage and module failures can end a fight incredibly quickly.
- Angle your armor. Don’t sit perfectly flat in front of an enemy.
- Use abilities with your team. Atlas sonar plus Kestrel UAV, for example, can create a nasty information advantage.
Tyr 8v8 Gameplay Guide: Best Tactical Positioning & Tank Combat Strategies
Final Thoughts: Tyr Rewards Players Who Think
After getting familiar with its systems, I think Tyr has a surprisingly strong identity.
It’s not trying to be another twitch-heavy tank shooter. The game wants you to watch the minimap, understand camouflage, predict enemy movement, choose firing positions, manage reloads, and communicate with your squad.
That’s also why I wouldn’t recommend judging Tyr after your first two or three matches.
You’ll probably make mistakes.
You’ll fire from a bad position. You’ll forget about your rear armor. You’ll climb a hill and discover your gun can’t reach the enemy. You’ll panic after getting spotted and drive straight into a crossfire.
I’ve done all of those.
But once the systems start clicking, the game becomes much more satisfying. A successful ambush feels earned. Bouncing a shot because you angled correctly feels great. Waiting behind cover for those seven seconds and then appearing somewhere completely unexpected can be more rewarding than getting a random kill in an arcade shooter.
Tyr is a game about making the enemy uncomfortable before you even pull the trigger.
If you’re willing to slow down, learn the vision system, respect armor angles, and actually play around your team’s abilities, you’ll improve much faster than someone who simply charges forward looking for kills.
And honestly, that’s what makes Tyr worth learning.