Tyr 8v8 Gameplay Guide: Best Tactical Positioning & Tank Combat Strategies
Tyr is one of those games that immediately tells you whether your usual shooter habits are going to work. After spending time looking at what Stoke Games is doing with its 8v8 tank combat, I honestly think this is one of the more interesting multiplayer releases of 2026. It isn’t trying to turn tanks into oversized assault rifles. The whole experience is built around positioning, information, armor management, and teamwork.
With Tyr entering Steam Early Access on September 2, 2026, this is exactly the kind of game I want to see more of. The matches are slower, mistakes hurt, and charging forward because you feel confident usually ends with your tank becoming expensive scenery.
What I like most is that good decisions matter more than raw aim. You can have excellent mechanical skills and still lose because you exposed your side, ignored the minimap, or allowed an enemy scout to reveal your entire push.
So, if you’re jumping into Tyr for the first time, here is how I’d approach the game as a streamer who actually wants to win while still having fun.
Why Tyr Feels Different From Other Tank Shooters
The first thing I would change before playing Tyr is my mindset.
This isn’t a game where you sprint toward the first enemy you see and start trading shells. Every vehicle has a job, and every lane on the map can become a trap if you approach it without information.
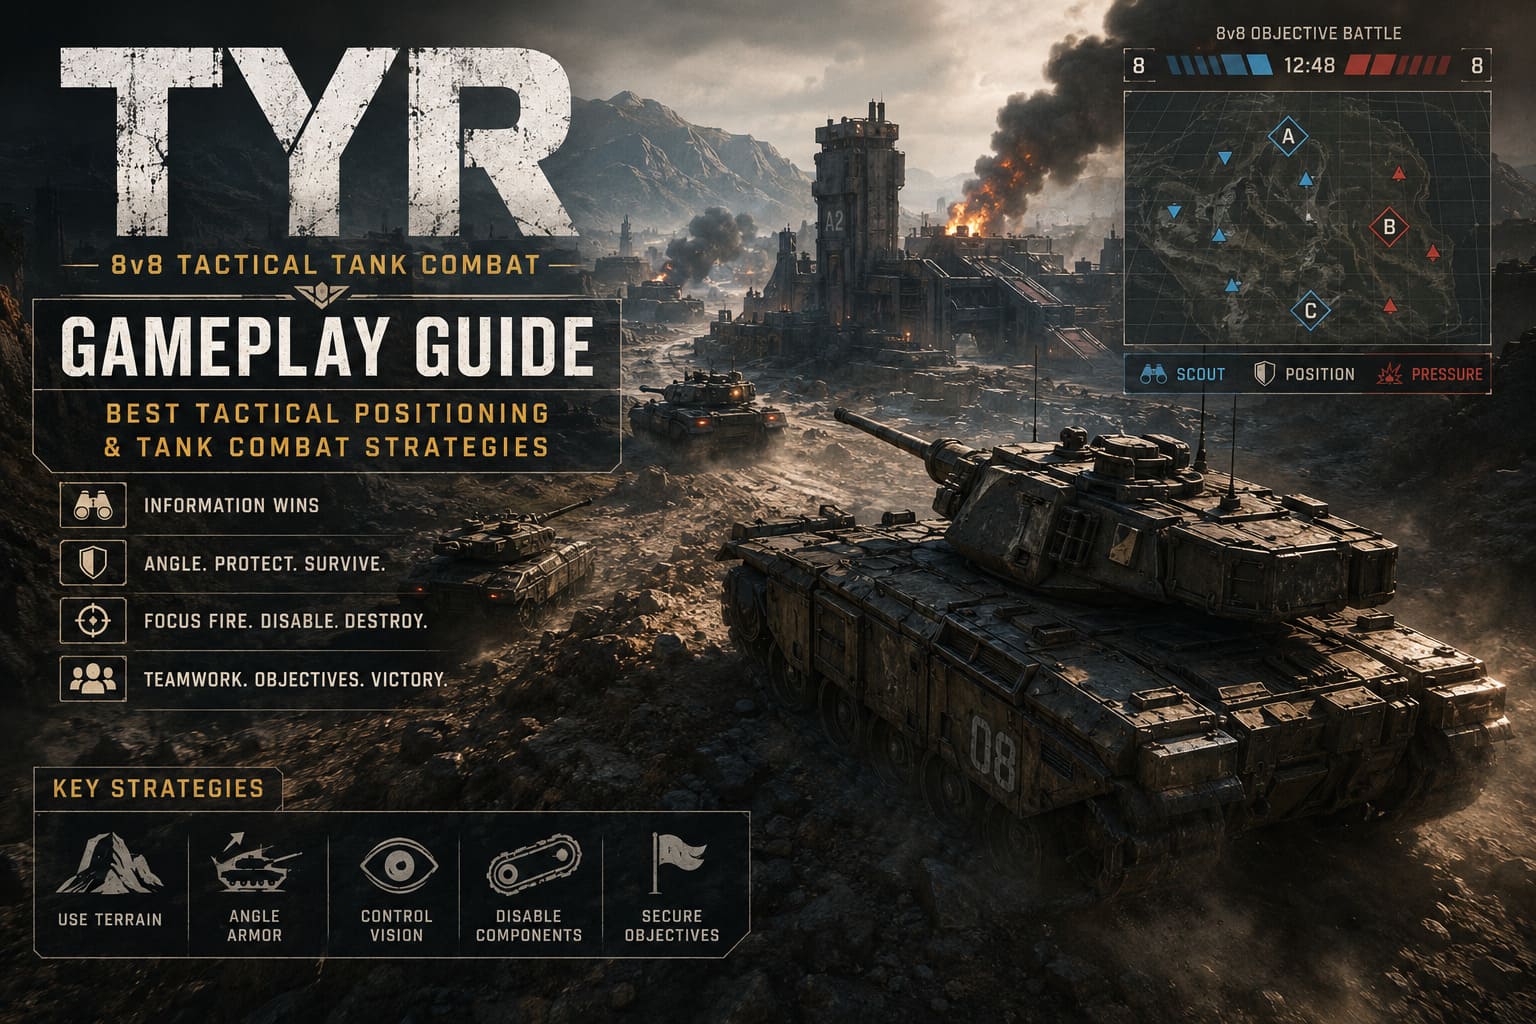
The three systems I keep coming back to are:
- Armor geometry
- Vision and information control
- Objective pressure
These mechanics constantly interact with one another. A heavy tank can hold a choke point, but only if it knows where the enemy is. A light tank can provide that information, but only if it doesn’t immediately fire and reveal itself. Meanwhile, the team still needs to convert that advantage into territory and capture progress.
That creates a really nice rhythm. Scout, observe, position, pressure, punish.
And when everything comes together, Tyr can produce some seriously satisfying tank engagements.
Armor Angling Is Not Optional
If you’re new to tactical tank games, armor angling should be one of the first skills you practice.
Sitting directly toward an enemy isn’t always the best defensive position. Depending on the vehicle, turning your hull at an angle can increase the effective protection of your armor and make incoming shots much less reliable.
I especially like the idea of using environmental cover to create a controlled angle. Instead of exposing the entire tank, you can use buildings, rocks, ridges, and other terrain to limit how much of your vehicle the opponent can actually hit.
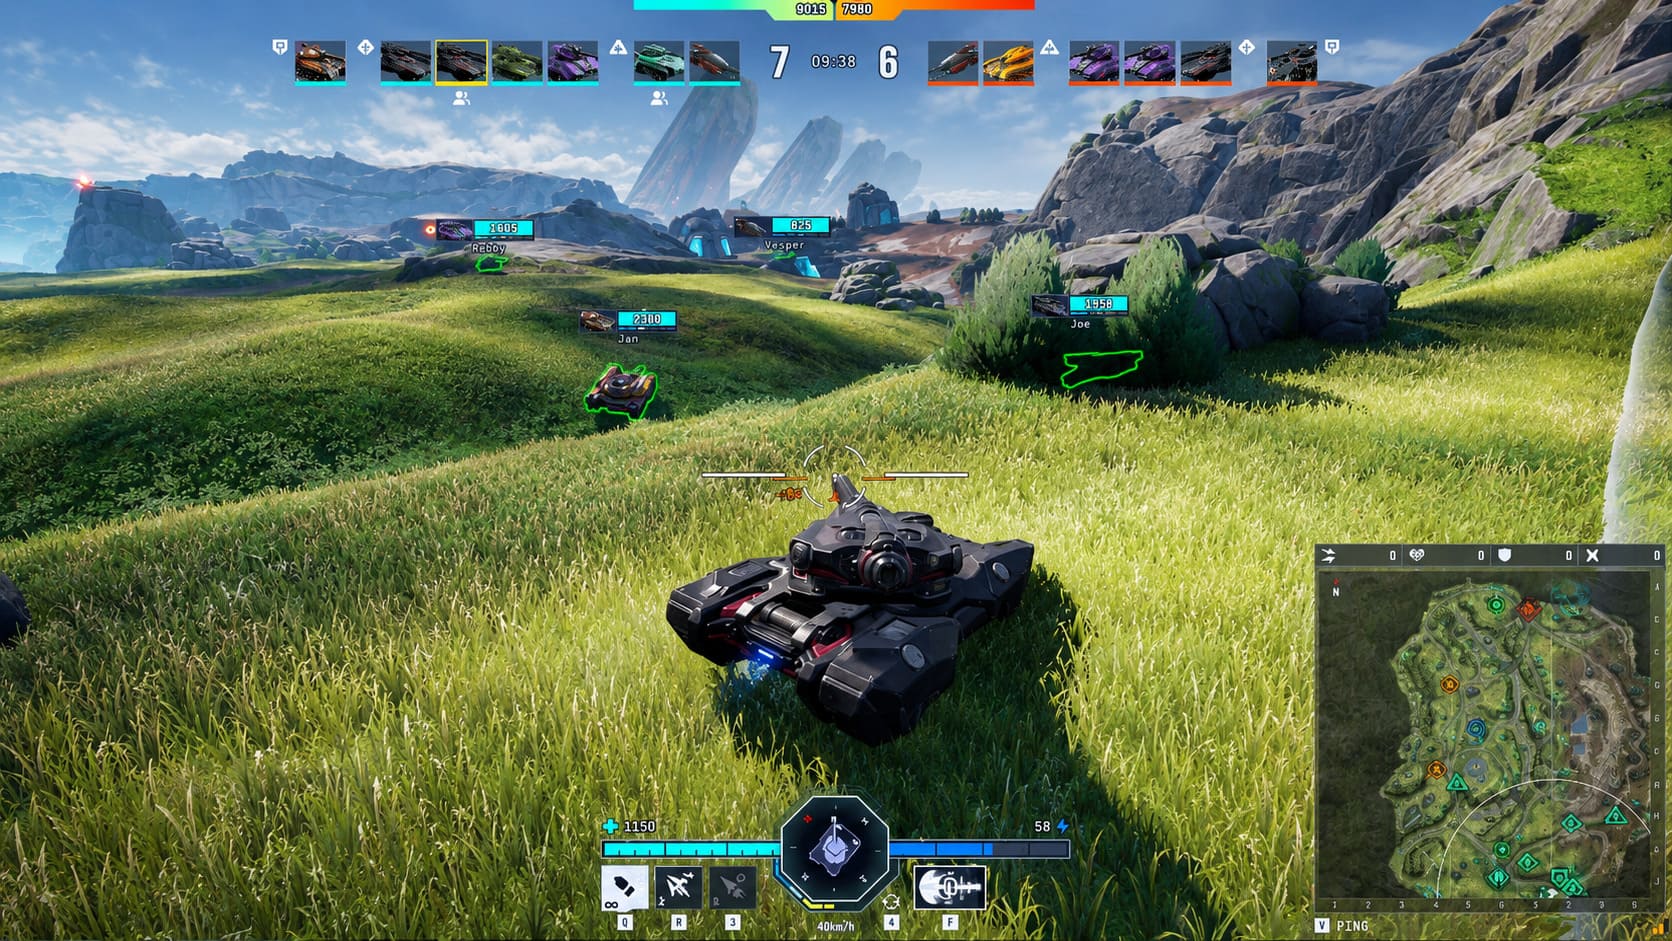
My Basic Armor Positioning Rules
| Situation | What I’d Do |
|---|---|
| Fighting head-on | Keep the strongest armor toward the threat |
| Using hard cover | Expose as little of the hull as possible |
| Expecting a flank | Keep an escape route available |
| Under sniper fire | Break line of sight instead of trading shots |
| Holding a choke | Angle the armor and force enemies into predictable lanes |
The biggest mistake is becoming obsessed with armor angling while forgetting everything else.
Armor is not a substitute for positioning.
If three enemies can shoot you from different directions, the perfect 40-degree angle isn’t going to save you. Your first priority should always be reducing the number of firing angles available to the enemy.
Vision Is Basically Another Weapon
This is probably my favorite part of Tyr’s tactical design.
Information can be more valuable than damage.
A light tank sitting quietly in a good observation position can potentially contribute more to the team than a player who fires ten poorly chosen shots from the frontline.
The important part is understanding when not to shoot.
If you’re scouting a lane and nobody knows you’re there, firing your main weapon can completely ruin your advantage. Suddenly the enemy has information about your location, and your supposedly hidden scout becomes the easiest target on the map.
I would treat scouting almost like playing a stealth game.
Find a ridge. Find foliage. Find a depression in the terrain. Watch the enemy routes. Communicate what you see.
Then let your teammates do the shooting.
The Golden Scout Rule
If firing doesn’t create more value than remaining hidden, don’t fire.
This sounds simple, but I expect it to be one of the biggest differences between inexperienced and strong Tyr players.
Understanding Every Tank Role
You don’t necessarily need the strongest vehicle on paper. You need the vehicle that makes sense for what your team is trying to accomplish.
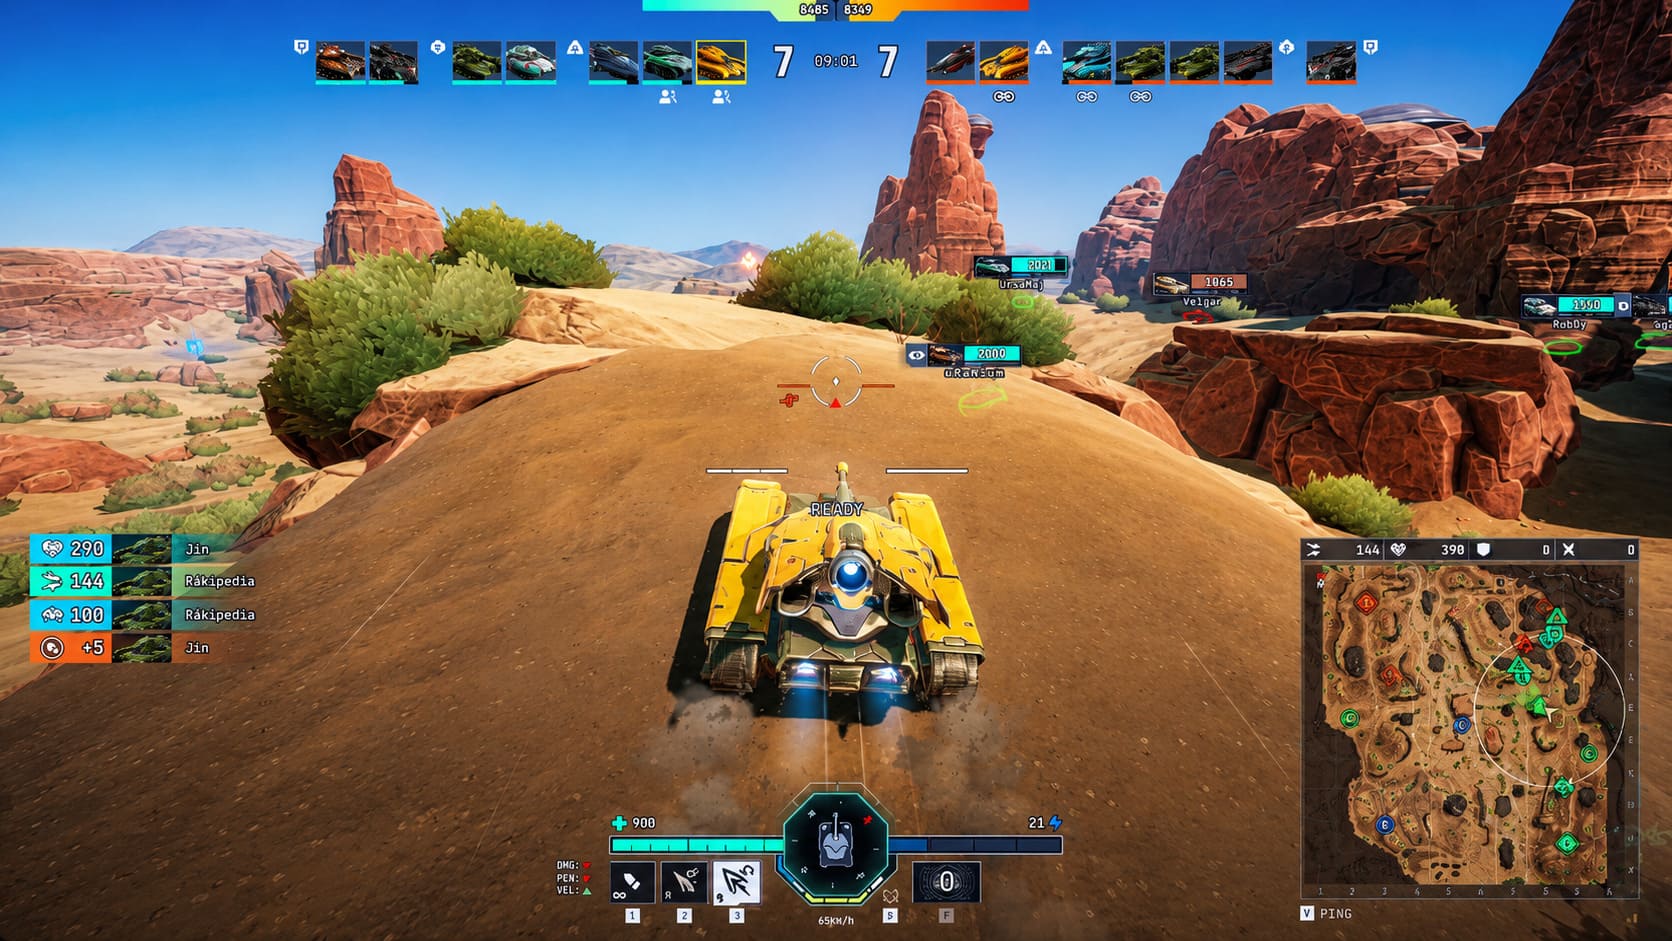
Light Tanks — Information and Flanking
Light tanks are the eyes of the squad.
Their mobility and smaller profiles make them excellent for reconnaissance, spotting enemy rotations, and finding vulnerable targets.
Don’t treat a light tank as a weaker medium tank. That’s the wrong way to play it.
Your biggest asset is mobility and information.
Once you have identified where the enemy heavies are positioned, you can start looking for alternative routes. A light tank that survives long enough to reach the enemy backline can create absolute chaos.
But don’t get greedy. If you have already provided valuable information, there is nothing wrong with disappearing before the enemy can punish you.
Medium Tanks — The Problem Solvers
Medium tanks are where I would probably spend most of my time.
They have enough mobility to rotate between lanes and enough firepower to punish mistakes. They aren’t necessarily the best vehicle at any single task, but that flexibility is exactly why they’re useful.
If your heavy tanks are under pressure, you can reinforce them.
If the enemy leaves a flank open, you can exploit it.
If your scouts discover a vulnerable support vehicle, you can help finish the attack.
Medium tanks should constantly be asking where they’re needed next.
Standing behind a heavy tank for the entire match might feel safe, but you’re wasting one of the class’s biggest advantages.
Heavy Tanks — The Wall
Heavy tanks are the frontline anchors.
When properly positioned, a heavy can make an entire lane uncomfortable for the opposing team. Strong frontal protection allows them to contest important areas and absorb punishment while lighter vehicles operate around them.
But there is a catch.
Heavy tanks are slow.
If you commit to a bad push, you’re not simply making a small mistake. You may be giving the enemy several minutes of control while your vehicle struggles to reposition.
That’s why I would rather see a heavy tank player hold an important position for too long than push five seconds too early.
Patience wins a surprising number of tank fights.
Don’t Ignore Specialized Vehicles
Tyr’s roster also introduces vehicles designed around more unusual roles.
Long-range damage platforms can control huge portions of the map when properly protected. Highly mobile hover-style vehicles can create unusual flanking opportunities. Support-oriented vehicles can disrupt enemy formations instead of simply dealing direct damage.
The important thing here is understanding the tradeoff.
A high-damage vehicle isn’t automatically strong if it has no protection.
A fast vehicle isn’t automatically useful if it has no information.
And a support vehicle is useless if the team ignores the opportunities it creates.
Vehicle strength depends heavily on the situation.
Abilities Can Completely Change an Engagement
This is where Tyr starts becoming particularly interesting.
Different vehicles can bring abilities that fundamentally change how an engagement develops. Instead of simply comparing gun damage and armor values, players have to consider cooldowns, timing, and positioning.
Some examples include:
- Cloaking and stealth systems for infiltration and reconnaissance.
- Blink-style mobility for rapidly changing position or escaping dangerous attacks.
- Engine overcharge for aggressive movement and potentially devastating rams.
- EMP and detection abilities for disrupting enemy vehicles and exposing hidden targets.
- Terrain-control tools for slowing or redirecting enemy pushes.
The important lesson is not to press abilities simply because they’re available.
Save them for moments where they change the outcome.
A defensive teleport used three seconds too early can leave you helpless when the real attack arrives. An EMP used against the wrong target might do almost nothing, while the same ability used during a coordinated push could completely break an enemy defensive line.
Component Damage Gives Good Aim More Meaning
One mechanic I really want players to pay attention to is component damage.
You’re not simply shooting a health bar.
If you deliberately target critical mechanical components, you can potentially disable an enemy’s mobility and turn a dangerous vehicle into an easy target.
Tracks are particularly important.
A tank caught in the open with disabled tracks can’t simply drive away from the problem. That gives your team a window to reposition, surround it, or bring additional firepower onto the immobilized vehicle.
This also changes how I think about ammunition.
Sometimes the best shot isn’t the one that produces the biggest immediate damage number. The best shot may be the one that removes the enemy’s ability to escape.
That’s a much more tactical way of thinking about tank combat.
My Preferred 8v8 Match Plan
If I’m playing with a coordinated squad, I like to divide the match into three broad stages.
1. Opening — Gather Information
During the opening minutes, scouts should prioritize information rather than damage.
Light vehicles move toward observation positions while heavier units establish safe routes.
I don’t want my entire team racing into the center of the map before we know where the enemy is.
Information first.
2. Midgame — Build the Frontline
Once both teams have established their positions, heavy tanks should start controlling important lanes.
This is where armor angling, terrain, and crossfires become extremely important.
Medium tanks should remain flexible instead of locking themselves into one location.
Meanwhile, long-range units should look for predictable enemy rotations.
The goal isn’t necessarily to attack immediately.
Sometimes simply forcing the opponent to stay behind cover is already winning the lane.
3. Endgame — Turn an Advantage Into a Win
Eventually, someone makes a mistake.
A tank gets tracked.
A scout gets eliminated.
A heavy rotates too slowly.
A support vehicle becomes exposed.
That’s when the team needs to react.
Don’t give the opponent time to recover.
If one side of the enemy formation collapses, hit it together. Mediums and lights can exploit the opening while heavies apply pressure from the front.
This is also when objective pressure becomes extremely important.
Capture Zones Change How You Should Attack
Destroying the entire opposing team is obviously powerful, but Tyr’s capture system means you can’t completely ignore objectives.
The enemy base capture zone creates a very different kind of pressure.
A team sitting comfortably behind defensive positions may suddenly be forced into a fight because the opposing side has established itself inside the objective area.
That creates opportunities for coordinated attacks.
The key thing to remember is that capture pressure should be used to force mistakes, not simply as an excuse to drive into the enemy base.
If you enter the objective with no support, you’re giving the enemy exactly what they want: exposed vehicles sitting in predictable positions.
Instead, establish firing support first.
Then send vehicles into the capture zone.
The Biggest Mistakes I Expect New Players to Make
After looking at how Tyr’s systems fit together, these are the habits I’d avoid from day one:
- Charging without scouting.
- Shooting from concealment for no reason.
- Showing your side armor unnecessarily.
- Following a heavy tank instead of creating a flank.
- Using powerful abilities immediately after cooldown.
- Ignoring damaged or disabled components.
- Forgetting the objective while chasing kills.
- Staying in a losing position because you’re afraid to retreat.
That last one is huge.
A tactical retreat isn’t cowardice. If your position has become compromised, leaving it before the enemy surrounds you is often the smartest play available.
Best Starting Armored Vehicle in Tyr (2026): Beginner Tank Guide
Progression Should Support Your Playstyle
Tyr’s vehicle progression gives you another layer to think about.
Instead of simply chasing bigger numbers, upgrades can be selected to complement how you actually play.
Mobility-focused builds can improve repositioning. Reinforced components can make certain vehicles harder to disable. Optical upgrades can support reconnaissance-focused players, while ammunition choices can help prepare for different enemy compositions.
And then there are Keystone Tech Variations at maximum progression.
Those are particularly interesting because they can change how a vehicle functions rather than simply giving it slightly better statistics.
For competitive players, I expect this to become a major part of team composition and strategy.
My Final Verdict on Tyr’s Combat
What makes Tyr appealing to me is that it doesn’t seem interested in rewarding players for simply being the fastest person on the keyboard.
It rewards preparation.
You need to understand the map. You need to respect vision. You need to know where your armor is strongest. You need to recognize when an enemy has overextended. And most importantly, you need to understand what your teammates are trying to accomplish.
That’s exactly what I want from a modern tactical tank shooter.
The best matches won’t necessarily be the ones with the highest kill counts. They’ll be the matches where your squad gradually takes control of the battlefield, cuts off enemy rotations, wins the information war, and then turns that advantage into an objective victory.
If you’re starting Tyr when Early Access opens, my biggest recommendation is simple: slow down.
Watch the minimap. Learn your vehicle. Learn the terrain. Don’t fire just because you can. Don’t push just because the enemy is visible.
And when the opportunity finally appears, hit it together.
That’s where I think Tyr could really shine.