Star Wars Zero Company Armor Guide: How to Break Enemy Armor Fast
If there is one thing Star Wars Zero Company does really well, it is making armored enemies feel like an actual tactical problem rather than just another health bar. You can have a squad full of dangerous mercenaries, line up what looks like a perfect volley, and then watch your blasters barely scratch the target.
I have always liked this kind of design in turn-based strategy games. Armor forces you to think before you shoot. You cannot simply point your strongest weapon at the biggest enemy and hope the numbers work out.
In Zero Company, understanding how to break enemy armor fast becomes increasingly important as missions get harder. Heavy battle droids, Mandalorian fighters, corporate troops, and other elite enemies can soak up punishment that would destroy weaker targets. If you waste your best attacks into their defenses, you can quickly find yourself running out of Action Points while the enemy is still standing.
So, if your squad keeps struggling against armored targets, here is how I approach the problem.
How Armor Changes Combat
The first mistake is treating an armored enemy like a normal opponent.
Armor effectively acts as an additional defensive layer between your attacks and the target’s vulnerable health. Depending on the attack and its properties, conventional blaster fire can be heavily reduced or become extremely inefficient against protected enemies.
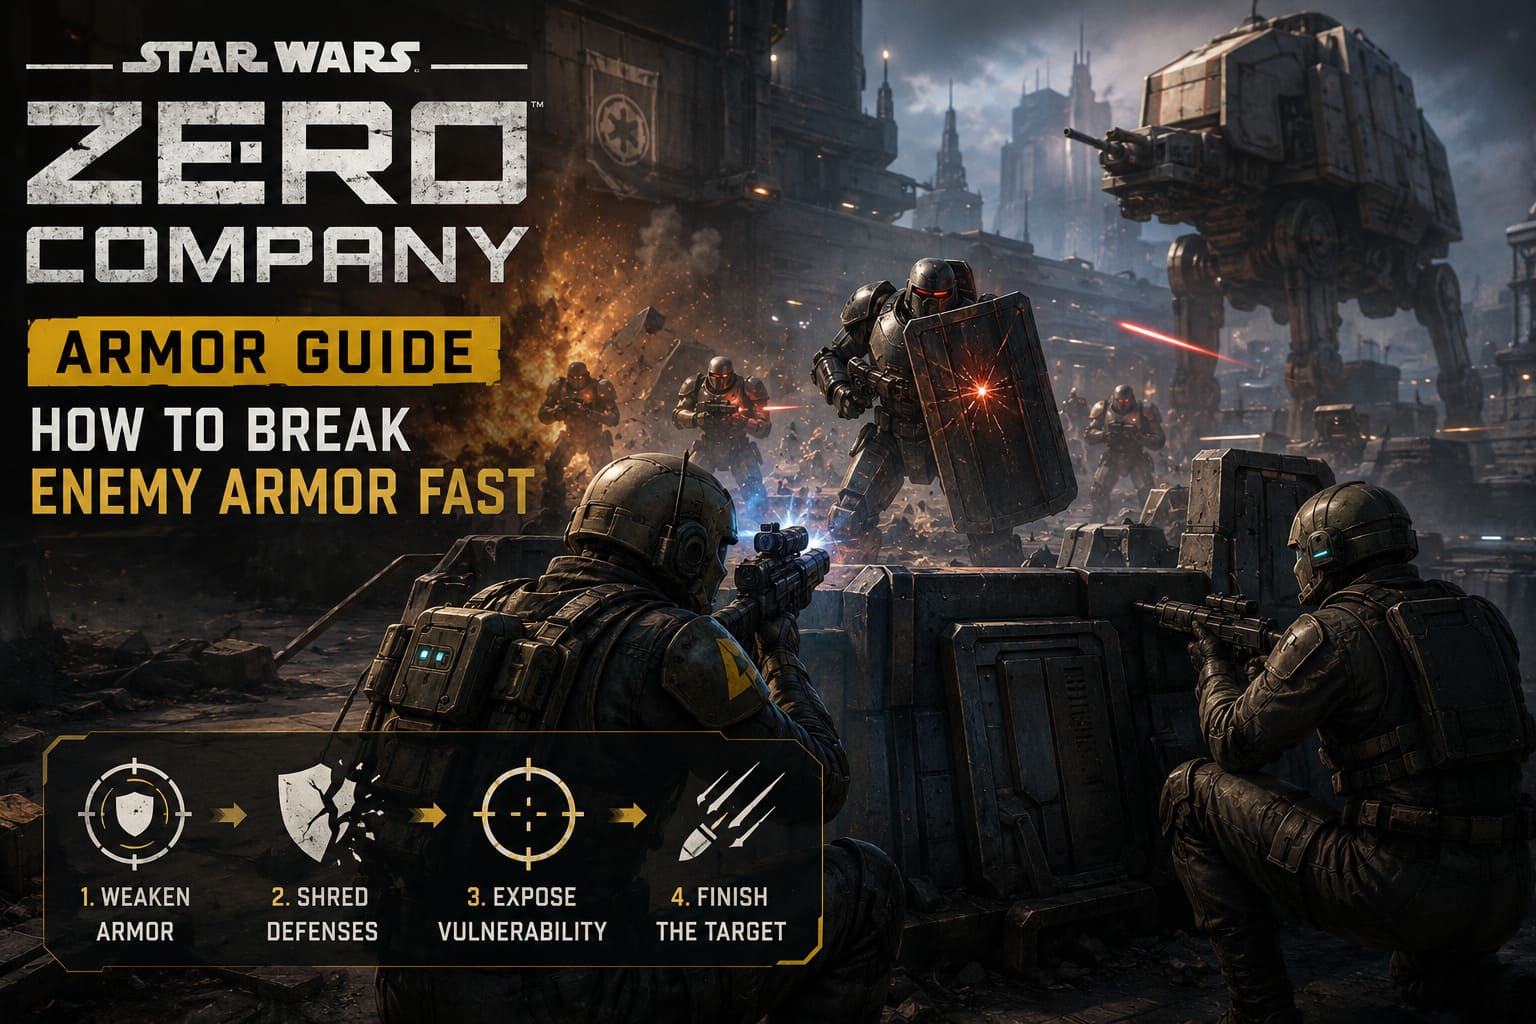
That creates two basic ways of dealing with armor:
- Armor Shredding: Remove the target’s protection so the rest of your squad can deal normal damage.
- Armor Piercing: Attack through the protection and damage the underlying health without necessarily removing the armor itself.
Personally, I prefer shredding armor first whenever I have the opportunity. It turns the rest of the fight into a much simpler damage race. Armor-piercing attacks are fantastic when you need to finish an important target immediately, but relying exclusively on them can leave you spending valuable abilities inefficiently.
Why Armor Should Be Your First Priority
Imagine an elite enemy with heavy protection standing behind cover.
You can:
- Spend several attacks trying to chip away at it.
- Expose multiple squad members to return fire.
- Burn through Action Points.
- Eventually remove the target.
Or you can prepare the battlefield, use the right armor-breaking ability, and then concentrate your squad’s firepower on the exposed enemy.
The second option is almost always the better tactical decision.
The Best Classes for Fighting Armored Enemies
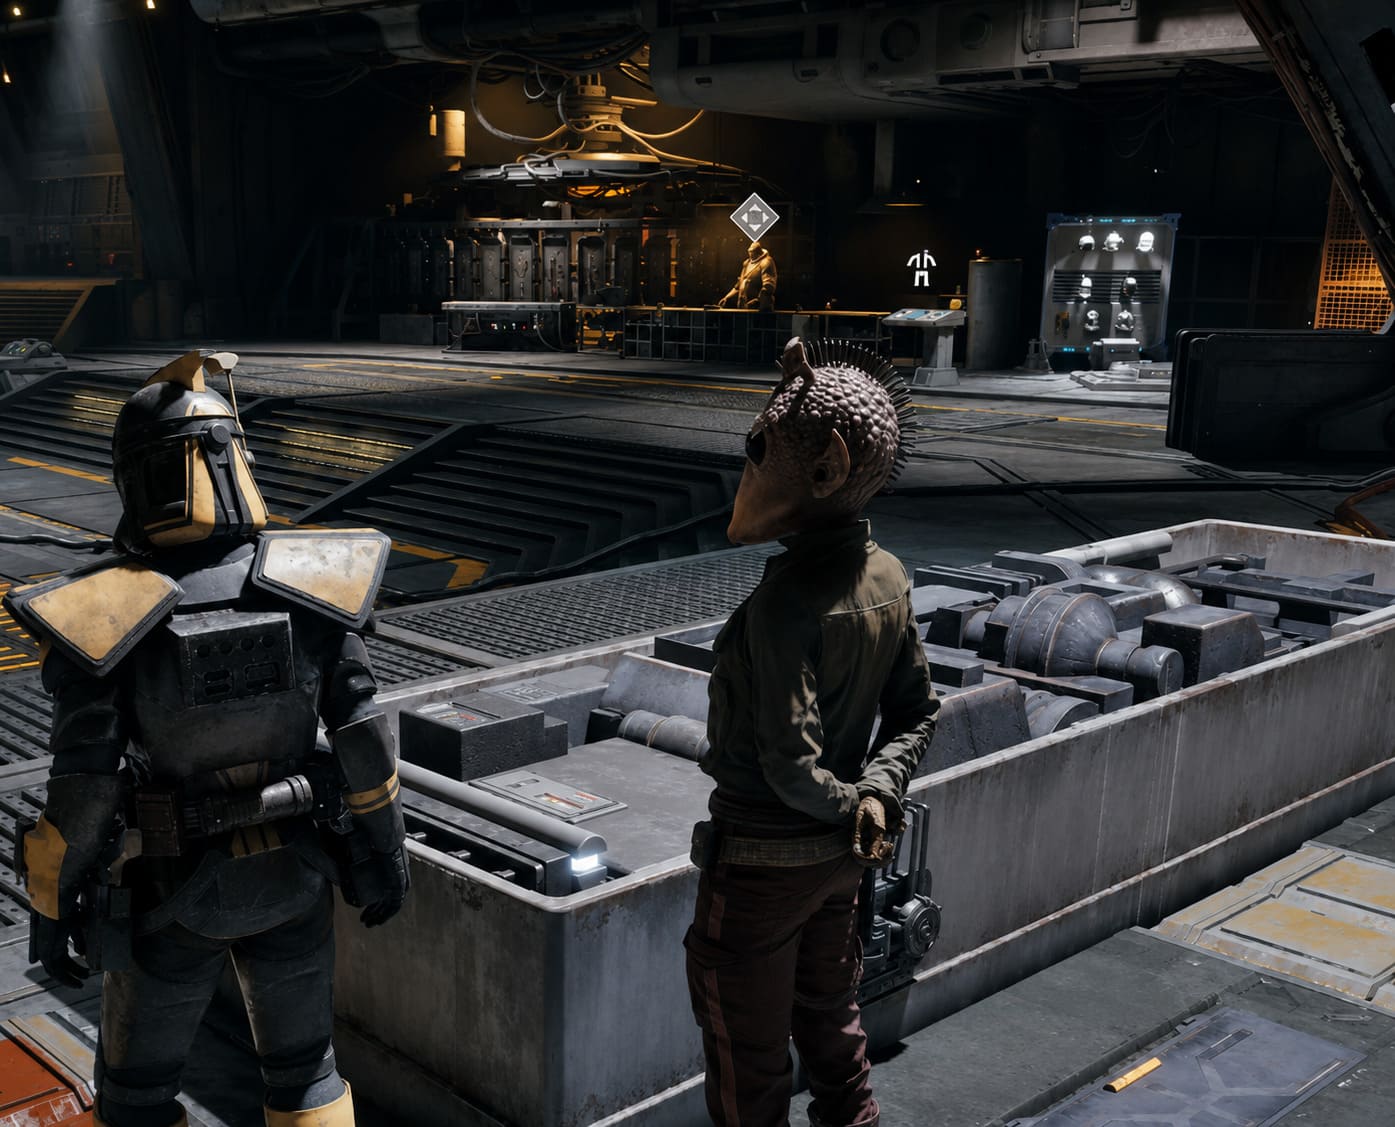
Not every specialization has the same job. One of the biggest advantages of building a balanced squad is having specific operators who can solve specific battlefield problems.
Here is how I generally rate the major anti-armor options.
| Specialization | Anti-Armor Role | Best Use |
|---|---|---|
| Heavy | Armor destruction | Groups of heavily protected enemies |
| Soldier | Versatile armor damage | General-purpose engagements |
| Assault | Close-range disruption | Breaking defensive positions |
| Sharpshooter | Armor bypass | Eliminating priority targets |
| Scoundrel | Target setup | Creating kill opportunities |
1. Heavy: Your Armor-Breaking Specialist
The Heavy is the obvious choice when something on the battlefield looks like it was built to survive a war.
This specialization sacrifices some mobility for firepower and defensive strength, making it particularly useful when an enemy formation needs to be cracked open.
The Heavy’s explosive arsenal is especially valuable because it can affect multiple enemies simultaneously. Instead of spending several attacks against individual armored targets, you can potentially damage the defenses of an entire cluster.
And there is another reason I love using a Heavy against fortified positions: destructible cover.
Armor is annoying. Armor combined with excellent cover is much worse.
Blowing apart the surrounding environment can solve both problems at once. Suddenly your enemies are less protected, their armor has been weakened, and your other operators have better firing opportunities.
That is the kind of turn that can completely change a mission.
2. Soldier: The Reliable Workhorse
If the Heavy is the specialist, the Soldier is the dependable all-rounder.
The Soldier has access to a broad selection of weapons and abilities, making the specialization useful in almost every combat scenario. When armored enemies appear unexpectedly, having a Soldier nearby means you are rarely completely unprepared.
Explosive utility is particularly useful here.
Grenades can be extremely valuable for starting an anti-armor sequence, especially when several enemies are positioned close together. Instead of trying to eliminate one target immediately, soften the entire group first.
Then let your squad’s high-damage attacks finish the job.
This is one of those situations where turn-based strategy rewards patience. You do not always need to kill something with your first action. Sometimes the best move is setting up the next three attacks.
Assault: More Than Just a Melee Fighter
The Assault specialization is not the first class I think of when somebody says “anti-armor,” but it has an important role in breaking defensive formations.
Assault operators excel at getting close to enemies and disrupting their positioning.
That matters because an armored target hiding behind cover can be significantly more dangerous than one standing in the open.
Knockbacks and close-range attacks can help reposition enemies, remove their access to favorable cover, and create better angles for the rest of your team.
I especially like using Assault operators to turn a complicated defensive position into a messy close-range fight.
Once the enemy formation loses its structure, your Heavy and Soldier can do their real work.
Sharpshooter + Scoundrel: The Priority-Target Combo
Sometimes you do not have time to remove an enemy’s entire armor layer.
Maybe it is a dangerous elite unit. Maybe it is a boss. Maybe that enemy is about to delete one of your weaker operators.
This is where Scoundrel and Sharpshooter abilities can complement each other beautifully.
The Scoundrel can help establish a priority target, setting up an enemy for a particularly strong follow-up attack. The Sharpshooter can then capitalize on that opening with a high-precision attack.
The important idea is simple:
You are not trying to win the armor war. You are trying to remove one specific enemy before it gets another turn.
That distinction matters.
Against a crowd of armored units, shredding is usually more efficient. Against one terrifying target, focused damage can be the better answer.
Weapon Mods Matter More Than You Think
A lot of players focus heavily on class abilities and forget about preparation.
I would not make that mistake.
Before difficult operations, check your available weapon modifications and utility equipment. A small improvement to your weapons can become much more noticeable when you are fighting enemies with significant defensive protection.
Anti-armor-oriented modifications are particularly valuable on operators who will spend most of the mission shooting heavily protected targets.
Mechanical enemies also deserve special consideration. If the mission contains large numbers of droid opponents, equipment designed to improve effectiveness against mechanical targets can provide much better value than generic upgrades.
The basic rule I follow is:
Build your equipment around the enemies you expect to fight, not around an abstract “best” loadout.
A modification that looks mediocre on paper can suddenly become excellent when an entire mission is filled with armored targets.
The Backup Mechanic Can Create Huge Damage Windows
One of the most interesting tools for dealing with difficult enemies is Backup.
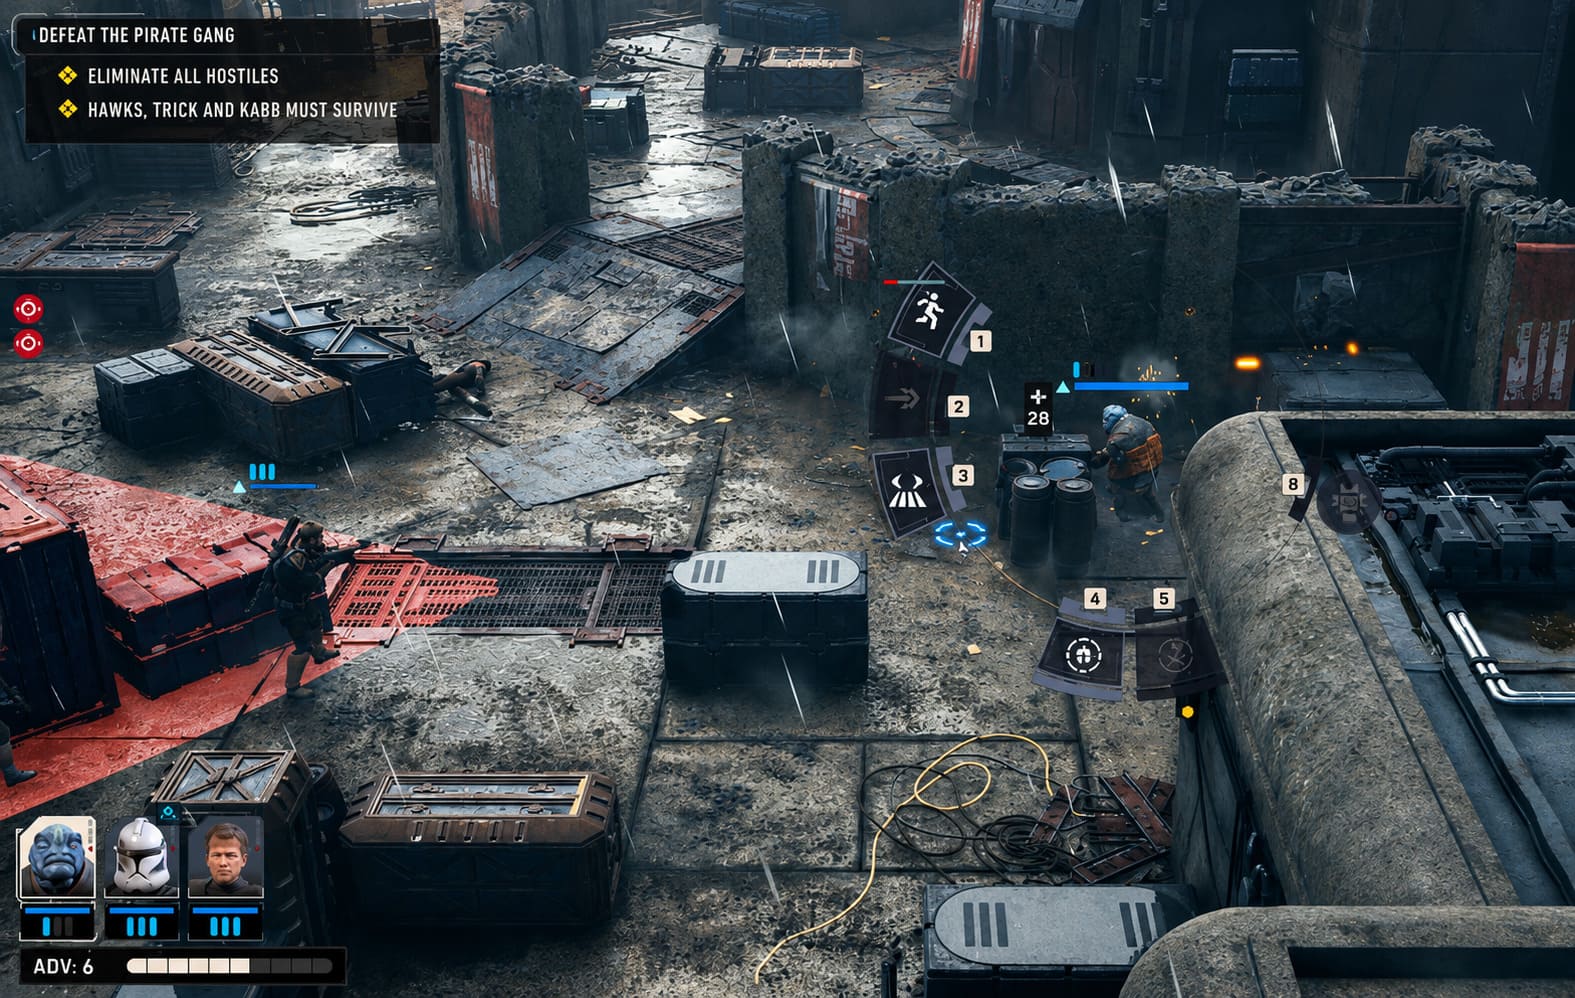
When the mechanic is available, it can allow one operator to coordinate a supporting shot from another squad member. The important part is understanding when to use it.
I see players make one common mistake: they trigger Backup immediately because the command is available.
I think that wastes its potential.
Instead, prepare the battlefield first.
My Preferred Anti-Armor Sequence
- Identify the priority armored target.
- Move your other operators into useful firing positions.
- Make sure supporting characters have line of sight.
- Use a grenade, explosive ability, or environmental hazard to weaken the target.
- Continue stripping the armor until the target becomes vulnerable.
- Trigger Backup only after the setup is complete.
- Finish the exposed target with concentrated fire.
The reason is straightforward.
If your powerful follow-up attacks hit an intact armor layer, part of their value is wasted. If the protection is already gone, those same attacks can go directly toward finishing the enemy.
This is especially satisfying against elite targets. Set everything up correctly and suddenly a unit that looked almost impossible to kill disappears in one coordinated burst.
Use the Environment Against Heavy Enemies
Never forget that Zero Company is not just about weapons.
The battlefield itself can become part of your arsenal.
Look around for:
- Explosive objects
- Power conduits
- Destructible structures
- Environmental hazards
- Weak defensive positions
- Cover that can be destroyed
A heavily armored opponent behind excellent cover is a problem.
A heavily armored opponent standing next to something explosive is an opportunity.
Environmental attacks are particularly useful because they can damage multiple enemies while simultaneously changing the geometry of the battlefield.
And that last part is easy to underestimate.
Destroying cover does not just deal damage. It changes where the enemy can safely stand.
Crisis Modifiers Can Completely Change Your Priorities
As the campaign progresses, Crisis choices can alter the conditions of future encounters.
This is where an otherwise comfortable anti-armor strategy can suddenly stop working.
If enemy defensive capabilities increase, you need to adjust rather than stubbornly repeating the same attack pattern.
When facing particularly tough armored variants, I recommend slowing down and checking the information presented before every major attack.
Look at the expected result.
Ask yourself:
How much damage am I actually dealing?
Not how much damage the weapon says it deals. Not how impressive the animation looks. What is the attack actually accomplishing against this particular enemy?
That little pause can save an enormous amount of wasted AP.
Astromechs Can Make Heavy Squads Even Better
Support units can also play an important role in an anti-armor squad.
An Astromech can help feed additional resources into your more destructive operators, allowing your Heavy or Soldier to perform more actions during an important combat sequence.
This creates a powerful relationship:
Support operator → extra resources → armor-breaking specialist → exposed target → concentrated damage.
When everything lines up, your squad can generate a huge amount of momentum in a single turn.
That is exactly what you want when facing a dangerous elite enemy.
How to Fix Star Wars Zero Company Nvidia Driver Crashes, Black Screen, and Low FPS on PC
The Biggest Armor Mistakes to Avoid
If you are consistently struggling against armored opponents, check whether you are making one of these mistakes.
Shooting Before Shredding
This is the classic error. If an enemy’s armor is significantly reducing your attacks, stop throwing basic shots at it.
Break the defense first.
Ignoring Cover
Armor plus cover is a nightmare.
If the environment gives you a way to destroy that cover, use it.
Spending Every AP Immediately
Having Action Points available does not mean you need to spend them instantly.
Sometimes positioning is more valuable than another weak shot.
Using Backup Too Early
Backup is most useful when your squad is already prepared to exploit it.
Do not trigger the ability simply because you can.
Building a Generic Squad
A balanced team is much more valuable than stacking several characters who perform essentially the same role.
You want damage, utility, positioning, support, and a reliable way to handle armor.
Star Wars Zero Company Xbox Series X Review: The New King of Sci-Fi Turn-Based Tactics
My Ideal Anti-Armor Combat Philosophy
After playing a lot of turn-based tactical games, I have learned that the strongest squads are rarely the ones with the biggest numbers.
They are the squads that make every action count.
That philosophy works particularly well against armored enemies in Star Wars Zero Company.
Use your Heavy to crack defensive formations. Let your Soldier provide flexible explosive support. Use Assault operators to disrupt positions. Bring Sharpshooters when priority targets need to disappear quickly. Let Scoundrels create openings rather than simply firing whenever they have a chance.
And most importantly, do not treat armor as a damage sponge.
Treat it as a puzzle.
Once you start thinking about armor as a separate tactical problem, difficult encounters become much easier to read. Instead of wondering why your squad’s blasters suddenly feel useless, you begin recognizing the sequence: weaken the protection, destroy the cover, establish firing lanes, coordinate Backup, and then dump your strongest attacks into the exposed target.
That is when Zero Company starts feeling less like a game of trading shots and more like the tactical Star Wars experience it is trying to be.