SAND Raiders of Sophie Ultimate Weapon Crates Farming Route and Loot Guide
SAND: Raiders of Sophie doesn’t really give you the luxury of slow pacing or safe experimentation. It throws you straight into a hostile PvPvE desert where every sortie in your Trampler feels like a calculated gamble against both human squads and AI pressure. After enough hours inside this ecosystem, one truth becomes impossible to ignore: your success is dictated far more by access to high-tier weapon crates and structured farming routes than by raw mechanical aim alone.
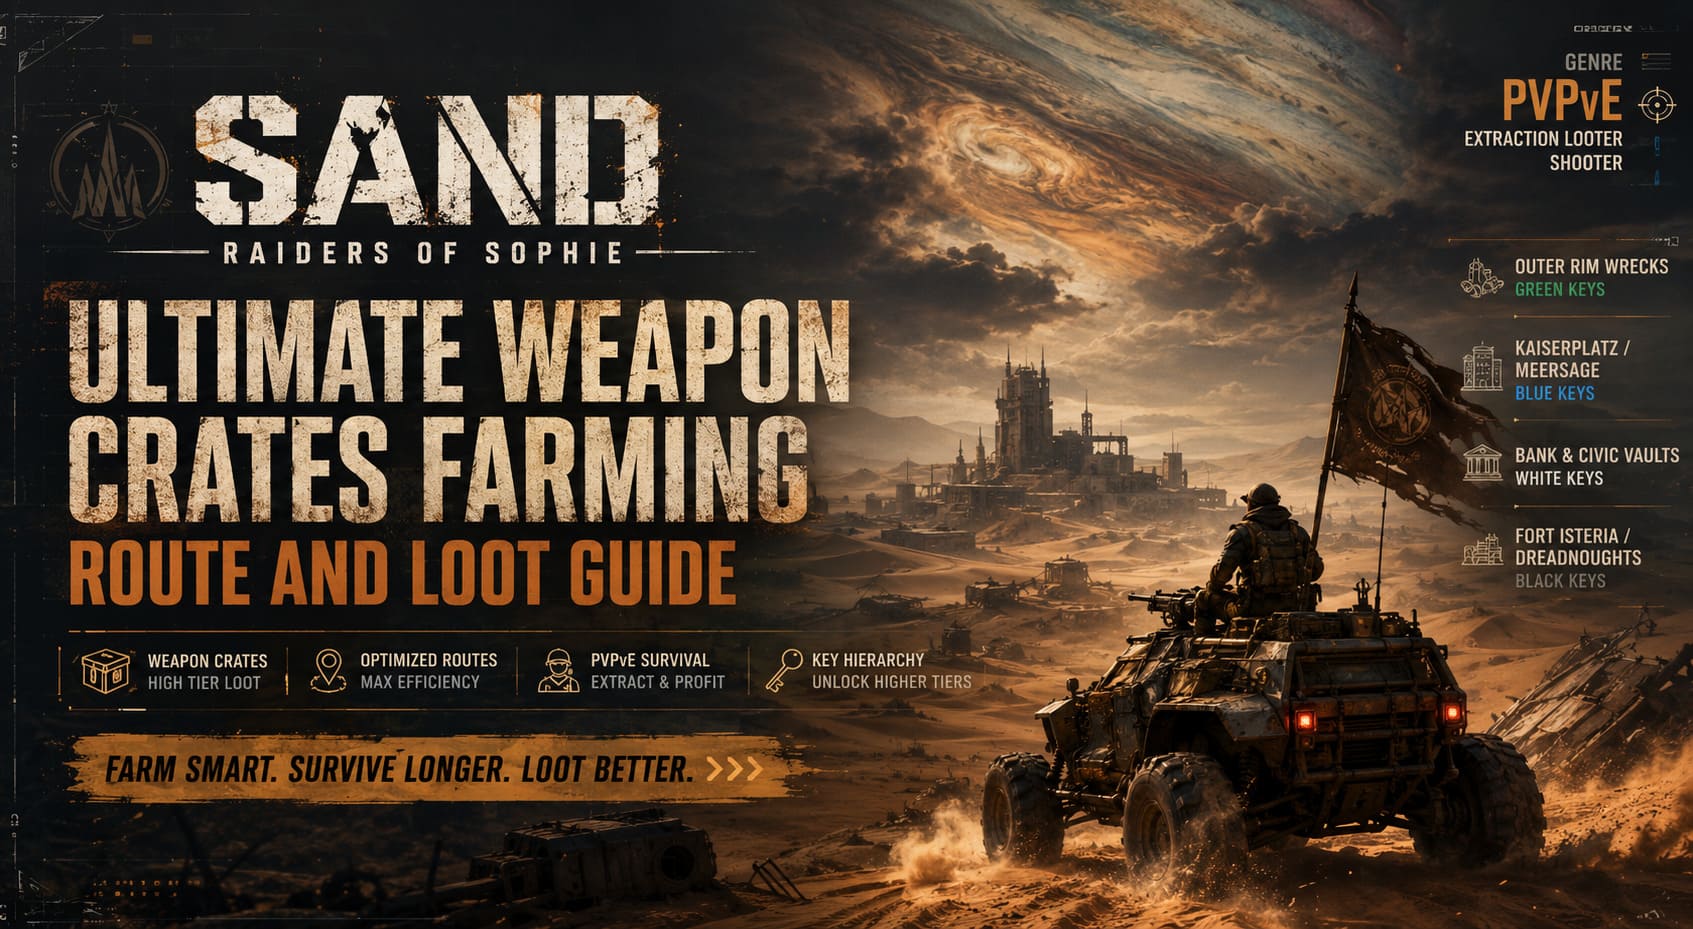
This guide is built around efficiency, controlled risk, and understanding how the game quietly forces players through layered loot progression systems. Instead of wandering aimlessly through dunes, you’ll be running structured circuits where every stop has a purpose and every encounter fits into a larger extraction strategy.
Understanding the Loot Economy and Key Progression Logic
At the core of SAND: Raiders of Sophie lies a tightly controlled loot hierarchy. The game avoids giving strong weapons through random exploration and instead locks meaningful progression behind a structured chain of crates, safes, and access-controlled zones. This creates a loop where exploration alone is never enough—you must actively climb the key hierarchy to unlock better rewards.
Early containers mostly provide survival resources such as crafting parts, ammunition, and basic consumables. These are necessary but never transformative. The real power spike comes from Rare Weapon Crates and secured vaults, which are intentionally gated behind color-coded keys that push players into increasingly dangerous environments.
Key Progression Hierarchy and Access Structure
The key system defines your entire farming route. Each tier not only unlocks doors but also escalates encounter difficulty and loot density, forcing players into a natural progression curve that rewards planning over randomness.
Green Keys act as entry-level access found in residential zones and minor elite safes. Blue Keys open mid-tier interiors such as administrative buildings and early mansion structures. Red Keys transition players into industrial outposts with increased AI resistance and improved loot tables. White Keys appear in heavily fortified civic or financial zones with concentrated rare weapon spawns. Black Keys represent endgame access, usually tied to storm events or massive wreckage zones where only coordinated squads or highly experienced solo players consistently survive.
Optimized Farming Route: Controlled Risk Circuit Strategy
The most efficient farming strategy is not about rushing high-risk zones immediately. Instead, it relies on a structured route that gradually escalates difficulty while building resources and key access along the way. This ensures consistent returns without unnecessary early PvP losses.
Outer Rim Wreck Circuit: Stable Resource Foundation
The first phase focuses on outer-edge wreckage clusters scattered across the desert perimeter. These locations are frequently ignored by aggressive squads, making them ideal for safe early-game stabilization. The goal here is not high-tier loot but consistency—securing early keys, ammunition, and healing supplies that support your transition into more contested areas.
Three to four wreck sites per run are typically enough to build a functional baseline. This phase is what separates stable farming runs from chaotic, underprepared pushes into high-risk zones.
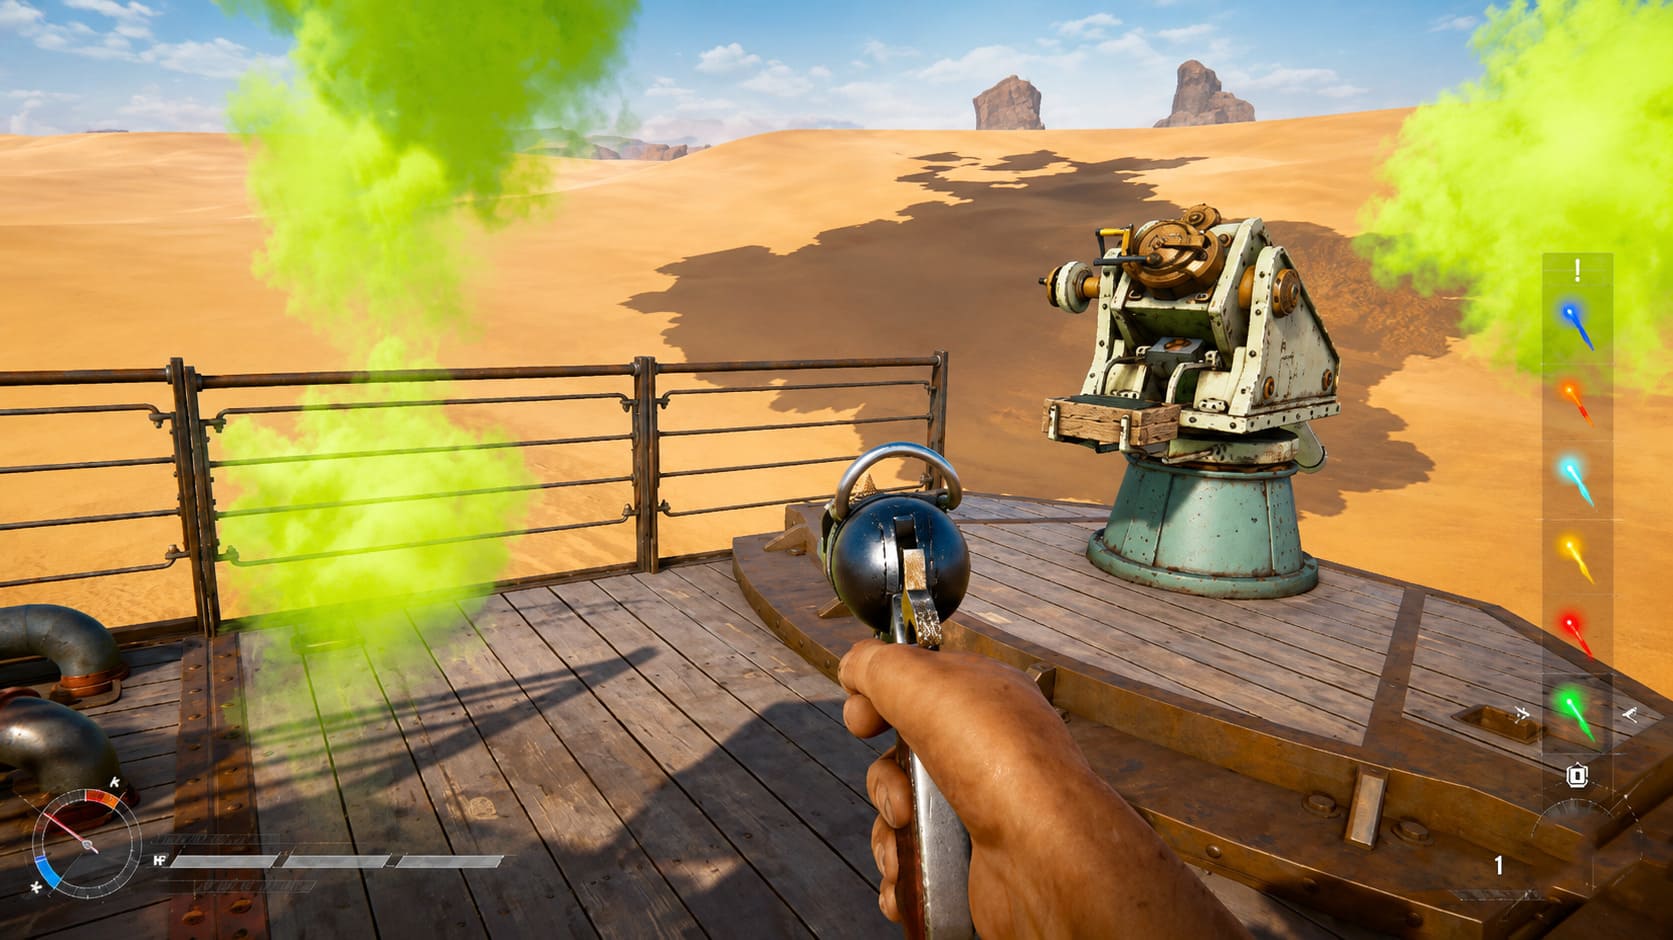
Mid-Zone Entry: Kaiserplatz and Meersage Operations
Once initial keys are secured, the route shifts toward structured urban and industrial zones such as Kaiserplatz and Meersage. These areas introduce significantly higher AI density and increased player competition, requiring more disciplined positioning and awareness.
Parking your Trampler in concealed terrain is essential here, as visibility alone can attract unwanted engagements. Inside these zones, focus on office storage, secured drawers, and guarded interiors where Blue and Red Keys commonly spawn. This phase is where your run begins to scale in power, as each successful breach pushes your access deeper into the loot hierarchy.
Bank and Civic Vault Stage: High-Value Interior Runs
Segen-style bank structures represent a major escalation in both risk and reward. These environments are designed for conflict, and entering them without preparation often results in early elimination. The optimal approach is controlled entry through secondary access points rather than exposed main entrances.
Inside, second-floor secured rooms typically contain dense rare weapon crate clusters and White Keys. However, crate interaction times create vulnerability windows, so clearing angles and establishing exit routes is mandatory before committing to loot extraction. This stage often determines whether a run becomes profitable or collapses under pressure.
Endgame Pressure Zones: Fortifications and Storm Events
The final farming stage is reserved for experienced players or coordinated squads. Fort Isteria-style locations and Dreadnought wreck zones represent peak loot potential but also peak instability. Storm events dramatically increase loot quality while simultaneously reducing visibility, creating a high-risk high-reward environment where positioning matters more than aim alone.
Black Keys and top-tier weapon crates appear more frequently here, but so do opportunistic squads waiting for weakened targets. Success in this phase depends on timing, awareness, and the ability to disengage quickly when situations collapse.
Survival Mechanics and Extraction Discipline
Loot acquisition is meaningless without successful extraction. The extraction phase is arguably more dangerous than most combat encounters because it concentrates remaining players into a predictable end-point scenario. Every surviving squad is aware of your location once extraction begins.
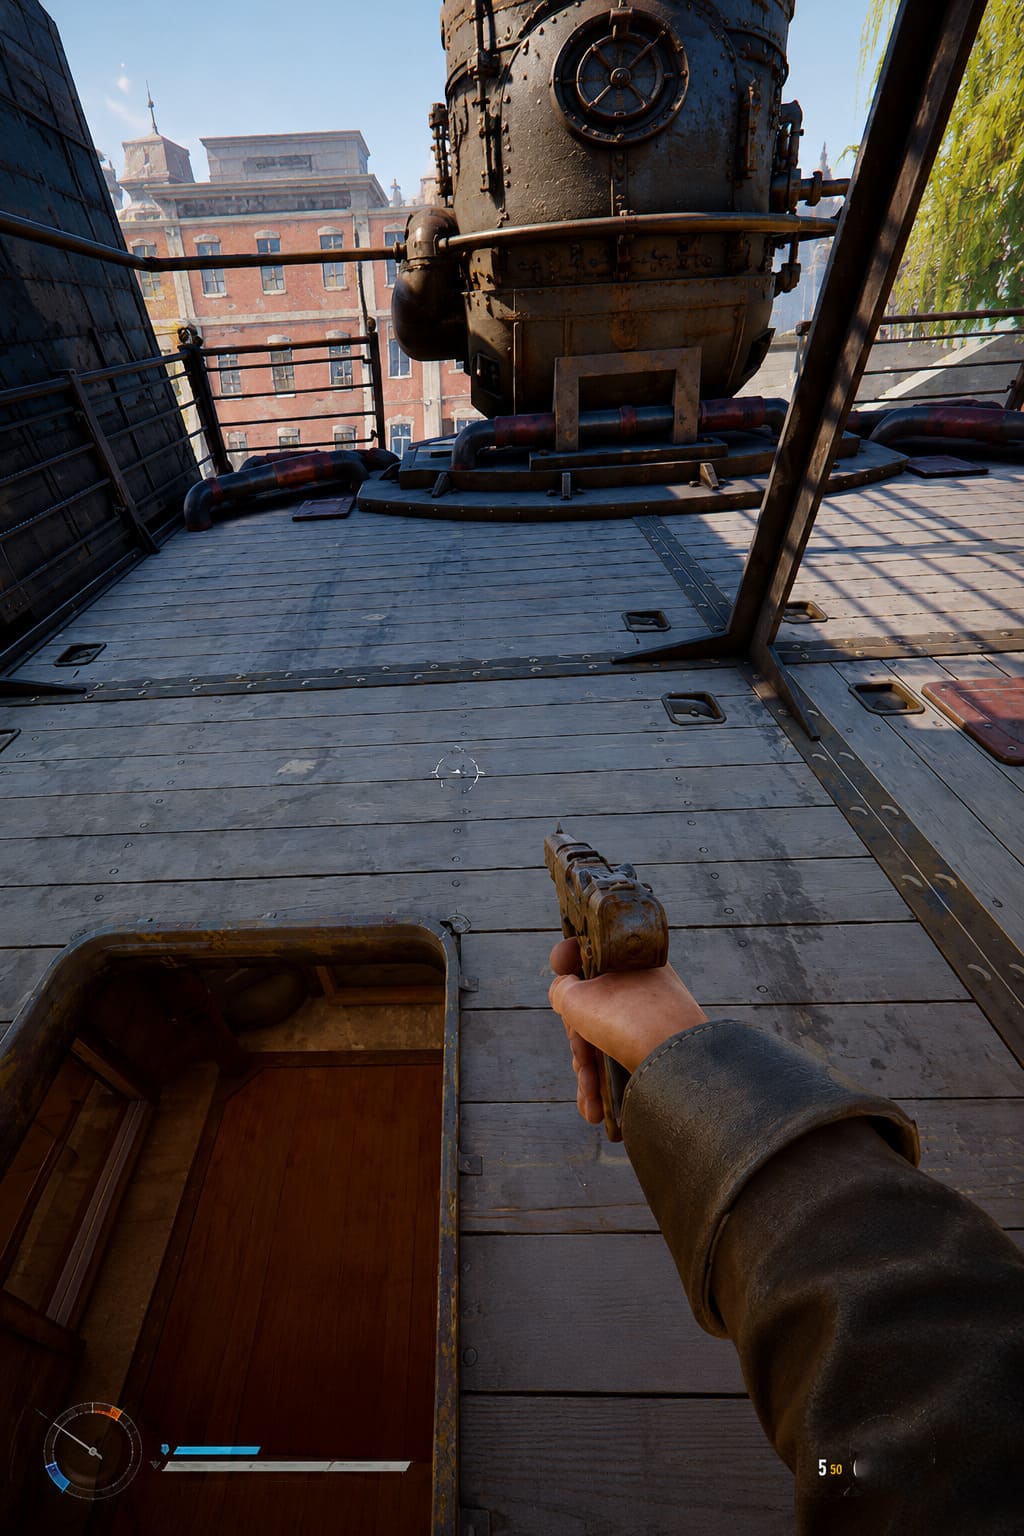
Proper storage management is critical. Items must be secured inside your Trampler or inventory, as unsecured loot risks being lost during transition. Extraction signals, particularly visible markers like smoke or beacons, act as global alerts that attract hostile attention across the map.
During extraction, positioning should always prioritize cover and elevation. Standing in open terrain dramatically increases risk exposure. Even if your Trampler is destroyed, on-foot extraction remains possible and can still secure high-value loot if executed quickly and decisively.
Conclusion: Structured Efficiency Over Chaos
The most common mistake in SAND: Raiders of Sophie is treating it like a constant combat arena rather than a structured loot ecosystem. While aggression has its place, consistent success comes from disciplined routing, controlled escalation, and understanding how each zone contributes to your overall progression cycle.
The outer wreck circuit stabilizes your foundation. Mid-tier zones scale your access. Bank interiors spike your loot quality. Endgame zones test your ability to extract under pressure. When these phases are executed in sequence rather than randomly, your efficiency increases dramatically and your survival rate stabilizes over time.
In the end, mastery is not about fighting more—it’s about losing less while consistently converting raids into structured, repeatable profit cycles.