
SAND: Raiders of Sophie – Best Artifact Spawn Locations, High-Tier Loot Routes & Extraction Survival Guide
SAND: Raiders of Sophie doesn’t really care about your comfort zone. It throws you into a sun-scorched wasteland where every dune feels like it’s watching you back, and every rusted structure might be hiding either your next big win or your immediate end. After spending what feels like too many nights crawling through its desert hellscape, one thing becomes obvious fast: survival loot is fine, but artifacts are everything. They’re the real currency of progression, the gateway into Tier IV tech, and the difference between being a wandering scrap collector and a fully loaded endgame raider.
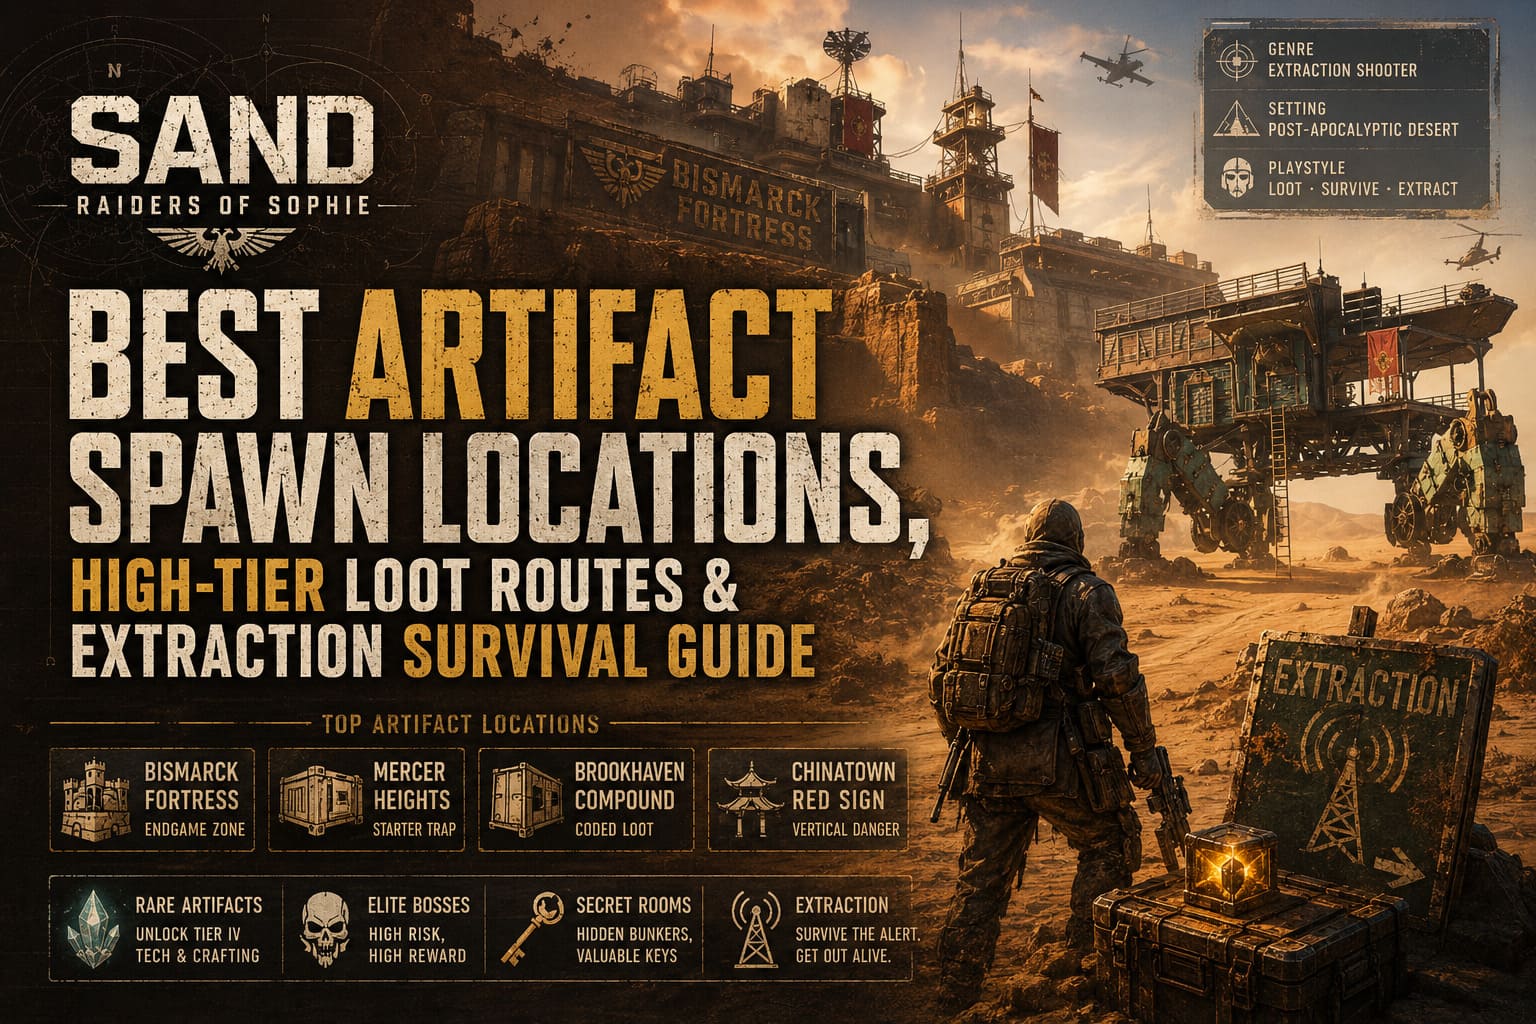
What makes the game especially brutal is how deliberately it hides its best rewards. You won’t stumble into high-tier loot by accident near some random wreckage. Instead, the game pushes you toward fortified Points of Interest, puzzle-locked interiors, and AI-controlled death zones that feel like they were designed by someone who hates comfort and loves chaos. The thrill comes from learning where to go, when to push, and when to just accept that your Trampler might not make it back intact.
REPO Game Matchmaking Fix: How to Play with Randoms & Public Lobbies Guide
Why Artifact Runs Define the Entire Meta
Artifacts in SAND aren’t just shiny collectibles. They directly unlock Tier IV research paths, experimental weapon crafting, and rare system upgrades that shift your entire playstyle. Missing them means stagnation, while securing them early turns your squad into a roaming threat.
The problem is that every serious player understands this value loop, which means artifact zones are permanently contested. These areas become layered battlegrounds where PvE pressure and PvP aggression collide, creating unpredictable encounters that punish hesitation instantly.
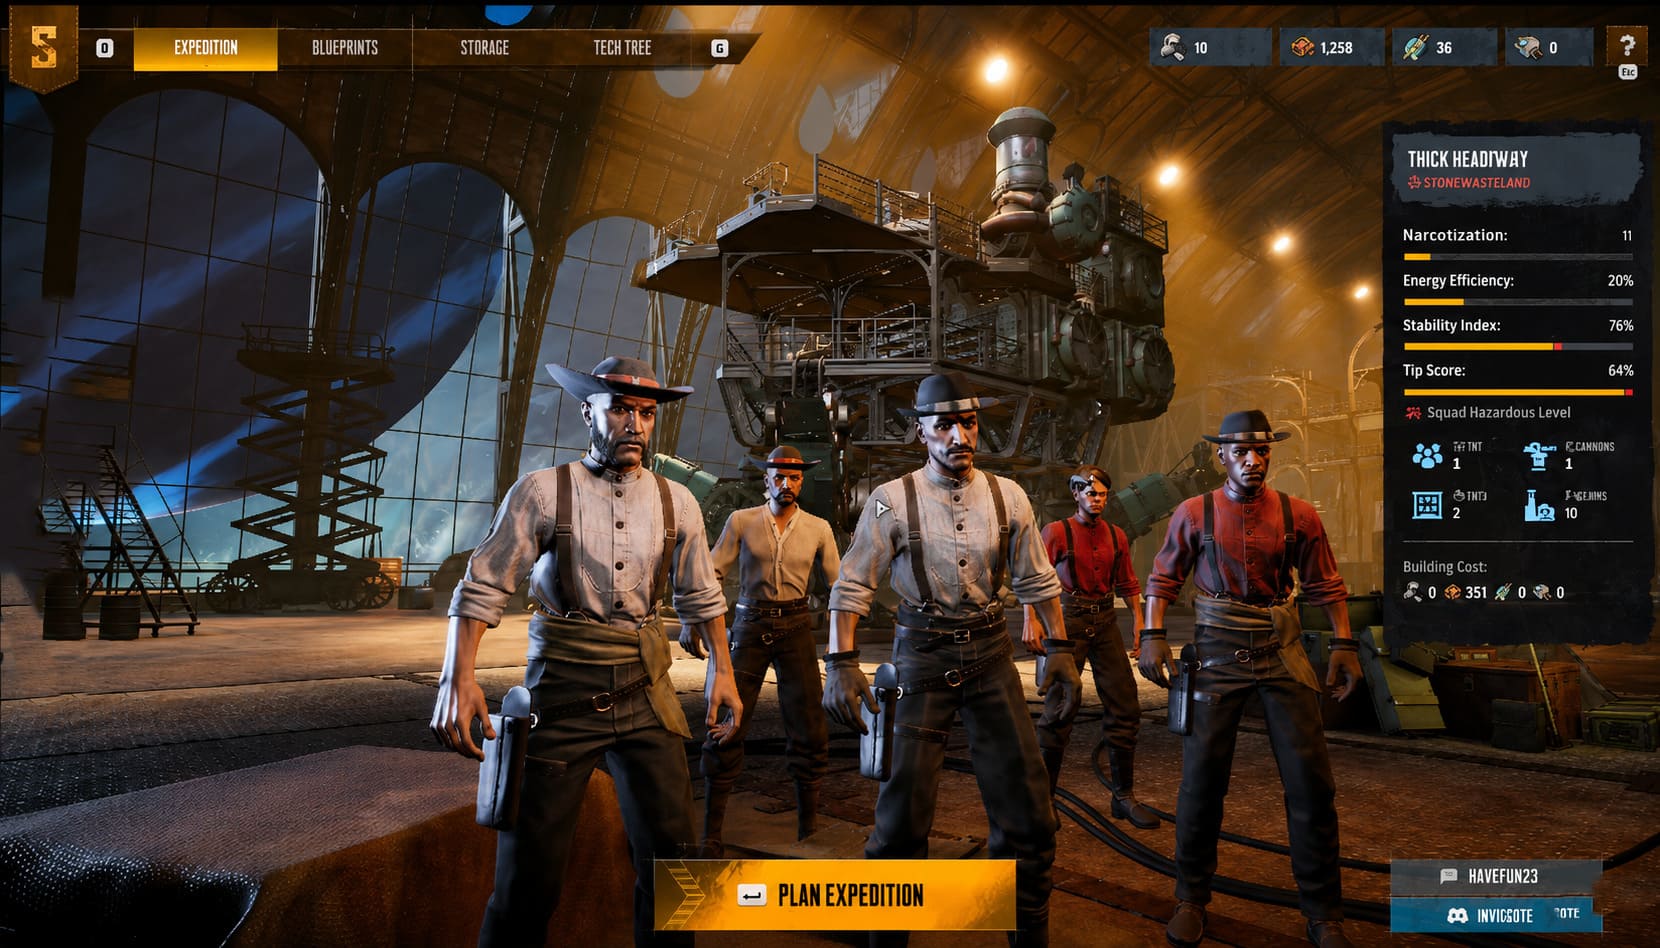
The core loop is simple in theory but brutal in execution: identify high-tier POIs, survive the approach in your Trampler, secure the loot under pressure, and extract before someone decides your success belongs to them instead.
Top High-Value Artifact Spawn Locations
After analyzing repeated community runs, gameplay breakdowns, and field-tested routes, several locations consistently stand out as the most reliable artifact spawn zones in SAND: Raiders of Sophie. Each one represents a different flavor of risk, from militarized fortresses to puzzle-driven industrial complexes.
1. Bismarck Fortress – The Endgame Pressure Cooker
The Bismarck Fortress is not subtle in any sense of the word. It dominates the map as a massive Austro-Hungarian military complex, and it immediately signals danger the moment you approach its perimeter. The structure feels alive with defensive systems, layered patrol routes, and overwatch positions that punish careless movement.
Inside the command wing, artifact spawns appear on heavy desks, inside reinforced safes, and within secured storage rooms. However, reaching them requires surviving elite AI squads and a rooftop sniper positioned on the tallest tower. The environment constantly forces you to adapt between stealth and aggression, depending on whether you are solo or operating as a coordinated squad.
2. Mercer Heights – The “Starter Trap” With Real Value
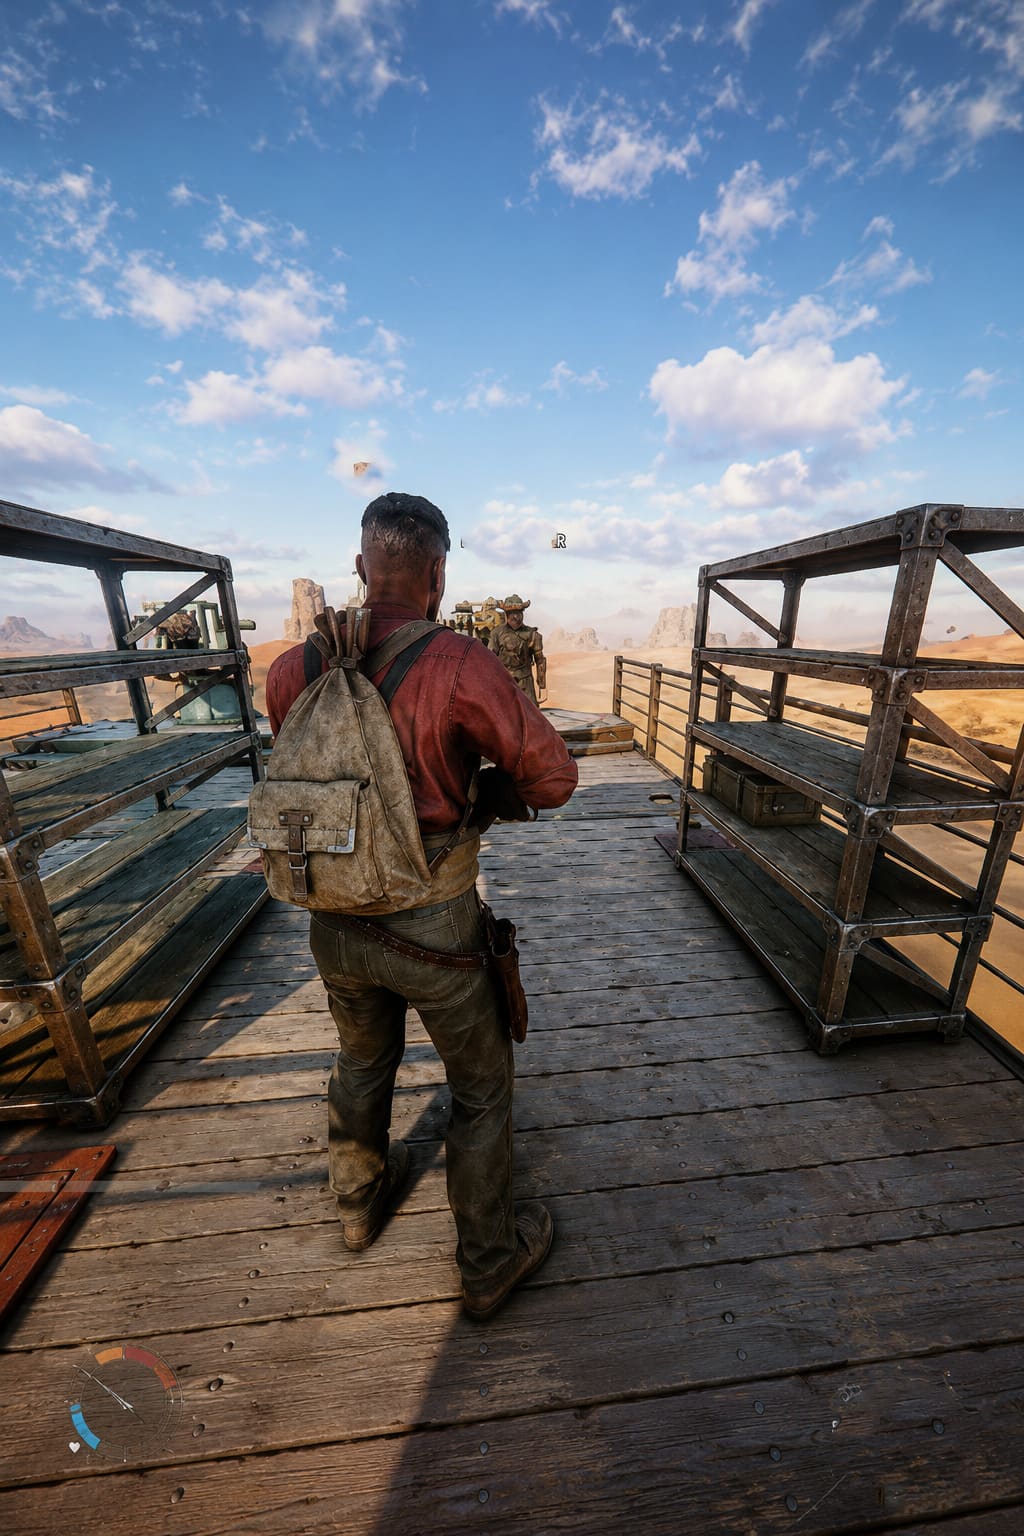
Mercer Heights looks deceptively calm, which is exactly why it catches so many players off guard. It is structured like a compact urban ruin filled with alleyways, industrial debris, and hidden interaction points that reward careful exploration over raw firepower.
The primary artifact spawn sits between large waste containers in a narrow hidden alcove. Nearby environmental clues, such as wall-mounted notes, hint at puzzle mechanics that guide players toward safe clearing routes. The location is particularly valuable for early progression because it allows relatively low-risk artifact acquisition compared to endgame zones.
3. Brookhaven Secure Compound – Code, Chaos, and Clean Loot
Brookhaven operates like an abandoned logistics hub frozen mid-collapse. Its wide-open layout creates long sightlines, which makes Trampler movement dangerous and predictable under enemy observation.
The artifact route here follows a structured sequence: enter from the main road, locate a red-marked industrial hall, retrieve a coded note, and use that code to unlock a secure door near a rusted trailer. Inside, a clean storage room contains a guaranteed artifact suitcase spawn placed on a central workbench. The simplicity of the system is what makes it so contested, as multiple squads often converge on the same predictable path.
4. Chinatown Red Sign District – Vertical Danger Zone
Chinatown shifts the entire gameplay rhythm by replacing open desert combat with vertical urban navigation. The district is dense, layered, and filled with unpredictable movement angles that make both AI and players difficult to track.
The artifact path begins at a central staircase beside a red-lit storefront. A hidden ladder leads to rooftop maintenance corridors where high-tier chests and artifact spawns regularly appear. The biggest challenge here is spatial awareness, as threats can emerge from multiple vertical directions simultaneously, turning every corner into a potential ambush point.
Alternative Artifact Sources
Not every successful run requires a direct assault on major POIs. Some of the most consistent artifact gains come from indirect systems that many players underestimate.
Elite Sector Bosses patrol key military zones and crossroads. While difficult to defeat, they offer some of the highest drop chances for rare keys and advanced materials. These encounters often become mini-events that attract multiple players, creating chaotic multi-sided battles.
Subterranean secret rooms provide another overlooked source of progression. These locked bunkers, accessed through mid-tier keys dropped by standard enemies, contain rare components such as Crystal fragments and Black Boxes. They reward methodical exploration rather than brute-force combat.
Extraction Strategy – Where Most Runs Collapse
Extraction is the true test of every successful artifact run. The game is unforgiving here, and even a perfect loot haul can be erased in moments if execution fails during the final phase.
The process revolves around radio tower extraction points scattered across the map. Activating one triggers a visible signal and immediately broadcasts your position to all nearby players, turning survival into a countdown-based defense scenario.
First, you drive your Trampler to the marked zone and activate the console at the top of the tower. Then a 90-second alert phase begins where your position is exposed. After that, a dropship arrives, initiating a final 60-second boarding window where you must secure your loot and escape under pressure.
The most common mistake is treating extraction as a victory lap. In reality, it is the most dangerous segment of the entire raid, requiring pre-positioning, cover awareness, and disciplined inventory management.
Final Thoughts
SAND: Raiders of Sophie ultimately transforms every artifact run into a calculated risk decision rather than a simple loot chase. Success is not defined by how much you collect, but by whether you can leave alive with it intact.
The most consistent players are not necessarily the most aggressive or mechanically skilled. They are the ones who understand timing, threat escalation, and when to disengage before a situation collapses. In a world built on sand, metal, and constant uncertainty, survival itself becomes the real endgame reward.


