Resonance A Plague Tale Legacy NVIDIA Control Panel Optimal Settings: Ultimate Performance & High FPS Guide
I’ve spent a ridiculous amount of time tweaking demanding PC games, and I’ll be honest: Resonance: A Plague Tale Legacy is exactly the kind of game that makes you want to open the NVIDIA Control Panel before you even finish the first chapter. Asobo Studio clearly knows how to build gorgeous worlds, but there’s always a price for that eye candy. Ancient architecture, dense vegetation, dramatic volumetric lighting, detailed environments and all those little atmospheric effects can absolutely hammer your GPU.
And that’s where things get interesting.
You can throw the game onto Ultra, admire the screenshots for five minutes, and then wonder why your supposedly powerful PC suddenly feels like it is fighting for its life. Or you can spend a little time tuning the driver, finding the settings that actually matter, and aim for something much more satisfying: high FPS, clean image quality and consistent frame pacing without turning the entire game into a blurry soup.
I’m firmly in the second camp.
The important thing to understand is that the in-game graphics menu isn’t the entire performance picture. NVIDIA Control Panel gives you another layer of control over how your GPU handles the game. Some options are genuinely useful, while others are basically relics from another generation of PC gaming and should be left alone.
Here’s how I would set up a dedicated NVIDIA profile for Resonance: A Plague Tale Legacy.
How to Fix DLSS 3 Frame Generation Ghosting in Resonance A Plague Tale Legacy
Why NVIDIA Control Panel Settings Actually Matter
Modern PC games can be surprisingly sensitive to driver behavior. A demanding DirectX 12 title has to juggle shaders, VRAM, CPU workloads, asset streaming and frame delivery simultaneously. If something goes wrong, the result isn’t always simply “lower FPS.”
Sometimes you get the much more annoying stuff: micro-stutters, inconsistent frame pacing, sudden drops during camera movement or weird hitching when entering a new area.
Average FPS doesn’t tell the whole story. I would rather play at a stable 70 FPS than watch the counter bounce between 95 and 45 every few seconds.
That is why I recommend creating a specific program profile for Resonance instead of randomly changing NVIDIA’s global settings. Your other games may benefit from completely different configurations, and there’s no reason to mess with a setup that already works.
Open NVIDIA Control Panel, go to Manage 3D Settings → Program Settings, add the game’s executable and start from there.
My Recommended NVIDIA Control Panel Profile
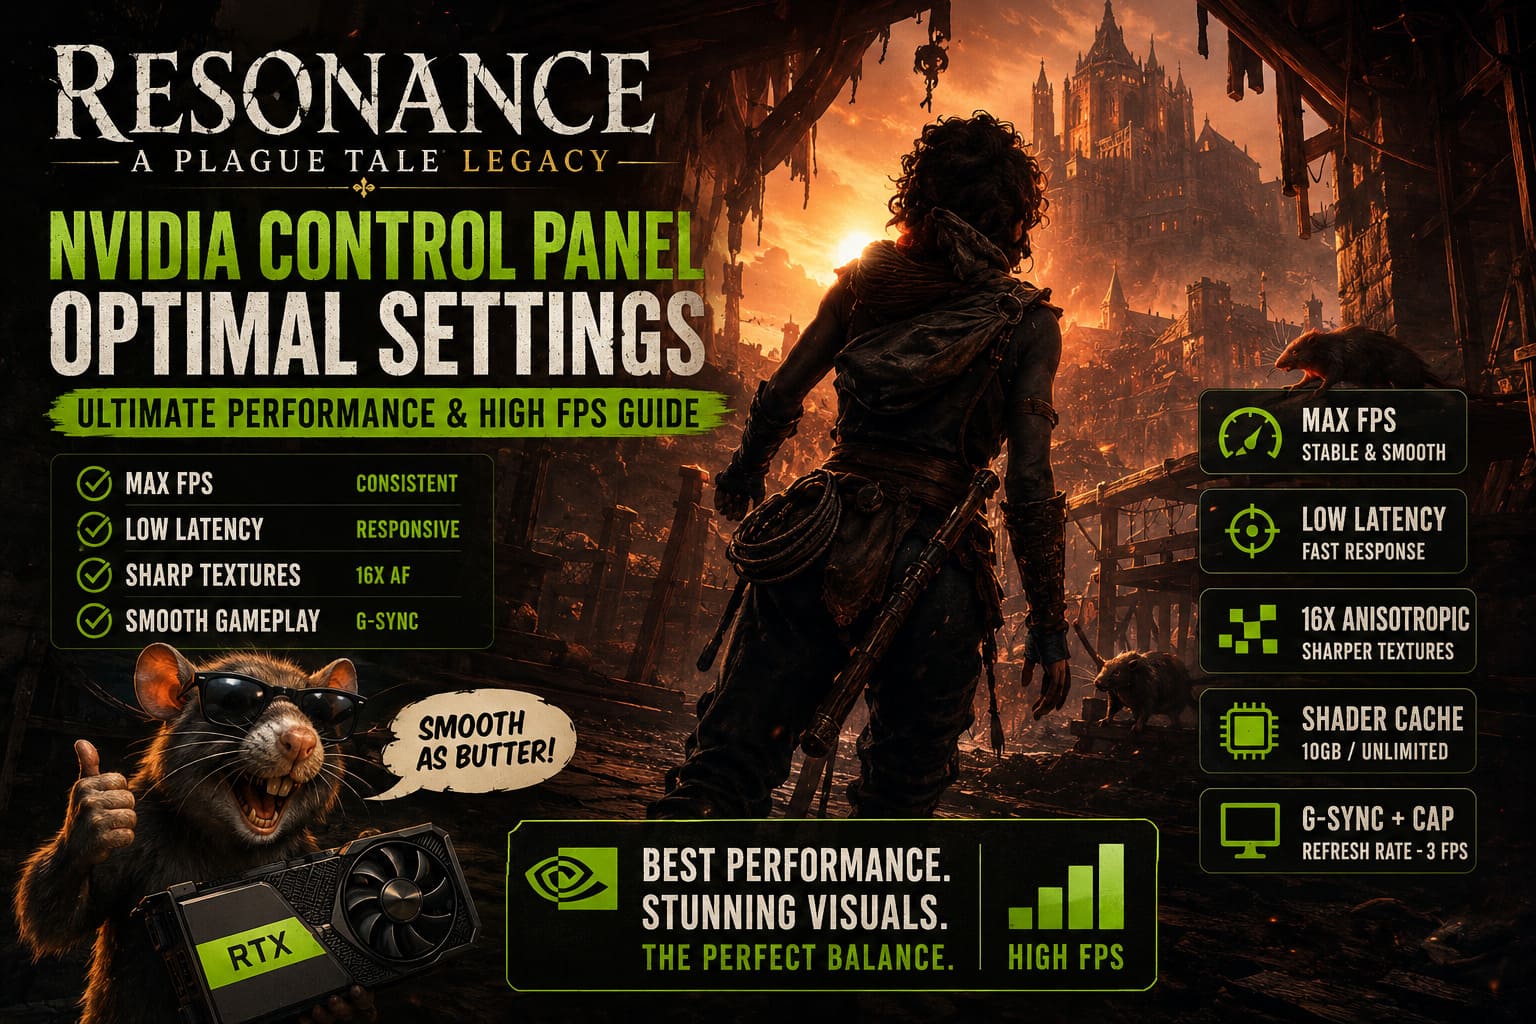
Here’s the setup I would use as a starting point:
| NVIDIA Setting | Recommended Value | Why |
|---|---|---|
| Image Scaling | Off | Let DLSS handle reconstruction |
| Ambient Occlusion | Application-controlled | Avoid driver-level conflicts |
| Anisotropic Filtering | 16x | Sharper distant textures |
| Antialiasing Mode | Application-controlled | The game should manage AA |
| Low Latency Mode | On | Good balance for responsiveness |
| Max Frame Rate | Refresh Rate – 3 FPS | Excellent for G-SYNC |
| Power Management Mode | Prefer Maximum Performance | Helps maintain consistent clocks |
| Preferred Refresh Rate | Highest Available | Prevents accidental 60 Hz limits |
| Shader Cache Size | 10 GB or Unlimited | Gives shaders more room |
| Texture Filtering Quality | Quality | Strong image/performance balance |
| Threaded Optimization | On | Useful for modern CPU workloads |
| Vertical Sync | On with G-SYNC | Smooth frame delivery |
These aren’t magic “+50 FPS” buttons. Anyone promising that a few Control Panel switches will transform a mid-range GPU into a monster is selling snake oil. The real advantage is consistency.
Anisotropic Filtering: One of the Easy Wins
If there’s one setting I particularly like here, it’s Anisotropic Filtering at 16x.
For a game built around ancient ruins, stone surfaces, paths, vegetation and detailed environmental textures, texture clarity matters. Low-quality filtering can make surfaces look strangely soft once they stretch toward the horizon.
The nice part is that modern GPUs generally handle 16x anisotropic filtering extremely well. The performance cost is often tiny compared with the visual improvement.
I’d keep Texture Filtering – Anisotropic Sample Optimization turned Off as well. I’m not interested in shaving off a microscopic amount of GPU work if the reward is slightly worse texture quality.
Stop Texture Shimmer With Negative LOD Bias
This is another setting that can make a surprisingly noticeable difference.
Set Texture Filtering – Negative LOD Bias to Clamp.
Aggressive texture sharpening can sometimes produce shimmering or crawling details when the camera moves. You may not notice it while standing still, but once you’re sprinting through an environment, those tiny artifacts become much easier to see.
Personally, I’d rather have a slightly calmer image than one that looks razor-sharp in screenshots but turns into a vibrating mess during gameplay.
Low Latency Mode: Don’t Overthink It
For Low Latency Mode, I recommend starting with On.
If your game supports NVIDIA Reflex, that should take priority. In that situation, I would enable Reflex in the game itself and avoid stacking unnecessary driver-level latency tricks on top of it.
Ultra can be useful in certain CPU-bound situations, but it isn’t some universal “gaming mode.” If the GPU is already being fed efficiently, forcing every possible latency option to the maximum can accomplish very little.
The goal isn’t to collect the lowest theoretical latency number. The goal is for the game to feel responsive.
The Frame Rate Cap Trick I Always Use With G-SYNC
This is one of my favorite pieces of PC gaming advice.
If you’re using G-SYNC or a compatible VRR display, don’t blindly chase the absolute highest FPS number. Instead, cap the game slightly below your monitor’s maximum refresh rate.
- 144 Hz → 141 FPS
- 165 Hz → 162 FPS
- 240 Hz → 237 FPS
- 120 Hz → 117 FPS
That small buffer helps keep the game inside the display’s variable refresh range.
For a cinematic game like Resonance, I think this is especially worthwhile. A stable frame rate with clean pacing feels dramatically better than a higher but chaotic FPS counter.
Power Management Mode: Maximum Performance
I normally prefer sensible power management because there’s no reason to make a GPU run harder than necessary.
For a demanding game like this, however, Prefer Maximum Performance is a reasonable application-specific choice.
The idea is simple: keep the GPU ready for demanding workloads instead of allowing aggressive clock behavior to interfere with frame consistency.
I wouldn’t necessarily use this globally across every game. That’s precisely why the individual program profile is useful.
Shader Cache Is a Big Deal
If you’re fighting shader-related hitching, take a look at Shader Cache Size.
I’d use 10 GB or Unlimited, assuming you have enough free storage space.
Shader compilation stutter is one of those PC gaming problems that can completely ruin an otherwise fantastic experience. You can have a GPU capable of excellent FPS and still experience little pauses when the game encounters new effects or environments.
A larger shader cache doesn’t magically eliminate every stutter. It simply gives the driver more room to retain compiled shader data rather than constantly throwing it away.
And yes, an SSD is absolutely the way to go for a modern game that streams lots of assets.
V-Sync and G-SYNC: The Setup I Prefer
This part causes endless arguments among PC gamers, but my preferred configuration for a G-SYNC display is straightforward:
- NVIDIA Control Panel V-Sync: On
- In-game V-Sync: Off
- G-SYNC: Enabled
- Frame rate cap: approximately 3 FPS below maximum refresh rate
This combination can provide very smooth frame delivery without relying on traditional V-Sync behavior inside the game.
If you don’t have a VRR monitor, don’t blindly copy this configuration. Your ideal synchronization setup depends heavily on your display and whether you prioritize latency, tearing prevention or maximum FPS.
Windows Settings You Shouldn’t Ignore
The NVIDIA Control Panel isn’t the only place worth checking.
Windows has its own graphics settings, and Hardware-Accelerated GPU Scheduling (HAGS) can be relevant for modern NVIDIA systems, particularly when using newer rendering features such as frame generation.
Go to:
Settings → System → Display → Graphics → Default graphics settings
If HAGS is available on your system, test it rather than assuming one setting is universally superior. PC configurations vary wildly, and a feature that behaves beautifully on one combination of Windows version, GPU and driver can behave differently on another.
Storage is much less controversial.
Install Resonance on an SSD.
Seriously. Don’t put a modern asset-heavy game on an ancient mechanical hard drive and then spend six hours blaming your graphics settings for texture pop-in and freezing. Background streaming can put enormous pressure on storage, and an SSD is simply the sensible choice.
The In-Game Settings I Would Pair With This Profile
Driver settings can only take you so far. You still need to make smart choices inside the game.
DLSS
If your NVIDIA GPU supports DLSS, I would absolutely experiment with it.
For 1080p and 1440p, Quality is my first choice. At 4K, Balanced can make more sense when native rendering starts destroying your frame rate.
The important part is not blindly selecting the most aggressive performance mode. If the image becomes noticeably soft, you’ve defeated the purpose of having such a beautiful game.
Frame Generation
If you’re using compatible RTX hardware, Frame Generation can make a huge difference to perceived smoothness.
But don’t forget the golden rule: generated frames don’t replace real performance.
You still want a healthy base frame rate before enabling it. Pairing Frame Generation with NVIDIA Reflex is also important because responsiveness matters just as much as the FPS number.
Volumetric Lighting
This is where I would immediately start looking for extra performance.
Volumetric effects can look fantastic in temples, forests and atmospheric environments. They’re also capable of consuming a surprising amount of GPU power.
I would rather run High instead of Ultra and keep the game fluid.
The difference while actually playing is often much smaller than the performance hit suggests.
Shadows
I usually recommend High here.
Ultra shadows are one of those settings that look incredible when you stop and compare screenshots, but during normal gameplay the difference can be surprisingly difficult to appreciate.
If your GPU is struggling, Medium is a perfectly reasonable fallback.
Motion Blur
Turn it off.
That’s my personal preference, and I know plenty of players disagree. For me, disabling motion blur makes fast camera movement dramatically cleaner. When I’m exploring or fighting, I want to see what’s happening rather than have the entire screen smear every time I turn around.
Depth of field is more subjective. I tend to keep cinematic effects if they contribute to the atmosphere, but if you’re chasing maximum clarity, disabling them is perfectly defensible.
What I Wouldn’t Touch
Some NVIDIA settings simply aren’t worth forcing in a modern DirectX 12 game.
MFAA, for example, is not something I’d bother enabling here. Likewise, Triple Buffering is primarily relevant to OpenGL scenarios and isn’t a secret performance booster for this game.
Ambient Occlusion should also remain under the game’s control. Modern engines have their own rendering techniques, and forcing old driver-level effects can create visual problems rather than solve them.
The same philosophy applies to anti-aliasing. Let the game and its temporal reconstruction technology handle it.
My Final Setup
After years of messing with PC settings, I’ve learned one important lesson: optimization isn’t about turning everything down. It’s about knowing what deserves to stay high.
For Resonance: A Plague Tale Legacy, I’d prioritize:
- DLSS Quality or Balanced, depending on resolution and GPU
- High-quality textures
- 16x anisotropic filtering
- High shadows instead of Ultra
- High or Medium volumetric effects
- Frame Generation on compatible RTX hardware
- NVIDIA Reflex enabled when available
- Shader Cache at 10 GB or Unlimited
- G-SYNC with a sensible FPS cap
- SSD installation
- Application-specific NVIDIA settings rather than aggressive global tweaks
The whole point is to preserve what makes the game special. I don’t want a technically perfect 120 FPS if the world suddenly looks like it was smeared with petroleum jelly. Resonance is supposed to be atmospheric, cinematic and visually rich. The trick is finding the point where the hardware stops fighting the game and simply gets out of its way.
And honestly, that’s the sweet spot I always chase on PC.
Give me stable frame pacing, sharp textures, responsive controls and a consistent image over a ridiculous benchmark number any day. When everything is configured properly, you stop thinking about settings altogether—which, for me, is the clearest sign that the optimization actually worked.