Onimusha Way of the Sword Boss Guide: Hardcore Strategies to Defeat Every Genma Boss
If there is one thing I quickly learned while playing Onimusha: Way of the Sword, it is that the game really does not want you fighting like a typical action RPG. You can try to mash attacks, roll around the arena, and hope for an opening, but the Genma will punish that approach sooner or later.
The swordplay is built around rhythm.
You watch. You wait. You deflect. Then, when the timing is right, you hit back hard.
That sounds simple on paper. It isn’t.
The first few boss encounters can feel surprisingly unforgiving because the game expects you to understand its defensive mechanics rather than simply overpower enemies with upgraded equipment. Once the timing clicks, though, Onimusha: Way of the Sword becomes one of those games where a difficult boss suddenly feels almost fair. You stop reacting in panic and start reading the fight.
I’ve put together this Onimusha: Way of the Sword boss guide around exactly that idea. These aren’t strategies based on standing at the edge of the arena and waiting forever. The best results come from staying aggressive while knowing when aggression needs to stop.
The Combat Basics That Actually Matter
Before talking about individual bosses, there are a few mechanics you absolutely need to understand.
The most important are Deflect, Issen, stamina, posture, and soul absorption.
| Mechanic | What It Does | Best Use |
|---|---|---|
| Block | Reduces incoming damage but consumes stamina | Emergency defense |
| Deflect | Perfectly timed defensive input that interrupts enemy pressure | Standard boss combos |
| Issen | Extremely precise counterattack with huge damage potential | Boss punish windows |
| Posture Break | Opens an enemy to powerful attacks | Finishing phases |
Deflect Is Your Real Defense
Blocking is useful, but I wouldn’t build your entire strategy around it. Normal blocks gradually drain your stamina, and that becomes dangerous during long boss combos.
A properly timed Deflect is much more valuable.
You want to press the defensive input immediately before the attack connects. When you get the timing right, the incoming strike is neutralized and the enemy’s momentum is disrupted.
This is especially important against human-sized bosses.
Issen Is Risky, But Incredible
The Issen is the mechanic that gives Onimusha its personality.
Instead of simply blocking an incoming attack, you execute an attack at the precise moment the enemy is about to connect. The timing is extremely tight, but landing one can massively damage a boss and completely change the pace of an encounter.
My advice is simple: don’t try to force Issen attacks on every swing.
Learn one or two reliable animations first. Once you recognize those attacks consistently, start using them as your primary punish windows.
Don’t Ignore Your Stamina
This is one of the easiest mistakes to make.
If Musashi’s stamina is getting dangerously low, stop attacking. Back away, create some space, and let it recover.
Trying to squeeze in “one more combo” when your stamina is already nearly exhausted is exactly how a clean boss fight turns into a disaster.
Boss 1: Sasaki Ganryu
Location: Kiyomizu-dera Temple Route

Sasaki Ganryu is essentially your first serious examination of whether you’ve understood the combat system.
And honestly, I think that’s a good thing.
He looks intimidating, but his first phase is actually quite readable once you stop trying to outrun him.
Phase One – Stay Close and Deflect
Ganryu relies heavily on traditional sword attacks.
You’ll see overhead strikes, horizontal slashes, and relatively predictable combinations. The temptation is to dodge backward whenever he starts attacking.
Don’t.
Stay relatively close and learn his rhythm.
His overhead strike is particularly useful for practicing Issen timing because the animation gives you enough visual information to anticipate the impact.
The basic loop should look something like this:
- Stay within striking distance.
- Deflect his regular sword attacks.
- Look for the overhead strike.
- Attempt an Issen when you’re confident.
- Attack during his recovery.
- Repeat until his posture breaks.
Once his posture is compromised, that’s when you want to unload your strongest attacks.
If you have a useful offensive or defensive talisman available, this is also a reasonable fight to use it. There is little point hoarding every consumable if you’re struggling with a boss that is designed to teach you the combat system.
Phase Two – Don’t Get Grabbed
Ganryu becomes considerably more aggressive once his health drops.
This is where the fight changes.
His unblockable grab is the attack you need to respect above everything else. Watch for the red visual indication around his hands. That’s your warning.
You cannot simply block this.
When you see the tell, dodge sideways rather than retreating directly backward.
A successful dodge can create an opportunity for a Reflex Combo, allowing you to punish him before returning to your defensive rhythm.
The biggest mistake here is getting greedy.
After your counterattack, reset your position. Ganryu wants you to keep swinging. Don’t give him that opportunity.
Boss 2: Daidara
Location: Oni Refuge

Daidara is where the game throws the samurai duel formula out the window.
This isn’t a fight where you’re going to stand toe-to-toe with a giant and trade sword swings. Daidara is enormous, slow, and powerful, and the arena itself becomes part of the encounter.
Personally, I found this type of fight much more interesting than simply fighting another humanoid swordsman.
Use the Environment
Daidara’s attacks have huge range, particularly his club swings and ground attacks.
Staying directly underneath or in front of him is asking for trouble.
Instead, move around the arena and use the elevated bamboo platforms to create safer angles.
The platforms aren’t just decoration. They’re a major part of the encounter.
From higher ground, you can use the Oni Bow to target the glowing Malice growths around Daidara’s shoulders and neck.
These weak points are the key to the fight.
Shoot the Weak Spots
Aim carefully and use charged shots when possible.
When you destroy one of the exposed weak points, Daidara can be staggered. That’s your opportunity to get aggressive.
Drop from the platform, move toward his exposed head, and activate a powerful Oni Armament.
The Flashing Void is particularly useful here because the boss gives you a relatively generous damage window.
The fight becomes a loop:
Find high ground → target Malice weak points → stagger Daidara → attack the exposed head → retreat → repeat.
Don’t stand around trying to squeeze every possible attack into the stagger.
You are fighting a boss that can erase your health surprisingly quickly if you remain underneath him for too long.
Two good stagger cycles should be enough to bring the encounter toward its conclusion.
Boss 3: Byakue – Hundred Defilements
Location: Kiyomizu-Zaka Slope
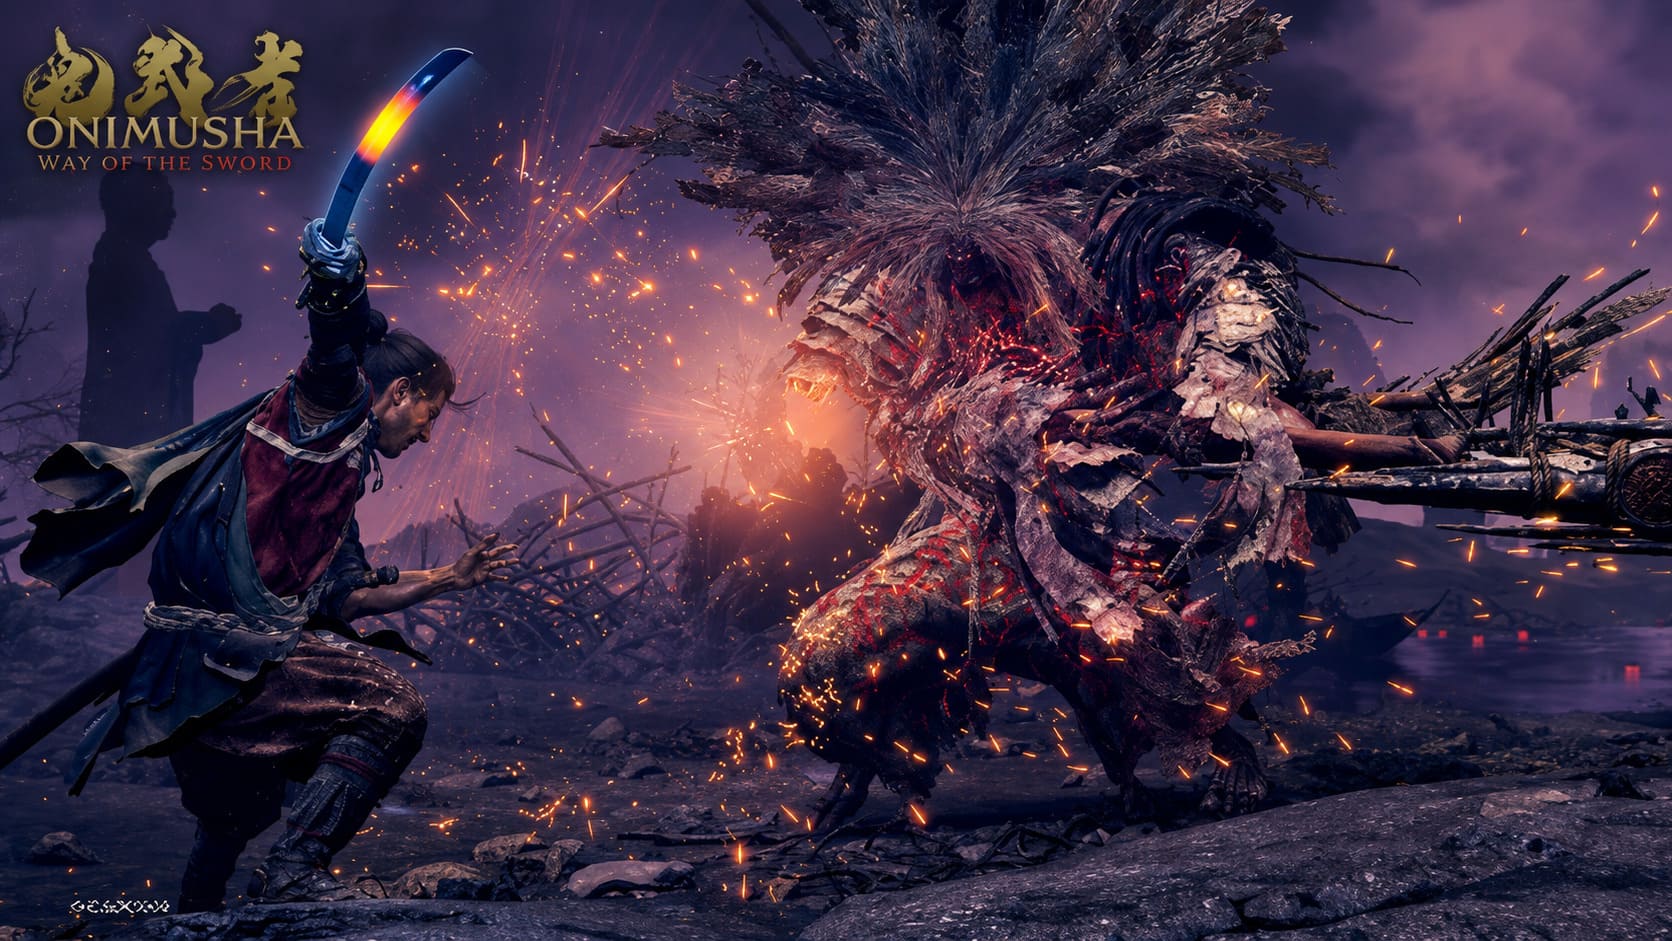
Byakue is the boss where I think the game really starts asking whether you’ve actually learned its combat system.
He’s fast.
He’s unpredictable.
And his attacks can overwhelm you if you rely on standard blocking.
This is probably the fight where I would spend the most time learning animations instead of simply trying to brute-force the health bar.
Phase One – Deflect the Projectiles
Byakue likes to maintain distance and throw dark projectiles toward Musashi.
Your first instinct might be to sprint sideways.
That can work occasionally, but it isn’t the best long-term answer.
Instead, learn to deflect the projectiles back toward him.
This has two advantages. You’re protecting yourself while also putting pressure on his posture from range.
Once you’ve successfully deflected several attacks, Byakue will often close the distance and begin his melee sequence.
That’s when things get much more dangerous.
Phase Two – Learn the Five-Hit Combo
Byakue’s close-range attacks come quickly.
His five-hit sequence is particularly nasty because the rhythm changes toward the end. The opening attacks arrive rapidly, followed by a noticeable pause before the final heavy strikes.
That pause is important.
Don’t panic during it.
A lot of players see the first few attacks and immediately start hammering the block button. That’s exactly how you lose control of your stamina.
Instead, listen to the rhythm and treat every attack as an individual timing test.
Deflect. Deflect. Deflect. Wait. Deflect. Deflect.
Once you recognize the cadence, the combo becomes dramatically easier.
The Airborne Issen Window
This is the opportunity I would prioritize when learning the fight.
Byakue occasionally launches himself into the air before diving toward Musashi.
The attack looks dramatic, but it is actually one of the clearest punish opportunities in the encounter.
Wait until the attack is about to connect.
Then execute your Issen.
Getting this right can take a huge chunk of his health and potentially push the fight toward its next stage immediately.
Don’t press too early.
That’s the entire trick.
You want to become comfortable waiting that extra fraction of a second.
How to Fix Onimusha Way of the Sword Low FPS and Micro Stuttering on PC
My Biggest Tips for Beating Onimusha Bosses
After dealing with these encounters, I think the biggest mistake is approaching every boss with the same strategy.
You shouldn’t.
Ganryu rewards close-range defensive play.
Daidara rewards environmental awareness and ranged attacks.
Byakue tests your reaction speed and ability to recognize attack patterns.
The common thread is that none of them reward mindless aggression.
1. Learn One Attack at a Time
Don’t try to memorize an entire boss moveset in one attempt.
Pick one attack.
Learn its animation.
Practice the Deflect.
Then move on.
That’s much more effective than randomly attempting Issen counters against everything.
2. Stop When Your Stamina Is Low
This sounds obvious, but it’s incredibly easy to ignore when you’re one combo away from a posture break.
If Musashi’s stamina is nearly exhausted, create distance.
Two or three seconds of recovery can save an entire attempt.
3. Use Your Oni Abilities
Don’t treat Oni Armaments as emergency buttons that must be saved for some imaginary harder encounter later.
They’re there to be used.
If a boss is staggered and you’ve created a major damage opportunity, use your strongest available Oni ability.
4. Upgrade Intelligently
Red Souls give you access to permanent improvements through the Spirit Mirror.
If you’re repeatedly dying because your damage output is too low or your survivability is lacking, spend your resources instead of continuing to bash your head against the same wall.
Progression exists for a reason.
5. Practice Issen Without Forcing It
Issen is probably the most satisfying mechanic in Onimusha: Way of the Sword, but it can also become a trap.
Trying to Issen every attack is a fantastic way to get hit.
Start with obvious attacks.
Ganryu’s overhead strike is a good example. Byakue’s airborne dive is another.
Once those timings become muscle memory, start experimenting with more difficult attacks.
Onimusha Way of the Sword Premium Deluxe Edition: Rewards and Content Guide (2026)
Final Thoughts
The boss design in Onimusha: Way of the Sword works best when you stop thinking of it as a conventional action game.
This isn’t about constantly attacking until something dies.
It’s about rhythm.
You watch the boss. You recognize the animation. You make the defensive input. Then you punish the opening.
That’s why the Issen system feels so good when you finally get it right. The game isn’t simply giving you damage for pressing a button. It is rewarding you for understanding what the enemy is about to do.
Sasaki Ganryu teaches you the fundamentals.
Daidara teaches you to use the arena and your ranged tools.
Byakue asks whether you’ve actually mastered the defensive rhythm.
And that progression is exactly what makes these encounters memorable.
If you’re struggling, don’t immediately assume you need better equipment. Sometimes the answer is much simpler: stop attacking, watch the boss, and learn the animation.
Once you do, those seemingly impossible Genma bosses start looking much less terrifying.
And when you finally land a perfectly timed Issen after spending an entire attempt getting destroyed by the same attack?
That’s the good stuff.
That’s why I play games like this.