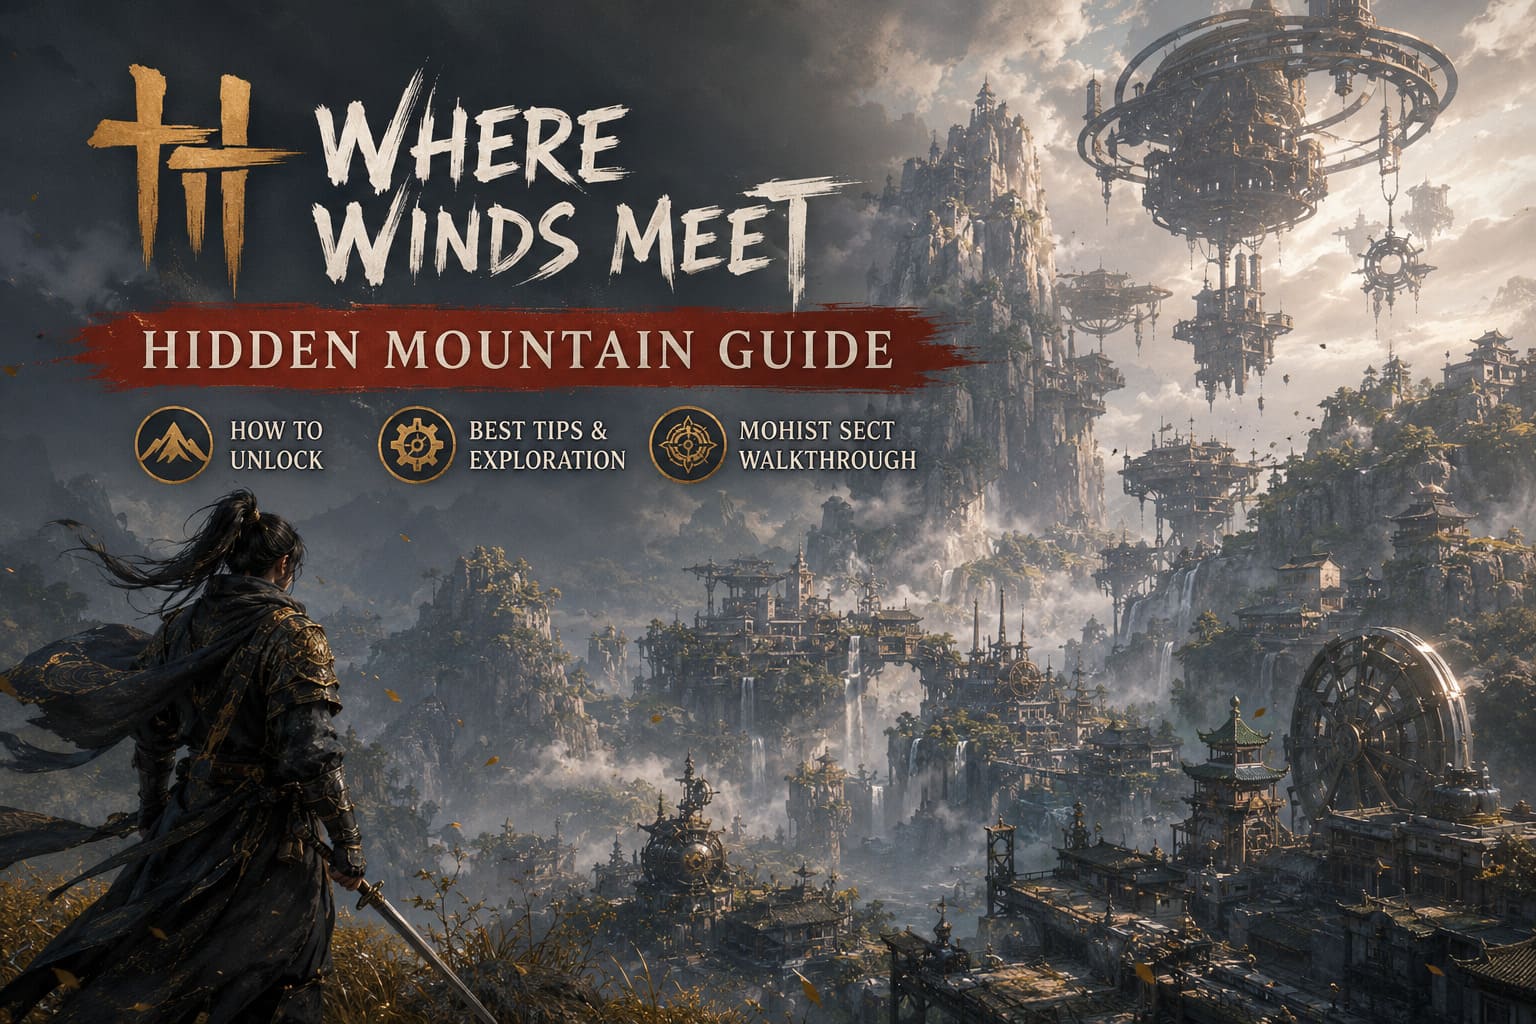
Where Winds Meet Hidden Mountain Guide: How to Unlock, Best Tips, and Mohist Sect Walkthrough
When I first stepped into Where Winds Meet: Hidden Mountain, I expected another beautiful area with a few new enemies and some extra loot. What I actually found was something completely different.
This expansion doesn’t simply add another map—it completely changes the way you explore, fight, and even think about progression. Hidden Mountain constantly challenges habits that worked perfectly in previous regions. If you’re the kind of player who usually ignores the main story and immediately climbs every mountain searching for secrets (like I always do), you’ll quickly discover that this strategy simply doesn’t work here.
After spending dozens of hours exploring every corner of the new zone, solving puzzles, fighting bosses, and getting lost far more times than I’d like to admit, I’ve gathered everything I wish I had known before entering Hidden Mountain.
How to Unlock Hidden Mountain
Unlike previous areas, Hidden Mountain isn’t available the moment you update the game.
The developers clearly wanted players to experience this expansion through the story instead of simply running there.
Before anything else, you’ll need to progress through the main campaign until Chapter 4. Once the required story progress is complete, a new quest chain becomes available.
The unlocking sequence follows several connected quests:
- Yingying’s Invitation
- The Yama Escort
- Shore of Beyond
- Gathering at the Shore
- Fire Against the Fog
- Visit the Wayfarer
Although none of these quests are particularly difficult, the final boat sequence is where many players become confused.
The Boat Puzzle That Stops Almost Everyone
If there is one section that deserves its reputation, it’s the final voyage through the fog.
At first glance it looks straightforward, but Hidden Mountain introduces mechanics that the game barely explains.
During the first rowing section everything is scripted. Simply follow the tutorial and don’t worry when you’re forced back to shore—that’s supposed to happen.
The second section introduces the fuel mechanic. You’ll collect firewood, deliver it to an NPC, and continue your journey before once again being returned to land.
Only the third section contains the real challenge.
This is where Wind Sense becomes essential.
Instead of following visible paths, you must activate Wind Sense to locate hidden whirlpools inside the thick fog.
The biggest mistake I made was keeping Wind Sense active the entire time.
That actually prevents the next whirlpool from appearing.
The proper rhythm looks like this:
- Activate Wind Sense.
- Locate the whirlpool.
- Sail directly into it.
- Wait a couple of seconds.
- Disable Wind Sense.
- Search again.
Repeat this process several times and eventually you’ll reach Millennium Crossing, officially unlocking the Hidden Mountain region.
My advice is simple: don’t rush. Speed is what causes most failures here.
Why Hidden Mountain Feels Completely Different
Previous regions rewarded curiosity.
Hidden Mountain rewards patience.
That may sound disappointing at first, but after spending enough time there, I actually started appreciating the design.
Instead of allowing players to brute-force every cliff using mobility skills, the expansion builds exploration around carefully connected pathways.
Many mountain walls cannot be climbed.
Many shortcuts don’t exist.
And many “obvious” routes end with invisible hazards or deadly drops.
The developers clearly want players to experience the environment layer by layer instead of skipping entire sections.
I wasn’t convinced initially, but after learning the map, I honestly think it makes exploration feel far more rewarding.
Vertical Exploration Is the Real Challenge
The defining feature of Hidden Mountain isn’t its bosses.
It’s verticality.
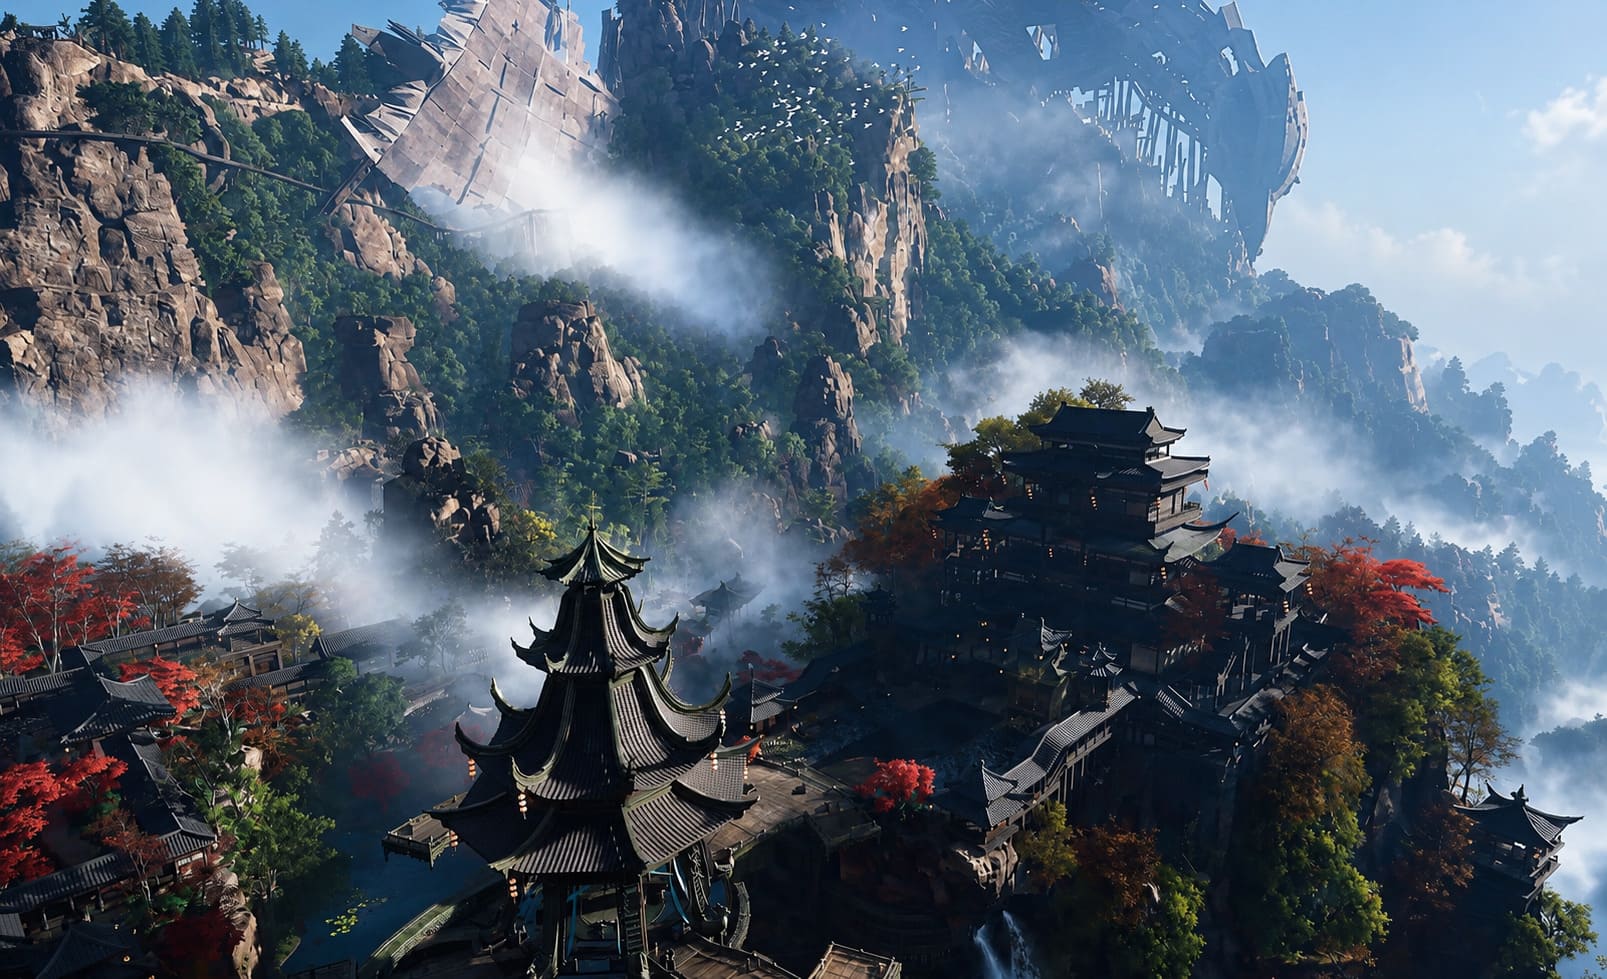
The entire region feels like several maps stacked on top of one another.
You constantly move between floating mechanical structures, mountain plateaus, underground cities, underwater caves, and hidden valleys.
One lesson I learned very quickly is to stop trusting map markers.
Many objectives appear directly in front of you, only to discover they’re actually hundreds of meters below inside underwater cave systems.
Exploration points also become much more important than before.
Instead of ignoring puzzles until later, complete them immediately.
They’re directly tied to unlocking additional portions of the region.
Hidden Mountain Exploration Priorities
| Priority | Why It Matters |
|---|---|
| Complete Story Missions | Unlocks fast travel and removes map restrictions. |
| Solve Oddities | Grants exploration progression needed for higher areas. |
| Search Every Lake | Many collectibles and treasures are hidden underwater. |
| Stay on Intended Paths | Prevents unnecessary deaths and wasted exploration time. |
The Mohist Sect Is More Than Just Another Faction
One of my favorite additions in Version 2.0 is the Mohist Hill Sect.
Unlike traditional martial sects, these masters specialize in engineering, defensive mechanisms, and ancient machinery.
The result is a refreshing change from the usual sword-focused factions.
Nearly every major quest involving the Mohists introduces interesting environmental puzzles or mechanical devices rather than simple combat encounters.
It gives the expansion a unique identity that stands apart from the rest of the game.
Don’t Ignore the Pangolin Peddlers
At first, I assumed the Pangolin Peddler system was another side activity I’d forget about after an hour.
I couldn’t have been more wrong.
Once unlocked, these adorable dispatchers become one of the easiest ways to build resources while you’re busy exploring.
Rather than endlessly farming crafting materials yourself, you simply assign supplies and send them on expeditions.
They gradually return with valuable crafting resources, reputation rewards, and equipment materials.
If you’re planning long play sessions, checking dispatch missions every time you visit town quickly becomes second nature.
It’s one of those quality-of-life systems that quietly saves dozens of hours over the course of a season.
My Thoughts on the New Gauntlet Weapon
Every expansion needs something exciting for combat players.
Version 2.0 delivers exactly that with the new Gauntlet (Hand Guard) weapon discipline.
I’ve always preferred fast weapons over slower heavy hitters, so this immediately became my favorite playstyle.
Instead of relying on wide sword swings or long spear reach, Gauntlets reward aggressive positioning, quick reactions, and perfect timing.
The weapon shines when you stay close to enemies, constantly breaking their stance before unleashing devastating combos.
It’s definitely not beginner-friendly.
Mistimed dodges get punished hard.
But once the rhythm clicks, the damage output feels incredibly satisfying.
If you enjoy reactive combat rather than cautious spacing, this weapon is absolutely worth learning.
World Boss Strategy
Ironheart Centipede
This giant mechanical monster perfectly represents Hidden Mountain’s Eastern steampunk aesthetic.
Interestingly, reaching the boss is harder than defeating it.
The underground route is packed with traps, twisting tunnels, and misleading pathways.
During the battle itself, the Centipede follows fairly readable attack patterns.
The most important mechanic happens whenever it burrows underground.
Watch the dirt movement carefully.
As soon as it emerges, immediately use high-impact attacks to stagger it before its mechanical core disappears again.
Avoid standing near the boss whenever it begins tightly coiling its body—that almost always leads to a devastating area attack.
Ci and Cuo
This encounter was easily the toughest fight I experienced throughout the expansion.
The arena is simple.
The bosses are not.
One constantly pressures you in melee while the other attacks from range using disruptive abilities.
Trying to damage both evenly usually ends badly.
Instead, focus your attention on eliminating the ranged opponent first.
Once battlefield pressure decreases, the melee fighter becomes much easier to manage.
Mobility skills become incredibly valuable here, allowing you to separate the two enemies and prevent devastating combo attacks.
Patience wins this fight far more often than aggression.
My Personal Hidden Mountain Checklist
- Complete the main campaign before exploring everything.
- Solve every Oddity whenever you encounter one.
- Collect newly added Urns for progression rewards.
- Keep Pangolin dispatch missions running at all times.
- Experiment with the Gauntlet weapon early.
- Adjust the in-game clock if important NPCs refuse to appear.
- Avoid trying to bypass intended routes through mountain climbing.
These habits make progression dramatically smoother.
Final Thoughts
After finishing Hidden Mountain, I genuinely believe it’s the strongest update Where Winds Meet has received so far.
The expansion doesn’t rely solely on adding bigger enemies or prettier locations. Instead, it rethinks exploration from the ground up. The vertical world design constantly encourages players to slow down, observe their surroundings, and engage with mechanics that are easy to overlook at first.
Not every idea is perfect. The boat sequence can certainly be frustrating during your first attempt, and some navigation restrictions may feel overly strict. Even so, once everything clicks together, Hidden Mountain becomes one of the most memorable regions in the game.
If you’re jumping into Version 2.0, my biggest recommendation is simple: don’t treat this like the previous maps. Follow the story, embrace the slower pace, keep your exploration progression moving, and don’t be afraid to spend time learning the new systems. Hidden Mountain rewards careful players far more than impatient ones, and that’s exactly what makes this expansion feel so refreshing.