No More Room in Hell 2 Raven Rock Walkthrough: Complete Map Guide and Bunker Strategy
No More Room in Hell 2 has never been a game about casually mowing down zombies and moving on. It wants you to think, listen, conserve resources, and occasionally accept that the smartest move is simply running for your life. The new Raven Rock objective takes that philosophy and pushes it much harder.
After spending time with the map, I can honestly say Raven Rock is one of those additions that immediately changes the way you approach a run. The open wilderness makes you feel exposed, while the bunker turns that feeling into outright paranoia. You never really know what is waiting behind the next door, and once a horde gets moving through those narrow corridors, things can become ugly very quickly.
The Armageddon Update also makes the experience more flexible thanks to Solo Mode, so Raven Rock isn’t just a squad challenge anymore. Whether you’re playing alone or with a full group of up to eight survivors, the same basic rule applies: don’t get greedy.
Here is my complete No More Room in Hell 2 Raven Rock walkthrough, including the surface objectives, bunker sectors, combat strategy, loot priorities, and extraction tips.
Raven Rock at a Glance
Raven Rock feels completely different from a typical zombie survival map. Instead of giving you large open areas where you can easily see incoming threats, it constantly messes with your visibility and positioning.
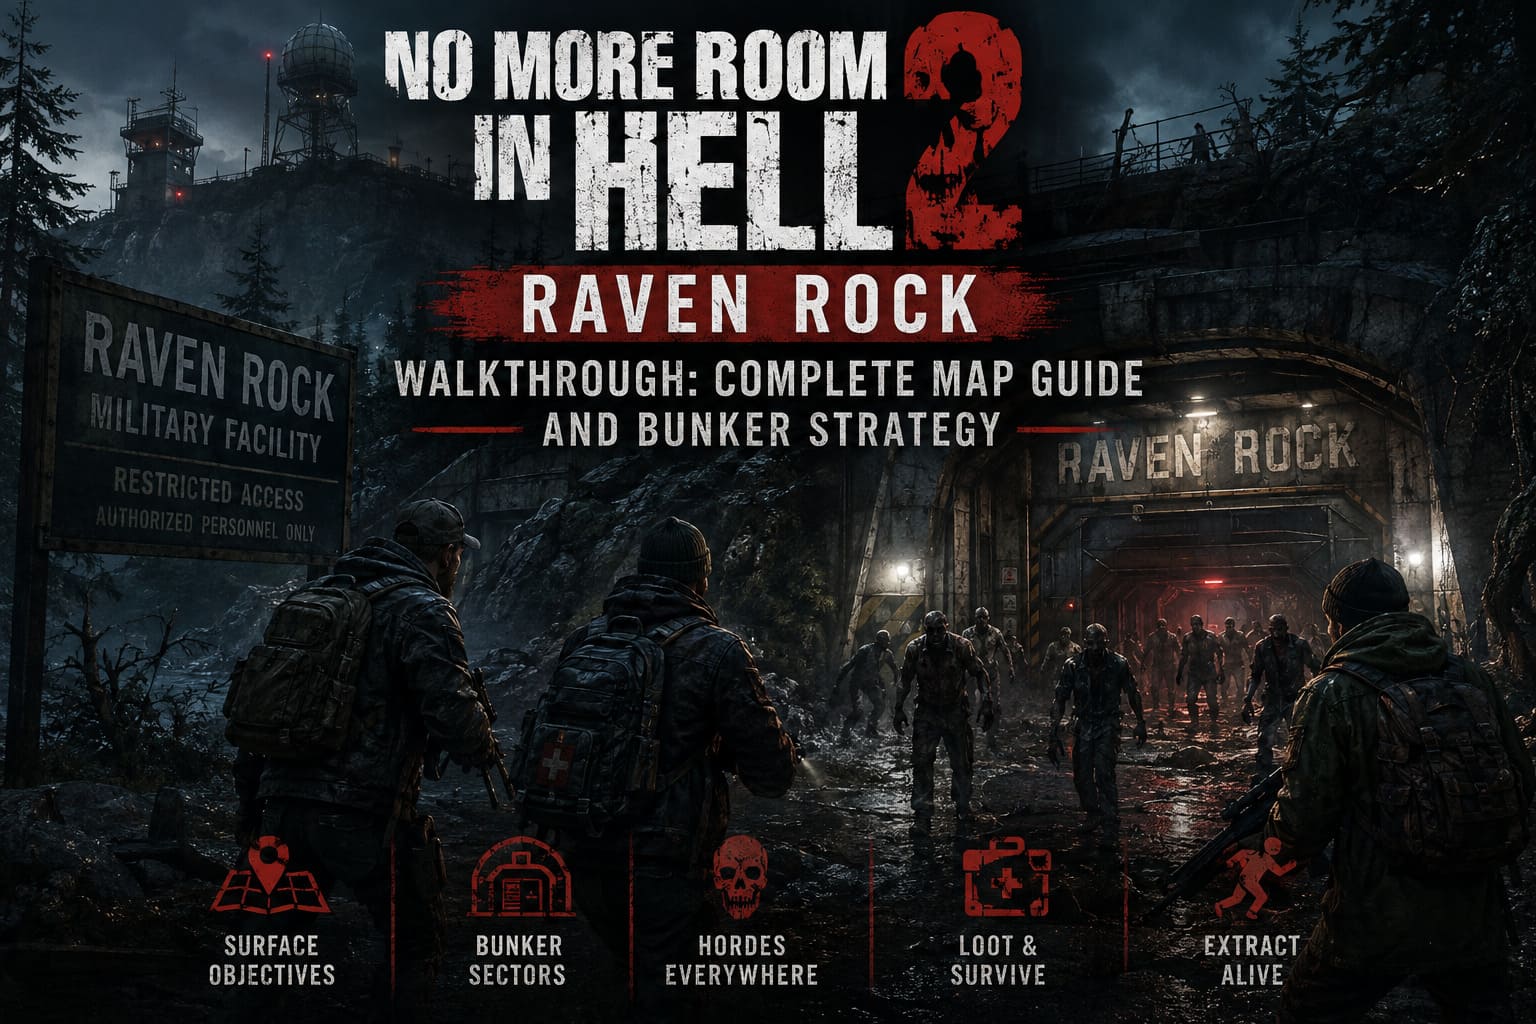
The map is essentially split into two major sections: the surface wilderness and the underground military bunker.
| Area | What to Expect | Main Danger |
|---|---|---|
| Surface Perimeter | Forests, rocky terrain, checkpoints and supply locations | Poor visibility and isolated encounters |
| Bunker Entrance | Security systems and locked blast doors | Horde pressure during objectives |
| Sector A | Offices, quarters and security rooms | Tight corridors and surprise attacks |
| Sector B | Laboratories, storage and hazardous areas | Environmental hazards and zombie density |
| Sector C | Reactor and communication facilities | Major defense sequence and heavy horde |
The environmental design is a big part of why I like Raven Rock. The surface gives you room to breathe, but the darkness and foliage constantly make you question what you just saw. Then the bunker takes away that breathing room completely.
Starting Raven Rock: Loot First, Heroics Later
If you’re dropped somewhere on the outer edge of Raven Rock, don’t immediately start hunting zombies.
Your first few minutes should be about getting basic equipment and finding your teammates.
Look around abandoned vehicles, emergency locations and small supply areas. Ambulances can provide useful medical supplies and ammunition, while police vehicles and other abandoned cars may have flashlights, bandages and basic melee weapons.
This is especially important because Raven Rock can punish an isolated player extremely quickly.
I made the mistake in early runs of treating individual zombies as free kills. They aren’t. A single zombie isn’t usually the problem. The noise, stamina consumption and time spent fighting are the problem.
If a zombie isn’t blocking your path, sometimes just leave it alone.
That’s one of the biggest mindset changes I recommend for this map.
Use your compass and available team indicators to locate other survivors. Once you’ve got at least a couple of players together, Raven Rock becomes much more manageable.
Surface Objective: Restore the Security Grid
Getting inside the bunker isn’t as simple as finding the front door. You first need to restore the surface security systems.
Follow your objective markers toward the relevant substations, communication equipment and utility locations. The exact route can vary, so don’t expect every Raven Rock run to unfold in exactly the same order.
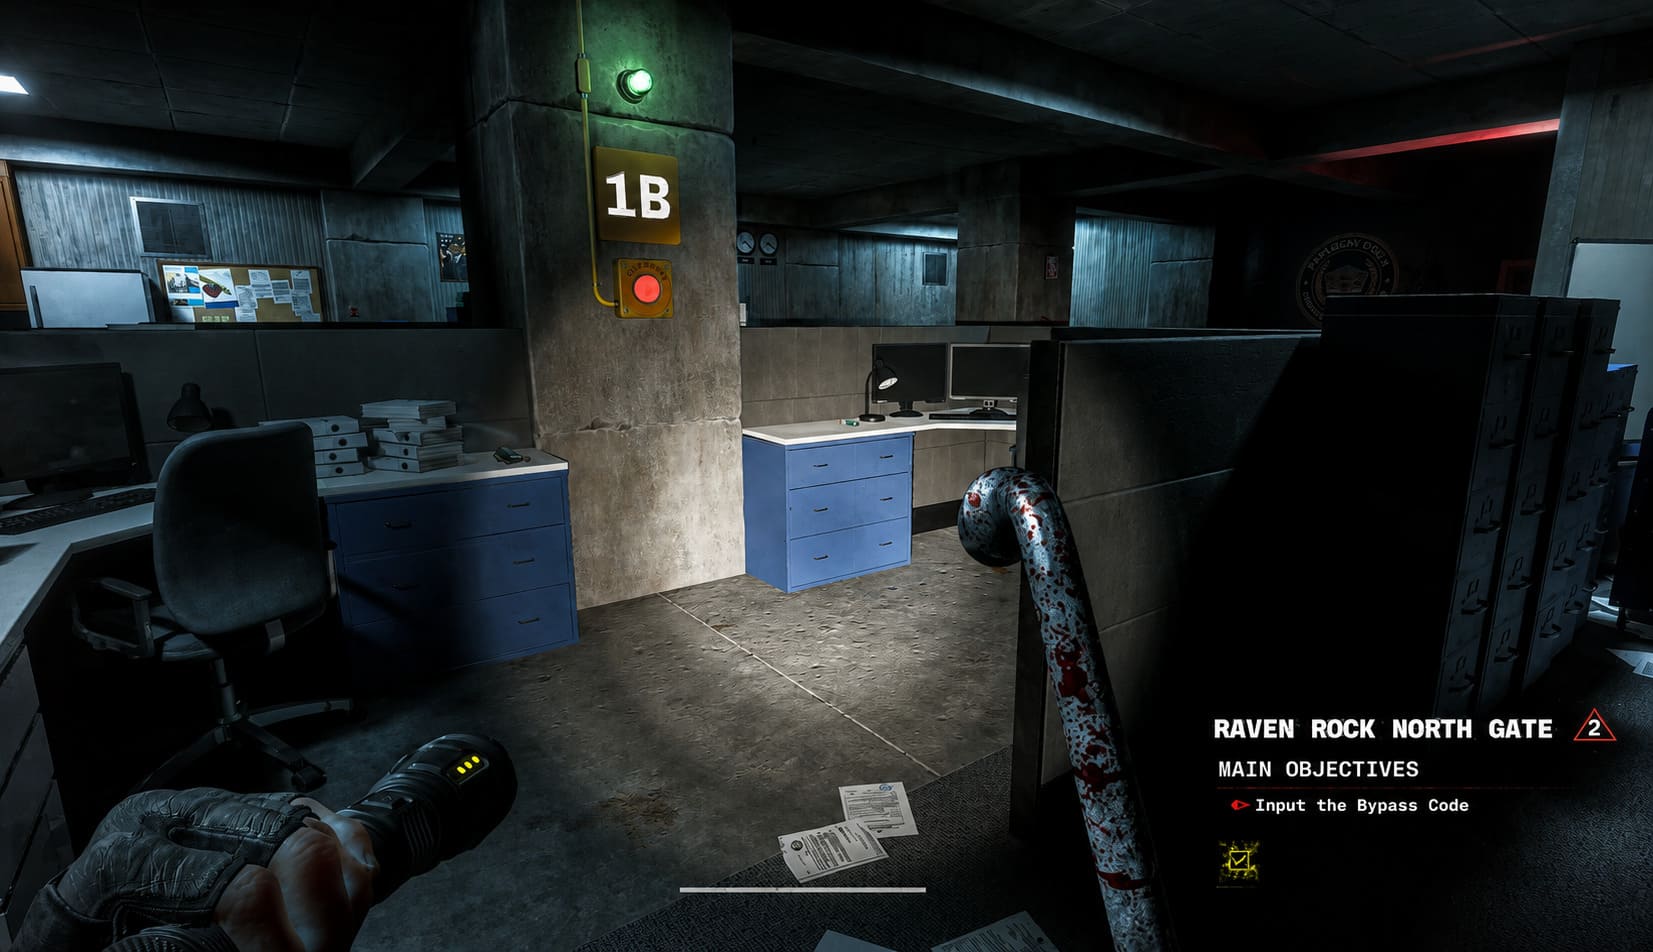
Common surface tasks include:
- Refueling generators with heavy gas cans.
- Defending terminals while network systems are restored.
- Repairing electrical equipment through interactive objectives.
This is where teamwork becomes extremely important.
If one player is interacting with an objective, another should be watching the surrounding area. An objective animation is not the time to discover that a runner has appeared behind you.
Generator sequences are particularly dangerous because you’re effectively announcing your location to nearby enemies. Set up defensive positions before starting noisy interactions rather than scrambling for cover after the horde arrives.
Once the required systems are restored, the bunker entrance becomes accessible.
And that’s when Raven Rock gets serious.
Entering the Underground Bunker
The first thing you’ll notice inside the bunker is how much more valuable sound becomes.
Concrete corridors, metal flooring and enclosed rooms make every noise feel closer than it actually is. Zombies can appear from side rooms, stairwells and dark corners before you’ve had enough time to react.
I strongly recommend adjusting your brightness or gamma slightly if the darkness is making it impossible to read the environment. You don’t want to turn the game into a brightly lit shooting gallery, but you also don’t want to miss a threat because you literally can’t see the doorway.
Keep your flashlight ready, but don’t rely on it as your only source of awareness.
Move slowly when the situation allows it. Listen before opening doors. Check corners. And don’t sprint everywhere.
Stamina becomes incredibly valuable once you’re underground.
Sector A: Administration and Quarters
Sector A is where Raven Rock starts feeling like a proper horror map.
The area contains offices, sleeping quarters, security rooms and numerous smaller spaces. There are plenty of places for zombies to hide, and that’s exactly what makes the section dangerous.
Check:
- Bathrooms and stalls.
- Under desks and around office furniture.
- Side rooms.
- Dark corridors.
- Ventilation and connecting areas.
Your objective here is generally connected to gaining the access needed to progress deeper into the bunker, so search carefully for security-related items and information.
One thing I absolutely wouldn’t do is blindly smash through every locked door.
The sound of repeated melee attacks can travel surprisingly far. If you’re already hearing movement nearby, making a bunch of unnecessary noise is basically an invitation.
If you find a high-value room, establish a little security perimeter first. Then deal with the door.
Sector B: Laboratories and Storage
Sector B is probably my favorite part of Raven Rock because the environment itself starts becoming a threat.
The laboratory area introduces hazards that can restrict your movement. Toxic contamination and electrical dangers mean that you can’t always simply charge from one room to the next.
Look for the systems that control these hazards, including isolation valves and electrical breakers.
The basic idea is simple:
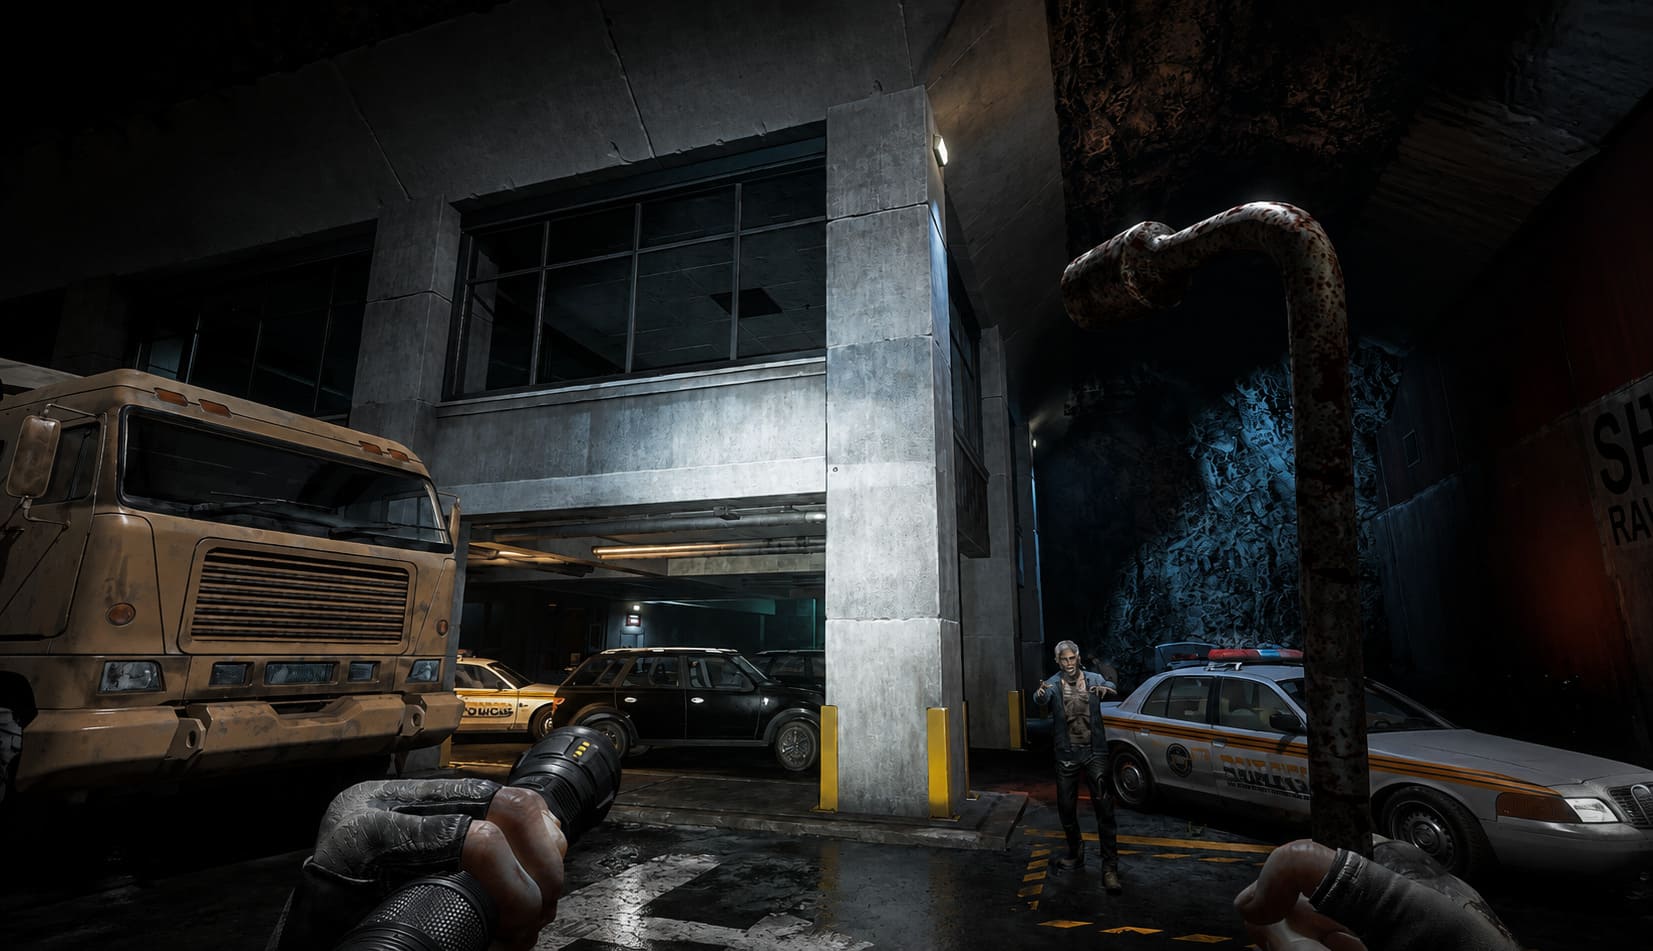
Don’t try to brute-force environmental hazards. Find the system that controls them.
This section is also where you’ll want to pay serious attention to loot.
Storage areas, lockers and testing rooms can contain some of the more valuable equipment available during the run. Higher-tier firearms and protective gear can make the final bunker sequence substantially easier.
But don’t spend ten minutes filling your inventory while your teammates are fighting for their lives.
Loot quickly, communicate what you found, and keep moving.
Sector C: The Reactor and Communication Hub
Sector C is where the run typically reaches its most dangerous stage.
The core area is larger than many of the cramped bunker corridors, but don’t mistake that for safety. The central console and surrounding catwalks create multiple approaches for incoming enemies.
Once you activate the main sequence, prepare for a serious defensive encounter.
Before starting it, check your ammunition, healing items and melee weapons.
This is not the time to discover that your rifle has three bullets left.
Your squad should divide responsibilities. Cover the major stairways and approaches rather than having everyone stand around the console.
A few simple defensive principles help enormously:
- Control the stairs. These become natural entry points for zombies.
- Reload before the fight starts.
- Keep an escape route available.
- Use the environment to slow enemies down.
- Don’t let runners reach the middle of the group.
If you have traps, flares or other useful defensive equipment, this is one of the best moments to spend them.
And remember that pushing zombies away can be just as important as killing them. Creating a few extra seconds can save the entire team.
Raven Rock Extraction: The Part Where Everything Falls Apart
Finishing the bunker objective doesn’t mean you’ve won.
In my experience, this is exactly where players become overconfident.
The final extraction can turn into one enormous running battle. Once the escape route becomes available, the surrounding area can fill with undead and every second spent fighting unnecessary enemies makes the situation worse.
Your objective is now very simple:
Get out.
Don’t stop to kill every zombie behind you. Don’t turn around because one teammate is five seconds behind unless you have a realistic chance of helping them. And don’t waste all your ammunition trying to create a perfect path.
If your team has access to a Rescue Beacon, use it strategically around the appropriate extraction area to create an opportunity to break through the horde.
When firearms are necessary, coordinate them.
A good squad shouldn’t have eight people blindly reloading at the same time. Have some players cover while others reload or reposition.
Once the extraction point is open, move together and commit.
10 Intense Tactical Co-Op Zombie Games Like No More Room in Hell 2 on PS5 and PC (2026 Guide)
My Best Raven Rock Survival Tips
After getting familiar with the map, these are the habits I’d recommend above everything else.
Protect your stamina. Running out of stamina at the wrong moment can be the difference between escaping a runner and becoming lunch.
Close doors whenever possible. A closed or barricaded doorway can buy you precious time to heal, reload or regroup.
Listen constantly. Raven Rock’s bunker environment makes audio incredibly useful. Footsteps and movement can warn you about threats before you see them.
Share resources. If one player has mountains of ammunition while another has an empty rifle, your squad isn’t actually well equipped. Distribute supplies before major objectives.
Don’t fight for no reason. This might be the most important tip. Raven Rock rewards players who understand when combat is necessary and when it is simply wasting resources.
Prepare before major objectives. Healing, ammunition, positioning and escape routes should be considered before activating anything important.
Raven Rock Is at Its Best When Everything Goes Wrong
That’s ultimately why Raven Rock works so well for No More Room in Hell 2.
It doesn’t need to throw a ridiculous boss monster at you every five minutes. The tension comes from normal problems stacking on top of each other. You’re low on stamina. Your flashlight is becoming less useful. Someone hears footsteps. Another player needs medical supplies. Then somebody activates the objective and suddenly the entire bunker seems to wake up.
That’s the good stuff.
The map also benefits from the game’s slower, more deliberate combat. You can’t simply sprint through Raven Rock like it’s a traditional action shooter. Every decision costs something.
If you’re playing Solo Mode, patience becomes even more important. You won’t have teammates watching your blind spots, carrying extra supplies or pulling zombies away from you. Move carefully and treat every objective interaction as a potential ambush.
For co-op players, communication is the real weapon. Eight players running in eight different directions is not a squad. It’s eight separate zombie meals.
Stay together when it matters, split only when the objective demands it, and always have someone watching the rear.
Raven Rock is dangerous, but it’s absolutely beatable once you stop treating it like a normal shooter. Take the map slowly, conserve your resources, learn the bunker layout, and save your strongest equipment for the final objective and extraction.
And when those bunker doors finally open and you hear the horde coming?
Don’t celebrate yet.
Run.