No More Room in Hell 2 Survival Mode Guide: Wave Strategies & Expert Tips
If there is one thing No More Room in Hell 2 does better than most modern zombie games, it is making a seemingly manageable situation fall apart in seconds. You can enter a building with a full magazine, plenty of health, and a plan that sounds perfectly reasonable. Five minutes later, someone is screaming for help, two teammates are bleeding, the barricade is gone, and a horde is pouring through a doorway nobody remembered to watch.
That feeling is exactly what makes Survival Mode so good.
With the full 1.0 Armageddon release, Survival Mode has become one of the most demanding ways to play NMRIH2. Instead of spending most of the match exploring and completing objectives, your squad is deliberately placed in a defensive situation. The CRC broadcasts from powerful speakers, drawing infected toward your position while your team tries to hold the area long enough to complete the operation.
I’ve played plenty of co-op shooters and zombie survival games, and the biggest mistake I see in modes like this is treating them like ordinary wave shooters. NMRIH2 isn’t Left 4 Dead with barricades. You cannot simply stand in a doorway, empty magazines into the crowd, and expect everything to work out. Positioning, stamina, healing, target priority, and communication matter much more than raw kill count.
This is how I approach Survival Mode after spending time learning what actually keeps a team alive.
The Basic Survival Mode Structure
Survival Mode revolves around three major waves. Before each one, your team gets a short preparation period to search the surrounding area, collect equipment, repair defenses, and prepare the location.
Once the broadcast begins, the real fight starts.
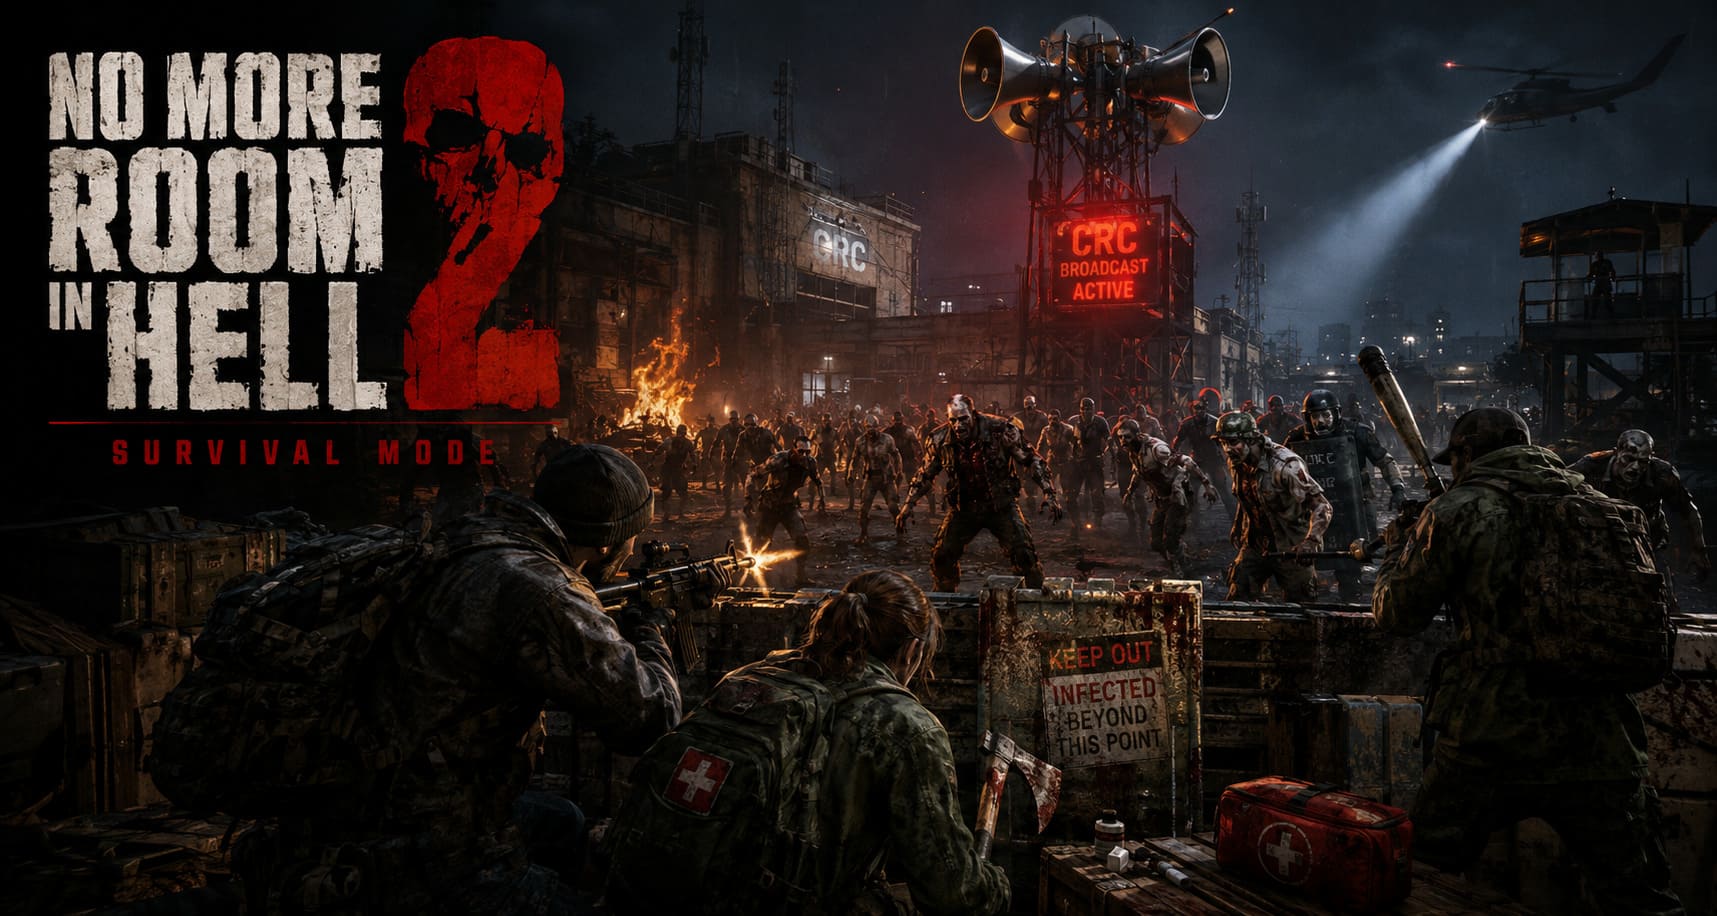
Your job is to keep the speakers operational while the infected become increasingly difficult to control. Each wave lasts around five minutes, which doesn’t sound particularly long until you’re three minutes in and your defensive position is already collapsing.
The basic structure looks like this:
| Phase | What You Should Be Doing |
|---|---|
| Preparation | Loot, gather ammunition, collect medical supplies and build defenses |
| Early Wave | Establish positions and conserve stamina and ammunition |
| Mid Wave | Control entrances, eliminate priority targets and repair defenses |
| Final Minutes | Use traps, explosives and heavy weapons to stabilize the position |
| Extraction | Regroup immediately and reach the helicopter without unnecessary fights |
If the speakers survive all three waves, the team can reach extraction. But failing two waves creates a much more desperate situation and can force your squad into an emergency extraction attempt.
And because permadeath is part of the experience, every careless decision can have consequences beyond the current match.
Preparation Is More Important Than Most Players Think
I’ve learned the hard way that the first few minutes of Survival Mode aren’t downtime.
They are probably the most important minutes of the entire match.
The moment you spawn, I recommend splitting the team into small groups instead of having eight players run around randomly. Someone should focus on finding supplies, another player should check medical equipment, while others start preparing the defensive location.
Find the CRC Supply Drop First
The CRC supply drop should be one of your first priorities.
These supplies can completely change how comfortable the upcoming wave feels. You’ll often find useful ammunition, medical equipment, defensive tools and stronger weapons.
Don’t make the mistake of leaving everything inside the crate.
Move important supplies closer to your defensive position.
You don’t want your medic running halfway across the map for a bandage while the speakers are being attacked.
Creating a central supply area also makes communication much easier. Everyone knows where ammunition and medical equipment are located.
Barricades: Don’t Build Your Own Prison
Barricades are extremely powerful, but I’ve seen teams make one simple mistake over and over again: they barricade everything.
That sounds logical.
It isn’t.
You should reinforce important doors, windows and entrances, but always maintain an escape route.
If your primary room gets overrun, you need somewhere to go. A beautifully barricaded room becomes a death trap when six runners break through and your team discovers that every exit has been nailed shut.
Locked internal doors are particularly useful because they slow infected down without necessarily turning the entire building into a sealed box.
Think of your defensive position as a series of fallback points rather than one permanent bunker.
If Point A fails, you move to Point B.
That’s much safer than desperately defending one doorway until everyone is trapped.
Learn the Map Before You Need the Traps
Every Survival map has environmental tools that can give your team a huge advantage.
Power systems, explosive objects, electrical traps and machinery can become extremely effective when used at the right moment.
The key phrase is right moment.
Don’t trigger your strongest environmental weapon against twenty zombies when the wave has barely started.
Save it.
When the horde reaches maximum density and your defensive line starts to buckle, that’s when an electrical trap or explosive sequence can give your team the breathing room it desperately needs.
In my experience, using a trap too early is one of the easiest ways to waste a resource that could have saved the entire team later.
Melee Combat Is About Stamina, Not Button Mashing
This is probably the most important combat lesson in No More Room in Hell 2 Survival Mode.
Your melee weapon may feel powerful, but that doesn’t mean you should swing constantly.
Attacks, heavy swings and shoves consume stamina. Empty that bar at the wrong moment and your character becomes dramatically less capable of defending themselves.
A fatigued player surrounded by infected is basically an invitation.
Don’t Fight the Same Zombie With Three Players
This is something that looks harmless but causes plenty of problems.
If one teammate is already attacking a zombie, don’t automatically join them with another heavy swing.
You’re better off watching the surrounding area.
One player handles the target. The others watch the flanks.
That simple habit reduces wasted stamina and prevents the team from becoming vulnerable to another infected approaching from behind.
Swing Cancellation Is Worth Learning
One of the more useful advanced techniques is cancelling a melee swing when you realize the attack isn’t going to connect properly.
Instead of committing to a bad animation, cancel it and reset your position.
It sounds like a small trick, but when you’re fighting multiple infected in a confined area, saving even a little stamina can be the difference between landing another attack and standing helplessly in front of a grab.
Shove First, Kill Second
The shove mechanic is one of the most important defensive tools in NMRIH2.
When an infected gets close, don’t panic and immediately start swinging.
Watch its attack.
A well-timed shove can interrupt the incoming attack and create a short opening. That’s your opportunity to follow up with a controlled strike, preferably toward the head.
The timing takes practice.
But once you get comfortable with it, melee combat becomes much less about frantic attacking and much more about controlling the rhythm of the fight.
Cut the Legs When the Horde Gets Too Fast
When a group of runners starts closing in, I don’t always try to kill them immediately.
Sometimes the smarter move is to make them slower.
Sharp weapons such as the Fire Axe, Machete, Tree Trimmer and Hatchet can be extremely useful for damaging legs and creating crawlers.
A crawler isn’t harmless, but it is much less dangerous than a healthy runner moving at full speed.
That difference matters enormously during a defensive wave.
Instead of dealing with five fast targets simultaneously, you can cripple several of them and create space for the team to concentrate on the threats that actually matter.
Knocked-Down Zombies Are Free Damage
There’s another combat mechanic that new players can easily overlook: knocked-down infected take significantly more damage.
This makes kicks and shoves particularly valuable.
A common sequence is:
Shove or kick → knock the zombie down → attack the head.
Against weaker infected, this can turn a dangerous target into a quick kill while conserving ammunition.
That’s especially useful when you’re dealing with limited pistol ammunition and don’t want to waste several rounds on an enemy that could have been finished with one well-placed shot.
Special Infected Should Change Your Priorities
A normal zombie isn’t necessarily your biggest problem.
Sometimes the infected standing quietly at the edge of the battlefield is much more dangerous.
Screamers Come First
If I hear or see a Screamer, my priority changes immediately.
These infected can act as an alarm system, attracting additional enemies and making an already difficult wave dramatically worse.
Don’t leave a Screamer alive because you’re busy fighting the horde directly in front of you.
Kill it quickly.
A ranged weapon is often the safest solution, although an experienced melee player can eliminate one quietly when the situation allows.
The worst possible scenario is allowing a Screamer to keep calling reinforcements while your entire team is already struggling with the existing horde.
Riot Police
Riot Police infected require a different approach because their equipment provides substantial protection.
Shooting directly into the shield is obviously not the answer.
Look for exposed areas and use directional melee attacks to work around their defenses. The head and legs become much more attractive targets.
The important thing is not to waste half your ammunition shooting armor.
National Guard Zombies
National Guard variants are even more frustrating because they have considerable damage resistance and stability.
Their heads remain the most reliable target.
They also resist knockdowns more effectively than standard infected, so don’t expect a single kick to solve the problem.
Treat them as priority targets rather than ordinary zombies with more health.
The 50% Health Rule Changed How I Play
One of the biggest habits I’ve developed in NMRIH2 is paying much more attention to health than I used to.
50% health should be treated as a warning line.
Don’t wait until you’re almost dead before looking for medical supplies.
Once your health drops significantly, another mistake can quickly turn a manageable situation into an infection, incapacitation or death.
If you fall below that comfortable threshold, call for cover and step away from the front line.
There’s nothing embarrassing about retreating to heal.
There is something frustrating about dying with a full first-aid kit still sitting in your inventory.
Healing Priority
| Situation | My Recommendation |
|---|---|
| Minor damage above 50% | Continue fighting if the position is stable |
| Around 50% | Start looking for a safe healing opportunity |
| Below 50% | Retreat and heal as soon as practical |
| Critically injured | Stop frontline combat and request protection |
| Teammate down | Secure the area before attempting the rescue |
The exact situation always matters, but the general principle is simple: don’t turn a survivable injury into a permanent character loss.
Stop Trying to Kill Everything
This is probably my favorite Survival Mode tip.
You don’t have to kill every zombie.
Actually, sometimes trying to do exactly that makes the situation worse.
If your team constantly clears the area around the defensive position, new infected can continue entering the fight and create fresh pressure.
Instead, consider using one or two mobile players as bait or kiting specialists.
A mobile player can draw a large group away from the speakers while the rest of the squad repairs barricades, reloads, heals and handles special infected.
Vehicles, elevated objects and other pieces of terrain can sometimes provide useful temporary positions.
The bait player’s job isn’t to kill everything.
Their job is to buy time.
And in Survival Mode, time is often more valuable than kills.
Communication Matters More Than Aim
You can have eight mechanically skilled players and still lose because nobody communicates.
You don’t need constant voice chat.
You need useful information.
Call out:
- Screamers
- Breached entrances
- Low health
- Special infected
- Falling barricades
- Empty ammunition
- Retreats
- Trap activation
- Downed teammates
A simple “Screamer left!” is more valuable than someone giving a ten-second explanation while the Screamer is already screaming.
Likewise, don’t have everyone shout at once.
Assign responsibilities before the wave begins.
One player watches one entrance. Another handles medical supplies. Another keeps an eye on the rear. Someone monitors the most vulnerable barricade.
That structure makes chaotic fights surprisingly manageable.
No More Room in Hell 2 Raven Rock Walkthrough: Complete Map Guide and Bunker Strategy
My Ideal Survival Mode Team Setup
For an eight-player squad, I prefer a loose role structure rather than rigid classes.
| Role | Main Responsibility |
|---|---|
| Frontline Fighters | Control primary entrances and melee infected |
| Ranged Support | Eliminate Screamers and dangerous special infected |
| Medic | Maintain team health and carry medical supplies |
| Engineer / Builder | Maintain barricades and defensive equipment |
| Scout / Lure | Pull large groups away when necessary |
| Reserve Players | Cover weak points and react to breaches |
Players can obviously switch roles.
The point isn’t to create an MMO-style party.
It’s to prevent the classic situation where all eight players stand in the same doorway while nobody watches the back entrance.
10 Intense Tactical Co-Op Zombie Games Like No More Room in Hell 2 on PS5 and PC (2026 Guide)
The Final Minutes Are Where Matches Are Won
The first few minutes of a wave can feel surprisingly comfortable.
Then the pressure builds.
This is when your preparation finally matters.
If your squad has preserved ammunition, stamina, medical supplies and environmental traps, the final stretch becomes manageable.
If you’ve already fired every useful weapon and activated every trap, the last few minutes can become absolute chaos.
Save something for the end.
Don’t spend every resource simply because you have it.
The final minutes are when the horde feels most oppressive, and that’s exactly when your strongest tools should come out.
My Survival Mode Checklist
Before every wave, I mentally run through the same questions:
- Is there a clear escape route?
- Where are the medical supplies?
- Who is watching the rear?
- Which entrance is most likely to fail?
- Where is the nearest environmental trap?
- Who is carrying the strongest ranged weapon?
- Does everyone know where to retreat?
- Are we wasting ammunition on normal infected?
- Have we identified the Screamer?
- Are our strongest resources being saved for the final minutes?
It takes less than thirty seconds.
That thirty seconds can save the entire run.
Final Thoughts
No More Room in Hell 2 Survival Mode is at its best when you stop treating it like a traditional zombie shooter.
The goal isn’t to achieve the highest kill count.
It’s to survive.
Sometimes that means killing a Screamer before anything else. Sometimes it means cutting a runner’s legs instead of going for the head. Sometimes it means abandoning a barricade that took five minutes to build because staying there would kill everyone.
And sometimes the correct decision is simply to run.
After playing a lot of cooperative survival games, I’ve found that the strongest teams aren’t necessarily the ones with the best aim. They’re the ones that stay calm when everything goes wrong.
That is what Survival Mode ultimately tests.
Preparation keeps the first wave under control. Communication keeps the second wave manageable. Discipline gets you through the third.
If your squad can manage stamina, protect its weaker players, preserve ammunition, prioritize special infected and maintain a reliable fallback position, those five-minute waves become much less terrifying.
Not easy.
Just survivable.
And honestly, that’s exactly how a good zombie survival game should feel.