Mortal Shell 2 Item Database: All Weapons, Sidearms, Tarstones, and Key Items
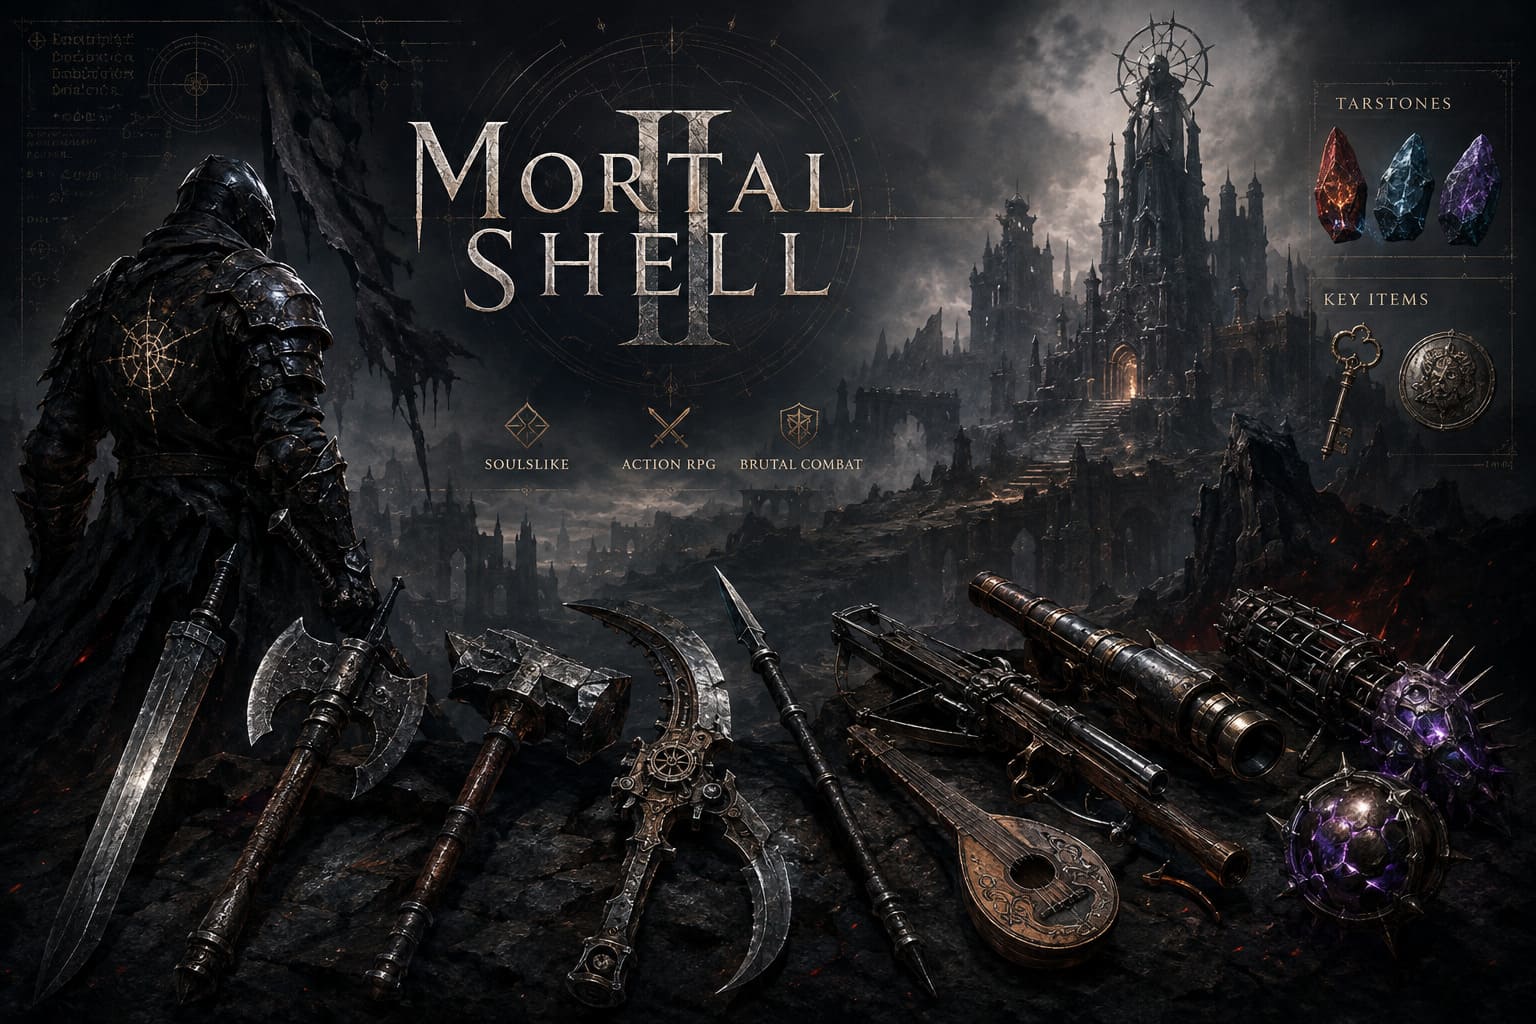
If there is one thing Mortal Shell 2 gets absolutely right, it is the feeling that every new piece of gear might completely change the way you approach a fight. Cold Symmetry and Playstack have taken the brutal Soulslike foundation of the original and expanded it into something much larger, with an interconnected open world, more than 60 dungeons, and a combat system that puts posture, stagger, positioning, and weapon abilities front and center.
Mortal Shell 2 launched on August 20, 2026, following Advanced Access beginning August 17. And after spending serious time looking through its arsenal, one thing becomes obvious: this is not a game where you simply find a sword you like and stick with it for the entire campaign.
The sequel gives you a much broader equipment ecosystem built around Primary Weapons, Ranged Sidearms, Tarstones, Consumables, Support Items, and Key Items. Some pieces are obvious damage upgrades. Others look almost useless until you understand the mechanic behind them. A few can completely alter your combat rhythm.
That is why keeping track of the Mortal Shell 2 item database matters.
Below is a full breakdown of the currently verified weapons and important items, including where they are found and what makes them worth hunting down.
Primary Weapons in Mortal Shell 2
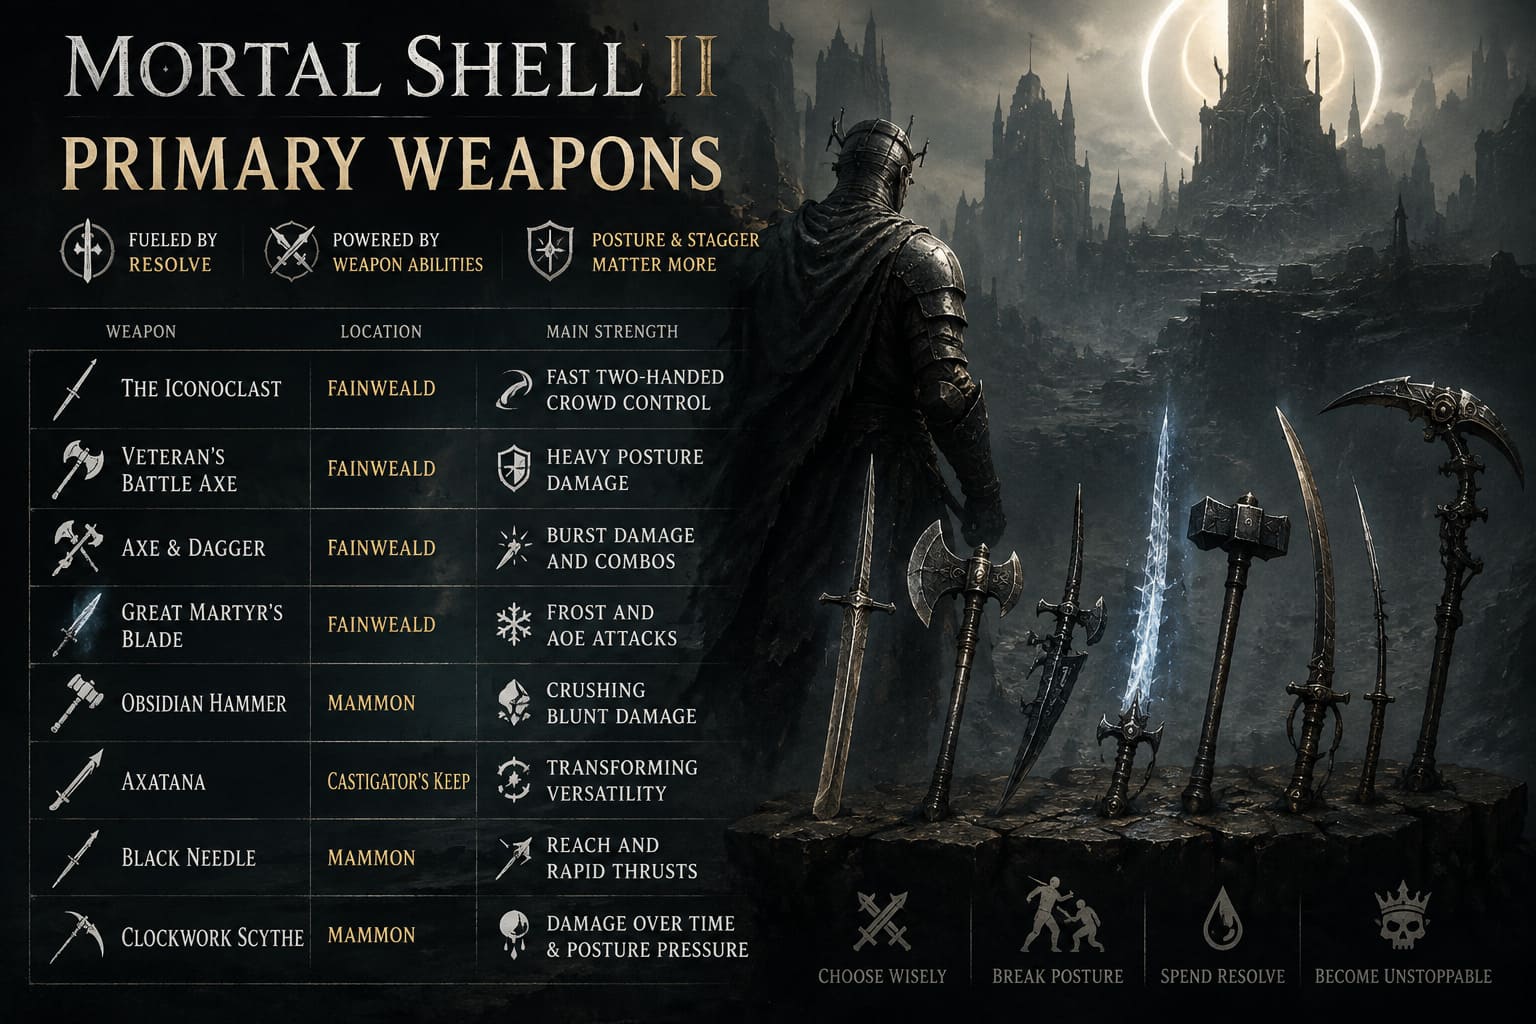
Primary weapons are the backbone of your combat setup. Unlike the traditional Soulslike approach of simply managing a stamina bar, Mortal Shell 2 ties much of its offensive potential to Resolve and weapon abilities, while the new posture and stagger mechanics make weapon choice even more important.
Some weapons are built for raw damage. Others are designed around crowd control, status effects, reach, or breaking enemy posture.
| Primary Weapon | Location | Main Strength |
|---|---|---|
| The Iconoclast | Fainweald | Fast two-handed crowd control |
| Veteran’s Battle Axe | Fainweald | Heavy posture damage |
| Axe & Dagger | Fainweald | Burst damage and combos |
| Great Martyr’s Blade | Fainweald | Frost and AoE attacks |
| Obsidian Hammer | Mammon | Crushing blunt damage |
| Axatana | Castigator’s Keep | Transforming weapon versatility |
| Black Needle | Mammon | Reach and rapid thrusts |
| Clockwork Scythe | Mammon | Damage-over-time and posture pressure |
The Iconoclast
The Iconoclast is one of those weapons that immediately feels comfortable if you enjoy aggressive two-handed builds. It is a relatively lightweight greatsword with broad sweeping attacks, making it particularly effective when you are surrounded.
The wide swings are not just there for style. In a game where enemy positioning can turn ugly in seconds, being able to hit several targets without constantly repositioning yourself is a big deal.
Its crowd-control potential makes the Iconoclast especially attractive in dungeon-heavy sections.
Veteran’s Battle Axe
The Veteran’s Battle Axe goes in the opposite direction. This is a heavy steel axe designed around posture-breaking.
It is slower, but when it connects, enemies know about it.
If you prefer reading enemy animations, waiting for an opening, and then landing a hit that sends an enemy’s posture meter toward the danger zone, this is one of the weapons worth keeping in your inventory.
Axe & Dagger
The Axe & Dagger combination offers a completely different combat rhythm. Instead of relying on huge individual swings, it focuses on fluid combo chains and high single-target burst damage.
This is the kind of setup that should appeal to players who like staying close to bosses and constantly looking for opportunities to extend a combo rather than backing away after every attack.
It is found in Fainweald, making it one of the earlier major weapon options to keep an eye out for.
Great Martyr’s Blade
The Great Martyr’s Blade is a colossal frost-infused weapon designed for players who like making every swing feel catastrophic.
Its wide attacks can hit multiple enemies, while its frost properties give it another layer of utility against groups and tougher targets.
It is located in Fainweald and is particularly interesting if your build revolves around status effects and area control.
Obsidian Hammer
The Obsidian Hammer is about as subtle as getting hit by a falling building.
Found in Mammon, this slow blunt weapon focuses on devastating physical impacts. Smaller enemies can be flattened under its attacks, and its weight makes it an attractive option for players who are more interested in staggering enemies than performing stylish combo strings.
The obvious downside is speed. You need to commit to your attacks.
That is not necessarily a bad thing. In Mortal Shell 2, timing matters more than button mashing.
Axatana
The Axatana might be the most interesting weapon in the entire primary arsenal.
Acquired in Castigator’s Keep, this modular weapon can transition between dual-katana-style attacks and a much heavier axe configuration.
That gives you two distinct combat personalities in one weapon.
Need speed and mobility? Use the lighter configuration. Need something with more weight behind every hit? Switch over.
It is exactly the sort of weapon that rewards players who actually learn their moveset instead of simply choosing whatever has the highest damage number.
Black Needle
The Black Needle is a long-reaching spear found in Mammon.
Its strength is obvious: distance.
The extended reach lets you poke enemies before they can comfortably retaliate, while its rapid piercing thrusts make it useful against targets that are dangerous to fight at point-blank range.
For players who hate trading hits, this could be one of the safest options in the database.
Clockwork Scythe
The Clockwork Scythe adds a mechanical edge to Mortal Shell 2’s otherwise grim fantasy arsenal.
Found in Mammon, it uses spinning mechanical components to inflict damage over time while putting serious pressure on boss posture.
That combination is what makes it interesting. You are not simply swinging for immediate damage. You are building a longer-term pressure cycle that can pay off during extended encounters.
Ranged Sidearms
Mortal Shell 2 does not force you to solve every problem with a sword, axe, or hammer.
The Sidearm system gives you ranged attacks, utility options, status effects, and tactical tools that can make certain encounters dramatically easier.
And yes, some of these weapons are gloriously weird.
| Sidearm | Location | Primary Use |
|---|---|---|
| Naylshotte | Fainweald | Point-blank stagger |
| Forgotten Crossbow | Fainweald | Precision ranged attacks |
| Troubadour’s Lute | One-Legged Wolf Tavern | Utility and distraction |
| Salvaged Trebuchaxe | Fainweald | Heavy ranged impact |
| Ballistazooka | Mammon | Siege-level piercing damage |
| Triarch Repeater | Mammon | Rapid-fire status buildup |
| Cursed Child | Mammon | Homing elemental pressure |
| Caged Hystrix | Mammon | Kinetic micro-stagger |
Naylshotte
The Naylshotte is essentially Mortal Shell 2’s dark-fantasy answer to a shotgun.
It is a heavy, short-range firearm designed for devastating point-blank stagger damage. If an enemy gets too close, this is the sort of sidearm that can instantly change the situation.
It is found in Fainweald.
Forgotten Crossbow
The Forgotten Crossbow is much more conventional.
It is useful for pulling individual enemies away from groups, taking down distant targets, or picking off dangerous lookouts before they become a problem.
Sometimes the boring tool is the good tool.
Troubadour’s Lute
Found at the One-Legged Wolf Tavern, the Troubadour’s Lute is easily one of the strangest pieces of equipment.
It works as a musical instrument while also functioning as a bludgeoning and distraction tool.
It is not necessarily the first thing you will equip when preparing for a brutal boss encounter, but items like this are part of what gives Mortal Shell 2 its personality.
Salvaged Trebuchaxe
The Salvaged Trebuchaxe combines heavy machinery with ranged combat.
Found in Fainweald, it fires substantial payloads across medium distances and can be used against structural shields.
This is less about delicate precision and more about making something in front of you stop being a problem.
Ballistazooka
The Ballistazooka is exactly what the name suggests: enormous.
Discovered in Mammon, this shoulder-mounted siege weapon launches heavy iron spikes capable of punching through multiple targets.
It is not subtle. It does not need to be.
Triarch Repeater
The Triarch Repeater focuses on volume of fire.
Its rapid bursts are useful for stacking status effects or tearing through targets that lack serious protection.
It is especially appealing for players who prefer constant pressure instead of waiting for one enormous opening.
Cursed Child
The Cursed Child fires slow, homing energy orbs that can weaken enemy elemental defenses.
That makes it less of a traditional damage weapon and more of a setup tool.
Used intelligently, it can soften enemies before you switch back to your primary weapon and start doing the real punishment.
Caged Hystrix
The Caged Hystrix fires erratic kinetic darts capable of producing small stagger effects against elite enemies.
Those micro-staggers can matter more than they initially appear to, particularly during aggressive encounters where interrupting an enemy’s rhythm gives you enough breathing room to recover.
Tarstones: The Modular Upgrade System
If weapons are the foundation of your build, Tarstones are where things get interesting.
Tarstones can be socketed into equipment and upgraded up to Level 3 at beacons or anvils. These upgrades can push a weapon toward a particular playstyle instead of simply giving it a generic statistical increase.
That is important because Mortal Shell 2 gives you enough different tools that experimentation is genuinely worthwhile.
Acolyte’s Stone
The Acolyte’s Stone consumes Resolve to empower charged light attacks.
At Level 3, it can reach 150% critical damage, making it a particularly attractive option for critical-focused builds.
Arbiter’s Prize
The Arbiter’s Prize infuses primary weapons with the Bloodcurse status effect.
If you are building around status pressure, this is one of the Tarstones that deserves serious attention.
Corroded Stone
The Corroded Stone adds passive acid damage over time to ranged projectiles.
That means your sidearm attacks can continue contributing damage after the initial hit, which makes it useful for players who like maintaining pressure while repositioning.
Deadman’s Stone and Headman’s Stone
Both the Deadman’s Stone and Headman’s Stone improve base melee critical hit chance.
They are straightforward, but straightforward does not mean bad.
A higher critical rate can have a major impact on builds already designed around burst damage.
Other Tarstones
Several additional Tarstones provide more specialized passive bonuses:
- Auspicious Stone improves critical-related potential.
- Shattering Stone increases stagger gained from kills.
- Bulwark Stone can provide defensive barriers after kills.
- Justiciar’s Stone improves gold acquisition.
- Gloombound Stone increases gloom acquisition.
This is where the game’s itemization starts feeling less like a simple equipment checklist and more like an actual buildcraft system.
Consumables, Usable Items, and Support Gear
Not every useful item is designed to increase damage.
Some of the most practical equipment in Mortal Shell 2 exists to keep you alive, restore resources, deal with environmental hazards, or provide additional utility.
Common Moonshine
Common Moonshine restores Resolve and can also provide permanent Resolve bonuses when collected in sufficient quantities.
For players who rely heavily on weapon abilities, this is the sort of resource you should not casually ignore.
Resolve is part of your offensive economy, so maintaining access to it can directly influence how aggressively you can play.
Marsh Pearls
Marsh Pearls are early-game consumables designed to provide cleansing effects against status-inflicting biomes.
They may not look exciting on paper, but environmental status effects can become a huge annoyance when you are exploring unfamiliar areas.
Carry them.
Grisha Remnant
The Grisha Remnant is dropped by Grisha monsters and can provide currency or crafting-related options.
As with many Soulslike enemy drops, the real value becomes clearer once you understand what your build and crafting priorities actually require.
Sheephead Totem
The Sheephead Totem is a deployable support item that creates localized spiritual protection and health mitigation.
This is one of those items that can reward preparation rather than reflexes.
Place it intelligently and it can give you a safer area to work from during difficult encounters.
Bio Sampler
The Bio Sampler is a utility item focused on survival.
It can trigger health recovery when your health falls below critical thresholds, making it particularly useful for players who regularly find themselves one mistake away from death.
And let’s be honest: that describes most Soulslike players at some point.
Coin of Mammon
The Coin of Mammon is a tradable artifact worth 500 gold coins when turned in to merchants.
It is a straightforward economy item, but valuable if you are saving toward upgrades or other purchases.
Progression and Key Items
Some items are not meant to improve your damage or defense at all. Their entire purpose is to open the world.
That matters in Mortal Shell 2 because its interconnected structure makes exploration a major part of progression.
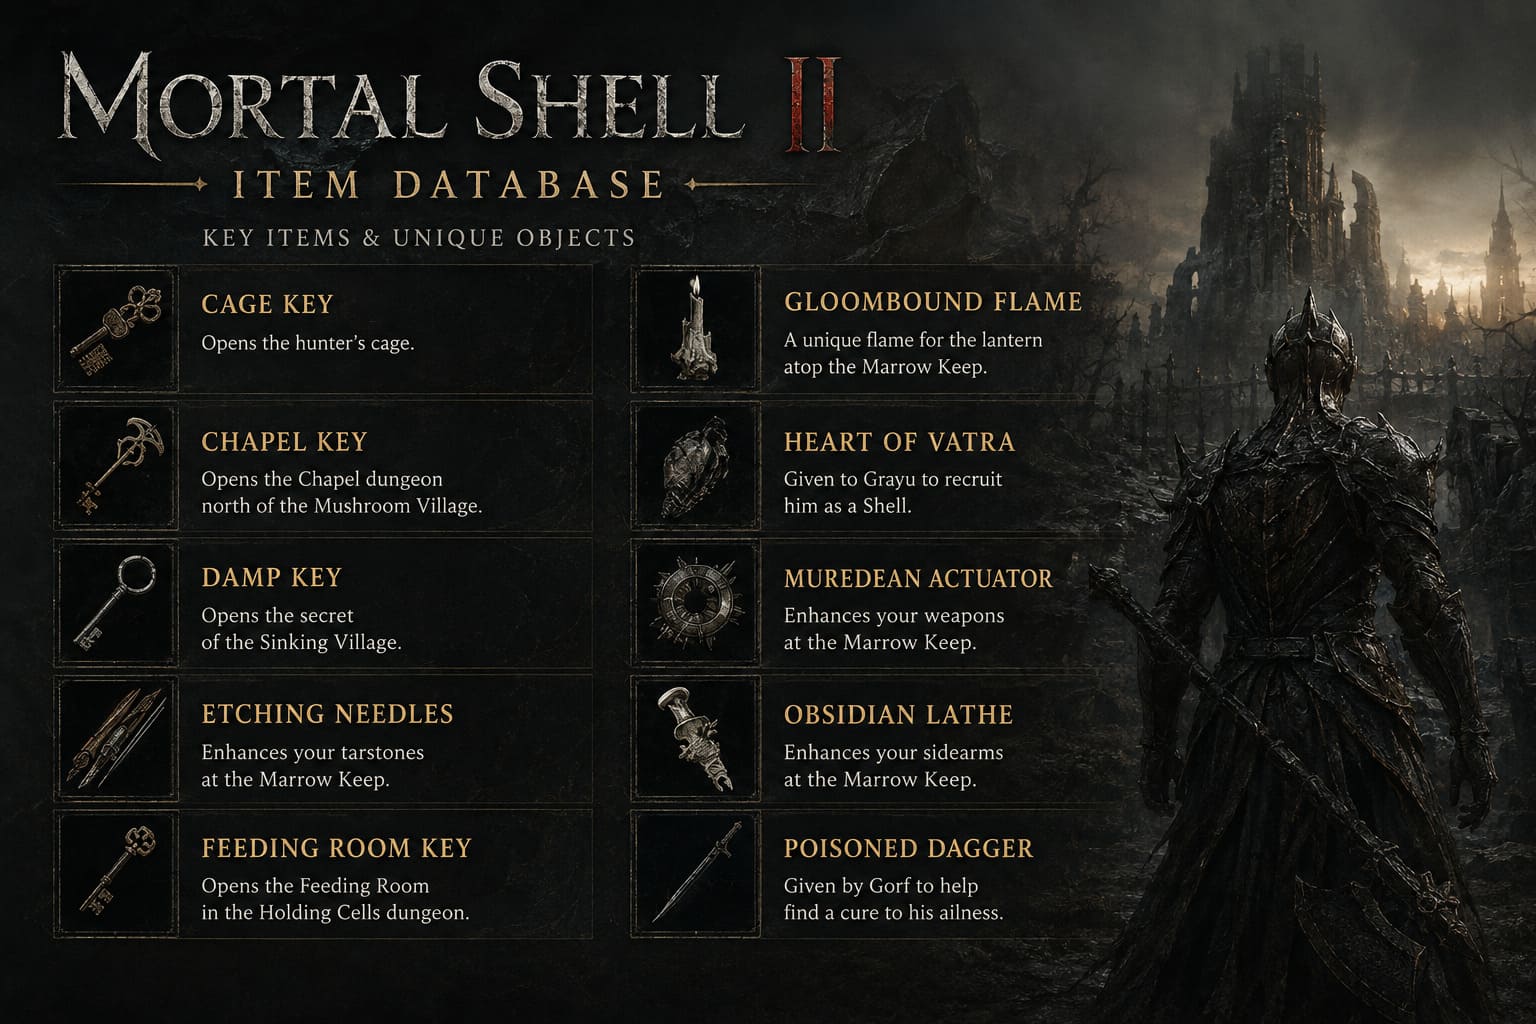
Chest Key
The Chest Key opens high-value iron chests containing things such as upgrade materials and Tarstones.
Finding one is usually a good reason to check areas you might otherwise run straight past.
Citadel Gate Lever
The Citadel Gate Lever unlocks the massive main gates leading into the Citadel of Penance dungeon.
It is a classic progression item, but in a game built around exploration and interconnected locations, these mechanisms are important landmarks rather than simple checklist objectives.
Mortal Shell 2 Tarstone Guide: Best Tarstones & How to Unlock Offering Chests
Which Mortal Shell 2 Items Should You Prioritize?
If you are just starting out, do not obsess over collecting every item immediately.
Focus on building a coherent setup.
For heavy melee players, weapons such as the Veteran’s Battle Axe, Obsidian Hammer, and Great Martyr’s Blade are worth investigating. Players who prefer speed should take a close look at the Axe & Dagger, Axatana, and Black Needle.
For ranged builds, the Naylshotte is excellent for close-range stagger pressure, while the Forgotten Crossbow offers a much safer and more traditional approach. Later options from Mammon can push ranged combat into much stranger territory.
Tarstones are where I would spend the most time experimenting. A weapon that feels merely decent can become dramatically better once its Tarstone setup matches the way you actually play.
And that is really the biggest lesson behind the Mortal Shell 2 item system.
Do not judge an item only by its raw damage.
Posture damage, stagger, status effects, Resolve generation, critical chance, defensive barriers, and resource acquisition can all matter. The best setup is not necessarily the one with the biggest numbers on the equipment screen. It is the one that fits your combat rhythm.
Mortal Shell 2 Missables and Points of No Return: Complete 100% Completion Guide
Final Thoughts on the Mortal Shell 2 Item Database
Mortal Shell 2 has a much broader equipment game than its predecessor, and the expanded arsenal gives the sequel room to support several very different approaches to combat.
The Primary Weapons cover everything from quick dual-wield combinations to gigantic frost blades and mechanical scythes. Sidearms add another tactical layer, with everything from crossbows and firearms to bizarre experimental weapons. Tarstones then let you push those tools toward specific builds, while consumables and support items give exploration another layer of preparation.
The result is an item system that rewards curiosity.
You will find something, think it looks strange, equip it anyway, and suddenly realize that it fits your build perfectly. That is the good stuff.
For a Soulslike, that discovery loop is half the fun.
This database covers the currently verified Mortal Shell 2 weapons, sidearms, Tarstones, consumables, support items, and progression keys listed above. As players continue exploring the game’s massive interconnected world and its 60-plus dungeons, the item database can naturally expand with additional discoveries, combinations, and build possibilities.
For now, though, these are the pieces of gear worth keeping on your radar. Some will become staples. Some will gather dust in your inventory. And a few will probably become the weird weapon you refuse to unequip for the next fifty hours.
That is exactly how a good Soulslike arsenal should work.