Crimson Moon Best Nephilim Builds: Guide for Launch and Endgame (2026)
If there is one thing I already love about Crimson Moon, it is the fact that the game doesn’t force you into the usual “pick a class and live with it” RPG routine. You are not choosing between a Warrior, Rogue, Mage, or some other locked archetype and then spending the entire game following a predetermined path.
Instead, your Nephilim build is whatever you make it.
That sounds simple on paper, but once you start combining equipment, Weapon Arts, Angels, and temporary Boons, the system becomes surprisingly deep. After looking closely at the available gameplay systems and experimenting with different approaches, I think there are three especially strong directions worth building around in 2026.
These aren’t builds designed just to look good in a character menu. They are built around how I actually like playing action RPGs: aggressive combat, strong mechanical synergy, and enough flexibility to survive when a hunt suddenly goes sideways.
So, if you’re preparing your Nephilim for the darker districts of Gildenarch, these are the Crimson Moon builds I’d personally start with.
How Nephilim Builds Actually Work in Crimson Moon
Before getting into individual loadouts, it helps to understand what makes character building different here.
Crimson Moon doesn’t lock your Nephilim into a traditional class. Your playstyle comes from four major systems working together:
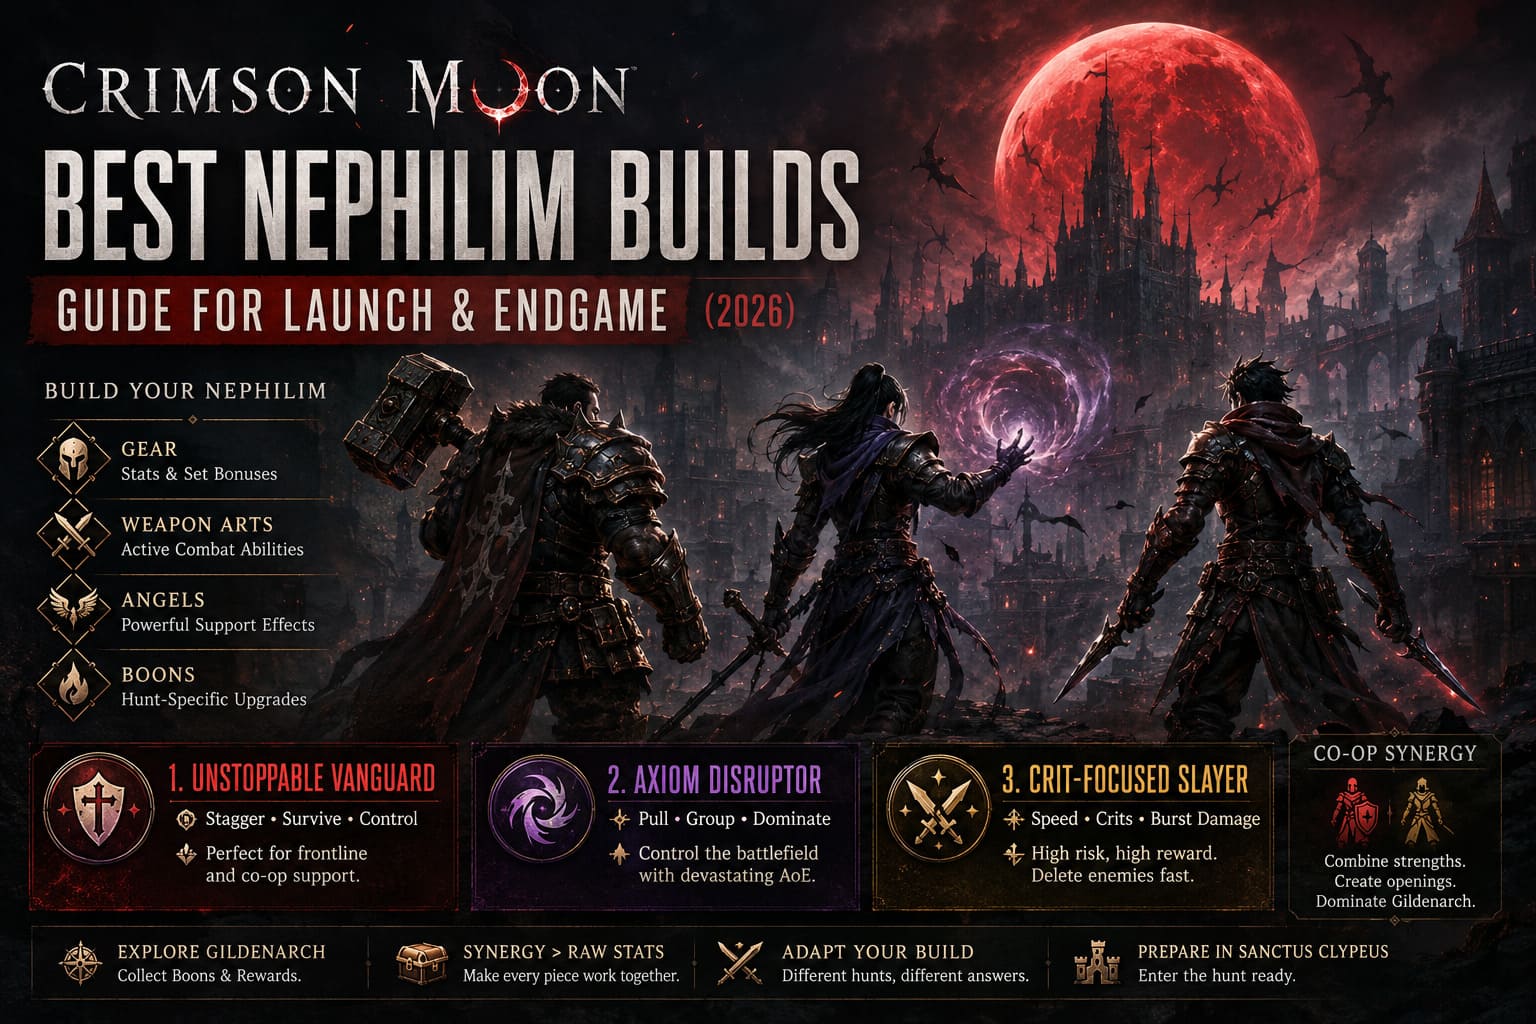
| Build Element | What It Does | Why It Matters |
|---|---|---|
| Gear | Provides stats and set bonuses | Determines your basic strengths |
| Weapon Arts | Gives you active combat abilities | Controls your combat rhythm |
| Angels | Provides powerful support effects | Adds another strategic layer |
| Boons | Temporary hunt-specific upgrades | Lets you adapt during a run |
The first three are generally decisions you make before heading out from Sanctus Clypeus. Boons are different because you collect them while exploring Gildenarch.
And honestly, I think that’s where Crimson Moon becomes particularly interesting.
A good build isn’t simply “equip the strongest gear.” You want every part of the setup to talk to the other parts.
For example, if you’re building around staggering enemies, a defensive armor set combined with a weapon that specializes in posture damage makes far more sense than randomly equipping the highest-rated items you find.
1. The Unstoppable Vanguard – My Favorite Tank Build
Let’s start with the build I’d recommend to players who want to stand in the middle of absolute chaos and refuse to move.
The Unstoppable Vanguard is all about staggering enemies, surviving punishment, and controlling the frontline. It feels like the closest thing Crimson Moon has to a traditional tank, although you’re still expected to actively participate in combat rather than simply hold block.
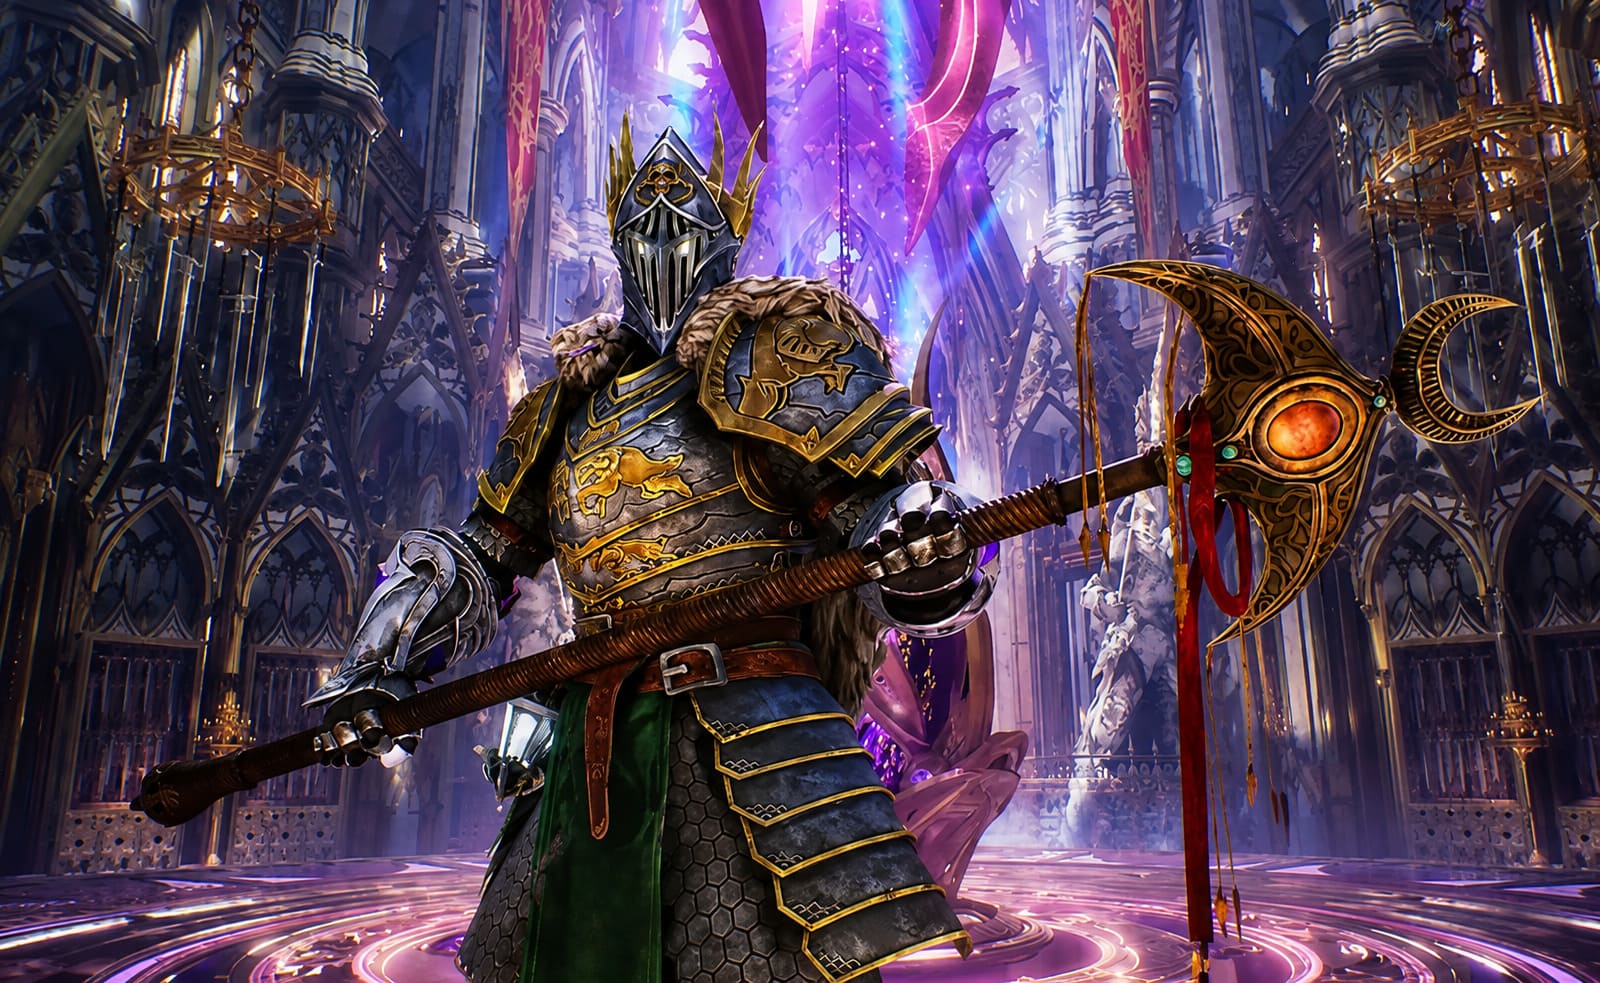
Recommended Setup
| Category | Recommendation |
|---|---|
| Weapon | Two-Handed Grand Hammer / Heavy Mace |
| Weapon Art | Force Palm |
| Armor | Bulwark Of The Order |
| Trinkets | Stagger / Defensive Bonuses |
| Angel | Aegis Angel |
| Main Goal | Poise, Survivability, Stagger Damage |
The star of this setup is Force Palm.
I really like the idea behind this Weapon Art because it isn’t just another “hit the enemy harder” button. You’re trying to break their posture and create an opening for the entire team.
That becomes particularly valuable against large enemies and bosses with mechanics built around exposing vulnerable areas.
The alternative, Focus Repulsion, is also worth keeping around. When the battlefield becomes crowded with undead or smaller demons, having a shockwave that pushes enemies away can be the difference between calmly charging a heavy attack and getting surrounded.
Gear Priorities
I’d focus on:
- Poise
- Physical damage reduction
- Stagger damage
- Stagger duration
- Defensive bonuses after using Weapon Arts
The Bulwark of the Order style of heavy armor fits the role perfectly.
One piece of utility gear I wouldn’t ignore is a Gas Mask for contaminated areas. If you’re heading into a place such as Fort Perwin, environmental hazards can completely change how comfortable a build feels.
Why I Like This Build
The Vanguard isn’t necessarily the fastest way to kill every enemy.
That’s exactly the point.
You become the player who creates opportunities. In co-op, that’s extremely useful. You can disrupt a dangerous enemy, create space, absorb pressure, and let your partner concentrate on dealing damage.
For Boons, I’d look for effects similar to Posture Crush and Relentless Fortitude. Anything that makes your heavy attacks better at staggering enemies or gives you additional protection after using a Weapon Art fits naturally into the setup.
2. The Axiom Disruptor – The Build for Controlling the Battlefield
This is probably the build I’d pick when I want Crimson Moon to feel less like a straightforward hack-and-slash game and more like a tactical action RPG.
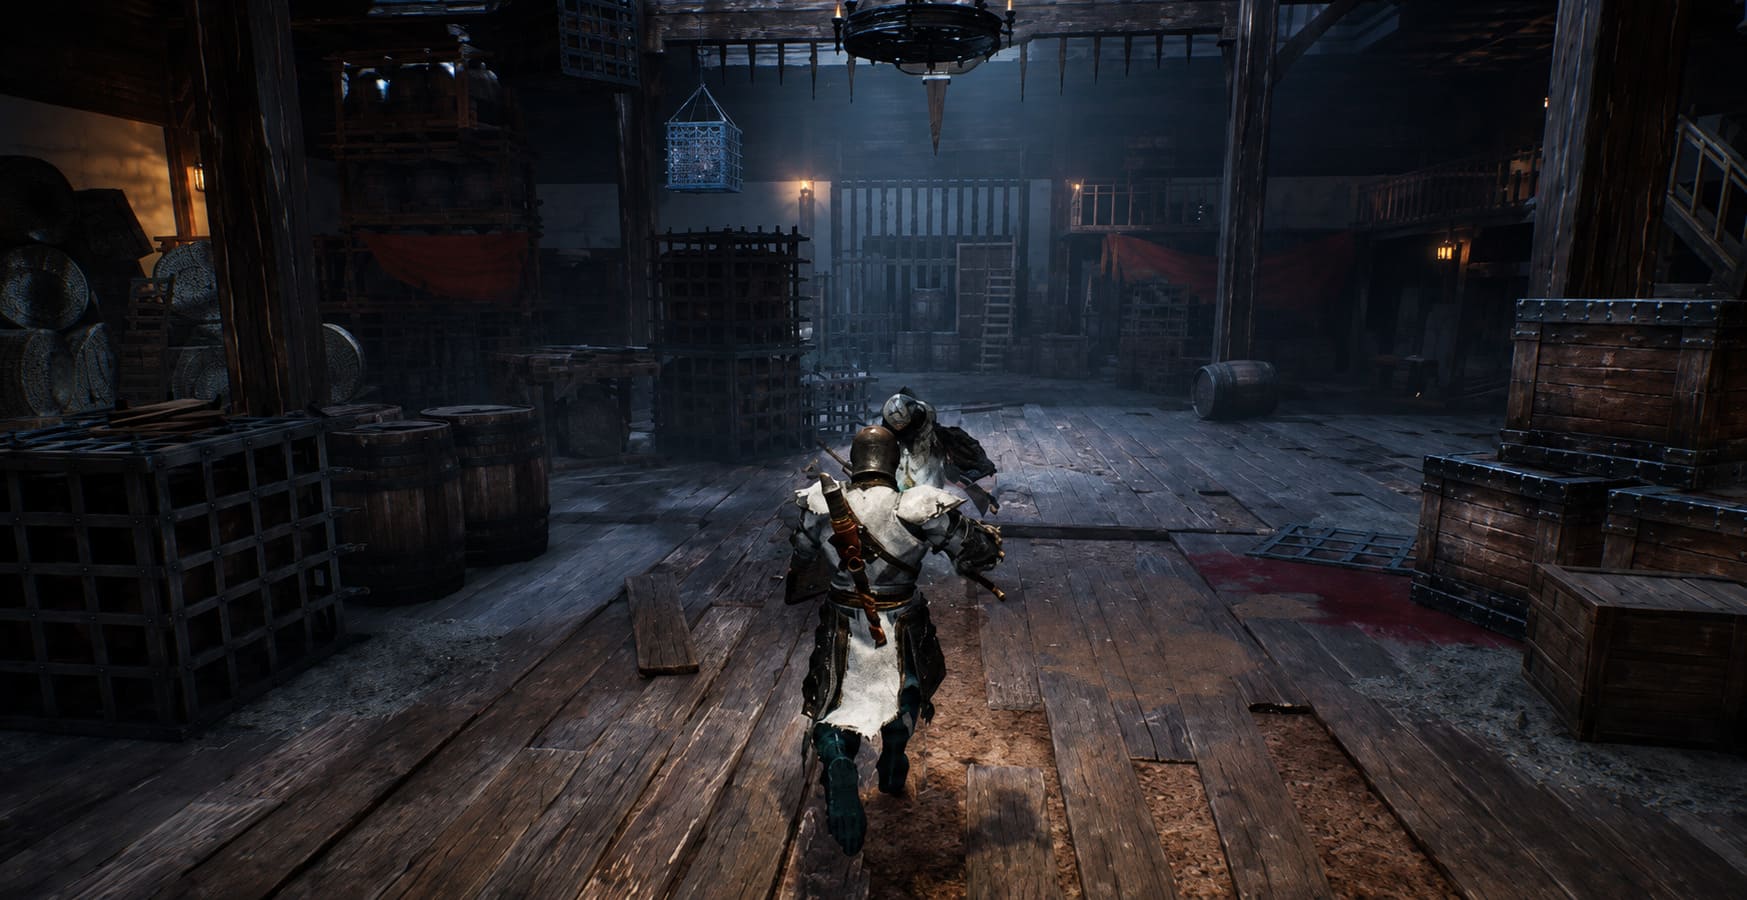
The Axiom Disruptor revolves around pulling enemies together and then destroying them with wide attacks.
And yes, there’s something incredibly satisfying about taking a group of enemies that were spread all over an arena and basically telling them, “You’re all standing here now.”
Recommended Setup
| Category | Recommendation |
|---|---|
| Weapon | Bastard Sword + Vanguard Shield / Glaive |
| Weapon Art | Axiom Force |
| Alternative Art | Cleaving Sweep |
| Armor | Moonlight Oath / Medium Armor |
| Angel | Zephyr Angel |
| Main Goal | Crowd Control, Mobility, Resource Management |
Axiom Force is the centerpiece.
The ability pulls targets toward you, giving you control over enemy positioning. Follow it with something like Cleaving Sweep, and suddenly a group that looked dangerous becomes a convenient collection of targets waiting for one giant melee attack.
This kind of build should be fantastic against encounters where enemies attack from several directions.
What I’d Prioritize
For equipment, I’m less interested in maximum armor and more interested in keeping my combat tools available as often as possible.
Look for:
- Weapon Art cooldown reduction
- Movement speed
- Resource regeneration
- Bonuses for hitting multiple enemies
The Moonlight Oath type of setup makes sense here because it supports a more mobile approach while still giving you enough protection to survive mistakes.
The Zephyr Angel is another natural match. Faster attacks and better resource regeneration mean you can keep repositioning enemies without constantly waiting for your tools to come back.
Boons to Watch For
Pulling Kinetic – Enemies affected by your pull become easier targets for your next melee attack.
Siphoning Strikes – Multi-target Weapon Arts provide additional sustain.
This is the kind of build where the individual bonuses might not look spectacular when viewed separately. Put them together, though, and the entire combat loop starts working much more smoothly.
3. The Crit-Focused Slayer – Maximum Damage, Minimum Mistakes
Now we get to the build for players who think blocking is optional.
The Crit-Focused Slayer sacrifices defensive comfort for speed, critical hits, and aggressive damage. This is the setup I’d use when I want to play Crimson Moon at its fastest.
It’s also the build I’d be least comfortable recommending to a completely new player.
You need to dodge well.
You need to understand enemy attacks.
And when you make a mistake, you don’t have a giant pile of armor to save you.
Recommended Setup
| Category | Recommendation |
|---|---|
| Weapon | Dual Daggers / Renaissance Rapier |
| Weapon Art | Precision Piercing |
| Alternative Art | Phantom Dash |
| Armor | Duelist’s Leather Vestments |
| Angel | Solar Angel |
| Main Goal | Critical Chance, Attack Speed, Sustain |
Precision Piercing is exactly the sort of Weapon Art this build wants. Rapid attacks combined with armor penetration and critical-hit bonuses create a very aggressive damage pattern.
Then you’ve got Phantom Dash for mobility.
Personally, I always prefer a high-DPS build to have some kind of escape option. There’s no point having absurd theoretical damage if you’re constantly lying on the floor because you got surrounded.
The Gear Setup
The priority list here is straightforward:
Critical Chance → Critical Damage → Attack Speed → Stamina Recovery
The Duelist-style armor setup fits this perfectly.
For trinkets, I’d look for effects that reward consecutive critical hits. Anything that increases attack speed after a crit or provides extra damage on critical kills is especially attractive.
The Solar Angel completes the fantasy by adding radiant damage and another offensive spike when you really need to melt something.
The Boons That Make It Click
Blood Thirst is probably the first effect I’d look for. Getting health back from critical damage gives this fragile build a way to recover without constantly depending on consumables.
Chain Reaction is another great fit because critical hits can potentially create additional elemental effects around the original target.
When everything works together, this is the build that should make elite enemies disappear incredibly quickly.
The Most Important Crimson Moon Build Rule: Synergy Beats Bigger Numbers
This is the part I would keep in mind no matter which Nephilim build you’re using.
Don’t automatically equip an item just because it has a higher number.
A slightly weaker weapon that perfectly complements your Weapon Art can be considerably more useful than a stronger weapon that doesn’t fit your setup.
The same applies to armor.
If two or three pieces give you bonuses that directly improve your combat loop, I’d usually take that over a random collection of higher-stat pieces.
Crimson Moon’s build system seems designed around this philosophy, and I think that’s a much better approach than simply chasing item level.
Don’t Sprint Straight to the Boss
I know the temptation.
You enter a new ward, see the objective, and immediately start running toward the boss.
I’d resist that urge.
The exploration loop is an important part of your build progression. Gildenarch contains additional enemies, chests, upgrade materials, lore, and opportunities to collect temporary Boons.
Those extra minutes can make a huge difference before a difficult encounter.
If you’re running the Crit Slayer and find a Boon that dramatically improves critical damage, that’s potentially worth far more than rushing toward the boss five minutes earlier.
Explore first. Fight the boss when your temporary build is ready.
Keep Multiple Builds Ready
One of my favorite things about this system is that you aren’t permanently married to one configuration.
Before leaving Sanctus Clypeus, you can prepare a different loadout depending on the hunt.
I’d personally keep at least three setups available:
- Heavy Vanguard – for dangerous melee encounters and hazardous areas.
- Axiom Disruptor – for enemy-heavy zones and chaotic layouts.
- Crit Slayer – for aggressive boss damage.
This is much more practical than trying to create one “perfect” build that supposedly works everywhere.
Different wards can ask completely different questions of your character.
Best Nephilim Builds for Co-op
Two-player co-op is where I think these builds become even more interesting.
The biggest mistake would be having both players build for exactly the same purpose.
Instead, make your roles complementary.
| Player | Build | Job |
|---|---|---|
| Player One | Unstoppable Vanguard | Stagger, defend, control |
| Player Two | Crit-Focused Slayer | Burst damage, boss DPS |
| Alternative | Axiom Disruptor | Group enemies, create openings |
The Vanguard can create stagger windows while the Slayer unloads damage.
Alternatively, the Axiom Disruptor can group enemies together while the other player wipes them out.
That’s the sort of co-op interaction I want from an action RPG. You’re not just two people hitting the same enemy. You’re creating a combat system between the two characters.
Crimson Moon Class System Guide: How Builds, Gear, and Weapon Arts Work
What I’d Pick for Launch
If I were starting Crimson Moon on launch day, I’d probably begin with the Unstoppable Vanguard.
Not because it’s necessarily the strongest build on paper, but because it’s forgiving while you’re learning the enemy patterns, Weapon Arts, bosses, and progression systems.
Once I’d become comfortable with the combat, I’d move toward the Crit-Focused Slayer.
That is where I’d expect the really satisfying high-skill gameplay to happen.
The Axiom Disruptor sits nicely in the middle. It’s the build I’d choose when I want something versatile, especially in co-op.
My Quick Ranking
| Build | Damage | Survivability | Difficulty | Best For |
|---|---|---|---|---|
| Unstoppable Vanguard | High | Excellent | Low-Medium | New Players / Co-op |
| Axiom Disruptor | High | Good | Medium | Crowd Control |
| Crit-Focused Slayer | Extreme | Low | High | Experienced Players |
Final Thoughts
What makes the best Nephilim build in Crimson Moon isn’t one magic weapon or a single overpowered armor set. It’s the relationship between everything you’re carrying.
Gear establishes your foundation. Weapon Arts define your combat rhythm. Angels change your tactical options. Boons let you adapt during the hunt.
That combination is what gives the system its potential.
If you’re new, start with the Unstoppable Vanguard and learn how the combat flows. If you enjoy manipulating groups of enemies, build around the Axiom Disruptor. And if you live for perfect dodges, critical hits, and watching a boss health bar evaporate, the Crit-Focused Slayer is the obvious choice.
Personally, that’s what I find most exciting about Crimson Moon. The game doesn’t seem interested in telling me how my Nephilim is supposed to be played. It gives me the tools and lets me build the monster I want.
And in a gothic city like Gildenarch, that’s exactly how it should be.