Best Defensive Modules For Castle Walls Wanderburg: Ultimate Synergies and Build Guide
Wanderburg is the kind of game that makes you feel like someone gave a medieval fortress an engine, a mountain of weapons, and absolutely no regard for road safety. Developed by Randwerk and published by Sidekick Publishing, this unusual roguelike turns the traditional tower-defense formula into something far more aggressive. Instead of sitting behind static walls and waiting for enemies to arrive, you control a gigantic castle on wheels, smash through villages, fight rival fortresses, and constantly rebuild your machine of destruction as you travel across procedurally generated maps.
That freedom is fantastic, but it also creates a nasty trap: it is incredibly easy to become obsessed with damage. Bigger cannons? Obviously. More rockets? Absolutely. Another ridiculous weapon bolted onto the roof? Why not? The problem is that enemies eventually start hitting back hard enough to remind you that your castle actually has walls.
Once you reach dangerous areas such as the Desert Biome and start encountering heavier enemy fortresses, ranged attackers, and aggressive bosses, defensive modules stop being optional luxuries. They become the difference between completing a run and watching your beautifully engineered murder machine collapse into a pile of scrap.
After spending serious time thinking about how these modular fortresses should be built, I would argue that the best defensive setup in Wanderburg is not necessarily the one with the highest armor value. Good defense is about placement, recovery, crowd control, and creating space for your weapons to do their job.
Wanderburg Tower Unlock Guide: How to Get the Heavy Ballista Tower
Why Castle Wall Defense Matters in Wanderburg
Your castle walls are much more than a giant health bar. Every available section of your fortress is valuable real estate, and what you install there directly affects how the entire machine behaves.
Adding heavy modules can make your fortress tougher, but excessive weight can also affect mobility. A castle that survives everything but moves like a refrigerator with square wheels is not exactly ideal when a boss is trying to ram you from the side.
This is where the modular design becomes interesting. You can build a heavily armored front, protect vulnerable weapon systems in the center, create defensive space around magical components, or use knockback and smoke to prevent enemies from getting into advantageous positions.
The strongest builds usually follow one simple rule: don’t make every wall section do the same job.
A few defensive modules should absorb punishment, others should repair the structure, while specialized systems should manipulate enemy positioning or reduce incoming fire.
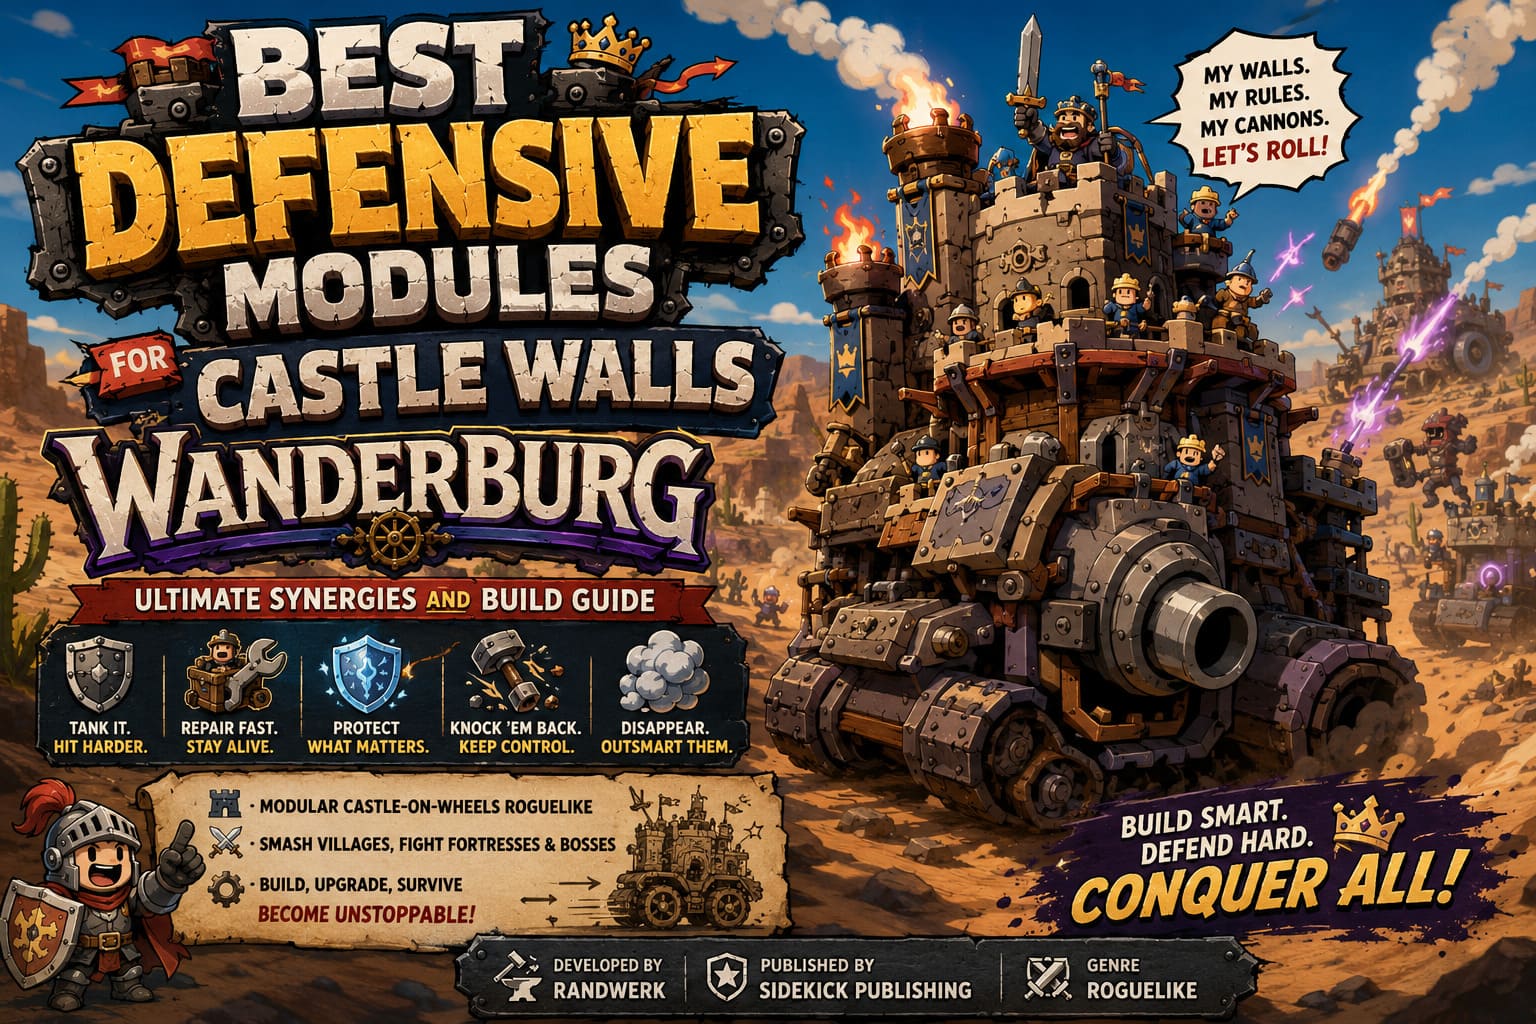
Best Defensive Wall Modules in Wanderburg
| Defensive Module | Main Purpose | Best Placement | Ideal Use |
|---|---|---|---|
| Reinforcement Plating | Damage reduction and durability | Front walls | Heavy combat |
| Heavy Iron Slabs | Massive physical protection | Front-facing sections | Ramming enemies |
| Arcane Shield Generator | Absorbs magical and ranged damage | Center or rear | Protecting fragile modules |
| Repair Crane | Restores damaged structures | Near critical modules | Boss encounters |
| Kinetic Piston | Knockback and crowd control | Sides and rear | Melee attackers |
| Smoke Screen Dispenser | Reduces enemy targeting effectiveness | Sides or rear | Ranged-heavy battles |
1. Reinforcement Plating: The Boring Upgrade You Will Love
There is nothing particularly glamorous about bolting extra metal onto a castle wall. It does not explode, summon anything, or launch enemies halfway across the map.
And yet, Reinforcement Plating is exactly the sort of upgrade that quietly saves runs.
The biggest advantage is straightforward: your fortress can take more punishment before critical systems start falling apart. That sounds obvious, but Wanderburg’s combat can become extremely chaotic, and a few seconds of additional structural integrity can give your weapons enough time to finish a dangerous target.
I especially like using reinforced sections toward the front of the fortress. Your forward-facing walls naturally receive a ridiculous amount of punishment when you are pushing toward enemies, villages, or rival fortresses.
If your strategy involves aggressive movement rather than sitting at maximum range, reinforcement becomes even more valuable.
My advice: don’t wait until your castle is already falling apart before investing in basic armor. Defensive infrastructure should be established early, especially if you are building a heavy fortress.
2. Heavy Iron Slabs for Aggressive Players
If Reinforcement Plating is the sensible defensive choice, Heavy Iron Slabs are the ‘I’m driving directly into that thing’ choice.
These are particularly effective for players who treat their rolling castle like a medieval battering ram. Wanderburg practically encourages this behavior, so there is something deeply satisfying about turning the front of your fortress into a gigantic armored wedge.
The downside is weight. A wall covered in heavy protection can make your castle less nimble, which becomes dangerous when dealing with enemies that rely on speed or flanking attacks.
I would prioritize these modules on the sections most likely to collide with enemy structures. You do not necessarily need to turn the entire fortress into a steel bunker.
A heavy front + more flexible sides is often a much better compromise.
3. Arcane Shield Generators: Protect the Expensive Stuff
Physical armor works beautifully until the enemy starts throwing magical attacks and long-range projectiles at you. That’s when an Arcane Shield Generator becomes one of the most valuable defensive modules available.
Instead of simply increasing your physical durability, the generator provides a protective barrier capable of absorbing incoming energy-based attacks. The shield can eventually be overwhelmed, but its ability to recover makes it particularly useful during battles where incoming damage comes in bursts.
The placement matters enormously.
I prefer putting the generator close to expensive or vulnerable components that I absolutely do not want exposed. Think of magical towers and other high-value systems as the VIPs of your castle. The shield’s job is to keep them alive long enough to keep doing damage.
There is also an important psychological advantage here: you can afford to be more aggressive when you know your fragile offensive modules have another defensive layer protecting them.
That extra confidence can make a surprisingly big difference during chaotic encounters.
4. Repair Cranes: The Difference Between Surviving and Exploding
Armor can absorb damage. Shields can block damage. But eventually, something is going to break.
That’s where Repair Cranes become incredibly valuable.
Long fights are where repair mechanics really shine. During a short encounter, you might destroy the enemy before your structural damage becomes important. Against a boss, though, the battle can turn into a war of attrition.
One weapon gets damaged. Then another. A wall section starts looking terrible. Your defenses are holding, but everything is slowly being chipped away.
A repair system changes that equation.
Try positioning repair infrastructure near the modules that matter most to your build rather than treating it as a random wall decoration. If your entire strategy depends on a particular cannon or magical weapon, keeping that component operational is usually more valuable than repairing some low-priority section of the fortress.
Why Repair Placement Matters
A poorly positioned repair module can technically do its job while contributing very little to your actual survival.
A well-positioned one can turn a brutal boss fight into a battle you simply refuse to lose.
For long encounters, I would take reliable repair capability over a small additional damage increase almost every time.
5. Kinetic Pistons and Repulsor Gears: Get Off My Castle
Sometimes the best defense is not blocking an attack.
Sometimes you simply tell the enemy to back the hell up.
Kinetic Pistons and Repulsor Gears are excellent examples of why defensive builds in Wanderburg should not be measured purely by armor numbers. Their value comes from controlling enemy positioning.
Fast melee attackers can become extremely annoying when they reach your weaker side or rear sections. Even if they are not individually dangerous, they can disrupt your positioning and force your primary weapons to fight targets they were never designed to handle.
Knockback tools create breathing room.
Put these systems on side or rear sections where they can respond to enemies trying to crowd your fortress. They are particularly useful for players who use slower, high-impact weapons that need time to rotate, aim, reload, and fire.
There’s nothing more frustrating than watching a massive cannon slowly turn toward a target while some tiny nuisance enemy is chewing through the opposite side of your castle.
Kinetic control prevents that situation.
6. Smoke Screen Dispensers for Ranged-Heavy Encounters
If you prefer avoiding damage instead of simply absorbing it, Smoke Screen Dispensers are worth serious consideration.
Smoke can interfere with enemy targeting and dramatically reduce the effectiveness of ranged attackers. It is especially useful when the battlefield becomes filled with projectiles and your fortress is struggling to find a safe angle.
This is not the kind of module you should necessarily activate constantly. Its real value comes from timing.
When the enemy begins unloading a ridiculous amount of ranged fire, triggering a smoke screen can buy you the seconds needed to reposition, reload, repair, or eliminate the biggest threat.
It is basically the defensive equivalent of hitting the panic button — except a smart player hits it before the panic starts.
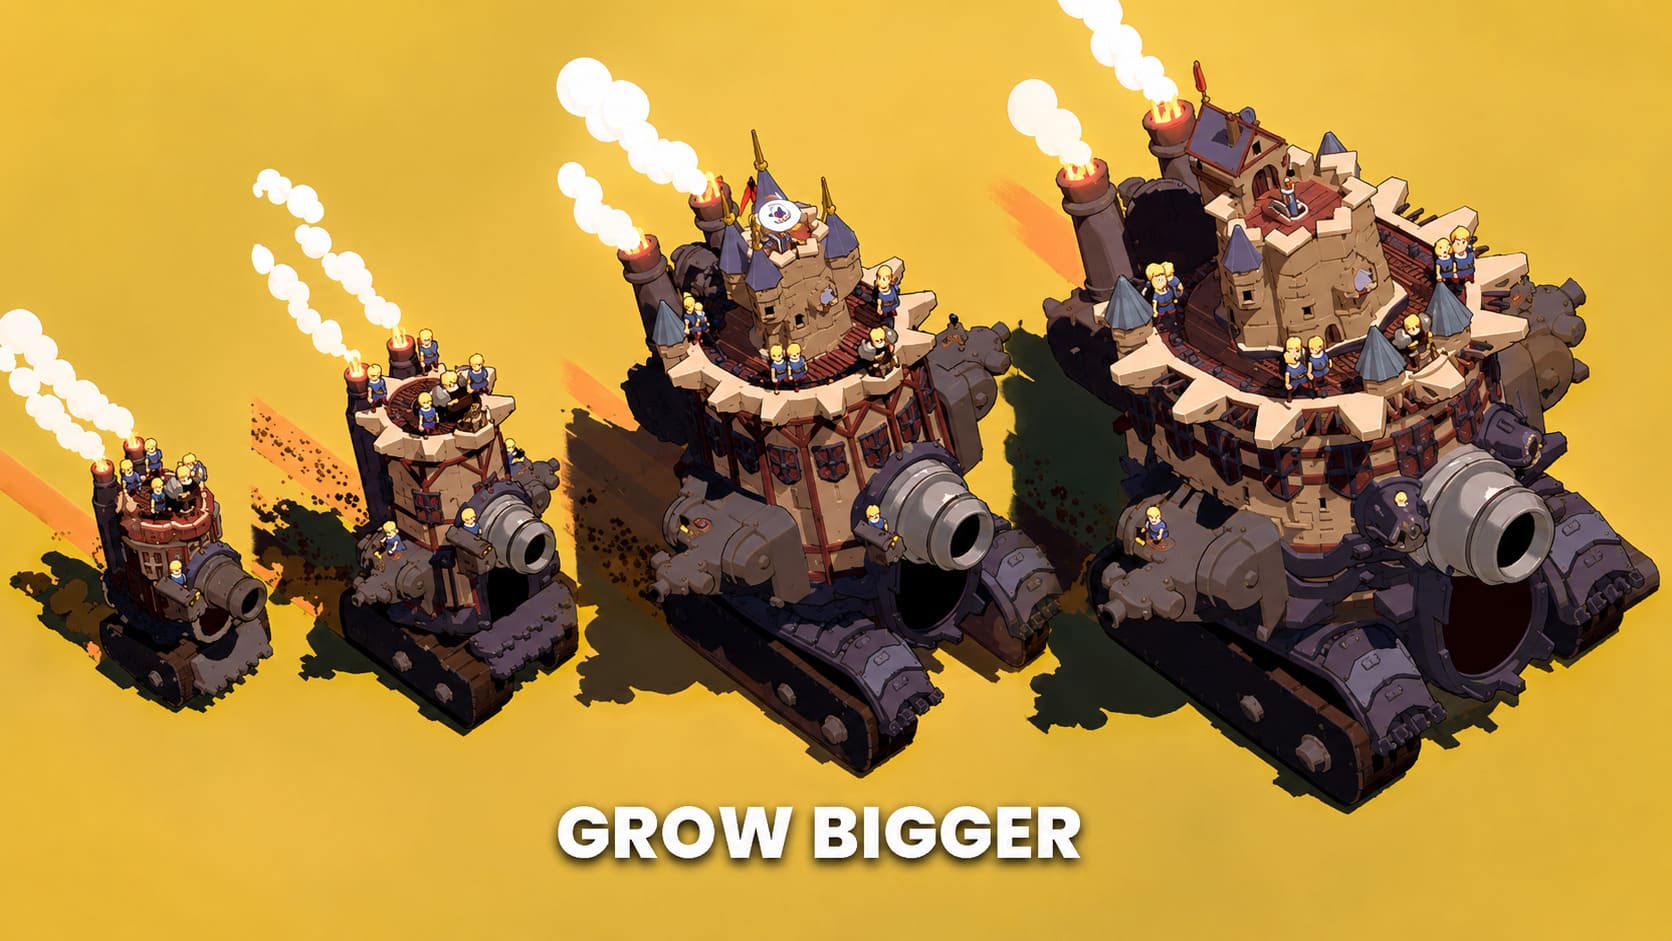
The Best Defensive Synergies
Individual defensive modules are useful, but Wanderburg becomes much more interesting when you start building combinations around them.
The Juggernaut Brawler Build
This is my favorite approach for players who enjoy playing aggressively.
Build a heavily protected front using Heavy Iron Slabs and Reinforcement Plating, then support those sections with Repair Cranes positioned close enough to keep your frontline operational.
Add Kinetic Pistons to the sides to prevent smaller enemies from swarming the fortress.
The result is a castle designed to move forward rather than retreat. You can crash into weaker structures, push aggressively toward targets, and survive collisions that would destroy a lighter build.
The weakness is obvious: mobility.
You are committing to a heavier fortress, so getting caught in a situation that requires rapid repositioning can become dangerous. Don’t build this setup if your preferred strategy is constantly circling enemies at long range.
The Arcane Fortress Build
The Arcane Fortress takes the opposite approach.
Instead of turning your castle into a battering ram, you build a protected central core around your most important offensive systems. Put an Arcane Shield Generator near your vulnerable magical components, then use Smoke Screen Dispensers to make ranged attacks less reliable.
Repair modules should sit close enough to the core to keep the important systems functioning during prolonged fights.
This setup is fantastic when your damage comes from fragile but powerful modules. You are essentially creating layers of protection: smoke interferes with targeting, the shield absorbs successful hits, and repairs recover whatever damage eventually gets through.
It is not nearly as satisfying as smashing into something at full speed, but it can be brutally effective.
Defensive Mistakes That Can Ruin a Run
One of the easiest mistakes in Wanderburg is putting too much defensive equipment in one location.
A gigantic armored front does not help much if enemies can simply attack your exposed rear.
Another common mistake is making the entire castle excessively heavy. Survivability means very little if you cannot reposition when the battlefield changes.
I would also avoid filling every available slot with purely defensive equipment. Your castle still needs enough offensive power to eliminate threats. Defense exists to keep your damage dealers alive, not replace them.
Keep an eye on these three factors:
- Weight: Too much armor can compromise mobility.
- Coverage: Protect critical modules from multiple attack angles.
- Recovery: Repairs become increasingly valuable during long battles.
How I Would Build a Defensive Castle
If I were starting a serious run and wanted a dependable all-round setup, I would not immediately chase some absurd min-maxed configuration.
I’d start with reinforced protection on the forward sections, add a small amount of heavy armor for collision-heavy encounters, and reserve central space for repair infrastructure.
Once ranged and magical threats become more common, I’d add an Arcane Shield Generator around my most expensive offensive modules. Kinetic Pistons would go toward the sides, while a Smoke Screen Dispenser would cover whichever direction is most exposed to ranged fire.
The important part is that the fortress should evolve with the threats you’re facing.
A defensive layout that destroys early-game enemies might become painfully slow in another biome. Likewise, a lightweight build that feels amazing against small attackers may get absolutely bullied by a giant boss fortress.
Final Verdict
Building a powerful castle in Wanderburg is not simply about attaching the biggest weapons you can find. The real fun comes from creating a fortress where every module has a purpose and the entire machine works together.
Reinforcement Plating and Heavy Iron Slabs are the foundation for players who like absorbing punishment. Arcane Shield Generators are fantastic for protecting fragile high-value systems, while Repair Cranes can completely change your chances during extended boss fights. Kinetic Pistons give aggressive enemies something to think about, and Smoke Screen Dispensers provide an alternative for players who would rather avoid incoming fire altogether.
Personally, I think the best Wanderburg defensive build is a hybrid. Give the front enough armor to survive collisions, keep repairs close to your critical modules, protect your most expensive weapons with shielding, and use crowd-control tools to stop enemies from exploiting your blind spots.
Because the ultimate goal is not to build a castle that simply refuses to die.
It’s to build a rolling fortress that gets hit, repairs itself, keeps moving, and then drives straight back into the enemy like nothing happened.