
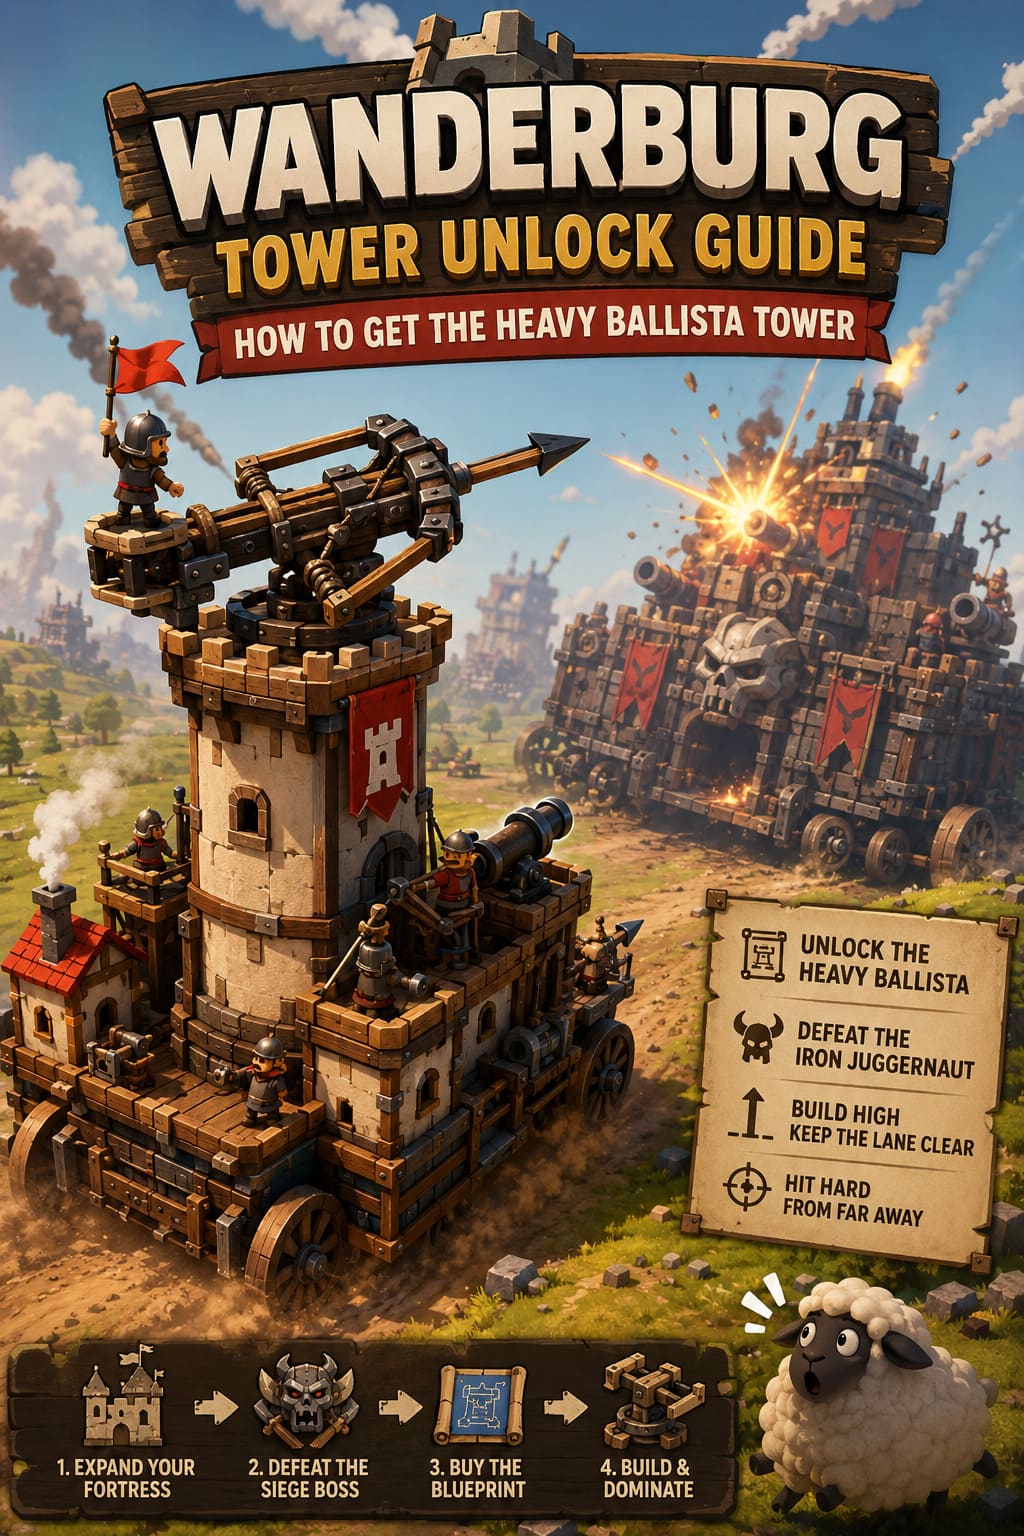
Wanderburg Tower Unlock Guide: How to Get the Heavy Ballista Tower
Wanderburg looks deceptively simple at first. You have a castle on wheels, a handful of weapons, some unfortunate villages in your path, and a battlefield that seems designed to turn your carefully built fortress into scrap metal. After spending enough time with the game, though, you quickly realize that building the biggest possible castle is not enough. You need the right weapons in the right places, and few upgrades feel as satisfying as getting your hands on the Heavy Ballista Tower.
This is one of those weapons that can completely change how a run feels. Basic cannons and crossbows are perfectly respectable when you’re dealing with smaller targets, but they start looking rather pathetic when an enormous armored fortress rolls onto the battlefield. The Heavy Ballista exists for exactly those moments. It hits hard, reaches ridiculously far, and turns heavily protected targets into a very personal problem for your enemies.
There is a catch: you don’t simply start Wanderburg with the Heavy Ballista available. You have to push through the game’s progression, earn access to higher-tier construction options, and invest in the appropriate unlock path. If you’re wondering how to get the Heavy Ballista Tower and how to make it worth the space it occupies on your moving fortress, this guide covers the entire process.
How to Fix Stuttering in Wanderburg on AMD Radeon GPUs Complete Performance Guide
Why the Heavy Ballista Tower Is Worth Unlocking
The first thing I noticed about the Heavy Ballista is that it doesn’t behave like another generic damage upgrade. It has a very specific job: destroy big, durable targets before they have enough time to dismantle your castle. That’s an important distinction because Wanderburg rewards specialized builds much more than simply stacking random weapons wherever you can fit them.
The Heavy Ballista delivers enormous single-target damage and is particularly useful against armored structures. Its long firing lane also gives you the ability to start damaging an enemy before many of your other weapons are even in a comfortable position. When the battlefield gets crowded with giant fortresses, that extra range can be the difference between controlling the fight and desperately repairing your castle while everything catches fire.
| Feature | Heavy Ballista Tower | Best Use |
|---|---|---|
| Damage | Very High | Armored Targets |
| Range | Extremely Long | Early Boss Damage |
| Fire Rate | Slow | High-Value Targets |
| Attack Style | Direct Projectile | Clear Sightlines |
| Weakness | Limited Crowd Control | Needs Supporting Weapons |
How to Unlock the Heavy Ballista Tower in Wanderburg
The important thing to understand is that unlocking the Heavy Ballista is tied to progression rather than simply finding enough gold during a single early run. Wanderburg gradually opens up more powerful construction options as your fortress becomes larger and you defeat stronger opponents.
1. Expand Your Moving Fortress
Your first priority is increasing the size and complexity of your castle. Early runs are naturally restrictive because you don’t have enough room to create elaborate weapon layouts. Once your fortress reaches the higher construction tiers, you gain access to larger platforms and more demanding modules.
Focus on surviving long enough to expand rather than trying to build a perfect siege machine immediately. Consume useful targets, collect resources, defeat smaller enemy structures, and keep your fortress moving. A surprisingly common mistake is spending too much time trying to optimize a tiny castle when the game is basically asking you to grow into a ridiculous rolling war machine.
Reaching a Tier 3-sized fortress footprint is an important progression milestone for accessing heavier siege equipment. If you’re still struggling to reach this point consistently, prioritize mobility and basic defensive coverage over expensive damage upgrades.
2. Defeat the Major Siege Boss
The next major step is taking down the large mechanized fortress encountered deeper into progression. Community players often refer to this type of encounter as the Iron Juggernaut or Rolling Bastion. Whatever name you use for it, the principle is the same: you’re facing a boss that is designed to punish players who stand still and trade damage.
This fight is where the Heavy Ballista starts making perfect sense. You aren’t fighting a small enemy that can be deleted with a few rapid-fire projectiles. You’re dealing with a huge armored target covered in weapons, and trying to brute-force the encounter while sitting directly in front of it is basically asking to become medieval roadkill.
Keep your fortress moving, use drifting turns to avoid incoming fire, and attack vulnerable sections whenever you have a clean angle. The objective is not simply to survive; you want to maintain enough control over the battlefield to consistently damage the boss while avoiding unnecessary structural losses.
Defeating this major encounter is the key progression step toward obtaining the Heavy Ballista blueprint. Once the blueprint becomes available, you can move on to the permanent unlock stage.
3. Buy the Blueprint Through Meta-Progression
Getting the blueprint does not necessarily mean the weapon will instantly appear in every run. Wanderburg’s progression system separates discovering powerful technology from actually adding it to your permanent equipment pool.
After returning to your hub or progression area, check the engineering and workshop upgrades. Look through the siege-related progression branches and locate the Heavy Ballista upgrade. You’ll need the appropriate meta-progression resources you’ve accumulated across your runs.
The basic process is straightforward:
- Return to the main progression or workshop area.
- Open the engineering or siege machinery upgrade path.
- Locate the Heavy Ballista blueprint.
- Spend the required progression resources.
- Start another run and look for the Heavy Ballista among your available modular upgrades.
Once unlocked, the weapon becomes part of your broader build possibilities rather than being a one-time reward. That’s when the fun really starts, because now you can deliberately design your fortress around it.
Heavy Ballista Tower Mechanics Explained
The Heavy Ballista isn’t simply a bigger crossbow. Its entire design encourages a different approach to combat. The projectile travels in a relatively direct line, giving the weapon tremendous effective range but also making line of sight incredibly important.
This is where inexperienced players can get frustrated. They’ll place the ballista somewhere that looks impressive, only to discover that half of its shots are blocked by their own construction. A weapon with enormous theoretical range is worthless if a wall, platform, or awkward section of your fortress keeps getting between the projectile and its target.
Think of the Heavy Ballista like a giant medieval sniper rifle. You aren’t trying to fire constantly. You’re waiting for the right target, taking the shot, and making sure that every projectile actually matters.
The Best Way to Position the Heavy Ballista
Build It High
An elevated position is generally the safest starting point for your Heavy Ballista. A higher platform gives the projectile a cleaner path and reduces the chances of terrain, smaller structures, or other modules interfering with the weapon’s firing lane.
Don’t bury the ballista in the middle of your castle just because the available space looks convenient. Give it room. The weapon is expensive in terms of construction space, so wasting its firing arc is one of the dumbest ways to weaken an otherwise strong build.
Keep the Firing Lane Clear
When you’re constructing your fortress, mentally draw a line from the ballista toward the direction you expect enemies to approach from. Anything sitting inside that lane deserves a second thought.
Your decorative construction might look cool, but the enemy doesn’t care how beautiful your castle is. If your own tower blocks a boss-killing shot, that fancy piece of architecture suddenly becomes extremely annoying.
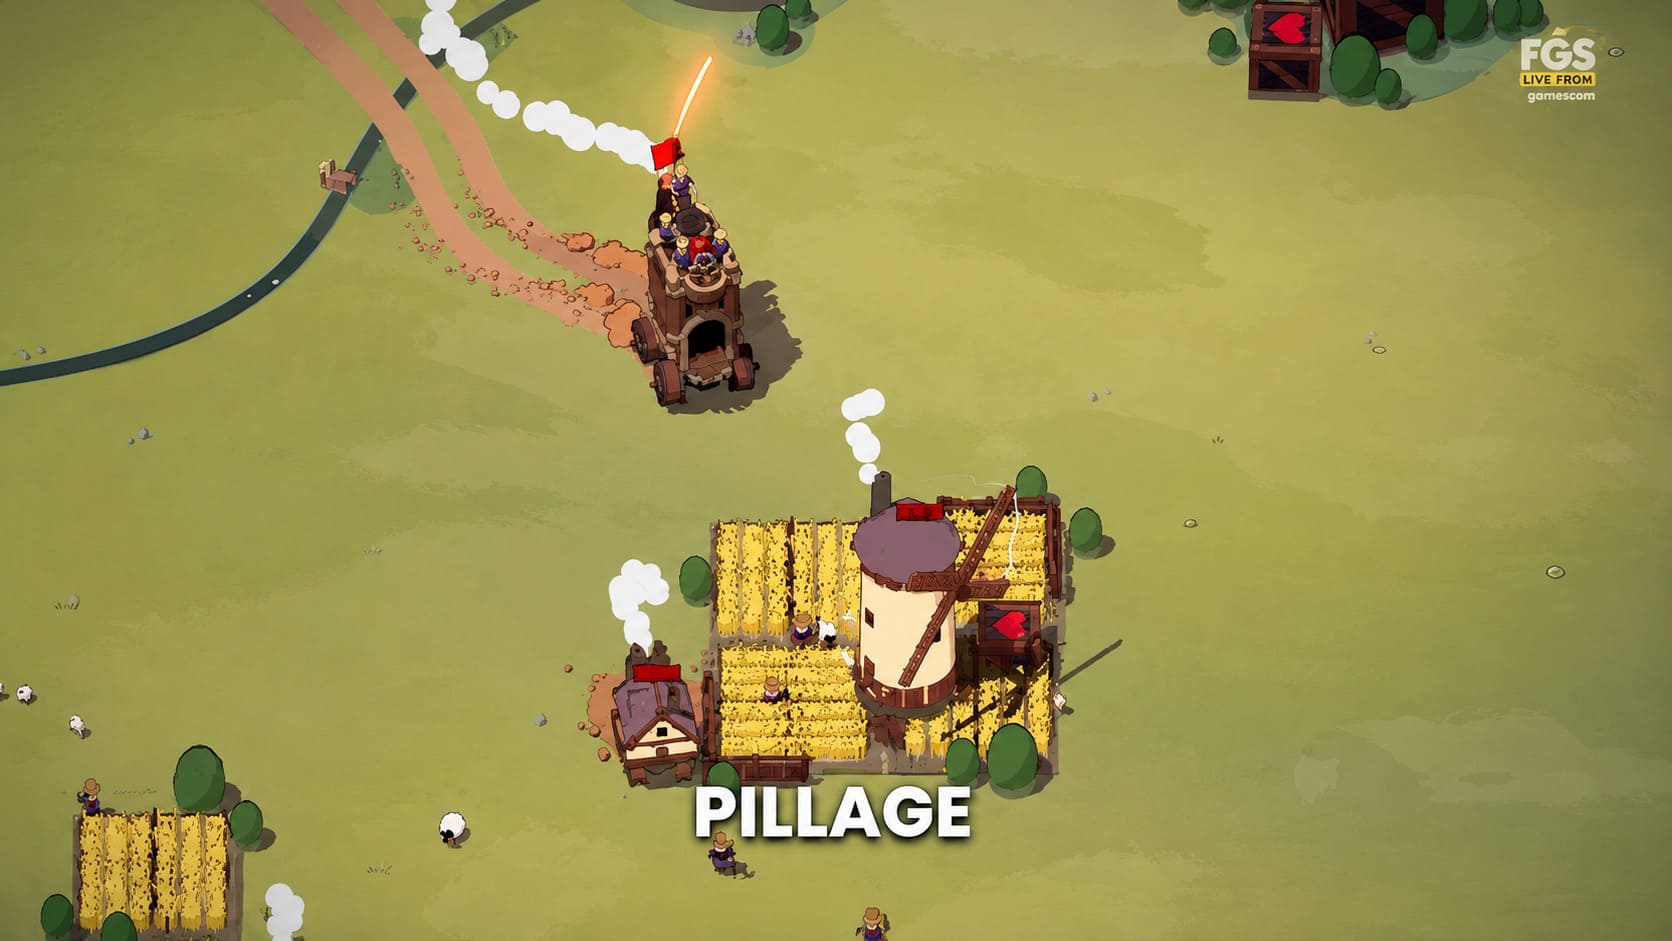
Place It Near the Front or Flank
Front-facing placements can work extremely well if you are comfortable controlling the direction of your fortress. Flank positions are also useful because they give you more flexibility when circling large enemy structures.
I personally prefer positioning the Heavy Ballista where I can easily rotate the entire fortress and bring the target into its firing lane. This turns your movement into part of the weapon’s aiming system instead of treating driving and shooting as two separate tasks.
What Weapons Should Support the Heavy Ballista?
The biggest mistake you can make is building an entire fortress around slow, heavy weapons. The Heavy Ballista is fantastic at deleting priority targets, but it is terrible at dealing with a swarm of annoying little enemies rushing toward your wheels and structures.
You need cheaper and faster weapons covering its weaknesses. Basic crossbows, rapid-fire cannons, magical towers, explosives, and other crowd-control options can keep smaller enemies away while the ballista concentrates on the giant target that actually threatens the run.
A good setup should feel like a team rather than a collection of identical weapons. Fast weapons handle the trash; the Heavy Ballista handles the monsters.
How to Use the Heavy Ballista During Boss Fights
Boss fights are where this tower earns its enormous footprint. Don’t waste shots on insignificant targets unless there is absolutely nothing else worth hitting. Your priority should normally be the largest enemy structure, its exposed weak points, or whatever component is causing the greatest immediate threat to your fortress.
Because the reload is slow, missing is painful. You should be actively steering your fortress during the reload cycle so that the next shot has a clean angle. Fire, reposition, dodge incoming attacks, and prepare the next firing lane rather than sitting still waiting for the cooldown.
One particularly effective habit is to use drifting turns. Swing the fortress into alignment, let the ballista fire, then continue rotating or moving away while the weapon reloads. Your secondary weapons can continue dealing damage while you prepare another heavy projectile.
Common Heavy Ballista Mistakes
- Putting it behind too many structures: Range means nothing if your own castle blocks the shot.
- Ignoring small enemies: The ballista should not be responsible for crowd control.
- Standing still: A powerful weapon doesn’t make your fortress invincible.
- Firing at low-value targets: Save the slow reload for something worth destroying.
- Building without considering movement: Your fortress is constantly moving, so your weapon layout must work while turning.
Is the Heavy Ballista Worth the Investment?
Absolutely — especially once you’re reaching the point where enemy fortresses have enough armor to shrug off your early-game weapons. The Heavy Ballista isn’t a universal solution and it won’t magically fix a bad build, but when used correctly, it gives you something that many other weapons struggle to provide: reliable long-range pressure against enormous armored targets.
The real strength comes from combining it with smart fortress design. Give it elevation, protect it from unnecessary damage, maintain a clear firing lane, and surround it with weapons that can handle enemies trying to rush your position. Suddenly, that slow reload doesn’t feel like such a big drawback anymore.
Final Thoughts
The Heavy Ballista Tower is one of those Wanderburg upgrades that makes you rethink how you build your entire moving castle. Instead of simply adding another weapon to the pile, you’re creating a dedicated siege platform capable of punching through targets that would otherwise take forever to destroy.
If you’re still working toward the unlock, don’t rush the process. Expand your fortress, learn the movement system, collect your progression resources, and prepare for the major siege encounter. Once the Heavy Ballista becomes available, take some time to experiment with its placement rather than immediately stuffing it wherever you have an empty construction slot.
Wanderburg is at its best when your fortress starts feeling like an actual machine you designed rather than a random pile of weapons. The Heavy Ballista fits that philosophy perfectly. Get the blueprint, build a proper firing platform, learn to drift your castle into position, and start turning enemy fortresses into very expensive piles of scrap.


