Mandate Order Fortress Guide: How to Build the Military Stronghold
There is something brutally satisfying about watching an enemy army smash itself against a fortress you designed from the ground up. In Mandate Order, that feeling is even better because your city is not some peaceful management screen that magically disappears when the fighting starts. Your roads, warehouses, workshops, houses, farms, walls, and military districts are all part of the same battlefield.
That makes fortress construction one of the most important skills to master. A settlement that looks beautiful but has terrible logistics is basically a loot box waiting for an enemy warlord to open it. I’ve learned the hard way in strategy games that the best defensive position isn’t necessarily the biggest wall you can build. It’s a settlement where every road, building, choke point, and military unit has a job.
If you want your city in Mandate Order to survive serious invasions rather than fold the moment the first gate gets smashed, you need to think like a commander. Build for production, movement, reinforcement, retreat, and finally that ugly last stand when everything else goes wrong.
1. Read the Terrain Before You Build Anything
The biggest mistake you can make when starting a new settlement is immediately dropping buildings wherever there happens to be empty space. Mandate Order’s freeform construction system gives you considerably more freedom than a traditional grid-based city builder, and you should take full advantage of it.
Before laying down residential districts or expensive defensive structures, spend some time studying the terrain. Hills, rivers, cliffs, narrow passages, and elevated ground can become components of your fortress without costing you a single piece of stone.
High ground is especially valuable for defensive troops. If your ranged units can fire down from elevated positions, attacking formations become much easier targets. Enemy infantry attempting to cross open ground toward your walls is exactly the sort of situation you want to create.
Natural barriers are just as important. A deep river or impassable cliff can effectively replace a section of wall. Why waste resources constructing a massive defensive line across terrain the enemy cannot cross anyway?
My rule is simple: never build a wall where the terrain can do the job for you.
| Terrain Feature | Best Use | Defensive Value |
|---|---|---|
| High Ground | Archer Positions | Excellent |
| Rivers | Natural Barriers | Excellent |
| Cliffs | Flank Protection | Excellent |
| Narrow Passes | Choke Points | Very High |
| Open Plains | Farming & Expansion | Low |
2. Build a Fortress in Layers, Not One Giant Box
One giant wall surrounding your entire settlement might look impressive, but from a military perspective it can be a nightmare. If the enemy breaks through one gate, suddenly your entire economy is exposed.
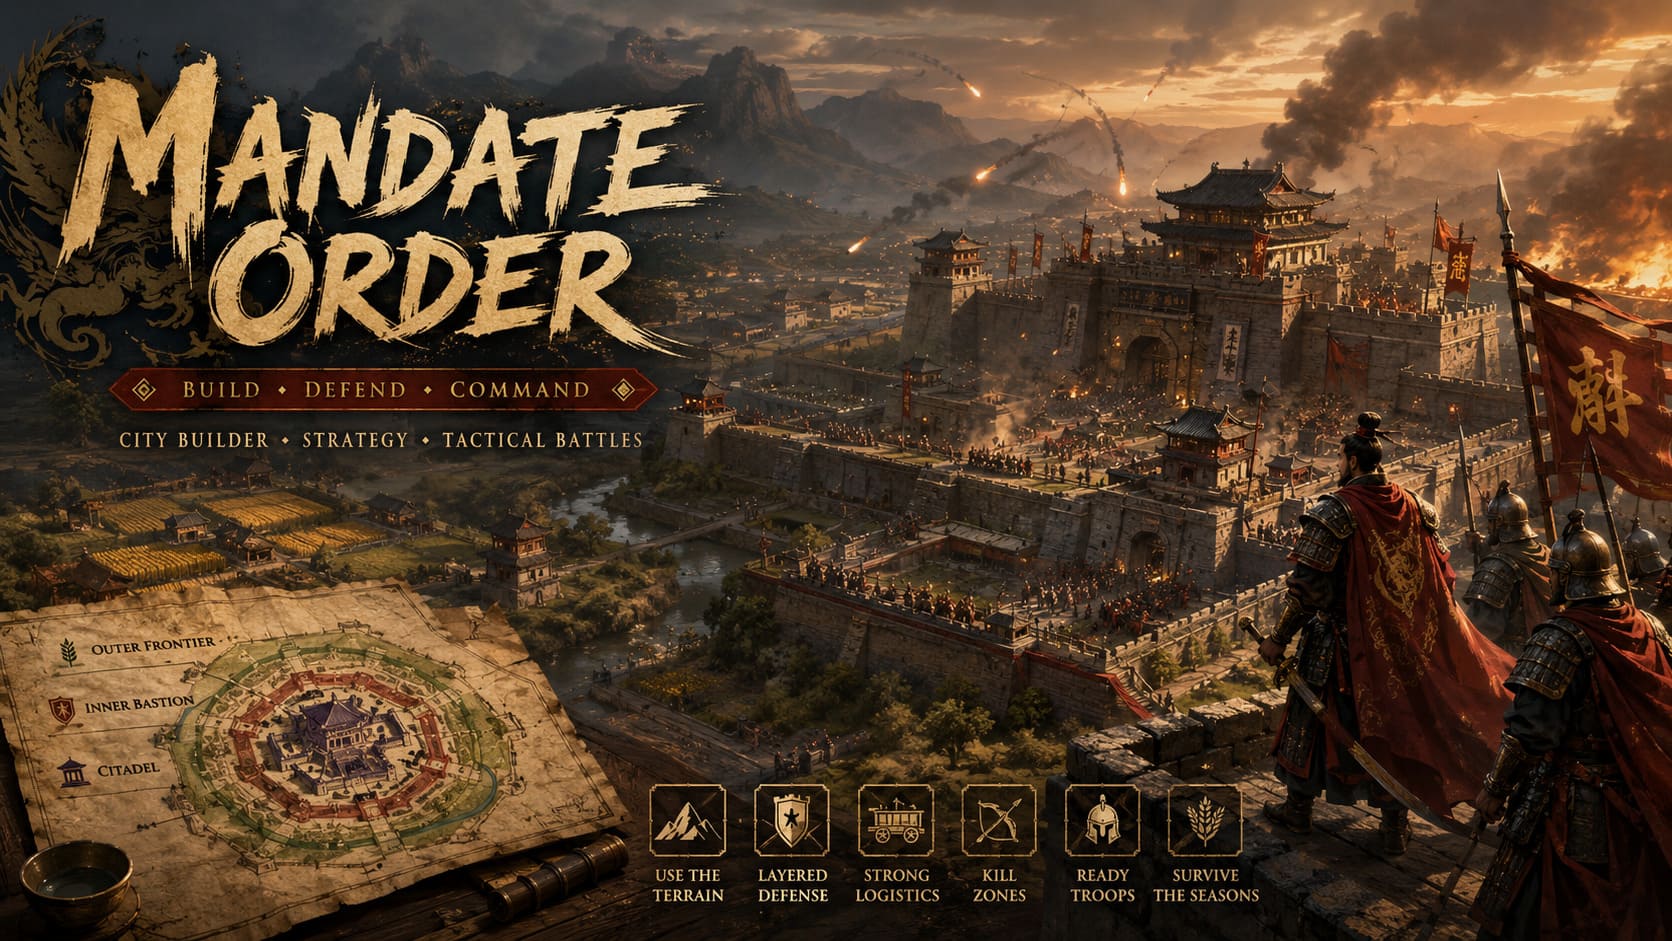
A much stronger approach is to divide the settlement into three defensive layers. Each zone has a different purpose, and each one gives you another opportunity to slow down an invading army.
The Outer Frontier
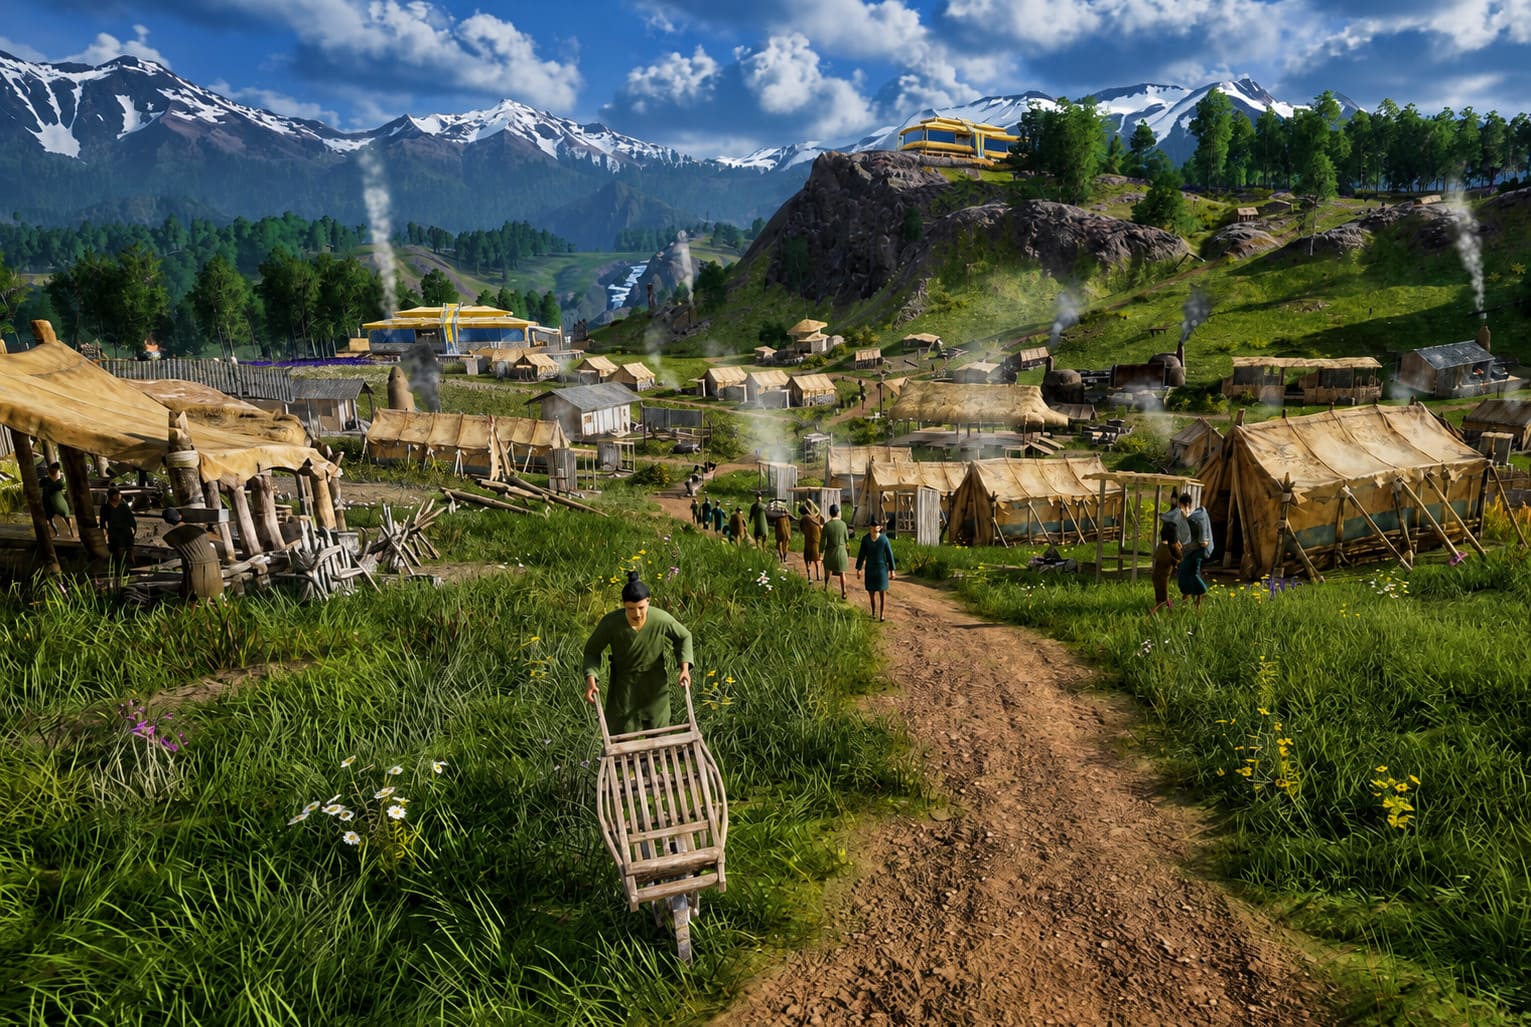
This is where you place vulnerable economic infrastructure such as agricultural fields, woodcutting operations, and early extraction sites. These buildings don’t necessarily need to sit behind your strongest walls.
Yes, that means accepting the possibility that an enemy army could torch or pillage some of them. That’s not necessarily a disaster. Trying to protect every single farm with expensive fortifications can drain resources that would be much better spent protecting the actual heart of your settlement.
The Inner Bastion
This is where things get serious. Your weapon workshops, armories, transport infrastructure, and major granaries should be concentrated here. Protect this district with substantial walls and carefully controlled entrances.
The Inner Bastion is essentially your industrial engine. If the outer farms are damaged but your workshops are still running, you can rebuild. If your military production collapses, you’re in much deeper trouble.
The Citadel
The final layer should contain your most important administrative structures, elite housing, and high-value resources. Think of it as the place you absolutely do not want to lose.
The Citadel should also be designed with the assumption that the enemy will reach it eventually. Give your defenders narrow approaches, controlled entrances, and plenty of room to establish a final defensive line.
There is no shame in planning for failure. In fact, a good fortress is designed around the idea that the first defensive line might eventually fall.
3. Your Roads Are Military Infrastructure
This is one of those things that can look completely harmless until a siege begins. You can have enough weapons, soldiers, food, and ammunition, but if your workers and transport units spend half the battle wandering through a terrible road network, those resources might as well not exist.
Keep the main roads between your industrial district and defensive lines wide, direct, and free of unnecessary intersections. Your transport crews need to move quickly between workshops, storage areas, supply depots, and the walls.
I strongly recommend creating dedicated military arteries rather than forcing supply traffic through residential neighborhoods. When an attack begins, the last thing you want is a convoy of supplies getting trapped behind civilian traffic while an enemy army is already climbing your walls.
Small supply depots positioned close to important gates can make an enormous difference during a prolonged siege. Your central workshops should feed these forward positions continuously so frontline troops aren’t relying on a warehouse located on the other side of town.
4. Stop Building Boring Walls
There is a huge difference between a wall that merely looks defensive and a wall that actually creates a killing zone.
Long, completely straight walls are easy to understand, but they don’t always give your defenders the best firing opportunities. Angular walls, protruding bastions, and controlled indentations can create much nastier situations for attacking troops.
One of my favorite concepts is the basic crossfire trap. Instead of allowing enemies to approach a gate from one direction, design the surrounding fortifications so several defensive positions can attack the same area.
A U-shaped defensive section around a gate can force attackers into a confined space while archers or defensive weapons fire from multiple directions. Suddenly that expensive enemy assault force isn’t attacking your wall anymore. It’s standing inside your personal meat grinder.
Saw-tooth wall patterns can serve a similar purpose. The important thing is not making the wall complicated for the sake of complexity. Every angle should exist because it improves your defenders’ firing positions or restricts enemy movement.
5. Keep Soldiers Close to Their Assignments
Your defensive troops shouldn’t live halfway across the settlement from the wall they’re supposed to protect.
Use the household registration system and the traditional Wu organizational structure to keep military populations positioned intelligently. Barracks and military housing should be close enough to important gates and defensive sectors that soldiers can respond quickly when an attack warning arrives.
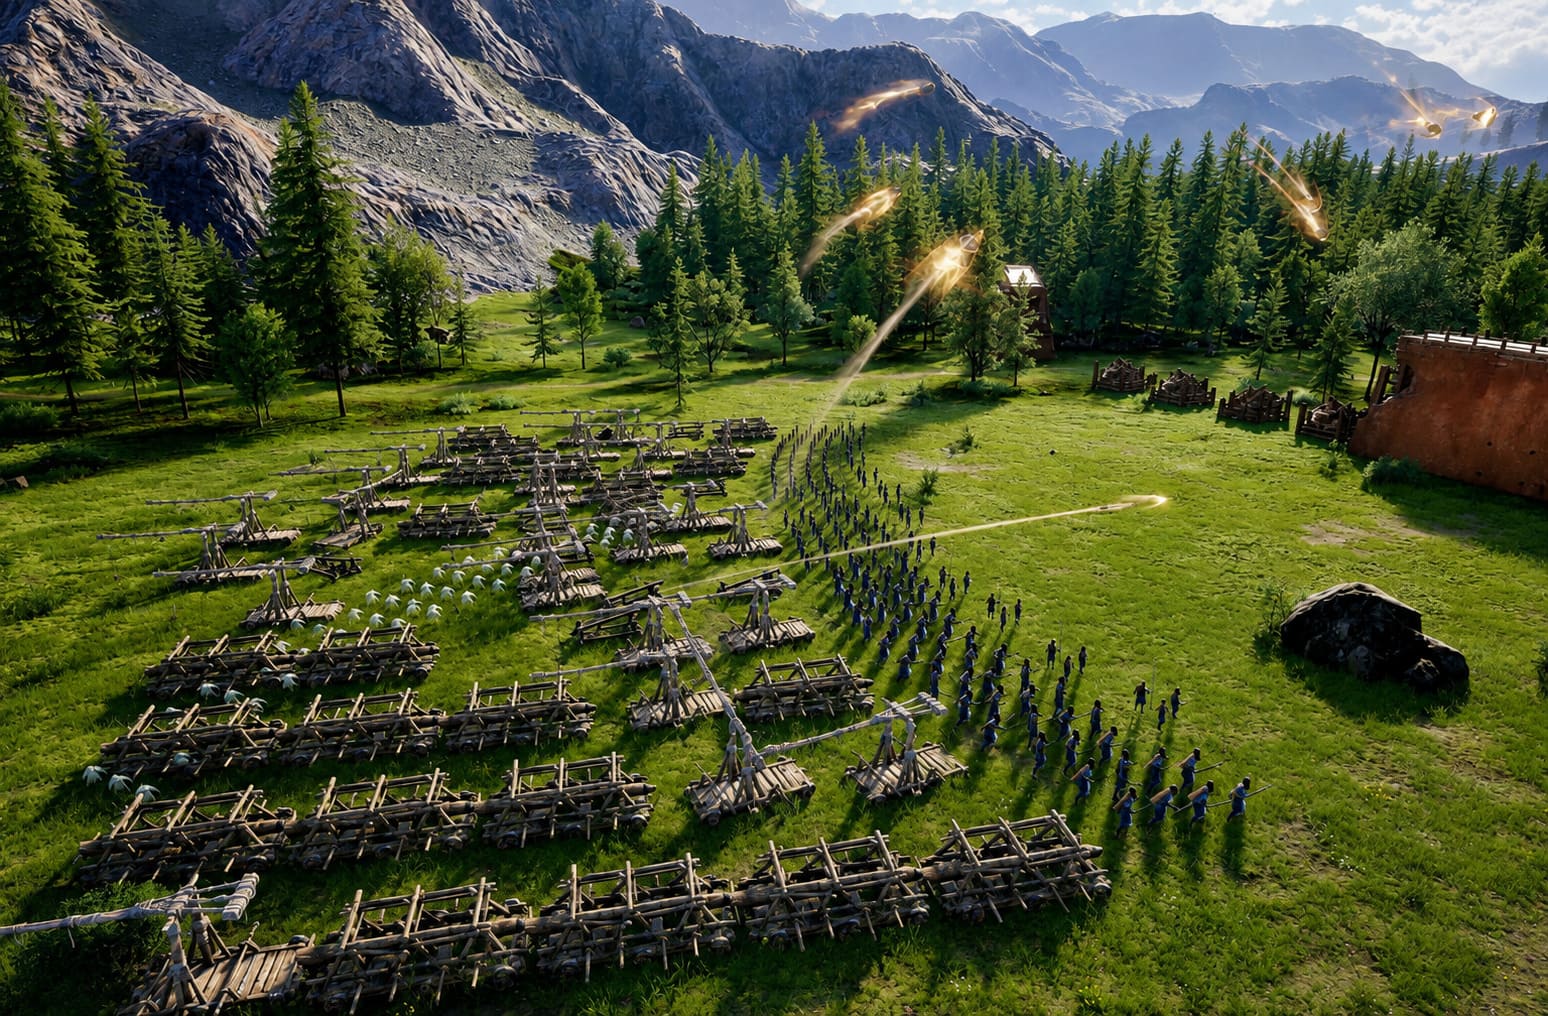
This is especially important during sudden raids. A fortress can have an excellent defensive layout and still get wrecked if its defenders need several minutes just to reach the threatened section.
6. Retainers Can Completely Change Your Fortress
The Retainer System is another part of Mandate Order that deserves far more attention than it initially gets. Different schools of thought can provide bonuses that dramatically change how efficiently your settlement operates.
If you’re having problems keeping defensive structures repaired or constructing fortifications quickly enough, pay close attention to Mohist and Legalist retainers. Mohist philosophy has a particularly strong association with practical engineering, making this type of bonus extremely useful for a defensive settlement.
Other retainers can improve military performance, logistics, or the effectiveness of your troops. Don’t simply recruit based on whichever character looks interesting. Look at your current bottleneck.
Are walls taking forever to construct? Find bonuses that improve construction. Are your troops struggling to hold the line? Look for military-oriented advantages. Is your supply chain collapsing? Fix logistics first.
The best retainer is the one solving the problem that is currently killing your economy or army.
7. Never Ignore the Seasons
Enemies aren’t the only thing trying to kill your settlement. Winter can be just as dangerous as an army if you’ve failed to prepare.
A fortress that survives three major battles but runs out of food during winter is still a failed fortress. Your agricultural economy needs to produce enough surplus during productive seasons to carry the settlement through difficult periods.
Store food in secure, centrally located granaries rather than scattering your entire reserve across vulnerable production zones. Your most important reserves should be protected by the Inner Bastion or Citadel whenever possible.
Seasonal planning should influence your military strategy too. If you know a difficult period is approaching, don’t spend every last resource expanding your city. Build reserves, reinforce critical defenses, repair damaged structures, and make sure your logistics network can keep functioning.
8. Use the Worship System to Stack Additional Advantages
The Worship system provides another strategic layer that is easy to overlook when you’re busy building walls and producing soldiers.
Jade can be harvested and refined for religious infrastructure, including a sacred Sanctum. Once established, the Worship system gives you access to rituals such as the Spring Sacrifice, which can improve your kingdom’s favor and provide useful effects connected to production and random events.
Don’t treat this as a decorative side mechanic. In a long campaign, small bonuses can compound into a serious advantage. Anything that reduces the frequency or impact of disasters while improving economic conditions is valuable, particularly when your fortress is already operating near its resource limits.
9. Master Line-Drawing Formations Before Your First Major Siege
When the battle finally begins, this is where all that preparation either pays off or gets exposed.
Mandate Order’s Line-Drawing Formation system gives you a much more natural way to deploy troops than constantly clicking individual movement commands. You can use the right mouse button to draw a path or formation line, allowing selected units to organize themselves along the route.
Use this aggressively during defensive battles.
- Shield infantry: Place them around gates and breached sections where they can physically block enemy advances.
- Archers: Spread them along the ramparts to maximize firing coverage and line of sight.
- Polearms and elite infantry: Keep them ready to counter enemies that successfully reach the walls or gates.
- Reserve troops: Position them behind threatened sections rather than committing every unit to the first defensive line.
That final point is huge. Don’t throw your entire army onto the wall just because the enemy is attacking it. Keep a reserve. A clever attacker will look for the weakest section, and your reserve force is what allows you to plug that hole before it becomes a catastrophe.
10. Build for the Siege You Hope Never Happens
The strongest fortress isn’t necessarily the one with the tallest walls. It’s the settlement where terrain, logistics, production, military housing, defensive geometry, and fallback positions all work together.
Think about what happens five minutes after the siege starts. Where does ammunition come from? How quickly can soldiers reach the gate? What happens if the eastern wall falls? Can your workshops continue operating? Where will civilians retreat? How long can your granaries sustain the population?
If you can answer those questions before the enemy arrives, you’re already ahead of most commanders.
Does Mandate Order Have Multiplayer Co-op? Full 2026 Gameplay Guide
Mandate Order Fortress Checklist
- Study the terrain before placing your first major buildings.
- Use rivers, cliffs, elevation, and narrow passes as free defensive infrastructure.
- Separate your settlement into an Outer Frontier, Inner Bastion, and Citadel.
- Keep workshops, armories, and important granaries behind your strongest defensive layer.
- Build dedicated roads connecting industrial areas with frontline defenses.
- Place forward supply depots near major gates and vulnerable wall sections.
- Use angular walls and bastions to create overlapping defensive fire.
- Keep soldiers and military households close to the sectors they defend.
- Choose retainers based on your settlement’s biggest current weakness.
- Build large food reserves before winter and prolonged sieges.
- Use the Sanctum and Spring Sacrifice to take advantage of the Worship system.
- Keep reserve troops behind the frontline instead of committing everything immediately.
Mandate Order Steam Deck Best Settings: How to Get 60FPS or Smooth Performance
Final Thoughts
Mandate Order rewards players who think beyond individual buildings. Your fortress is a living machine. Farms feed workers, workers keep industry running, industry produces military equipment, roads move those supplies, walls create defensive positions, and your army buys the time needed for the whole system to continue functioning.
I’ve always preferred strategy games where a well-designed settlement can win a battle before the first arrow is fired, and Mandate Order has plenty of room for that kind of planning. A smart choke point can save hundreds of resources. A properly placed road can shave critical time off reinforcement runs. A second defensive layer can turn a devastating breach into a manageable setback.
Don’t chase the biggest possible city footprint just because you can. Build a fortress that has a purpose. Make the enemy walk where you want them to walk. Make them attack the walls you want them to attack. Make every approach dangerous, every supply route efficient, and every fallback position defensible.
When the warlord finally arrives with a massive army outside your gates, you shouldn’t be wondering whether your settlement can survive. You should be watching the enemy advance and thinking, “Yeah, good luck getting through that.”