Onimusha Way of the Sword Locked Areas Guide: How to Unlock All Secret Paths in Kyoto
I’ve played a lot of action games that throw locked doors at you just to make the map feel bigger than it really is. Usually, you walk away, find a key ten minutes later, and wonder why the developers bothered.
Onimusha: Way of the Sword handles this differently.
During my time exploring its version of Edo-period Kyoto, I found myself repeatedly returning to places I had already visited. A sealed gate here. A suspicious-looking wall there. A courtyard that seemed completely pointless until I finally acquired the right ability. The game doesn’t always tell you exactly what you’re missing, and honestly, I think that’s part of what makes its exploration work.
The important thing is knowing which locked areas are worth remembering and which ones can safely wait until later.
If you’re trying to clear Kyoto thoroughly, collect the best upgrades, or prepare Musashi for the game’s tougher difficulties, this guide covers the major locked paths and puzzles I encountered, including the Nijo-jo underground mask puzzle, the Arashiyama Bamboo Grove route, and the corrupted Genma Rifts blocking access to later districts.
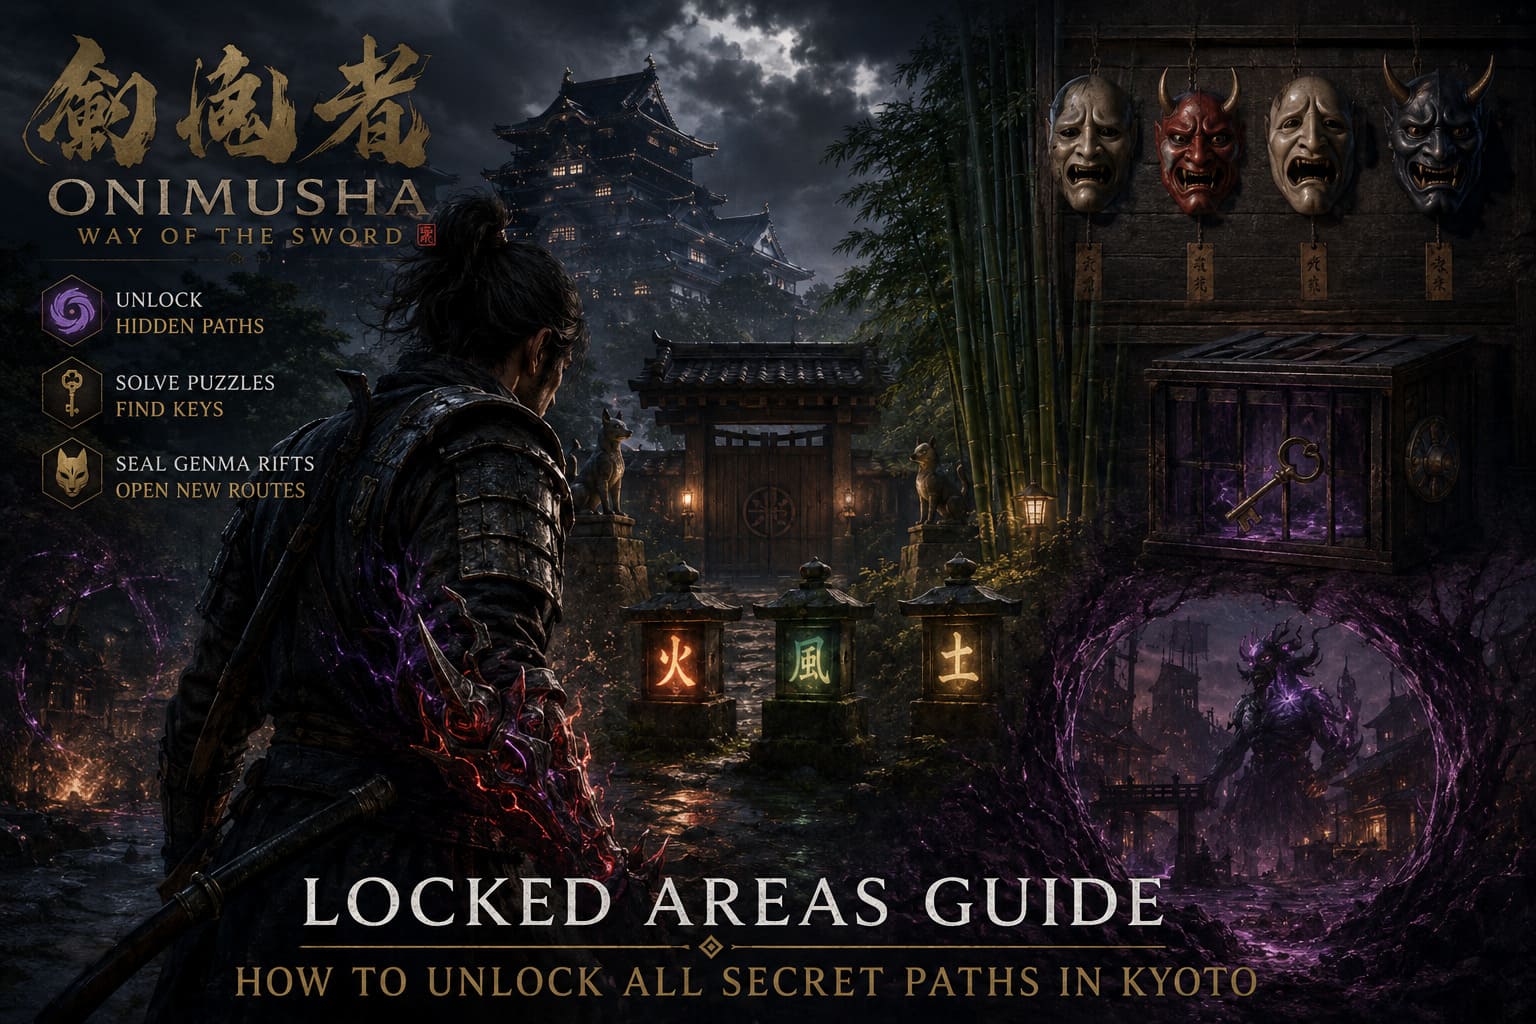
Quick Guide to Kyoto’s Locked Areas
| Locked Area | What You Need | Main Reward |
|---|---|---|
| Nijo-jo Underground Laboratory | Mask Puzzle + Mask Key | Access to deeper laboratory |
| Arashiyama Bamboo Grove | Old Temple Key + Oni Vision | Permanent health upgrade |
| Northern Kyoto Route | Two Genma Rifts Sealed | Access to upper districts |
| Hidden Kyoto Paths | Oni Vision | Upgrade materials and collectibles |
One thing I’d recommend immediately: don’t assume a locked door means you need a key.
That sounds obvious, but Onimusha constantly mixes traditional keys with supernatural barriers and environmental puzzles. I wasted more time than I’d like to admit checking doors when the actual solution was standing somewhere nearby.
The Three Types of Locked Areas in Onimusha: Way of the Sword
After spending enough time exploring the game’s different districts, I started thinking of its progression gates in three categories.
Genma Rifts and Miasma Barriers
These are the supernatural locks.
You’ll recognize them by the swirling corruption and purple-black Malice surrounding an area. Physical attacks won’t solve these. Instead, you generally need to enter the affected zone, deal with the Genma occupying it, and use Musashi’s Oni Gauntlet to interact with the relevant supernatural mechanics.
Some barriers are effectively combat challenges disguised as exploration obstacles.
That’s actually one of my favorite parts of the system. Rather than simply finding a key on a corpse and opening a door, the game makes you earn access by surviving the area first.
Physical Keys
These work exactly as you’d expect.
A door requires an item, and that item is somewhere else in the level or tied to a quest. The trick is that some keys aren’t obtained immediately when you first encounter the locked location.
The Old Temple Key and Mask Key are two particularly important examples.
Environmental Puzzles
These are the ones that can make you question whether you’ve missed something.
Certain walls, symbols, mechanisms and supernatural objects only become meaningful after obtaining the correct ability. If you’ve played older Onimusha games, the design philosophy will feel familiar.
And if you’re coming from modern open-world games where every objective is marked with a giant icon, you may find this surprisingly refreshing.
Oni Vision Is Your Best Friend for Hidden Paths
If I could give one exploration tip to someone starting the game, it would be this:
Invest in Oni Vision early.
Specifically, the Oni Vision: Treasures skill should be high on your priority list if you’re interested in completion rather than simply rushing through the story.
There are several moments where the normal environment gives you almost no indication that something is hidden nearby. A completely ordinary wall can conceal a route, while an empty-looking courtyard can contain an interaction that only becomes visible through Oni Vision.
Once activated, the ability lets Musashi see things hidden behind the normal layer of the environment.
That includes:
- Hidden Oni runes
- Concealed passages
- Illusory doors
- Breakable environmental sections
- Treasure locations
- Upgrade materials
I found it particularly useful whenever the map suggested that I hadn’t fully explored an area but couldn’t find another entrance.
If the map says there should be something there, believe the map before you believe the wall.
That’s a surprisingly useful rule in this game.
Nijo-jo Underground Laboratory Mask Puzzle
This is probably the first locked-area puzzle where I genuinely had to stop and look around instead of simply following the objective marker.
During What Lurks in the Shadows, Musashi enters the Nijo-jo Castle area while pursuing Hinagiku and the rogue monk Dokyo. Eventually, you’ll reach an underground laboratory where your progress stops at a rather strange locked mechanism.
The room contains a cage with an important key item inside.
Above it are four hanging masks.
Naturally, my first instinct was to interact with them and figure out the pattern through trial and error. That works, but it’s not exactly the smart way to approach the puzzle.
The actual clue is in the room itself.
Turn around and inspect the rear wall. There’s a diagram that gives you the correct sequence based on the expressions displayed by the masks.
The Mask Sequence
From left to right, activate them in this order:
- Second mask
- Far-left mask
- Far-right mask
- Remaining middle-right mask
If you’ve already triggered the wrong combination, don’t panic. The mechanism resets, allowing you to try again.
Once the sequence is correct, the cage opens and you’ll receive the Mask Key.
Take it back toward the central section containing the Spirit Mirror. From there, the newly accessible doors lead further into Dokyo’s underground experimentation area.
My Take on the Puzzle
I actually prefer puzzles like this to the “find three glowing switches” design that has become common in modern action games.
The clue isn’t particularly well hidden. The game expects you to look around the room rather than stare at the objective marker.
That distinction matters.
Arashiyama Bamboo Grove Secret Path
The Bamboo Grove in Arashiyama is one of those locations that practically screams, come back here later.
You’ll eventually encounter a chained gate surrounded by stone fox statues. There’s no obvious way through it during your initial exploration, which makes it easy to assume the route isn’t important.
It is.
The path eventually leads to a worthwhile treasure and a permanent health upgrade, so completionists definitely shouldn’t forget about it.
The first requirement is story progression.
You need to complete the Kiyomizu-dera section and return to the Eastern Kyoto hub. Once the relevant side objective, Patching Up the Pouch, becomes available, speak with Okuni near the temple grounds.
She’ll eventually give Musashi the Old Temple Key.
But here’s where the game gets slightly sneaky.
The key alone isn’t enough.
How to Open the Bamboo Grove Gate
Return to the Arashiyama Bamboo Grove and approach the chained entrance near the fox statues.
Instead of immediately trying to use the key, activate Oni Vision.
This reveals three previously hidden stone lanterns.
The lanterns need to be activated in the correct elemental sequence:
Fire → Wind → Earth
Strike the fire-marked lantern first, followed by the wind lantern, then the earth lantern.
Complete the sequence and the spiritual seal breaks.
The gate opens, giving you access to the hidden route.
Why You Shouldn’t Skip It
If you’re simply trying to finish the story as quickly as possible, this probably isn’t going to transform your entire build.
But if you’re planning to play on higher difficulty, every permanent upgrade starts to matter.
I especially recommend grabbing optional health and resource upgrades before entering the later sections. On the harder modes, mistakes that felt harmless earlier suddenly become expensive.
Kyoto, Corrupted: How to Remove the Major Genma Barriers
The Kyoto, Corrupted mission is where exploration becomes much more interesting.
Instead of simply pushing forward through a mostly linear route, you’re asked to hunt down and eliminate two major Genma Rifts.
Until both are dealt with, important routes toward Northern Kyoto and Nijo-jo Castle remain blocked by Malice.
This is one of those objectives that sounds straightforward until you actually start looking for the rifts.
Rift 1 — Southern Market District
The first rift is hidden in the southern section of the market district.
You can’t simply walk straight into the courtyard.
Instead, look for the wooden scaffolding on the nearby building. Climb upward, cross the rooftops, and follow the route until you can drop behind the barricaded section.
Once inside, you’ll have to fight through several enemies, including ranged Genma.
Clear the area and interact with the rift using the Oni Gauntlet.
The important lesson here is that vertical exploration matters.
If a gate looks impossible to open from ground level, look up.
I’ve had to remind myself of that several times throughout the game.
Rift 2 — Dry Riverbed
The second rift is located around the dry riverbed near the central bridge.
The obvious entrance is blocked from the inside, so once again the game expects you to find another route rather than brute-force the gate.
Head around toward the abandoned warehouse district to the north.
Look for the weaker wooden barriers that can be destroyed with a heavy vertical attack. This gives you a route down into the riverbed.
And be ready for a fight.
A Dohatsu-ten mini-boss guards the area, making this considerably more dangerous than the first rift.
Once you’ve defeated the enemies and sealed the second rift, the larger Malice barrier surrounding the region disappears.
The major routes toward the upper districts then become accessible.
What You Should Actually Collect in Locked Areas
This is where optional exploration starts paying off.
Not every hidden room contains something spectacular, but the cumulative rewards can make a noticeable difference.
| Reward Type | Why It Matters |
|---|---|
| Power Stones | Increase maximum magical resources |
| Whetstones | Improve weapon progression |
| Health Upgrades | Increase survivability |
| Pouches | Expand inventory and carrying capacity |
| Weapon Equipment | Strengthen Musashi for later encounters |
I wouldn’t recommend obsessively collecting every minor item if you’re only interested in finishing the campaign.
But Power Stones and permanent upgrades are worth the detour.
The same goes for weapon-related equipment. A few optional pickups can make a late-game encounter considerably less painful.
Should You Explore Everything Before Finishing the Story?
Personally, yes.
At least as much as the game reasonably allows.
I’ve played plenty of games where optional areas are basically treasure closets with a slightly different wall texture. Onimusha’s hidden areas feel more meaningful because they’re tied into the game’s progression systems.
You aren’t just collecting junk.
You’re improving Musashi.
And that becomes especially important when you unlock the game’s more punishing content.
The game eventually opens up Carnage Difficulty, which significantly changes how combat feels. Visual combat prompts and parry indicators are removed, forcing you to rely much more heavily on timing, enemy animations and your own knowledge of the combat system.
That’s exactly why I recommend using the first playthrough to experiment.
Don’t just rush through the main missions.
Use the optional areas to improve your Oni Gauntlet, collect resources, practice Issen counters, and strengthen your equipment.
Onimusha Way of the Sword Best Charms Combination Guide (2026)
My Best Exploration Tips for Onimusha: Way of the Sword
After repeatedly getting distracted by locked doors and suspicious corners of Kyoto, I’ve settled on a simple approach.
1. Buy Oni Vision Early
This is easily one of the most useful exploration abilities. If you’re a completionist, don’t leave it until the end.
2. Remember Locked Locations
Don’t waste twenty minutes trying to solve something that is clearly tied to a later quest.
Mark the location mentally and come back after major story events.
3. Look Above and Below You
Scaffolding, rooftops, underground passages and riverbeds are frequently used as alternate routes.
4. Revisit Earlier Areas
Some locations become accessible only after acquiring new abilities or quest items.
5. Check the Environment Before Asking for the Solution
The game often places its clues in the same room as the puzzle.
That mask puzzle is a perfect example.
6. Explore Before Major Bosses
If you’ve just reached a point where the game makes it clear that a major confrontation is coming, take a moment to revisit nearby optional routes.
You’ll often find something useful.
Onimusha Way of the Sword: Best Leather and Iron Farming Locations Guide
Final Thoughts: Kyoto Rewards Curiosity
The locked areas in Onimusha: Way of the Sword are one of the reasons I enjoyed exploring its version of Kyoto more than I expected.
This isn’t a gigantic open-world map filled with hundreds of meaningless icons. Instead, Capcom uses compact environments, shortcuts, supernatural barriers and small environmental puzzles to make familiar locations worth revisiting.
Some solutions are obvious.
Others aren’t.
And occasionally you’ll stand in front of a locked door for far longer than you’d like to admit before realizing the answer was hiding behind you.
That’s part of the fun.
If you’re playing casually, you can ignore many of these optional routes and continue with the story. But for anyone chasing 100% completion, stronger equipment, permanent upgrades, or a properly prepared Carnage Difficulty run, these areas are absolutely worth your time.
My biggest piece of advice is simple: when Onimusha tells you that a path is closed, don’t forget about it.
Kyoto has a habit of opening doors that looked completely useless several hours earlier.