Onimusha Way of the Sword: Best Leather and Iron Farming Locations Guide
If there is one thing I learned quickly while playing Onimusha: Way of the Sword, it is that having a good sword is only half the battle. The combat system gives you plenty of tools to survive, but eventually you run into enemies that simply refuse to go down as quickly as they did a few hours earlier. That is usually when the upgrade screen starts looking very tempting.
The problem is that upgrading Musashi’s Katana, Oni Gauntlet, and armor eats through materials surprisingly fast.
Leather and Iron are the two resources you will constantly find yourself short on, especially once you move beyond the early game. Basic Iron is easy enough to collect naturally, but Tempered Iron and Tough Leather become much more important later, and simply picking up everything you see isn’t always enough.
After spending a fair amount of time experimenting with different routes, enemy groups, and the game’s soul economy, I found that the best approach isn’t really one single farming location. The most efficient method changes as you progress through the story.
Here’s where I’d spend my time.
Understanding the Leather and Iron Tiers
Before running around Kyoto looking for materials, it helps to understand what you’re actually farming. The game gradually introduces better versions of the same resources, and wasting high-tier materials on equipment you are about to replace can hurt later.

| Material | Main Use | Best Stage |
|---|---|---|
| Basic Iron | Early weapon and Oni Gauntlet upgrades | Chapters 1–2 |
| Tempered Iron | Mid-game weapon refinements | Chapters 3–4 |
| Tamahagane | High-end and final upgrades | Late Game |
| Raw Leather | Early armor upgrades | Chapters 1–2 |
| Tough Leather | Mid-game armor upgrades | Chapters 3–4 |
| Reinforced Hide / Silks | Advanced armor improvements | Late Game |
My advice: don’t obsess over farming Tamahagane or other end-game materials early. Your immediate goal should be keeping your Katana strong enough to make normal encounters easier. A stronger weapon also makes every future farming run faster.
Yerimasa Is More Important Than He Looks
One of the biggest mistakes you can make is ignoring Yerimasa’s shop.
Early in the game, it is easy to look at the merchant’s relatively modest selection and assume the shop isn’t particularly useful. I initially treated it that way myself. That changes as the story progresses.
After completing the relevant Oni Shrine storyline, Yerimasa establishes his shop at the altar. Instead of spending ordinary gold, you use Red Souls, which you collect from defeated enemies.
This creates an important loop:
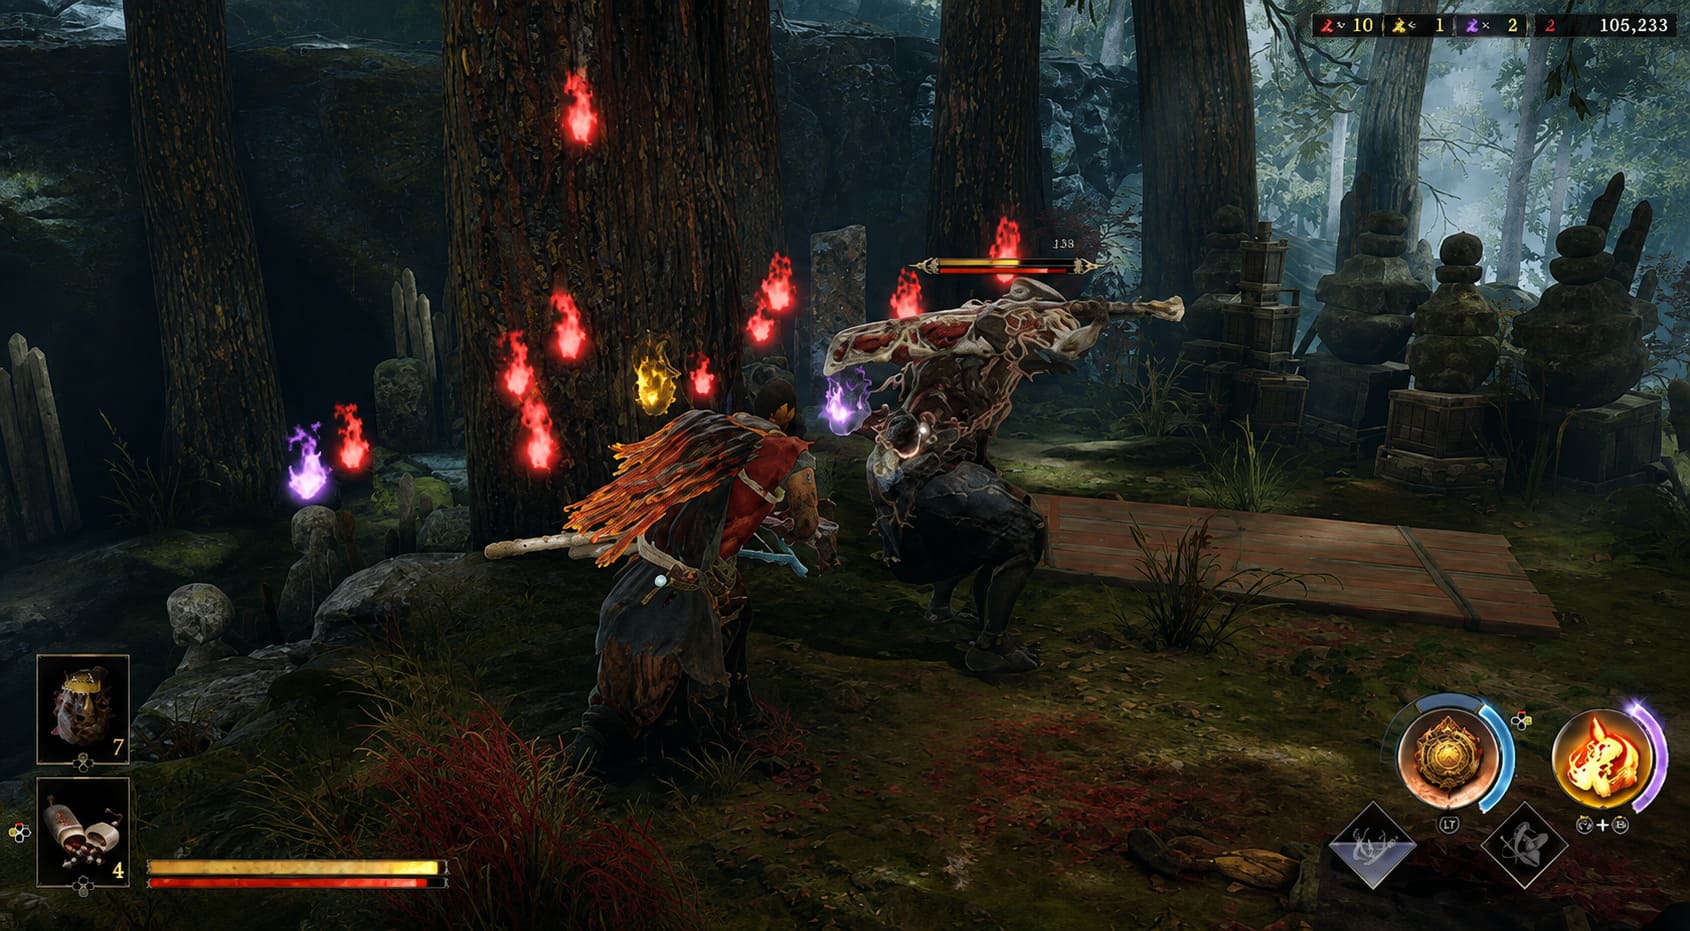
Fight enemies → collect Red Souls → buy materials → upgrade equipment → fight stronger enemies faster.
Once the merchant’s inventory expands, he becomes one of the most reliable ways to fill gaps in your crafting supplies. Depending on your story progress, his stock can include things such as Basic Iron, Tough Leather, Silks, Tempered Iron, and eventually more valuable materials.
The reason I prefer this system over blindly searching every corner of the map is simple: it gives you control.
If your weapon needs Iron but your armor is already covered, you can spend your accumulated Red Souls on exactly what is missing instead of hoping the next chest contains the right material.
Don’t Waste Red Souls
There is one catch. You still need a healthy supply of Red Souls to make this worthwhile.
That means your farming strategy shouldn’t focus exclusively on physical material drops. A good enemy route should also generate plenty of Red Souls.
This is where efficient combat starts paying off.
Best Early-Game Farming: Kyoto Suburban Bamboo Path
For the first couple of chapters, I wouldn’t overcomplicate things.
The Kyoto Suburban Bamboo Path is one of the easiest places to build up a stockpile of Basic Iron and Raw Leather without turning the game into a second job.
The area has several groups of Lesser Genma Footmen along the route, with beast-like Genma appearing around the stream.
The run is straightforward:
- Start from the Bamboo Path Save Mirror.
- Clear the groups of Genma along the path.
- Prioritize clean counters, executions, and quick kills.
- Collect the dropped materials and Red Souls.
- Return to the Save Mirror and reset the area.
- Repeat.
A full run is short enough that you don’t need to commit to a lengthy farming session. That’s important because, honestly, long farming routes can become tedious very quickly.
The Genma Footmen are your main Iron targets, while the animal-like enemies are useful for Raw Leather.
For a new character, this route is particularly good because it lets you strengthen your equipment before the game starts throwing more dangerous enemies at you.
Ruined Temple Courtyard: A Good Alternative for Iron
The Ruined Temple Courtyard becomes useful when you need more Basic Iron and don’t want to repeatedly run the Bamboo Path.
The Armored Genma here take longer to kill, but they are also more rewarding.
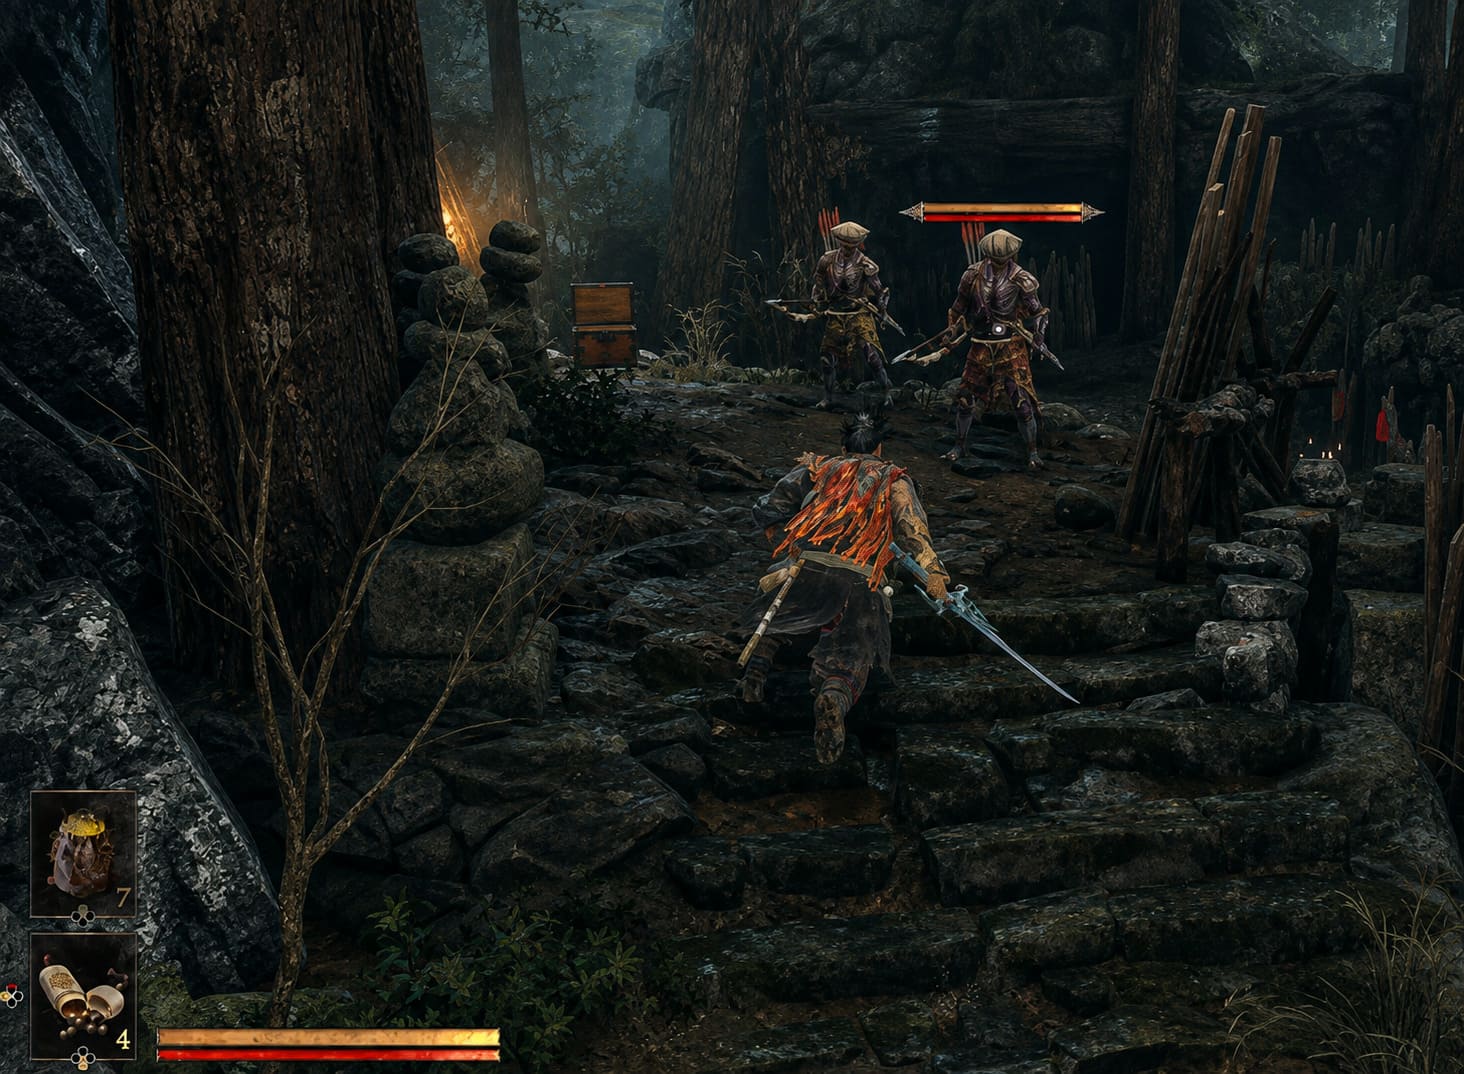
This is one of those areas where understanding Onimusha’s combat mechanics makes a noticeable difference. Don’t simply mash heavy attacks until the enemy falls over. Work on their posture, create an opening, and use a well-timed Issen when possible.
The armored enemies are particularly useful for players who are already comfortable with the combat system because you can turn their defensive stance into an opportunity.
If you’re still struggling with parries and counters, this is also a decent place to practice. You’re farming while improving the exact skills that make later areas easier.
That’s much better than standing in front of an easy enemy for twenty minutes just to collect another handful of materials.
Mid-Game Farming: Gion District Back Alleys
Once you reach the darker sections of Kyoto, your resource requirements change dramatically.
This is where I would start spending more time in the Gion District Back Alleys.
The main advantage here isn’t one particular enemy. It’s the combination of enemy density, short distances, and useful drop tables.
The larger Genma swordsmen are your primary targets for Tempered Iron, while the ninja-style enemies moving around the rooftops can provide Tough Leather.
The narrow streets also make combat much more manageable than it might initially appear. You can funnel enemies into predictable spaces, build your combat resources, and move from one encounter to the next without wasting much time.
I recommend using your Blaze State aggressively here. Building it through successful deflections and then using it to clear groups can make a big difference to the speed of each farming cycle.
If you’ve found the Amulet of Bounty, this is an even better place to put it to work. Increasing material acquisition turns an already productive route into a much more attractive long-term farming option.
And yes, this is the point where farming starts feeling much less painful.
Oni Refuge: My Favorite Spot for Tough Leather
For Tough Leather, the Oni Refuge is where I would go first once it becomes available.
The second sub-level is especially interesting because of how its enemy spawning works.
There are rooms where Genma continue appearing while the local Malice eye remains active. The obvious thing to do is destroy the eye immediately.
I wouldn’t.
Instead, use the entrance as a defensive position and deal with the waves as they appear.
The large hound-like Genma are particularly valuable if you’re looking for Tough Leather. They can turn this section into a very efficient material farm, provided you’re comfortable surviving the repeated encounters.
The trick is knowing when to stop.
You don’t need to kill enemies until you’re one hit away from death. Once your health or resources start getting uncomfortable, destroy the Malice eye, collect what you’ve earned, and reset.
A farming route is only efficient if you can repeat it consistently.
That’s something I keep in mind in practically every RPG. A theoretically amazing route that kills you half the time is worse than a slightly slower route you can complete without thinking.
Use Issen and Break Issen Instead of Fighting on Autopilot
One of the easiest ways to improve your farming efficiency is to stop treating combat mechanics as something you only use during difficult boss fights.
Issen matters.
Perfect counters and well-timed executions don’t just look satisfying. They can also make encounters faster and contribute to your overall soul economy.
Against larger Genma, Break Issen is particularly useful because it allows you to focus on vulnerable sections of the enemy.
Instead of simply attacking whatever part of the monster is closest, look for breakable armor and specific body parts.
Some larger enemies can reward targeted destruction with useful upgrade components. This makes certain mini-boss encounters worth farming if you are specifically looking for higher-tier materials.
The important part is not to become obsessed with a supposed “perfect” drop every single time.
Kill speed still matters.
If targeting a particular limb takes twice as long as simply destroying the enemy normally, the theoretical extra reward may not actually make the route more efficient.
Red Souls Are Part of Your Farming Economy
Red Souls are easy to overlook because they are tied so closely to combat.
I would strongly recommend thinking of them as another crafting resource.
The better your combat performance, the more efficiently you can build your Red Soul supply. Successful Issen executions are particularly useful because they can generate a healthy amount of souls while also helping you finish enemies quickly.
Oni Armaments can also help increase the amount of Red Souls you generate during prolonged encounters.
The result is a simple but effective farming cycle:
Farm enemies for materials → collect Red Souls → visit Yerimasa → buy whatever material you’re missing.
This is especially useful when RNG decides not to cooperate.
Because eventually every player gets that moment where they need one specific upgrade material and the game suddenly refuses to drop it.
That’s when Yerimasa becomes your best friend.
Onimusha Way of the Sword Secret Boss Guide: How to Unlock and Beat Byakue
What Should You Upgrade First?
If you’re trying to conserve materials, I wouldn’t upgrade everything evenly.
My preferred order is:
- Katana
- Oni Gauntlet
- Armor
The Katana comes first because better damage improves practically everything else. Enemies die faster, farming runs become shorter, and difficult encounters become more manageable.
The Oni Gauntlet comes next because it affects your soul-related abilities and gives you access to stronger combat options.
Armor is important, but I generally wouldn’t sacrifice weapon upgrades just to keep every armor piece at the highest possible level.
There is a practical reason for this: killing an enemy faster is often better protection than having slightly more defense.
That becomes particularly noticeable once you start fighting the stronger Genma variants.
Onimusha Way of the Sword Endings Explained: How to Unlock the True Ending and All Final Cinematics
Final Thoughts
The biggest lesson I took away from the material system in Onimusha: Way of the Sword is that farming works best when you treat it as part of the normal gameplay loop rather than something completely separate from the story.
Early on, use the Kyoto Suburban Bamboo Path for Basic Iron and Raw Leather. The Ruined Temple Courtyard is another solid option if you want tougher enemies and more Iron-focused farming.
Once you reach the middle portion of the game, move toward the Gion District Back Alleys for Tempered Iron and Tough Leather. When the Oni Refuge opens up, its second sub-level becomes one of the strongest places to target Tough Leather.
At the same time, don’t forget about Yerimasa. His shop is arguably the most important part of the entire resource economy because Red Souls give you a way to compensate when enemy drops aren’t giving you what you need.
And finally, don’t turn farming into mindless button pressing. Use Issen, Break Issen, Oni Armaments, and efficient enemy routing. The combat system is built around these mechanics, so you might as well let them do some of the work.
If I had to pick just three things to remember, they would be simple: keep your Katana ahead of the curve, farm Red Souls whenever you’re short on materials, and use the right area for the material tier you actually need.
Do that, and upgrading Musashi’s equipment becomes far less frustrating—and a lot more satisfying.