Onimusha Way of the Sword Fast Travel Guide: How to Unlock and Use Spirit Mirrors
If there is one thing that can quietly ruin the pace of an otherwise fantastic action game, it is unnecessary backtracking. Onimusha: Way of the Sword understands this problem surprisingly well. Capcom’s return to the Onimusha series throws Miyamoto Musashi into a twisted version of Edo-period Kyoto, where every alley, temple, underground facility, and ruined district seems to have another secret waiting behind a locked door.
The game is not completely linear, either. Once you start chasing side objectives, hidden equipment, collectibles, Genma Rifts, upgrade materials, and missed treasures, you will spend a lot more time retracing your steps than you probably expected.
Thankfully, there is a proper fast travel system in Onimusha: Way of the Sword, and it is tied to the game’s Spirit Mirrors.
If you have spent any time with modern action RPGs, the concept will feel familiar. Spirit Mirrors function as checkpoints, upgrade stations, save points, and, most importantly, fast travel hubs. Learning how they work early can save you a ridiculous amount of running through areas you’ve already cleared.
How Fast Travel Works in Onimusha: Way of the Sword
Fast travel isn’t available immediately after starting the game. Capcom introduces the system naturally through the early story rather than throwing every mechanic at you during the opening minutes.
The important point is simple: you need to discover and activate Spirit Mirrors before they become available as destinations.
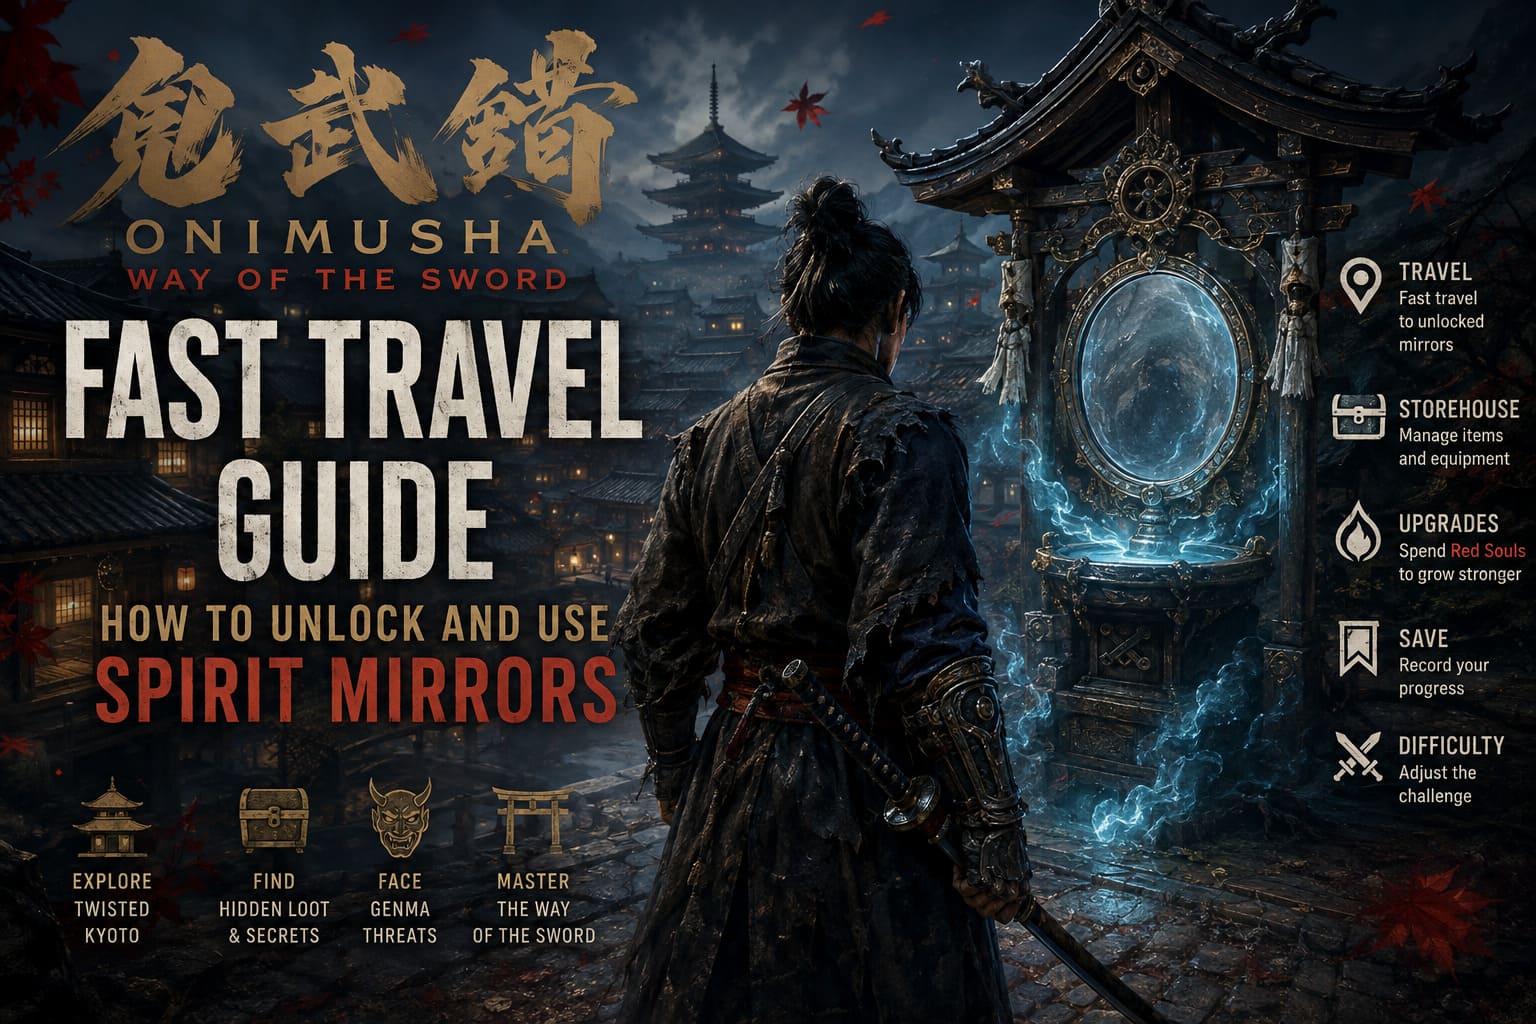
Once you interact with a Spirit Mirror, you can access its menu and select the Travel option. From there, the game displays the other Spirit Mirrors you’ve already unlocked, allowing Musashi to move between discovered locations without physically crossing the entire map again.
This becomes especially useful later when the world starts opening up and previously visited locations become relevant for side content.
A Spirit Mirror can also serve several other purposes:
| Spirit Mirror Function | What It Does |
|---|---|
| Travel | Teleports Musashi to previously activated Spirit Mirrors |
| Storehouse | Lets you manage stored items and equipment |
| Save | Manually records your progress |
| Difficulty | Allows you to adjust the game’s combat difficulty |
| Additional Content | Provides access to certain bonus or downloadable content |
| Upgrades | Spend Red Souls on skills, equipment, outfits, and abilities |
Personally, I recommend treating every Spirit Mirror you find as mandatory loot. Don’t just walk past one because your health bar is full. Stop, interact with it, and activate it. You’ll thank yourself later.
When Do You Unlock Fast Travel?
The fast travel system becomes available during the early story “The Stage is Set at Kiyomizu.”
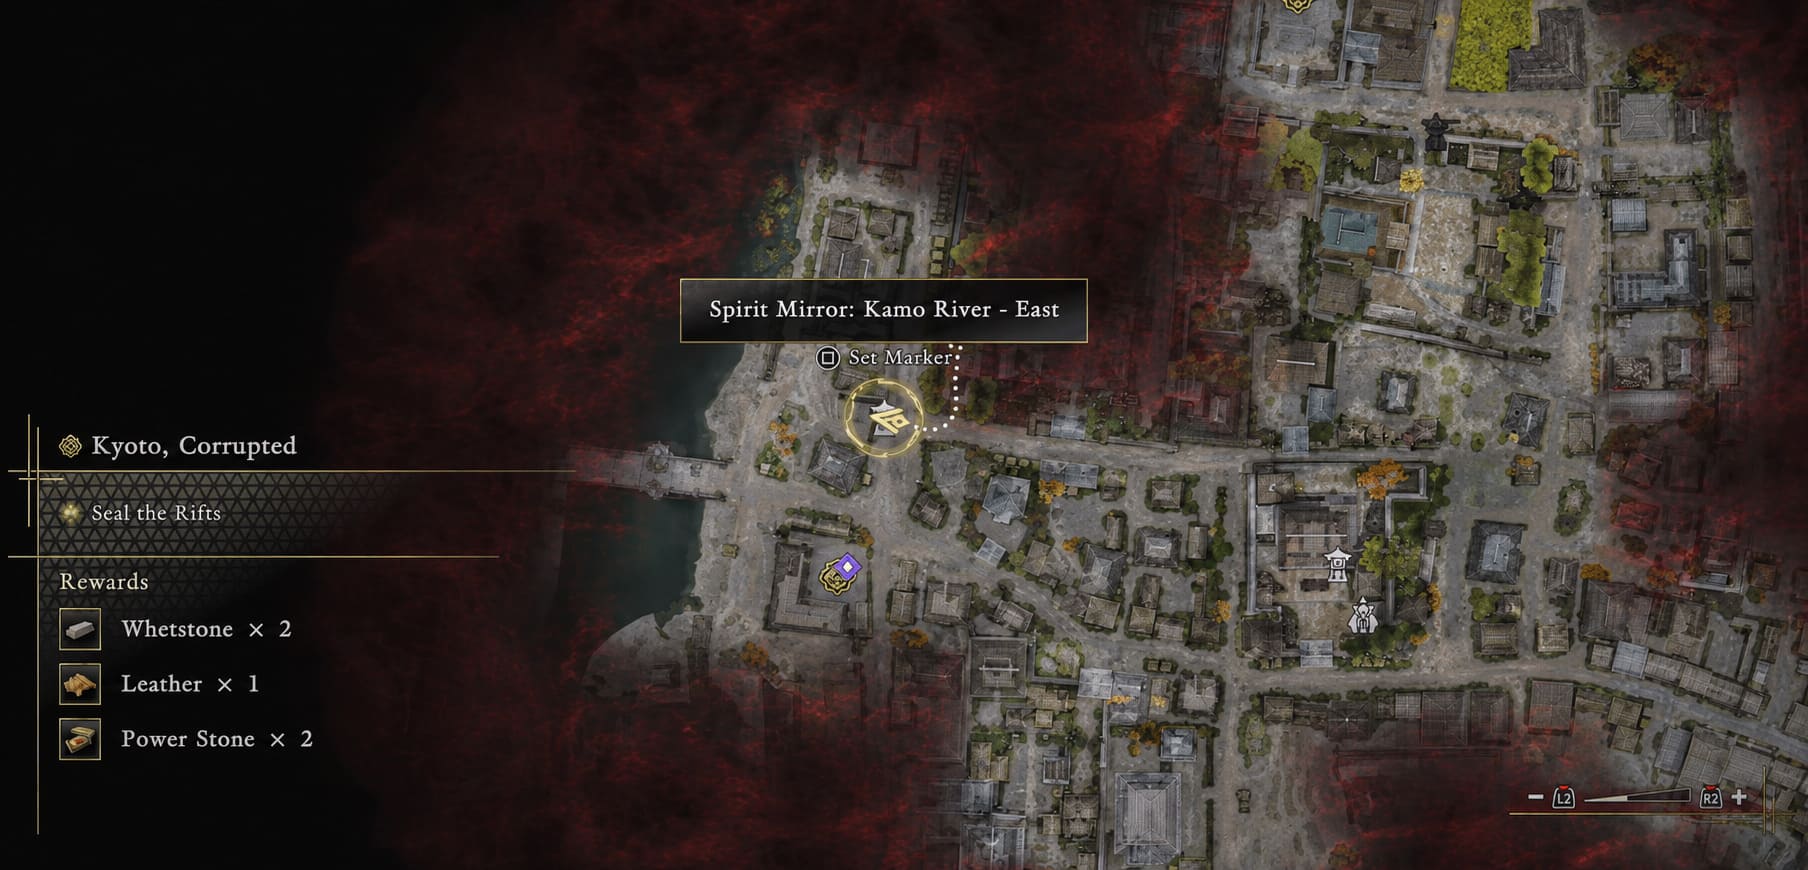
More specifically, the system is introduced around Kiyomizu Path 2, when Musashi’s journey toward Kiyomizu-dera begins sending him through longer and more complicated sections of Kyoto.
This is where the game starts making it obvious why a travel network is necessary. The routes become more winding, vertical paths begin connecting different areas, and returning to earlier locations becomes increasingly annoying without a shortcut.
After interacting with the first Spirit Mirror in this section, the Travel option becomes available.
From that point forward, the rule is straightforward:
Find a Spirit Mirror → interact with it → activate it → permanently add it to your fast travel network.
Simply passing close to one isn’t enough. Make sure you actually interact with the mirror.
Important Spirit Mirror Locations
Kyoto is packed with useful travel points, but some are considerably more important than others. These are the locations I would prioritize during a normal playthrough.
Kiyomizu Path and Kiyomizu-dera
The Kiyomizu area is where the fast travel system first becomes relevant, and for good reason.
The route toward Kiyomizu-dera contains plenty of twisting paths and combat encounters. If you push too far without activating the available mirrors, returning later can become a chore.
The Approach is the first major Spirit Mirror in this section. Activate it before continuing deeper into the area. It gives you a reliable starting point for returning to the temple route.
The second important location is the Temple Grounds mirror. This one sits inside the main temple area and becomes extremely valuable later when you return for unfinished objectives, hidden items, or tougher encounters.
I would absolutely activate both.
Rokudo Temple and Higashioji Street
Rokudo Temple is effectively one of the game’s central hubs.
You will repeatedly return here as the story develops, and it serves as an important safe area for interacting with characters, managing upgrades, and preparing for the next trip into demon-infested Kyoto.
The Rokudo Temple Spirit Mirror is therefore one of the most useful travel points in the entire game.
Nearby, Higashioji Street provides another important connection between the safer hub area and the dangerous eastern districts.
If you’re doing side content, you’ll probably use these two mirrors constantly.
The Oni Refuge
Eventually, Musashi gains access to the mysterious Oni Refuge, an area filled with secrets, lore, and valuable upgrades.
This is exactly the sort of place where having multiple fast travel points makes a huge difference.
There are two particularly important mirrors:
- North Oni Refuge Mirror — located toward the northern boundary of the refuge.
- South Oni Refuge Mirror — positioned near the southern exit.
Activate both as soon as possible.
Having only one activated can still leave you with a frustrating amount of walking. Having both essentially turns the area into a much easier place to navigate, especially when you’re farming resources or returning for secrets.
Underground Lab — Level 4
The Underground Level 4 Spirit Mirror deserves special attention.
During the main quest “What Lurks in the Shadows,” Musashi enters a sprawling underground research facility filled with machinery, enemies, puzzles, and easy-to-miss rooms.
Level 4 is particularly useful because of the nearby optional loot.
If you rush through the turbine sections, trigger the next sequence, and leave without properly searching the surrounding rooms, you may end up wanting to come back later.
That’s where the Spirit Mirror saves you from a long replay of the entire route.
Why Fast Travel Matters for 100% Completion
For a casual story run, you can probably get away with ignoring some mirrors.
For a completionist run?
Absolutely not.
Onimusha: Way of the Sword hides plenty of useful equipment and resources in places that are easy to overlook during the first pass.
1. Recovering Missed Oni Armaments
The game’s Oni Armaments include some seriously useful equipment, and certain pieces can be missed if you’re moving too quickly.
One good example is Earth-Shakers, which can be found in a chest positioned to the left of the room after the turbine puzzle sequence in the underground laboratory.
Miss the chest and move on, and you’ll probably find yourself wishing you had activated the Level 4 mirror.
Fast travel makes the cleanup process much less painful. Instead of replaying a huge chunk of the area, you can simply teleport back to the appropriate checkpoint and search again.
2. Farming Offerings for Enma’s Hall
Eastern Kyoto contains several unusual food items that aren’t simply ordinary consumables.
These include Nashi Pears, Watermelons, Mixed Grain Rice Balls, Millet, Cloudy Sake, Unrefined Sake, and Wheat.
These offerings can be taken to Enma’s Hall, where they can be exchanged alongside Red Souls to generate Favour.
Favour is important for improving Musashi’s higher-tier combat abilities and passive mastery.
This is another situation where fast travel becomes less of a luxury and more of a quality-of-life necessity.
3. Returning to Genma Rifts
Genma Rifts are some of the nastier optional combat challenges scattered around Kyoto.
These glowing anomalies spawn waves of Genma enemies and can be surprisingly brutal if you attempt them before Musashi has the right equipment or combat abilities.
You don’t have to clear every rift the instant you discover it.
Sometimes the smarter play is to mark its location mentally, activate the nearest Spirit Mirror, and come back later with better weapons and stronger abilities such as Issen Break.
That is much better than repeatedly getting flattened by a rift because you’re stubborn.
4. Managing Charm Upgrades
Musashi’s charm system can significantly change how you approach combat.
Early on, your options are limited, but collecting Power Stones and Oni Stones eventually allows you to expand your charm capacity.
Fast travel makes this system much easier to manage because you can quickly return to upgrade locations after finding new materials.
Instead of remembering where you need to go and running across half of Kyoto, you can simply teleport to the appropriate hub and configure your build.
Onimusha Way of the Sword Locked Areas Guide: How to Unlock All Secret Paths in Kyoto
Tips for Using Spirit Mirrors Efficiently
The fast travel system itself is simple, but there are a few habits that make it much more useful.
Activate every mirror. Even if you don’t need to save, heal, or upgrade anything, interact with it anyway. An unactivated mirror is basically a missed checkpoint.
Use Oni Vision. Once you’ve accumulated enough Red Souls, investing in Oni Vision abilities can make exploration considerably easier. Hidden treasures and collectibles become much easier to locate, which also tells you which areas are worth revisiting.
Don’t be afraid to change difficulty. If a Genma Rift or boss is destroying you on a higher difficulty, return to a safe area and adjust the difficulty. Practice your parries, learn the enemy patterns, upgrade Musashi, and then come back. There’s no prize for repeatedly banging your head against the same wall.
Think of mirrors as your travel map. When you’re finished with a major story section, look at the Spirit Mirrors you’ve unlocked and ask yourself which areas still contain unfinished business. This makes cleanup far more efficient than wandering around Kyoto randomly.
Onimusha Way of the Sword Best Charms Combination Guide (2026)
The Best Way to Approach Fast Travel
The biggest mistake you can make is thinking of Spirit Mirrors as simple save points.
They’re much more important than that.
Spirit Mirrors are the backbone of exploration in Onimusha: Way of the Sword. They connect Kyoto’s major areas, give you quick access to upgrade hubs, and make the game’s backtracking-heavy structure significantly easier to tolerate.
The system also rewards players who explore carefully. Every new mirror you activate expands your options later, and that becomes increasingly valuable once you’re hunting down weapons, resources, offerings, hidden treasures, and optional combat challenges.
Onimusha: Way of the Sword has a world that genuinely rewards poking around in corners. But there is a difference between meaningful exploration and running through the same demon-infested street for the tenth time.
Spirit Mirrors make sure you spend more time fighting, discovering, and upgrading and less time jogging through Kyoto wondering why you didn’t activate that checkpoint five hours ago.
So when you spot one, stop.
Interact with it.
Your future completionist self will be very glad you did.