Twisted Tower Walkthrough: How to Beat All Deadly Traps, Mazes, and Mascots
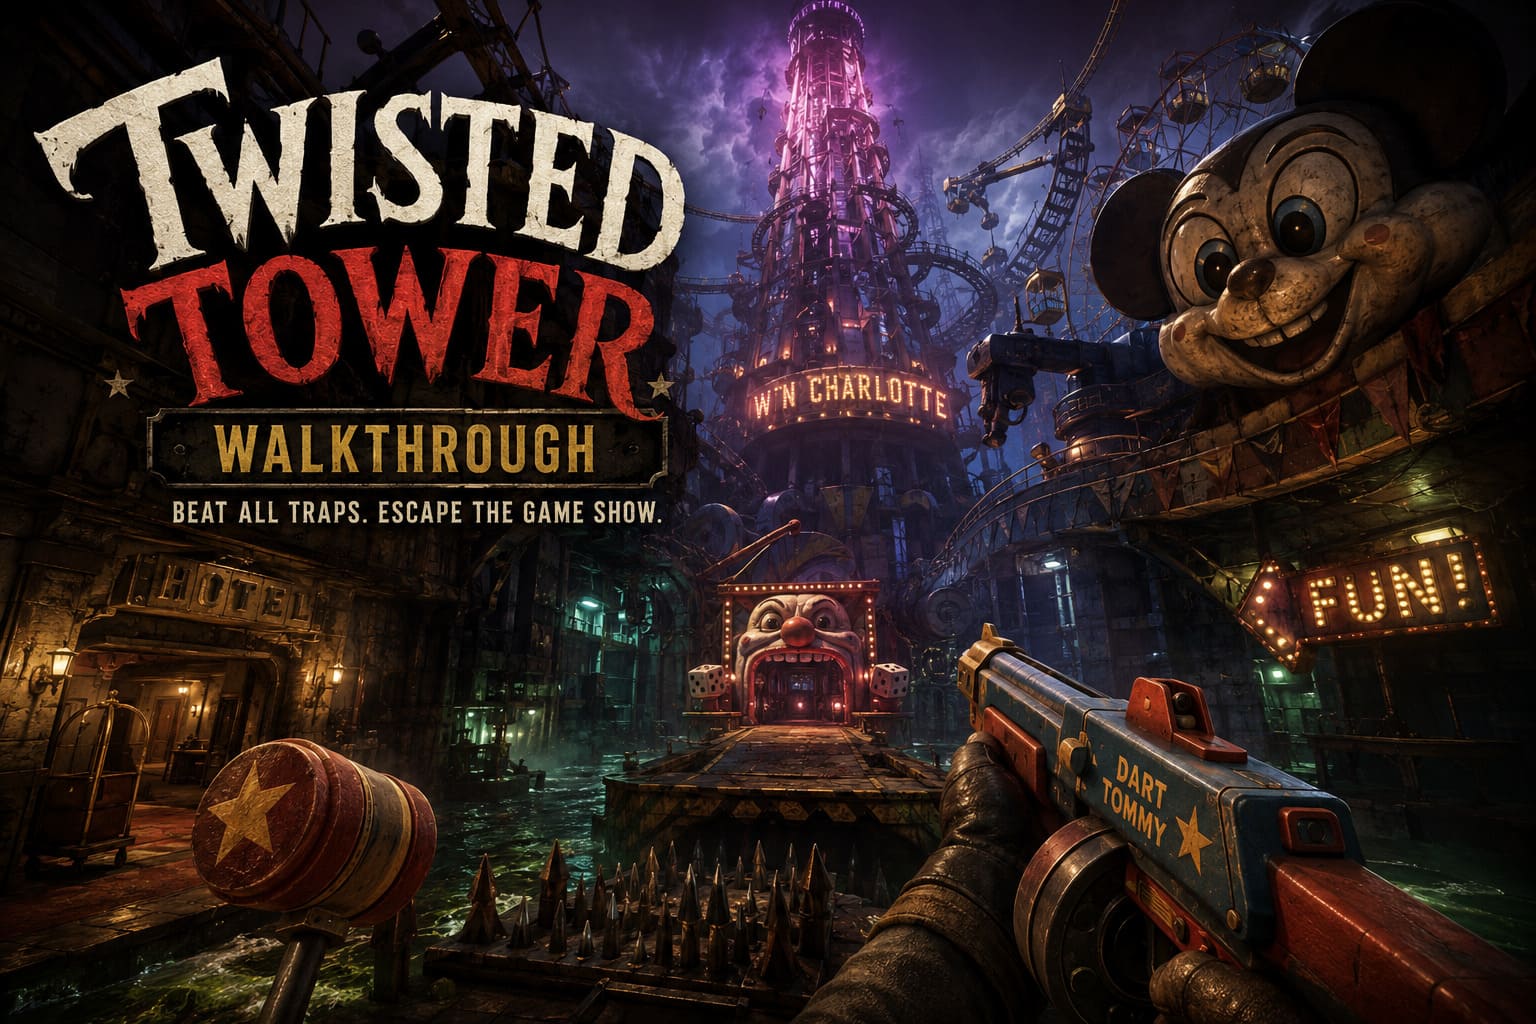
Twisted Tower is the kind of game that makes you confident for about five minutes before casually throwing you into a room designed specifically to punish that confidence. Developed by Atmos Games and published by 3D Realms, this first-person action-adventure shooter takes the bright, cheerful imagery of a 1950s amusement park and twists it into something genuinely hostile.
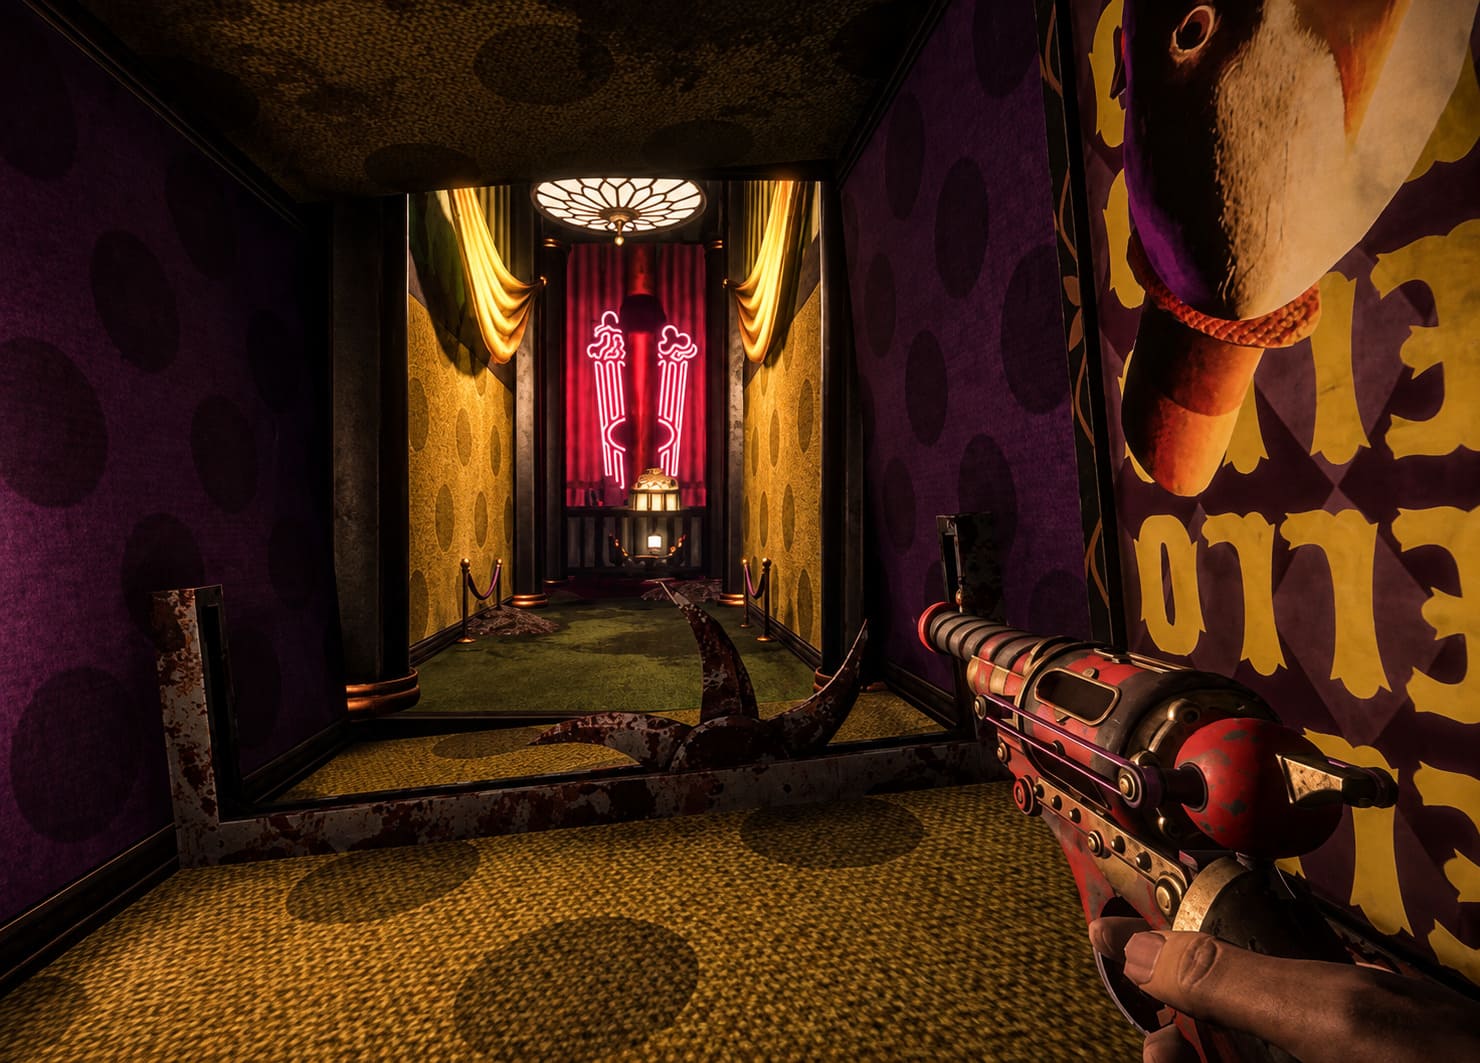
You play as Tiny, an 18-year-old trapped inside a deadly game show, climbing a gigantic tower in the hope of winning back Charlotte. The whole thing has an unmistakable BioShock meets Willy Wonka flavor, but it doesn’t feel like a simple imitation. The toy weapons, grotesque mascots, shifting environments, and absurd carnival machinery give Twisted Tower its own personality.
I’ve spent enough time with games like this to know that the biggest mistake is treating them like ordinary shooters. Twisted Tower isn’t really about killing everything as quickly as possible. It’s about reading the room. The game constantly asks whether you’re paying attention, and when you aren’t, it usually answers with a trap door, a blade, or something horrible wearing a mascot costume.
So, if you’re looking for a practical Twisted Tower walkthrough rather than a vague collection of tips, this is how I’d approach the climb.
The First Rule: Learn to Move Before You Learn to Shoot
The shooting is obviously important, but movement is what keeps Tiny alive.
Every room should be treated as potentially dangerous. Don’t sprint blindly through unfamiliar corridors, especially when you enter a new section for the first time. Look at the floor, ceiling, walls, and even the apparently useless decorations.
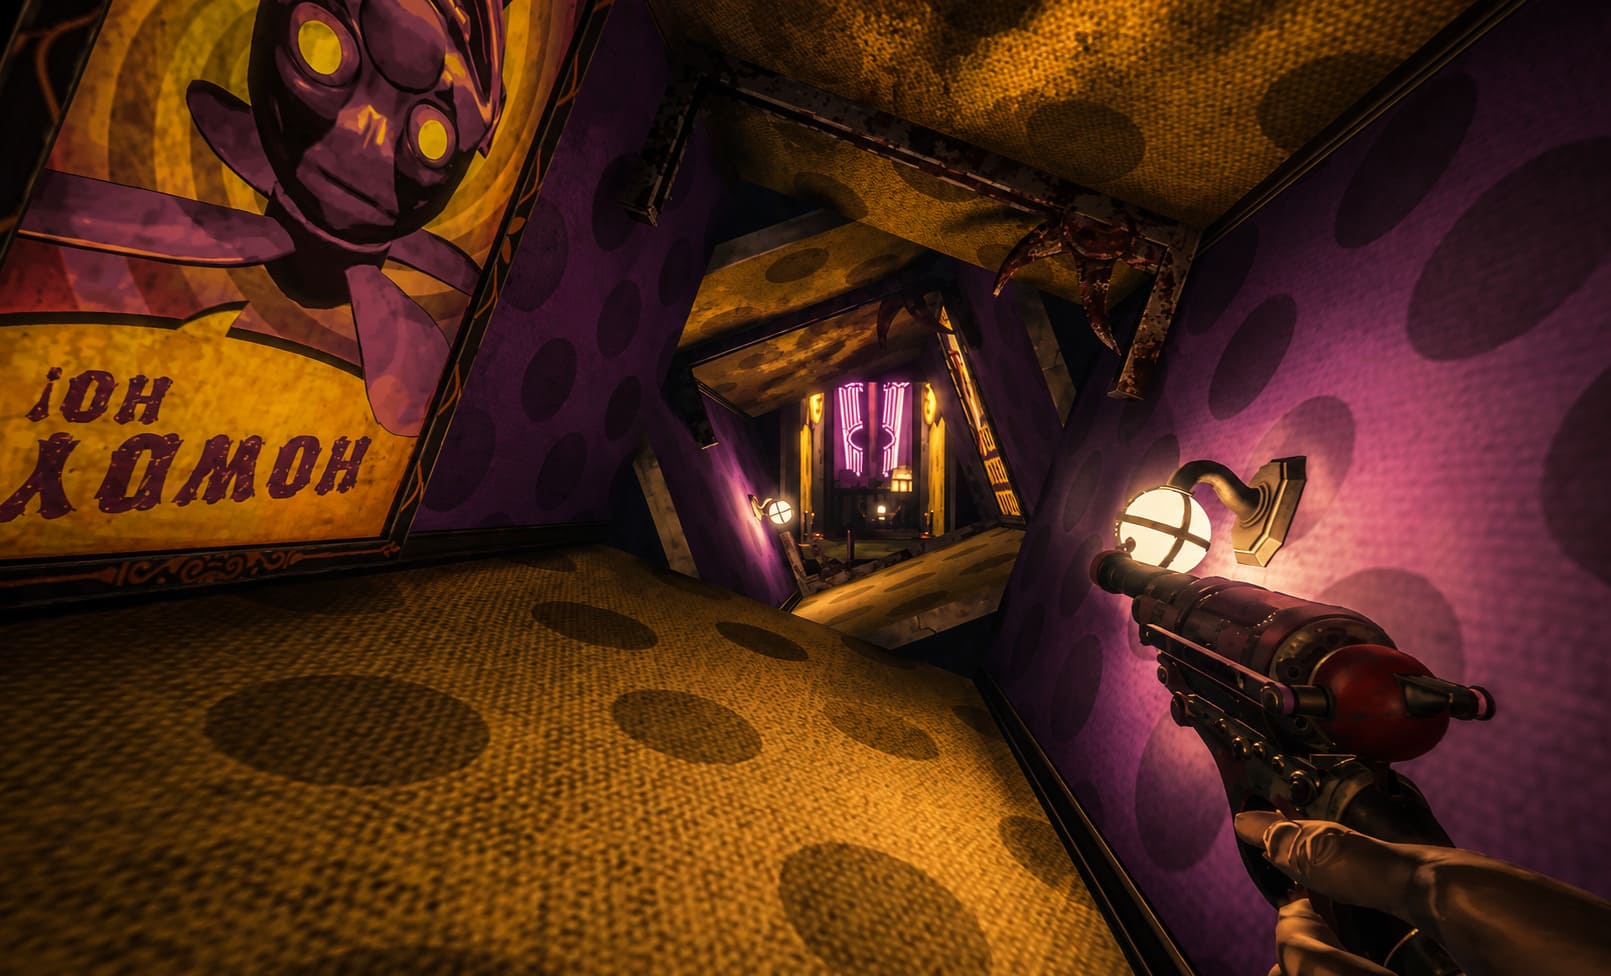
Vertical awareness matters more than you might expect. Some hazards are positioned above you, while others are hidden beneath apparently ordinary flooring.
My general rule is simple: if the environment looks slightly different, assume there’s a reason for it.
A discolored tile, suspicious gap, strange piece of machinery, or conveniently placed platform can all be warnings.
Your Toy Arsenal
Twisted Tower’s weapons are deliberately ridiculous. That’s part of the charm, but don’t let the joke appearance fool you. Each weapon has a very specific purpose.
| Weapon | Best Use | My Advice |
|---|---|---|
| Whac-A-Mole Mallet | Melee enemies and environmental objects | Save ammunition whenever possible |
| Rubber-Band Pistol | Precision shots and switches | Extremely useful for puzzles and distant hazards |
| Dart Tommy Gun | Groups of weaker enemies | Excellent when a corridor becomes overcrowded |
| Farting Shotgun | Heavy enemies and close combat | Keep it ready for dangerous encounters |
The Whac-A-Mole Mallet is much more important than it initially appears. Because it doesn’t consume ammunition, it’s your best friend during exploration. Use it against weaker enemies and anything in the environment that looks breakable.
The Rubber-Band Pistol is less about raw damage and more about precision. If you see a switch, suspicious mechanism, or distant interactive object, try shooting it before walking over to investigate.
The Dart Tommy Gun is where things get messy. When several enemies pile into a narrow hallway, this is the weapon I want in my hands. Don’t waste its ammunition on one mascot wandering around by itself.
And then there’s the Farting Shotgun, which is exactly the sort of weapon name that should not be attached to something capable of absolutely destroying a large enemy at close range. Its biggest weakness is the reload time, so don’t empty it casually.
How to Spot Twisted Tower’s Deadliest Traps
The traps are one of the best parts of the game because they aren’t always presented as obvious video-game obstacles. They fit the amusement-resort aesthetic.
That’s what makes them dangerous.
Pressure Plates and Hidden Spikes
Pressure plates are classic for a reason. They’re simple, brutal, and extremely effective.
- Slightly different floor textures
- Small holes in tiles
- Discoloration
- Sections that appear less polished than surrounding flooring
If you’re entering an area you’ve never seen before, walking is often safer than sprinting.
When you hear a mechanical click, don’t stand there trying to figure out what happened. Move.
A quick backward dash or sideways jump can be enough to avoid spikes or projectile traps.
Rotating Blades and Pendulums
These traps aren’t particularly complicated. The problem is impatience.
Watch the movement for several cycles before committing. Most of these mechanisms operate according to a predictable rhythm. Once you’ve identified the timing, crossing becomes considerably easier.
I strongly recommend resisting the urge to rush just because the path appears open for half a second.
The tower wants you to panic. Don’t give it the satisfaction.
Wait for a reliable opening, then move decisively.
Fake Platforms and Drop Chutes
Platforms that collapse beneath Tiny are especially nasty because they encourage you to trust the environment.
If something looks suspicious, test it from a safe distance. The Rubber-Band Pistol can be useful here. Some unstable objects react before you put yourself directly over the danger.
This is one of those situations where five seconds of caution can save you a full restart.
Twisted Tower Level Guide
The tower’s five major areas each have their own visual identity and navigation problems. You can’t approach every floor in exactly the same way.
Level 1 – The Abandoned Resort Hotel
The hotel is your introduction to Twisted Tower’s philosophy.
At first, it looks like a decaying luxury resort: grand rooms, old hallways, abandoned suites, and plenty of creepy 1950s decoration. Then you realize that many of the rooms aren’t actually meant to be entered normally.
The level’s maze-like structure uses interconnected rooms, locked doors, vents, and hidden routes.
Some doors are particularly suspicious. If one looks like it was placed too conveniently in your path, don’t immediately assume it leads somewhere useful. Certain doors can trigger traps or unleash small mascot enemies.
The best approach is to search vertically.
Look for ceiling crawlspaces and damaged sections of wall. The intended route isn’t always the obvious corridor.
Yellow markings and subtle light sources can also help identify safer structural routes.
And don’t forget the mallet. Weak walls aren’t merely decoration. If the game gives you a suspicious-looking section of drywall, give it a hit.
Level 2 – The Toxic Waterpark
This is where environmental navigation becomes much more important.
The waterpark is filled with broken slides, giant pipes, sludge, electrical hazards, and flooded passages. The maze changes depending on which valves you activate.
That’s the key concept here:
You aren’t simply finding the correct route. You’re changing the route.
Turning one valve can drain an area while flooding another. Before activating anything, take a moment to understand what part of the environment you’re changing.
Whenever possible, stay above the sludge using pipes, scaffolding, and elevated walkways.
Electricity is another major threat. Follow visible wires along walls and ceilings. They often lead toward the systems responsible for the electrical hazards.
If you find a breaker or interactive mechanism, the Rubber-Band Pistol can often let you deal with it without unnecessarily stepping into danger.
Level 3 – The Clown Casino
This is probably the floor where Twisted Tower’s visual absurdity reaches maximum strength.
Neon lights, carnival music, gambling imagery, clowns, and machinery combine into one giant headache.
The maze itself can change as mechanical walls move according to activated gambling devices.
The most important rule here is don’t cross moving sections until you know exactly how they behave.
Getting crushed isn’t something you recover from.
The casino also introduces nasty combinations of hazards, including proximity explosives and tracking spotlights connected to automated weapons.
If a spotlight catches you, don’t try to outgun everything immediately.
Break line of sight.
Marble pillars and other solid structures are your friends. Use them to disappear from the turret’s view, reposition, and then decide whether fighting is actually necessary.
Level 4 – The Carnival Forest
This section changes the pace considerably.
Instead of claustrophobic hotel corridors or mechanical casino rooms, you get a huge artificial forest filled with fog, trees, foliage, and repeated visual landmarks.
And that’s precisely the problem.
The forest is designed to make you lose your sense of direction.
Bear traps can hide beneath leaves, while tripwires activate swinging logs and other environmental hazards.
Don’t stare straight ahead while walking.
Watch the ground.
If you’re struggling to find your way through the fog, use the classic left-wall strategy. Keep one side of your character consistently against the environment and continue following it.
It isn’t glamorous, but traditional maze-solving techniques work surprisingly well when the environment starts messing with your sense of direction.
Level 5 – The Retrofuturistic Space Station
The final floor is where the tower stops pretending to be a normal amusement attraction.
Now you’re dealing with metallic corridors, gravity manipulation, teleporters, lasers, and three-dimensional navigation.
The biggest mistake here is thinking about the level as a traditional maze.
You need to think up and down as much as left and right.
Gravity lifts and teleportation mechanics can completely change your position. A route that looks impossible from the floor may become straightforward once you understand the vertical layout.
The laser grids are the major threat.
Don’t try to improvise your way through them.
Watch the pattern.
Memorize it.
Then move.
Low-gravity sections can also be used to your advantage. Rather than treating the altered gravity as an inconvenience, use longer jumps and controlled movement to clear dangerous gaps.
One final piece of advice: reload before using a teleporter whenever possible.
Teleporters have a nasty habit of putting you directly into situations where you suddenly wish your magazine wasn’t empty.
Combat Tips That Actually Matter
One thing I really like about Twisted Tower is that ammunition management encourages you to think rather than simply hold the trigger.
Don’t use your strongest weapon against every enemy.
A lone weak mascot doesn’t deserve a shotgun blast. The mallet exists for exactly this reason.
Save your higher-damage ammunition for situations where the environment makes movement difficult, particularly narrow corridors or rooms where multiple enemies can attack simultaneously.
Sound Is a Weapon
This is something players can easily overlook.
Wear headphones.
Mechanical traps often make noises before activating. A hiss, click, grinding mechanism, or unusual environmental sound can give you a tiny window to react.
That window may only last a moment, but in a game built around traps, a moment is everything.
Exploration Is More Valuable Than It Looks
Don’t rush directly toward the objective marker.
Twisted Tower rewards players who investigate.
Documents, audio recordings, environmental details, and hidden objects aren’t just there to fill space. They can provide context about Tiny and the strange world surrounding him, while some discoveries can reveal alternate routes.
And alternate routes are extremely valuable.
If you can find a shortcut that lets you avoid an entire trap room, that’s often worth more than whatever reward you’d get from fighting through it.
Upgrades: What Should You Prioritize?
If you’re deciding where to spend your collected prize tokens, I’d personally prioritize mobility and weapon handling before chasing flashy upgrades.
| Upgrade Priority | Why It Matters |
|---|---|
| Reload Speed | Reduces downtime during chaotic encounters |
| Sprint Duration | Makes dodging and repositioning much easier |
| Weapon Efficiency | Helps conserve valuable ammunition |
| Combat Power | Useful, but less important if you’re constantly getting trapped |
Sprint duration is particularly valuable.
The ability to move a little longer can make the difference between getting caught by a trap and reaching safety.
How to Fix Twisted Tower Audio Cutting Out Bug: Full Guide (2026)
My Biggest Tip for Surviving Twisted Tower
Don’t think of dying as failure.
Twisted Tower is built around learning.
The first time a fake door kills you, you’ll remember it. The first time a platform collapses, you’ll remember the visual clue. The first time a laser pattern destroys you, you won’t forget the rhythm.
Eventually, the tower stops feeling random.
You begin recognizing its language.
A strange floor tile means danger. A suspicious corridor means you should slow down. A sound from behind the wall means something is probably about to happen. A seemingly harmless mascot can become a serious threat when you’re trapped in a narrow hallway.
That’s when the game becomes much more satisfying.
Twisted Tower Playtest Feedback & Changes: Bioshock Meets Disney Horror Evolution
Final Thoughts
A good Twisted Tower walkthrough shouldn’t simply tell you where to walk. The game’s environments are too unpredictable for that approach to be useful all the time.
Instead, learn how its traps behave, understand what each weapon is good for, and stop treating every room like a shooting gallery.
The five tower levels each demand something different. The hotel tests your observation, the waterpark tests environmental manipulation, the casino tests timing and awareness, the carnival forest tests navigation, and the space station tests precision.
Personally, that’s what makes the climb so enjoyable.
Twisted Tower can be cruel, occasionally ridiculous, and absolutely willing to kill you for ignoring a tiny detail in the environment. But when you finally read a trap correctly, slip through a laser grid without getting touched, or discover a hidden route that completely bypasses a nightmare section, it feels earned.
Slow down. Look around. Listen carefully. Keep moving. And never trust anything in the tower that looks too convenient.
Those four habits will take you a surprisingly long way toward getting Tiny to the top — and, hopefully, getting Charlotte back in the process.