Twisted Tower Walkthrough: Complete 5 Levels Guide to Survive the Horror
I went into Twisted Tower expecting creepy corridors, weird mascots, and plenty of shooting. What I found was a much nastier mix of first-person combat, platforming, environmental puzzles, and arenas designed specifically to punish anyone who stops paying attention for even a few seconds.
Developed by Atmos Games and published by 3D Realms, Twisted Tower has that wonderfully uncomfortable atmosphere Thomas Brush is known for. If you have played Pinstripe or Neversong, you already know his worlds can look whimsical and almost childlike while hiding something deeply wrong underneath. Here, that feeling gets pushed into a full-scale FPS adventure.
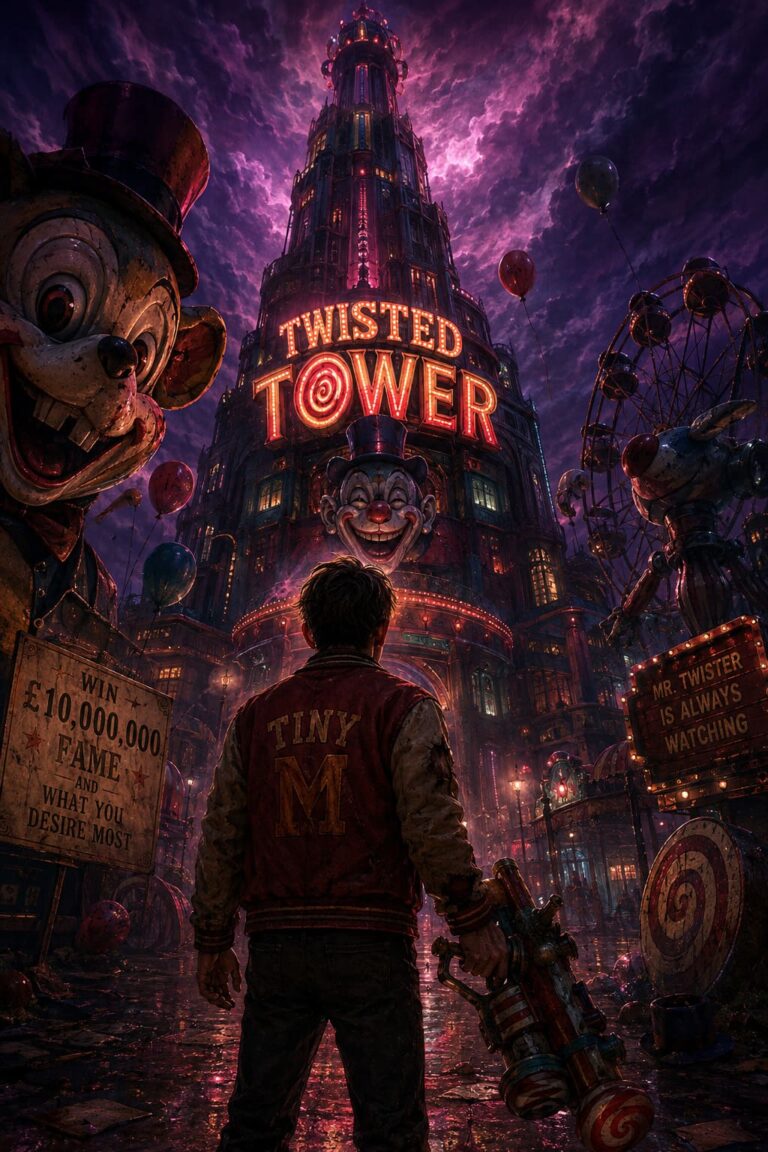
The game throws you into the shoes of Tiny, an eighteen-year-old who enters Mr. Twister’s deadly televised competition for two reasons: Charlotte and money. Unfortunately for Tiny, this is not some harmless game show with goofy prizes. The towering amusement-resort nightmare is packed with corrupted mascots, lethal traps, bizarre mechanical puzzles, and increasingly dangerous arenas.
After working my way through the tower, my biggest piece of advice is simple: do not treat Twisted Tower like a straightforward shooter. Ammunition matters, movement matters, and exploring side paths can make a huge difference when the game suddenly locks you inside an arena with a dozen screaming mascots.
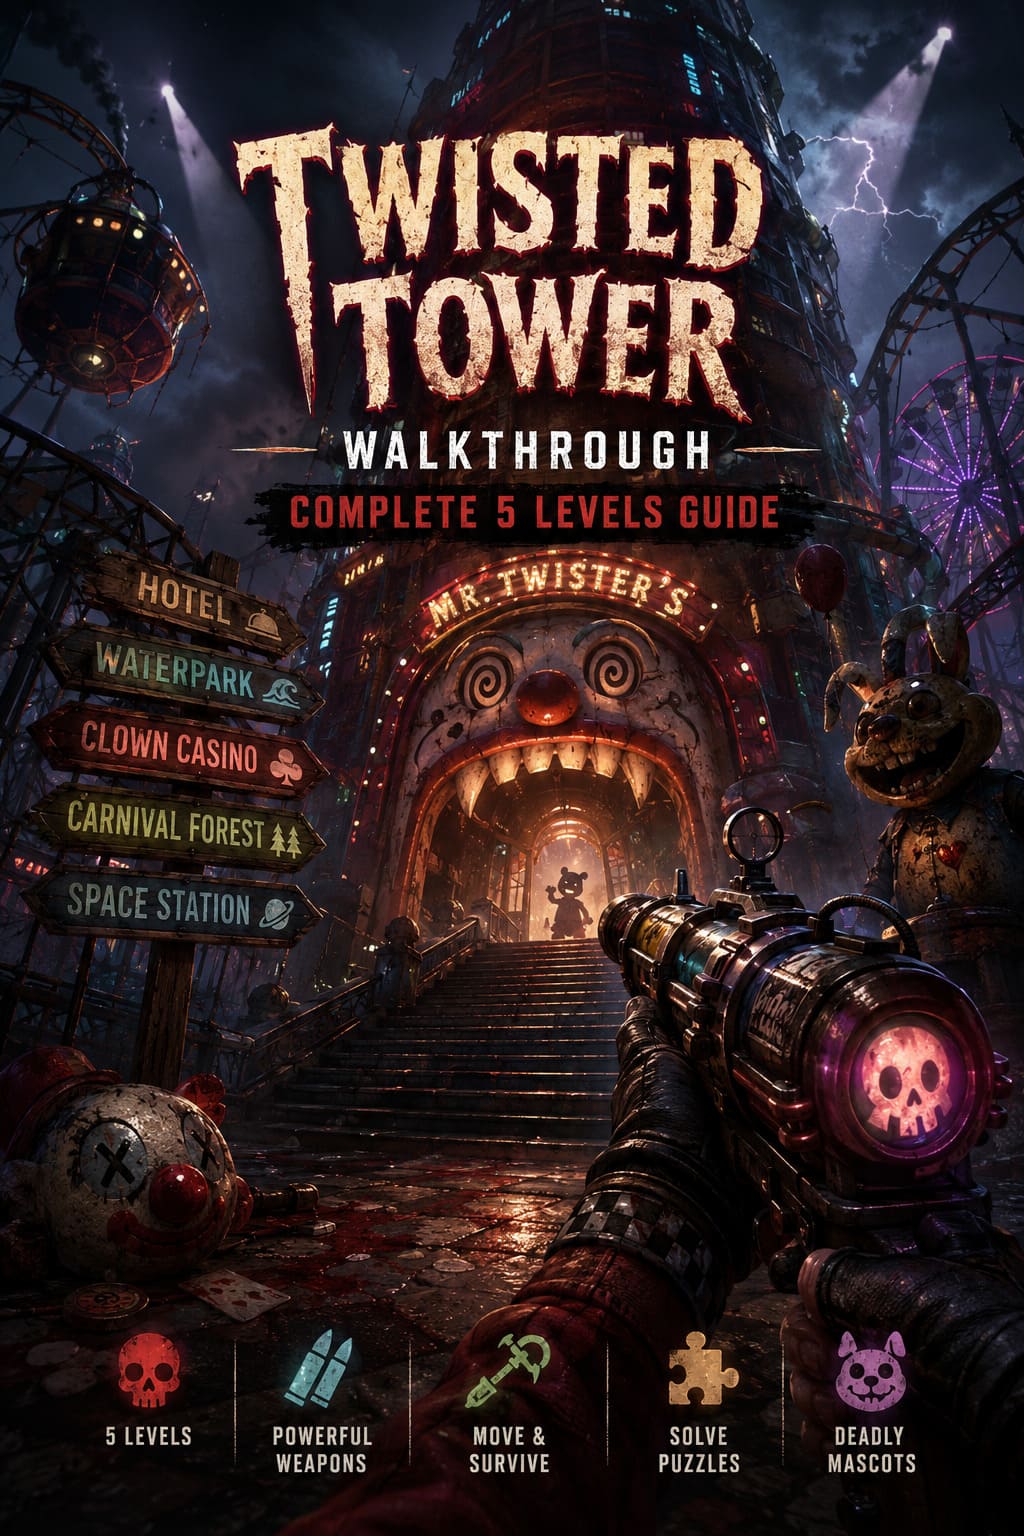
This Twisted Tower walkthrough covers all five major levels, from the opening Hotel section to the final Space Station, along with the weapons and survival tactics that helped me stay alive.
Twisted Tower Survival Tips Before Starting
Before getting into each floor, here are the mechanics I found most important.
| Mechanic | Why It Matters |
|---|---|
| Dash | Saves you from traps, enemy lunges, and dangerous gaps |
| Double Jump | Reaches hidden areas, upgrades, and elevated routes |
| Grappling Hook | Becomes essential during vertical arenas and traversal sequences |
| Weapon Switching | Different enemies become much easier when you stop relying on one gun |
| Exploration | Side rooms often contain resources and useful upgrades |
The tower gradually gives you more mobility, and I strongly recommend learning to combine those abilities instead of using them one at a time. A double jump followed by a mid-air dash, for example, can save a failed platforming attempt. Once you get the grapple hook, some encounters become much easier when you stay mobile rather than fighting from the ground.
The weapon system is equally important. The Whack-a-Mole Mallet is surprisingly useful for conserving ammunition, while the Rubber-Band Pistol works well against weak points. Later weapons are much more specialized, including the crowd-control Dart-Throwing Tommy Gun, the devastating Farting Shotgun, and the powerful Skull-Popping Ray Gun.
My rule was simple: if an enemy is getting too close, create space; if enemies are grouped together, use the fastest weapon available; if something has a visible weak point, slow down and aim.
Level 1 Walkthrough: The Hotel
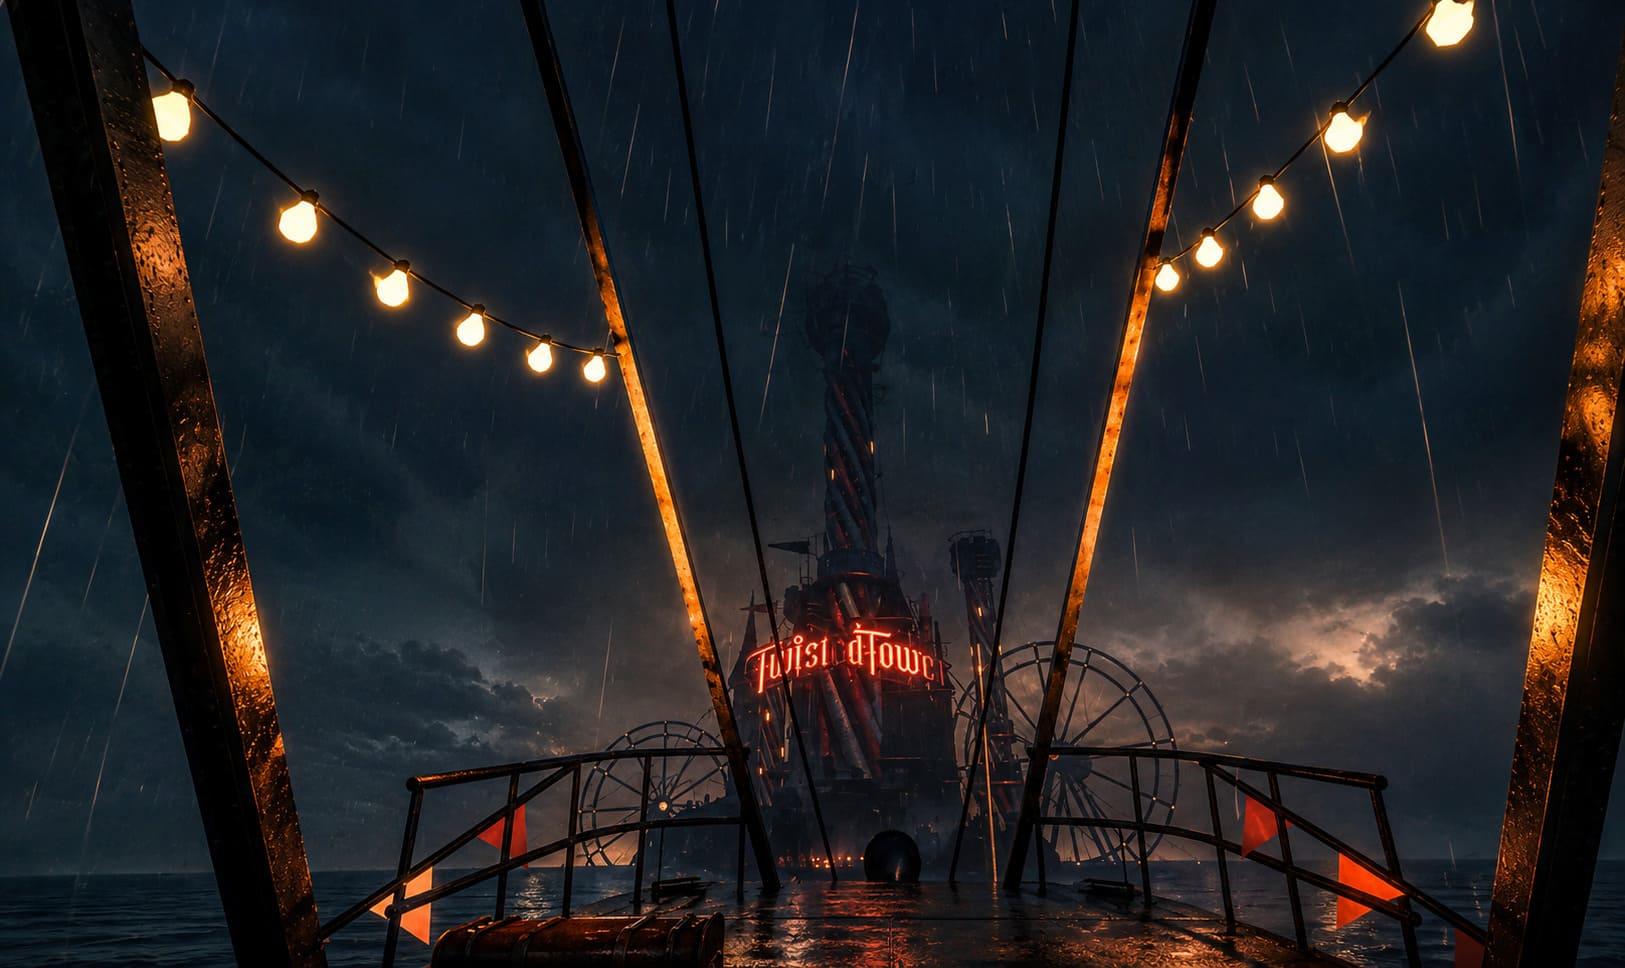
The Hotel is where Twisted Tower teaches you how its nightmare works. At first, it almost feels like an introduction to the bizarre game-show world. Then the blood appears, the mascots start moving, and the atmosphere changes fast.
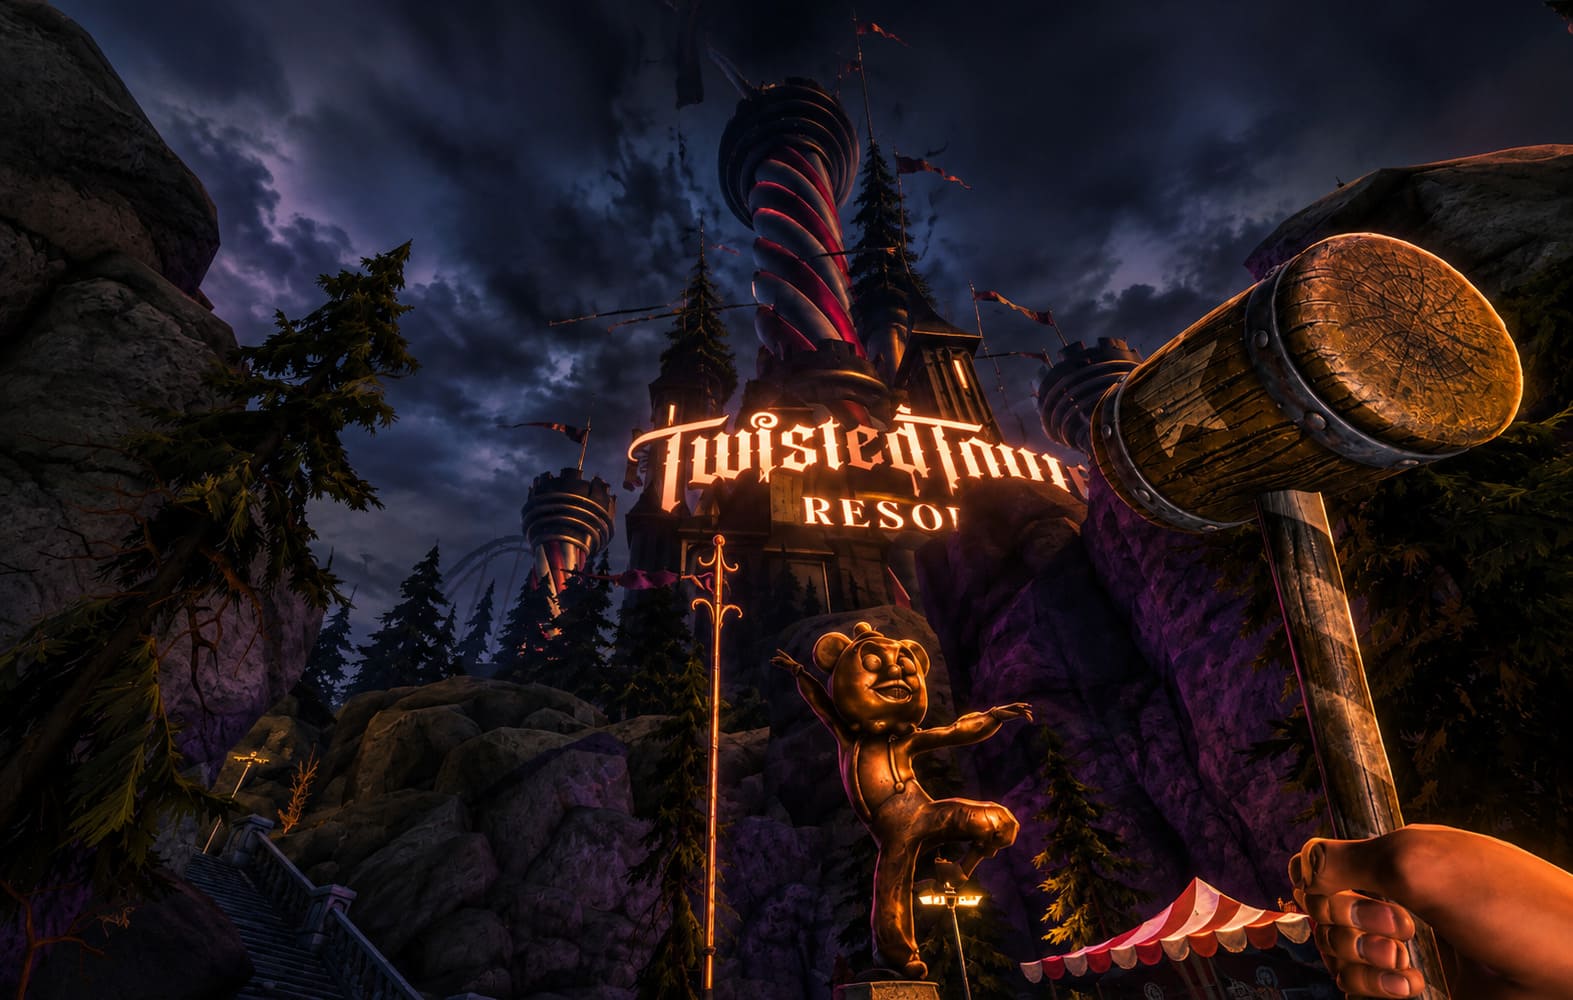
Find the Whack-a-Mole Mallet
After entering the lobby with the velvet ticket, move through the reception area and look near the check-in desk. Here you can grab the Whack-a-Mole Mallet, your first major weapon.
Use it to destroy the weak wooden barriers blocking access to the luggage corridors.
The early mascots are aggressive but relatively simple. They usually rush straight toward Tiny, so backpedaling and timing charged attacks works extremely well. Don’t waste ammunition when a charged mallet swing can finish an isolated enemy.
Search the Guest Rooms
As you move through the hotel wings, explore the accessible rooms rather than rushing directly toward the objective. The important pickup here is the Rubber-Band Pistol.
This weapon becomes particularly useful because some enemies are much easier to deal with when you target exposed weak points instead of repeatedly swinging the mallet.
Restore Power to the Elevator
The central elevator is inactive, and progression requires restoring power. Follow the electrical cables toward the maintenance basement.
This area is essentially a small maze. You need to find three breaker switches located in the side offices. Activating the final switch triggers an ambush, so don’t stand still after restoring power.
One trick I found especially useful is shooting the red fuel canisters around the basement. If enemies cluster near them, you can clear several targets without wasting much ammunition.
Reach the Penthouse Exit
Take the elevator upward after restoring power. The final section offers branching routes:
- Left: Upgrade kiosk
- Right: More direct progression with ammunition
I preferred checking the upgrade area whenever possible. Twisted Tower can become significantly more demanding later, so early improvements are worth the detour.
Clear the hallway, reach the broken window, and make the jump to enter the next zone.
Level 2 Walkthrough: The Waterpark
The Waterpark was the point where I really started paying attention to movement. Falling into the wrong area is dangerous, enemies are faster, and the environment itself can kill you.
The water below the main platforms is toxic, so treat every jump seriously.
Get the Dart-Throwing Tommy Gun
Move across the rusted pool decks and toward the lifeguard tower. The Dart-Throwing Tommy Gun can be found nearby.
This is one of the most useful weapons for controlling groups. The Waterpark introduces enemies that move quickly and emerge from unexpected places, making slow single-target weapons less comfortable.
Stop the Wave Pool Turbine
The central turbine blocks the route forward. To disable it, you need to turn three valve wheels.
Valve One is located near the top of the spiraling blue slide. Watch the damaged boards and don’t rush your jumps.
Valve Two is hidden behind a toxic waterfall. Use your dash to get through quickly.
Valve Three is protected by a stronger mascot wielding a rusty pipe. I recommend staggering it with heavy attacks or rapid Tommy Gun fire before interacting with the valve.
Once all three valves are turned, the turbine stops.
Survive the Lazy River Arena
Dropping into the drained channel triggers one of the first serious survival encounters. The arena locks down and you must survive repeated enemy waves.
Don’t stand in the middle.
Use the outer ledges to keep moving and avoid getting surrounded. About halfway through, you can collect the Farting Shotgun from the supply drop.
Yes, the name is ridiculous. Yes, the weapon is extremely effective.
The close-range burst damage makes shield-bearing enemies much less annoying, especially when several are pushing toward you at once.
Climb the High Dives
The final Waterpark sequence involves trampolines, lifts, and spinning mechanical hazards. Timing matters more than speed here.
Reach the upper structure, pull the master lever, and the floodgate mechanism launches Tiny toward the next floor.
Level 3 Walkthrough: The Clown Casino
This is probably one of the most visually chaotic sections in the game. Neon lights flash everywhere, roulette wheels become platforms, and the slot machines are actively trying to kill you.
Welcome to the Clown Casino.
Survive the Slot Machine Gauntlet
Enter through the enormous neon clown mouth and watch the slot machines lining the corridor.
They launch explosive tokens, but there is a warning: the lights above them turn bright red before firing.
Use that moment to dash through the danger zone.
Near the cash register area, collect the Bubblegum-Spitting Chain-Gun. The sticky projectiles are particularly helpful against tougher enemies because slowing a dangerous target can be more valuable than simply dealing maximum damage.
Cross the Roulette Platforms
The next major room is a vertical chamber containing rotating roulette wheels.
Keep moving opposite the direction of rotation to maintain control. The second platform has an important timing mechanic: jump when the green 0 section lines up with your route.
From the higher position, use the Sniper Slingshot to destroy the glowing power crystals stabilizing the final platform.
Solve the High-Roller Vault Code
The vault requires a three-digit code hidden in the VIP rooms.
The left room contains laser tripwires. Crouch, move carefully, and use your dash when necessary.
The right room is more combat-focused and contains armored dealer mascots. Slow them with the Bubblegum-Spitting Chain-Gun, then circle around and attack their vulnerable rear sections.
Once you have the digits, enter the combination at the vault panel.
Defeat the Jackpot Mascot
The casino enters lockdown, and Mr. Twister begins taunting you over the intercom.
The giant jackpot mascot’s main vulnerability appears when it performs its ground-slam attack. Its coin-slot chest opens, giving you the opportunity to attack.
After defeating it, collect the Grappling Hook and head upward into the rafters.
From this point onward, the game becomes much more vertical.
Level 4 Walkthrough: The Carnival Forest
The Carnival Forest combines dark woodland environments with abandoned amusement attractions, and honestly, this level gave me some of the strongest horror vibes in the entire tower.
The cloaked mascots are the biggest threat. They blend into the environment and attack from range, so watch for movement, visual distortion, and flashes from their equipment.
Activate the Merry-Go-Round Generator
The log flume elevator requires power. Head toward the old carousel.
The grass around the area hides bear traps, so don’t blindly sprint forward. You can safely trigger some traps from range using the pistol.
At the generator, solve the gear puzzle by rotating the outer sections until the electrical connections line up.
Grapple Across the Coaster Tracks
With power restored, start using the grapple points attached to the roller coaster supports.
This section is all about momentum.
Swing toward the next anchor, and if your trajectory starts falling short, use a mid-air dash. Flying enemies can attack while you move, so the Tommy Gun is a good option here because you don’t need to stop and carefully aim.
Escape the Funhouse Mirror Maze
Before leaving the forest, Tiny enters a distorted mirror maze.
Not every visible route is real.
Listen for the faint circus music and pay attention to reflections. If Tiny’s reflection does not move correctly, you’re probably looking in the right direction.
Enemies can burst through breakable glass panels, so keep moving and avoid getting trapped.
Find the true exit to begin the final ascent.
Level 5 Walkthrough: The Space Station
The final level trades haunted carnival imagery for a bizarre 1950s retro-futuristic space station. Low gravity, laser barriers, airlocks, and constant enemy pressure make this the toughest floor in my experience.
Low-Gravity Command Deck
The lower gravity gives Tiny dramatically higher jumps but also makes movement feel floaty.
Use the extra airtime to clear defense systems and gaps, but watch the ceiling-mounted turrets.
The Skull-Popping Ray Gun, the final major weapon, is located in the central laboratory container. Get comfortable with it immediately because the final areas throw large enemy groups at you.
Override the Reactor
You need to disable three cooling systems.
Sector Alpha: Navigate the moving laser grid. Float over low beams and crouch beneath higher ones.
Sector Beta: Move through decompression chambers. Wait for the green light before entering an airlock.
Sector Gamma: This is a brutal mascot factory arena. Enemies are continuously assembled on conveyor belts, so focus on preventing the situation from spiraling out of control. The fully upgraded Ray Gun is incredibly valuable here.
Survive the Apex Ascent
Once the reactor is overridden, a gravity lift activates.
The ride upward is not a peaceful elevator trip. Falling debris, exploding plasma cells, and final enemy waves turn the ascent into one last movement test.
Use the grapple hook constantly. If something is falling toward your current position, don’t try to simply run away—pull yourself toward a different point immediately.
The Final Confrontation
At the top of the Twisted Tower, Tiny finally reaches the opulent arena connected to Mr. Twister and the truth behind the deadly competition.
This final battle is where everything you learned comes together.
For close-range threats, the Farting Shotgun gives you fast protection and knockback. For direct damage and clearing dangerous groups, switch to the Skull-Popping Ray Gun.
Don’t become obsessed with dealing damage every second. Staying alive is more important than squeezing out one extra shot.
Use the arena, keep moving, recognize attack windows, and swap weapons based on the situation.
Madden NFL 27 Honest Review: Is It Worth Buying or Just a Roster Update?
Final Thoughts: Is There a Best Way to Beat Twisted Tower?
After finishing the climb, I think the biggest mistake players can make is approaching Twisted Tower like a standard corridor shooter. The guns are fun, but mobility is just as important.
My best advice for surviving all five levels is:
- Explore before leaving each major area.
- Save ammunition by using the mallet against weaker isolated enemies.
- Always watch for traversal mechanics and grapple anchors.
- Change weapons based on the enemy and arena instead of relying on one favorite gun.
The Hotel introduces the nightmare, the Waterpark tests movement, the Clown Casino punishes bad timing, the Carnival Forest pushes grappling and exploration, and the Space Station demands that you use everything you’ve learned.
That progression is what makes the tower work. Every floor feels stranger and more dangerous than the last, and by the time you reach the top, you are no longer the player who cautiously entered the Hotel lobby with a velvet ticket and a toy mallet.
You have survived Mr. Twister’s twisted game.
Now the only thing left is to finish it.