Stonewards Guide: How to Find Rare Metals, Locate Hidden Caves, and Transport Loot Fast
Stonewards is the kind of game that makes mining feel much more stressful than it sounds on paper. You are not simply walking underground, breaking rocks, and filling an inventory. Every second spent searching for resources is a second your bastion is left without you, and eventually that little trip for “just one more vein” can turn into a desperate sprint back to defend the king.
That risk is what I actually like about Stonewards. The mining phase never feels completely safe or routine because there is always a clock in the back of your head. You might find a fantastic cave full of valuable materials, but if you stay too long, none of that loot matters when the next enemy wave arrives and your defenses are unfinished.
After spending time looking at how the procedural mines work and comparing different approaches to resource gathering, I found that the best Stonewards mining strategy is not simply “mine everything you see.” You need to recognize valuable terrain, understand where hidden areas are likely to appear, and know when to stop mining and start running.
This guide covers the methods I would personally use to find rare metals in Stonewards, uncover hidden caves, and transport valuable loot back to the bastion without wasting the entire preparation phase.
Why Mining Strategy Matters in Stonewards
The biggest mistake new players can make is treating the underground sections like a relaxing resource-gathering break. They are not. The caves are essentially another part of the battle, just with a different kind of pressure.
You need materials for ammunition, defensive structures, upgrades, gates, and other useful improvements. Common resources are easy enough to collect, but the really valuable materials are what allow your settlement and characters to move into stronger tiers of progression.
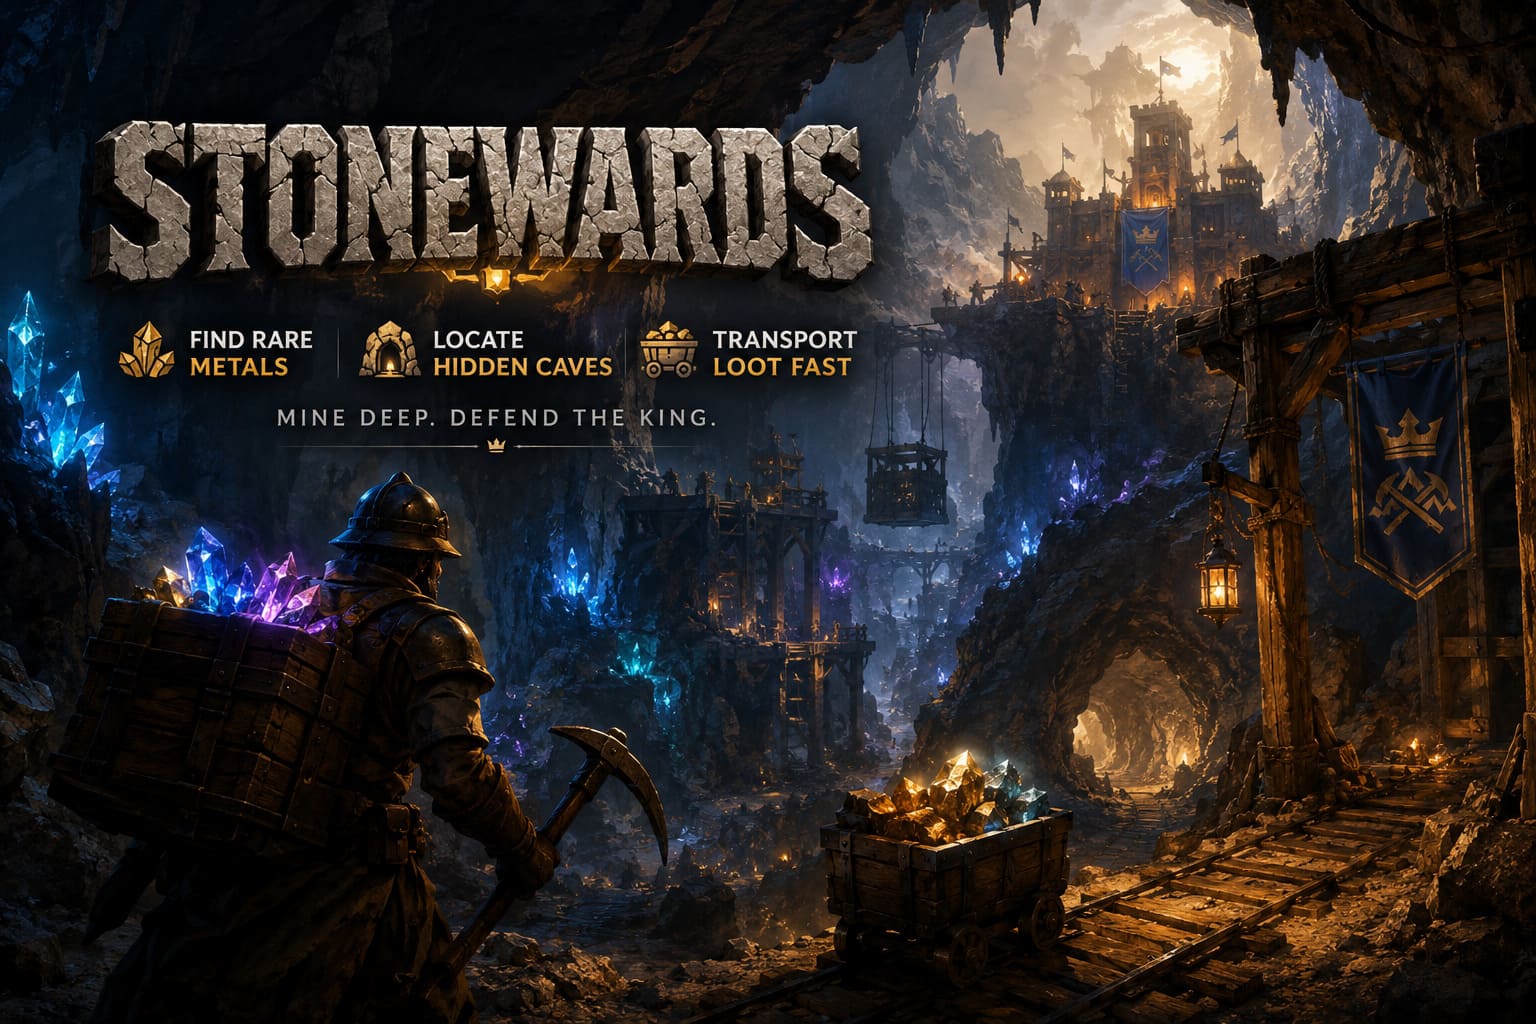
The problem is that the deeper you explore, the more tempting it becomes to continue. You see another tunnel. Then another. Suddenly you have spent several minutes underground while your defenses are waiting for you.
My general rule is simple: never enter a cave without knowing what you are looking for. If you need basic stone, take the nearest convenient deposits and leave. If you need rare metals, deliberately search deeper branches and suspicious-looking areas instead of wasting time clearing every wall.
How to Find Rare Metals in Stonewards
Rare metals are among the most valuable things you can bring back from a mining run. They can be used for higher-level crafting and upgrades, which makes them much more important than the mountains of ordinary stone you will inevitably encounter.
1. Learn to Recognize Rare Ore Visually
One of the best habits you can develop is learning what unusual mineral deposits look like. Ordinary rock tends to blend into the environment, while valuable nodes can have much more distinctive visual characteristics.
Pay particular attention to subtle glowing effects, unusual colors, crystalline surfaces, and jagged geometric shapes. Some high-value minerals can produce a faint emissive effect that becomes especially noticeable when the surrounding cave is dark.
You do not need to wait for a giant glowing sign telling you that a wall contains something valuable. In fact, some of the best deposits can be surprisingly subtle. If one section of the cave looks noticeably different from everything surrounding it, investigate it.
Personally, I would rather spend a few seconds checking an unusual wall than spend half a minute breaking ordinary stone that I probably do not need.
2. Explore Deep Branches Instead of Clearing Everything
Stonewards rewards players who are willing to move away from the obvious route. The main tunnels are useful for navigation, but they are not necessarily where you should expect the best rewards.
When searching for rare ore in Stonewards, look for:
- Long branching tunnels that move away from the main route.
- Steep drops leading into lower sections of the mine.
- Dead ends that appear to have little purpose at first glance.
- Hard-to-reach corners that are easy to ignore when moving quickly.
There is a very simple reason I prefer this approach: a dead-end tunnel that takes effort to reach is more interesting than another wall beside the starting route. When the map generation gives you a long branch, do not automatically assume it is a waste of time. It may be exactly where the valuable node is hiding.
3. Pay Attention to Character Perception
If your character or build has abilities related to mining, perception, or resource detection, actually use them. This sounds obvious, but it is surprisingly easy to forget about passive information while concentrating on movement and combat.
Some builds can provide subtle audio or environmental cues when you approach valuable deposits. A faint metallic sound or unusual audio effect can indicate that something worthwhile is nearby.
Sound is especially useful when visibility is poor. If you hear something that does not seem to match the surrounding environment, stop for a moment and investigate instead of immediately moving toward the next objective.
How to Find Hidden Caves and Secret Mining Areas
Hidden caves are where Stonewards becomes particularly rewarding. These areas can contain concentrated resources, chests, rare plants, and other loot that makes the detour worthwhile.
The catch is that they are often separated from the obvious tunnel network. You cannot always simply follow the main path and expect to stumble into them.
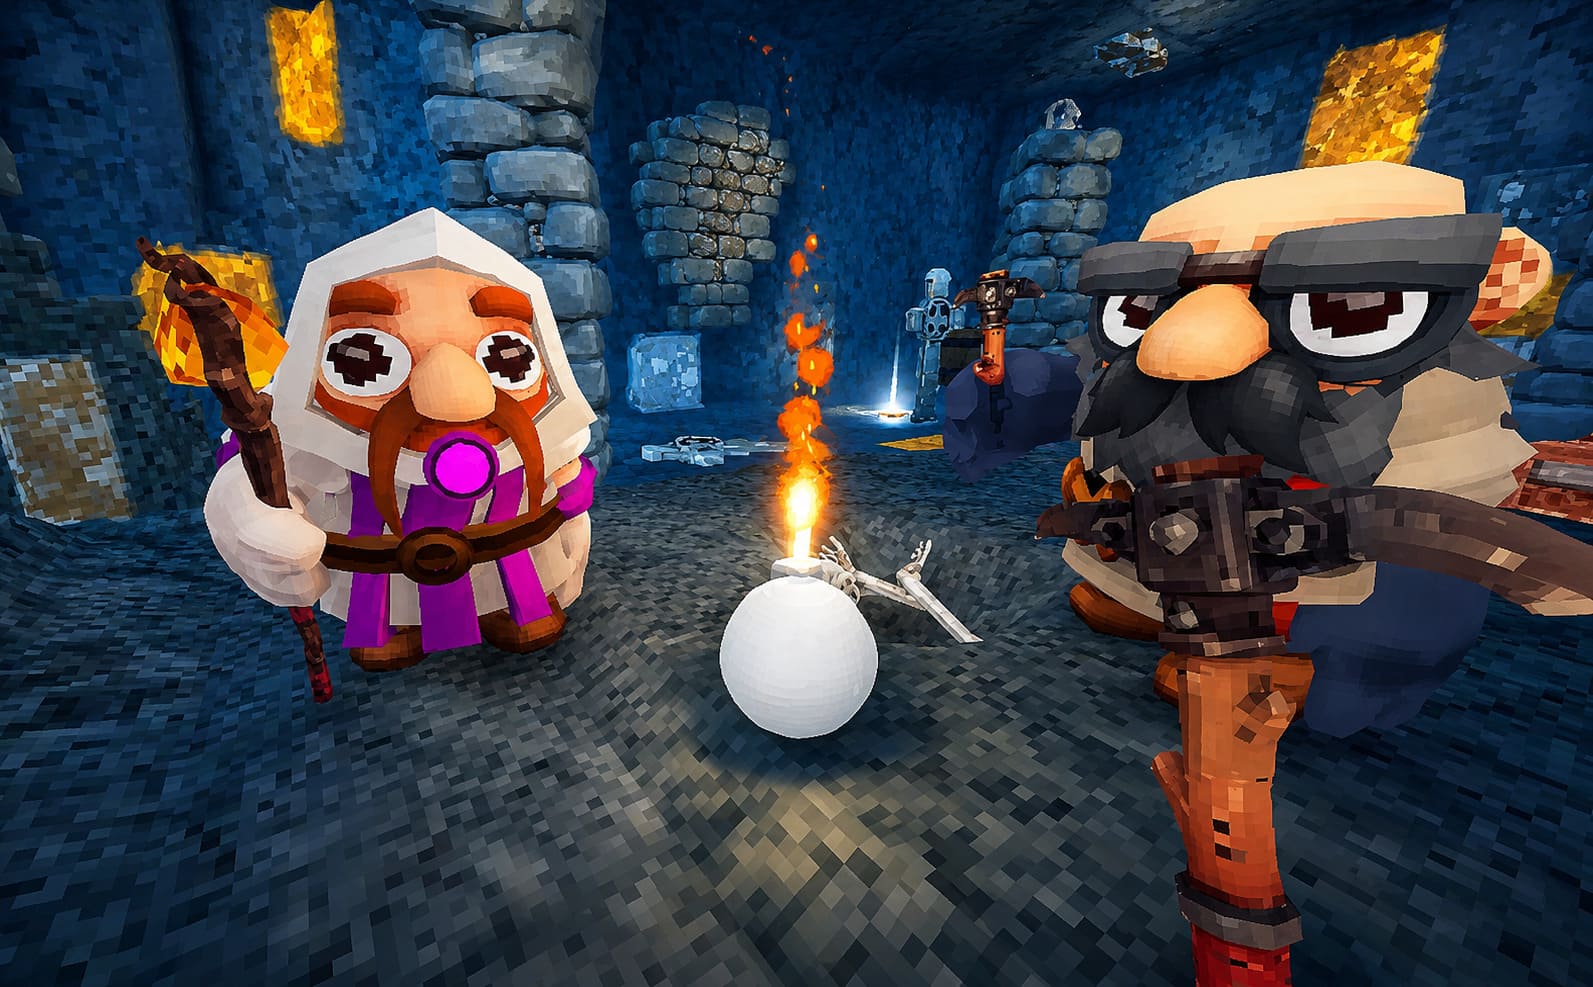
Listen to the Cave Before You Break the Wall
This is probably my favorite tip because it encourages players to actually listen to the environment instead of treating it as background noise.
A hidden chamber can sometimes give itself away through muffled echoes, dripping water, distant creature noises, or other atmospheric sounds. If you are standing next to what appears to be a solid rock wall and you can clearly hear something happening behind it, that wall deserves your attention.
Put simply: if the cave sounds hollow, investigate it.
Headphones can make this considerably easier because directional audio gives you a better idea of where the sound is coming from. You do not need perfect hearing or expensive equipment, but environmental audio is absolutely worth paying attention to.
Look for Cracks, Loose Stones, and Damaged Walls
The environment itself can also reveal hidden passages. Keep an eye out for unusual wall formations, vertical cracks, loose pieces of rock, falling debris, or sections that look structurally weaker than the surrounding terrain.
These visual details can act as clues that a destructible barrier is nearby.
If you encounter a wall that looks suspicious, do not immediately walk away just because it is not part of the obvious route. Depending on your equipment, a stronger pickaxe or explosive tool may be enough to open the path.
I especially recommend checking these suspicious walls when you are already searching for rare resources. There is little reason to spend valuable time breaking through random terrain, but a suspicious wall near a promising mining area is a completely different story.
Use the Map to Spot Strange Empty Spaces
Your map is another surprisingly useful tool. Pay attention to areas that appear completely unexplored while being surrounded by tunnels you have already visited.
A large unexplored pocket inside an otherwise mapped section of the mine can be a clue that there is something behind one of the nearby walls.
Instead of randomly digging around, find the tunnel closest to the unexplored area and approach the wall from there. This can save a huge amount of time compared with trying to break through multiple layers of rock.
The Fastest Way to Bring Loot Back to the Bastion
Finding rare materials is only half the job. Getting them back to the bastion is where many otherwise successful mining runs fall apart.
There is nothing more frustrating than finding an excellent deposit, filling your inventory, and then realizing the defense phase is about to begin while you are still deep underground.

Use Momentum Instead of Walking Everywhere
Heavy resources can make movement feel painfully slow. When carrying bulky loot, you should look for ways to preserve as much movement speed as possible.
Slopes and drops can become useful here. Sprinting downhill and combining movement with jumps can help you maintain momentum instead of simply trudging toward the elevator.
Depending on the current movement mechanics and your character’s available abilities, movement actions such as slides, dashes, or other animation interactions can also make resource transportation faster.
I would not build an entire strategy around exploiting a movement trick that could eventually be patched, but understanding the game’s momentum system is still useful. Even small improvements become significant when you are repeatedly traveling between a deep cave and the bastion.
Build a Resource Relay in Co-Op
If you are playing Stonewards with friends, this is where teamwork can dramatically improve efficiency.
Instead of having everyone travel all the way into the cave and then all the way back, divide the work. One or two players can remain deeper underground and focus almost entirely on mining. Another player can act as the transport link between the mining area and the bastion.
A simple co-op relay might look like this:
- Miners: Focus on extracting valuable resources and clearing the cave.
- Runner: Moves valuable materials toward the exit or elevator.
- Defender: Returns early to prepare the bastion and strengthen defenses.
This system works particularly well when the mine is large. You are effectively turning a long round trip into several shorter jobs, which means the team spends more time gathering resources and less time walking.
Do Not Fill Your Inventory With Garbage
This sounds harsh, but it is one of the easiest mistakes to fix.
When the extraction timer is getting dangerously low, common resources should be the first things you abandon. Stone, wood, and other basic materials may be useful, but they are not worth risking a successful return trip when you have rare metals sitting in your inventory.
If you have limited space and only enough time for one final trip, prioritize:
- Rare metals and high-tier ore.
- Rare crystals and valuable minerals.
- Unique trinkets or special loot.
- Everything else only if you have room and enough time.
A small inventory containing valuable materials is far better than a completely overloaded bag of common resources that causes you to move slowly and arrive late.
Invest in Movement and Mining Upgrades
One of the best long-term improvements you can make is reducing the amount of time you spend traveling and performing basic mining actions.
Whenever the progression system gives you access to movement-related upgrades, pay attention to them. Increased movement speed, improved jumping, faster tool animations, and bonuses associated with carrying resources can all have a surprisingly large impact over the course of a run.
The important thing is that these upgrades do not merely make your character feel better. They effectively give you more usable time during every mining phase.
If an upgrade saves ten or fifteen seconds on each return trip, that can eventually become several additional minutes of useful mining or preparation across multiple rounds.
Stonewards Multiplayer Lobby Not Working & Co-Op Connection Error Fix (2026 Guide)
My Recommended Stonewards Mining Routine
If I were starting a fresh run and wanted to maximize resources without constantly risking the bastion, I would keep the process fairly simple.
First, grab enough basic materials to cover your immediate needs. Then move toward deeper branches rather than wasting time completely clearing the starting area. Watch the walls for unusual textures and listen for audio that suggests a hidden chamber.
Once you find a promising branch, explore it aggressively until you either locate valuable resources or determine that it is not worth the time investment. If you discover a hidden cave, quickly assess its reward potential before committing to a full clear.
Most importantly, keep checking the defense timer.
The moment the expected value of another mining trip becomes lower than the risk of arriving late, leave.
That is the part of Stonewards that took me the longest to appreciate. The best miner is not necessarily the player who extracts the most ore. It is the player who consistently brings valuable resources home while still arriving in time to defend the bastion.
Stonewards Multiplayer Guide: How to Play 4-Player Online Co-Op With Friends
Stonewards Mining Priorities at a Glance
| Goal | Best Approach | What to Watch For |
|---|---|---|
| Rare Metals | Explore deep branches and dead ends | Glow, crystals, jagged textures |
| Hidden Caves | Investigate suspicious walls | Echoes, cracks, unexplored map pockets |
| Fast Transport | Use momentum and movement abilities | Slopes, jumps, dashes |
| Co-Op Mining | Create a resource relay | Divide mining and transport roles |
| Limited Inventory | Prioritize high-value loot | Rare ore over common materials |
| Long-Term Progression | Invest in movement and mining upgrades | Speed, jump, tool efficiency |
Final Thoughts
Stonewards rewards players who know when to explore and when to stop. That sounds like a small distinction, but it is basically the foundation of efficient mining.
Rare metals are usually worth searching for, especially when you learn to recognize the visual and audio clues that separate valuable areas from ordinary rock. Hidden caves are even better when you can identify them quickly through environmental sounds, suspicious walls, and map abnormalities.
But none of those discoveries matter if you are still underground when the defense phase starts.
My biggest recommendation is to stop thinking of the mining phase as downtime between battles. Treat it as a timed operation. Go underground with a purpose, prioritize valuable resources, use your map and ears to find hidden areas, and always keep an escape window available.
And if you are playing co-op, take advantage of it. A properly organized mining team can outperform a group of four players who are all doing exactly the same thing. Split the work, establish a relay, and make sure at least one person is always thinking about the return trip.
In the end, the strongest Stonewards resource gathering strategy is not about taking everything you can possibly find. It is about taking the right things and getting them home safely. Once you start playing that way, the mines become much less chaotic, your crafting progression becomes faster, and you will spend far fewer runs desperately racing toward the bastion with a backpack full of materials.