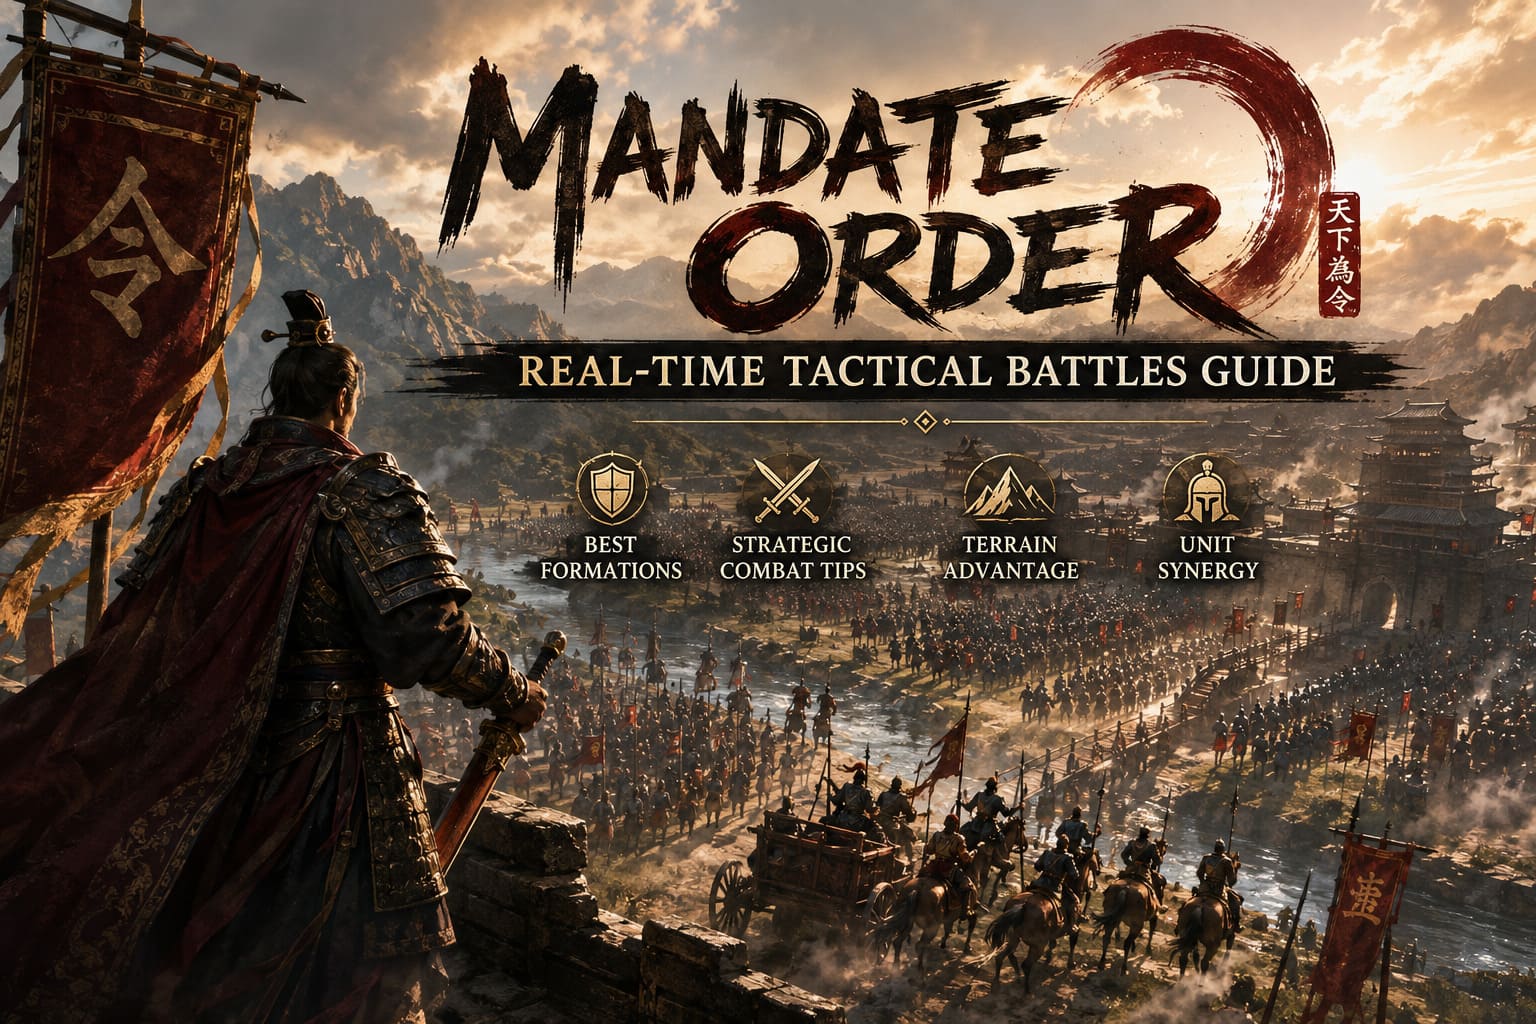
Mandate Order Real-Time Tactical Battles Guide: Best Army Formations and Strategic Combat Tips
Mandate Order is the kind of strategy game that can make you feel like a brilliant military commander one minute and a complete idiot the next. You can spend an hour building a beautiful city, optimizing workshops, organizing warehouses, and preparing a seemingly unstoppable army — only to watch your frontline collapse because you drew the wrong formation or forgot to keep the grain moving.
That is exactly what makes its warfare so interesting.
Set during the turbulent Spring and Autumn and Warring States periods of ancient China, Mandate Order combines city building, economic management, logistics, and huge real-time battles into one connected system. Your army does not exist in a magical strategic bubble. Its weapons come from your workshops, its soldiers depend on your armories, and its ability to stay in the field depends on the supply network you built back home.
After spending serious time looking at how these systems interact, one thing becomes obvious: winning battles in Mandate Order starts long before the first arrow is fired.
Your city is your war machine. Your formations are the blade.
How Real-Time Combat Actually Works in Mandate Order
The biggest adjustment for players coming from traditional RTS games is the game’s line-drawing formation system.
Instead of individually clicking dozens of squads into microscopic positions, you hold the right mouse button and draw the formation you want directly onto the battlefield. Your troops then organize themselves around the shape you created.
This sounds simple until you are surrounded by several thousand enemy soldiers.
A short, thick formation compresses your troops into a dense block. This is fantastic for shield infantry that need to absorb charges or hold a narrow defensive position.
A long, thin line, on the other hand, spreads your soldiers across a much wider front. That is extremely useful for archers, skirmishers, and flanking maneuvers where battlefield coverage matters more than raw density.
The trick is learning to redraw formations constantly. Don’t treat the formation tool as something you use once at the start of a battle. It is your primary battlefield weapon.
If the enemy suddenly sends cavalry around your right flank, redraw. If your center is getting crushed, compress it. If their infantry line is too wide to cover, extend your own formation and attack the weak section.
Once this becomes muscle memory, Mandate Order starts feeling less like an RTS and more like you’re physically sculpting an army across the battlefield.
Know What Every Unit Is Actually Good At
Building a huge army isn’t enough. Throwing every unit type into one massive blob is a great way to create an expensive traffic jam.
| Unit Type | Primary Role | Best Use |
|---|---|---|
| Shield Soldiers | Frontline Defense | Absorb charges and hold positions |
| Polearm Troops | Anti-Cavalry | Stop chariots and shock units |
| Archers | Ranged Damage | Punish exposed infantry and high-value targets |
| Chariots | Shock Assault | Break formations and disrupt backlines |
| Cavalry | Mobility | Flanking, pursuit, and harassment |
Shield Soldiers are the backbone of a defensive army. Their protection and missile resistance make them ideal for forming dense frontline blocks.
Polearm Troops are the insurance policy against cavalry. Spears and halberds become especially nasty when positioned behind a shield wall. Enemy cavalry that crashes into this setup can lose its momentum very quickly.
Archers need protection and visibility. Putting them behind heavy infantry is good; putting them on elevated ground behind a defensive line is even better. If you give ranged troops a clean line of sight, they can slowly dismantle an enemy before the main melee even begins.
Then there are Chariots and Cavalry, which are where things get really fun.
These units depend on movement and momentum. A chariot charge launched across open terrain can turn a neat enemy formation into absolute chaos. But slam those same chariots into a crowded melee and their biggest advantage disappears.
Don’t waste your shock troops.
The Four Best Battle Formations in Mandate Order

1. Iron Tortoise — The Defensive Anvil
If you need a formation that simply refuses to die, the Iron Tortoise is one of the safest choices.
Start with a dense, relatively short line of Shield Soldiers. Make it thick rather than wide. You want multiple layers of infantry absorbing the enemy’s initial impact.
Behind them, position your Polearm Troops.
Your Archers should sit behind the formation or occupy a nearby hill where they can fire safely.
The concept is straightforward: shield wall takes the hit, polearms punish the attackers, archers provide constant ranged pressure.
This formation shines in defensive situations. Narrow mountain passes, fortress entrances, bridges, ravines, and city gates are perfect locations.
It also works brilliantly when the enemy has superior numbers. A large army cannot bring its entire force to bear if the terrain only allows a few units to fight at once.
One personal rule I would absolutely follow: never voluntarily abandon a strong choke point when you’re already winning the attrition battle. Let the enemy come to you.
2. Crescent Encirclement — The Pincer Trap
The Crescent is the formation I would pick when I want to turn a conventional infantry battle into a complete disaster for the opponent.
Mix Shield Soldiers and Polearm Troops and draw a broad, forward-facing crescent around the enemy.
Your ranged units remain behind the deepest part of the curve.
When the enemy advances, your center absorbs the impact while the outer wings gradually move around their flanks.
That is where things get ugly.
Encircled units lose access to comfortable retreat paths, their vulnerable sides become exposed, and your ranged troops get much better opportunities to fire into the fight.
The danger is obvious: don’t let your center collapse before the wings close.
If your frontline is too weak, the enemy can punch directly through the middle and your beautiful crescent becomes two disconnected blobs.
3. Shock Spearhead — The Chariot Wedge
This is the formation for players who enjoy watching carefully organized enemy lines explode.
Place your strongest Chariots and shock Cavalry at the front in a narrow, dense formation. Keep fast infantry immediately behind them.
Then find an exposed portion of the enemy line.
You want open ground.
You want distance.
You want speed.
Do not charge from a standstill if you can avoid it. Give your chariots room to build momentum before slamming into the target.
The impact can scatter light infantry and create a hole in the enemy formation. The infantry following behind immediately rushes through that opening.
The real objective isn’t simply killing the frontline.
The objective is reaching the backline.
Once your shock troops get among enemy Archers and support units, the opponent has a serious problem. Their ranged damage disappears, their formation becomes disorganized, and their frontline may suddenly find itself fighting without support.
This is one of the most satisfying tactics in Mandate Order when executed properly.
4. Split-Flank Skirmisher — The Mobile Kite
If your opponent has built a massive slow infantry army, don’t fight them on their terms.
Use the Split-Flank Skirmisher.
Keep a relatively small group of durable infantry in the center. Their job is basically to look important enough that the enemy wants to attack them.
On both flanks, place mobile Archers and light Cavalry.
As the enemy advances, pull the flanking groups backward and outward while continuing to attack.
The enemy now has a choice.
Stay together and get peppered from the sides, or split the army and chase your mobile units.
Both options are useful to you.
If they split, use your mobility to isolate individual groups. If they stay together, keep kiting and wearing them down.
This tactic requires more attention than the Iron Tortoise, but against slow armies it can be absolutely brutal.
Terrain Is a Weapon
One of the biggest mistakes new players make is treating the battlefield as a flat arena.
It isn’t.
Elevation matters.
Archers positioned on hills can gain better firing opportunities, while downhill attacks can create serious advantages. Infantry defending slopes can also be harder to dislodge, while attackers moving uphill lose some of their ability to generate momentum.
Rivers are another obvious tactical tool.
A river crossing can turn a huge army into a queue.
That’s exactly what you want.
Place your ranged units behind a secure defensive position and let enemy troops struggle through the crossing. Once their formation becomes compressed, start focusing your missile fire.
Choke points are particularly valuable because they reduce the importance of raw army size.
A 3,000-man army isn’t nearly as scary if only 200 soldiers can effectively reach your frontline at once.
Weather and Seasons Can Ruin a Perfect Plan
Mandate Order’s seasonal conditions add another layer that is easy to underestimate.
Heavy rain can reduce visibility and make ranged combat less reliable. Fire-oriented strategies can also become less attractive when the weather is working against them.
Winter conditions are even nastier for prolonged campaigns. Reduced movement speed and increased fatigue mean that an army marching around aimlessly can arrive at the battlefield already exhausted.
Don’t launch a massive campaign simply because the enemy looks vulnerable on the strategic map.
Check the conditions.
A fresh army fighting in favorable terrain can destroy a larger exhausted force.
Your Economy Is Part of Your Army
This is where Mandate Order separates itself from a lot of strategy games.
Your military isn’t just a number on a screen.
Weapons need to be produced.
Armor needs to be produced.
Food needs to be transported.
Workers need to physically move resources through your settlement.
The game’s Wu labor system makes logistics a genuine part of military preparation. If your workshops are too far from storage facilities, if transport routes are inefficient, or if your armories cannot keep up with recruitment, your military machine starts breaking down before it even reaches the battlefield.
Weapons and Armories
Raw copper and iron must be processed into equipment.
That equipment has to reach armories.
Your soldiers then physically travel to those locations to equip themselves.
This means city layout matters enormously.
A badly designed industrial district can create a surprisingly painful military bottleneck.
Food and Supply Lines
Food is even more important.
Armies consume huge amounts of grain, particularly during extended campaigns and fortress defenses.
If your forward supply network stops functioning, morale can collapse.
And once morale starts dropping, everything gets worse.
You can have elite troops with excellent formations and still lose because your army is hungry.
Build relay stations, transport yards, wagon routes, and reliable connections between your granaries and active military zones.
Think of your supply network as another battlefield formation — except the enemy is distance, time, and logistics failure.
Build Your Fortress Like You Expect to Be Attacked
Because you probably will be.
Mandate Order’s gridless construction system makes fortress design especially interesting.
Don’t just draw one enormous wall around your settlement and call it a day.
Use multiple defensive layers, controlled access points, internal kill zones, towers, and strategically placed siege weapons.
Leave enough space for workers to reach damaged structures.
A beautiful fortress that cannot be repaired efficiently during an assault is basically expensive decoration.
I strongly prefer defensive cities with several fallback positions. If the outer wall falls, the enemy shouldn’t suddenly have a straight road to your warehouse district.
Make them fight for every section.
Advanced Combat Tips That Actually Matter
Preserve Chariot Momentum
Chariots need room.
Pull them back, give them a clean runway, and then attack.
Avoid launching charges through mud, cramped formations, or terrain that prevents them from accelerating properly.
Use Retainers Intelligently
The Retainer System adds another strategic layer through historical scholars and generals associated with schools such as Militarism, Legalism, and Mohism.
A Militarist retainer can be particularly valuable for an aggressive commander, unlocking specialized formations and improving military discipline.
Don’t treat retainers as simple stat bonuses. Their abilities should influence how you build and command your army.
Don’t Ignore Rituals
The spiritual side of Mandate Order isn’t just decoration.
Spring Sacrifices and offerings to Heaven can improve your state’s fortune, potentially providing military morale benefits and reducing the impact of certain negative events.
If you’re preparing for a major war, timing these bonuses around your campaign can be worthwhile.
Rotate Exhausted Units
Fatigue is one of those mechanics that quietly destroys armies.
Soldiers fighting continuously lose effectiveness. Their defensive capabilities, movement, and damage output can suffer significantly.
The solution is simple:
Keep reserves.
When your frontline starts looking exhausted, pull those units back and replace them with fresh troops.
Yes, it requires more micro.
Yes, it is worth it.
A fresh infantry cohort entering a battle at exactly the right moment can completely stabilize a collapsing frontline.
How to Fix Mandate Order Infinite Loading Screen Bug (2026 Guide)
Final Verdict: Think Like a General, Build Like an Engineer
The best Mandate Order players aren’t simply good at combat.
They’re good at connecting systems.
They understand that a chariot charge begins with road access and supply planning. They know an archer formation is only as good as its firing position. They understand that a fortress wall means little if workers cannot repair it. They know that an enormous army becomes useless when food stops reaching the front.
That’s what makes Mandate Order’s real-time tactical warfare so compelling.
My biggest advice is to stop thinking of battles as isolated encounters. Think of the entire state as one giant military machine.
Mandate Order Guide: Best Early-Game Philosophers to Recruit First
Build efficient industry.
Create reliable logistics.
Recruit the right retainers.
Stockpile food.
Choose terrain carefully.
Then, when the armies finally meet, use the line-drawing system aggressively.
Compress your formations when you need strength. Stretch them when you need coverage. Use shields to absorb punishment, polearms to destroy charges, archers to control space, and chariots to create chaos where the enemy least expects it.
And when the battlefield finally turns into several thousand soldiers colliding in a cloud of arrows, dust, cavalry, and screaming commanders, you’ll realize what makes Mandate Order special.
You aren’t just commanding an army. You’re commanding the entire system that makes that army possible.