How to Fish Dazed Games Full Walkthrough: Strategy Guide
I’ve played plenty of fishing games over the years. Some are relaxing, some are surprisingly technical, and a few are basically spreadsheets with fish attached.
How to Fish by Dazed Games is absolutely none of those things.
This is the kind of game where you can start a session thinking you’ll spend twenty minutes catching a few fish, only to end up chasing a giant sea monster around a damaged boat while your friend is screaming because someone accidentally blew up the catch.
Released in August 2026, How to Fish combines physics-based fishing, chaotic combat, co-op multiplayer, exploration, progression, and a healthy amount of nonsense. You can play alone, but the game feels particularly entertaining with a group of friends. With up to four players in a session, everyone can take on a different role, and that makes some of the later encounters much easier.
The basic objective sounds simple enough: catch fish, defeat them, sell them, upgrade your equipment, and keep moving toward home.
In practice, almost nothing stays simple for long.
This walkthrough covers the main island progression, the most useful upgrades, fishing and combat advice, co-op roles, and the final boss. I’ve also included some of the mistakes I made along the way, because honestly, knowing what not to do is often more useful than another perfectly optimized guide.
The Core How to Fish Gameplay Loop
The entire game revolves around three basic ideas:
Catch the fish. Kill the fish. Sell the fish.
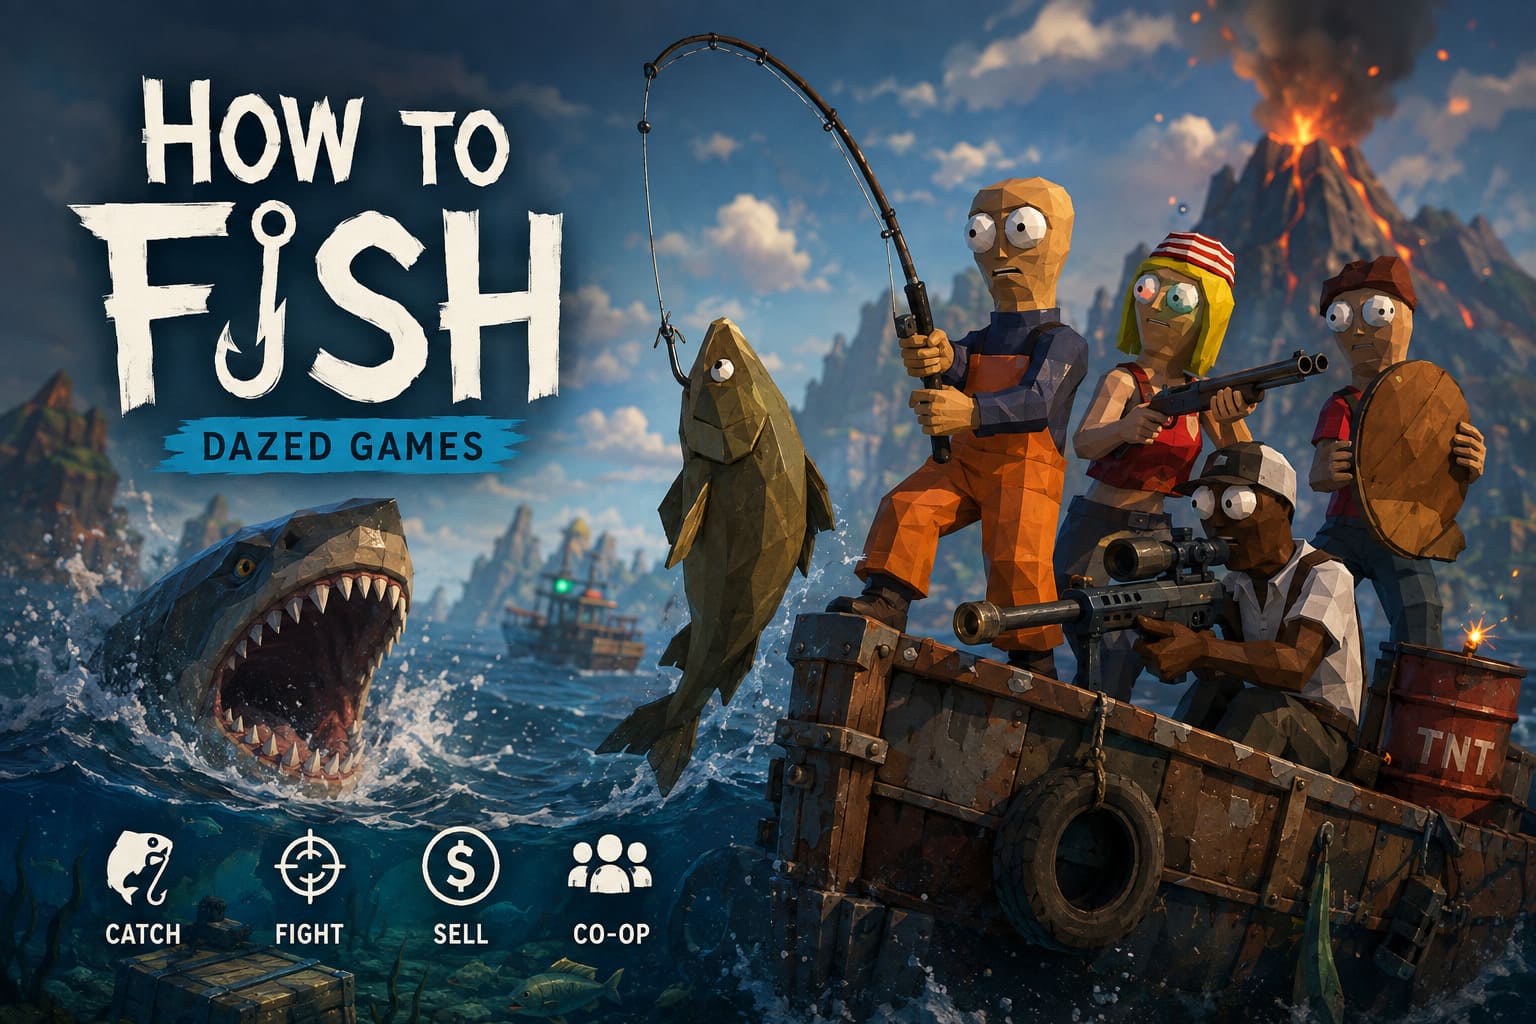
That sounds repetitive on paper, but the physics and combat systems keep changing how those three steps work.
Fishing isn’t a passive activity where you throw a line into the water and wait. You need to control your cast, react to the fish, and pay attention to line tension. When something stronger bites, the game becomes almost like a small tug-of-war.
If you constantly reel while the fish is fighting back, you’ll eventually push the tension into the red.
And that’s when things go badly.
A snapped line means losing the catch, wasting your bait, and potentially having to start the whole process again.
Fishing Tips That Actually Matter
From my experience, the biggest beginner mistake is trying to reel everything in as quickly as possible.
Don’t.
When the fish pulls hard, give it room. Let the line relax slightly before putting pressure back on it. Short bursts of reeling are usually much safer than holding the reel button continuously.
This becomes particularly important when you start encountering larger species.
| Situation | Best Approach | Common Mistake |
|---|---|---|
| Small fish | Reel steadily | Overthinking the catch |
| Strong fish | Short controlled pulls | Constant reeling |
| Pufferfish | Wait during inflation | Fighting maximum tension |
| Deep-sea fish | Use specialized bait | Using basic worms |
| Rare variants | Upgrade your line first | Trying them with starter equipment |
Once the fish reaches the boat or shore, things change completely.
You’re no longer fishing. You’re fighting.

Island 1 – The Crash Site
The first island serves as the game’s tutorial, although I wouldn’t call it a particularly gentle one.
You arrive with almost nothing, so your first priority is finding the basic equipment left behind by the crash.
Look around the shoreline and wreckage until you locate the starter fishing rod. Once you’ve got it, you’re ready to begin catching the small fish around the shallow water.
At this point, don’t waste time looking for complicated bait. Worms can be collected around the island, and they’re perfectly adequate for your first catches.
The early game economy is straightforward. Catch fish, beat them down with whatever you have available, and sell the bodies to the local merchant.
Your first meaningful financial target is around $150.
Once you’ve got the money, I recommend prioritizing a basic melee weapon and the Basic Bait Package.
The bait upgrade is more important than it might initially seem. Better catches mean faster money, and faster money means getting out of the painfully underpowered early-game equipment stage.
The Old Sailor Quest
The next major objective comes from the Old Sailor near the broken bridge.
He needs three Common Bass before he’ll help open the route forward.
This is a good point to slow down and get comfortable with the fishing mechanics. Don’t rush the catches. The starting fish are forgiving, and this is the best time to learn how tension works without having a giant monster trying to destroy your boat.
Deliver the three bass and the route to the next area opens.
At this point, you’re finally ready to leave the starter island.
Island 2 – Pufferfish Mangroves
The second island is where How to Fish starts showing its real personality.
The water is deeper, the wildlife is more aggressive, and your starter equipment begins feeling seriously outdated.
If you have enough money, buy the shotgun as soon as possible.
It might sound ridiculous to recommend a firearm in a fishing walkthrough, but this isn’t a normal fishing game. The shotgun becomes one of your most useful tools because it allows you to deal with fish while they’re being pulled toward the boat.
That’s particularly useful against aggressive species.
How to Catch Pufferfish Without Losing Your Mind
The pufferfish quest is one of the first moments where the fishing system really tests you.
You need to collect five intact Pufferfish, but these things become significantly harder to control once they inflate.
When the pufferfish expands, its weight and resistance increase dramatically. If you continue pulling against it, your starter line can break surprisingly quickly.
The trick is simple:
When the pufferfish inflates, stop reeling.
Let the tension fall slightly. Once the fish deflates, start pulling again.
It feels counterintuitive at first. You’re fighting the instinct to reel harder, which is exactly why this encounter catches so many new players.
The Giant Moray Sub-Boss
Before moving toward Island 3, you’ll have to deal with the giant Moray blocking the sea route.
Don’t waste your time trying to catch it with a normal fishing rod.
You can’t.
Instead, purchase an Explosive Barrel.
The basic strategy is to place the barrel near the feeding area, wait for the Moray to surface, and then shoot the barrel.
Two successful explosions should be enough to clear the channel.
This encounter is also your first real introduction to the game’s combination of fishing, shooting, positioning, and physics. It’s a good preview of what the later boss encounters become.
Island 3 – Deep Blue and the Sunken Ruins
Island 3 is where the game becomes much more dependent on preparation.
The starter raft isn’t really designed for the rougher waters here, so upgrading to the Medium Boat should be one of your first priorities.
The larger vessel isn’t simply faster. It gives you more stability and makes cooperative fishing much easier.
If you’re playing with friends, this is where assigning roles starts becoming genuinely useful.
One player should handle the boat while everyone else concentrates on fishing and combat.
Trying to have four people simultaneously cast from a badly positioned boat is a great way to turn a profitable fishing trip into a comedy routine.
Specialized Bait
The deeper water also introduces fish that won’t respond well to basic worms.
You’ll want to purchase either the Sinking Lure or Glow Bait.
The important part is understanding that deep-water fishing requires patience. Cast out, let the lure descend, and then use a slow and deliberate retrieve.
Don’t immediately start reeling at full speed.
The deeper fish are worth the effort, though. They provide substantially better returns and prepare you financially for the equipment you’ll need later.
Hunting Rare Fish Variants
Island 3 also introduces one of the more interesting collection objectives.
The Collector NPC wants a rare glowing variant before giving you the Golden Anchor key.
Rare fish are easy to recognize because of their unusual visual effects in the water, but they’re considerably stronger than ordinary catches.
This is where upgrading your fishing line becomes important.
I’d strongly recommend improving your line before deliberately hunting rare variants. There’s nothing more annoying than finding the fish you need and immediately watching it break your equipment.
And yes, I’ve done exactly that.
More than once.
Island 4 – The Volcano Forge
The final major island doesn’t exactly welcome you.
The surrounding water is dangerous, your boat takes structural damage, and ordinary fishing equipment isn’t designed for the extreme conditions.
Before spending too much time here, make sure you’ve purchased the Reinforced Iron Hull.
You’ll also need the Steel Wire Line if you plan on fishing in the hottest areas.
Without the appropriate upgrades, the volcanic water can destroy your equipment before you have a chance to accomplish anything useful.
This is one of those sections where preparation saves an enormous amount of frustration.
The Trick Shot Challenge
The volcanic gate leading toward the final encounter is locked behind a Trick Shot challenge.
This is one of those objectives that sounds straightforward until you actually attempt it.
You need to hook a fish, pull it toward you, shoot it at the correct moment, and land its body inside the designated sacrificial basket.
The physics make this much harder than simply aiming at a target.
My advice is to practice the timing with cheaper fish first.
Don’t immediately use your best catch for the challenge. The game gives you plenty of opportunities to experiment with its physics, and eventually you’ll get a feel for how the fish’s momentum works after being hit.
Successfully completing the challenge unlocks the final event and gives you a substantial financial reward.
How to Beat the Megalodon King
The Megalodon King is the final major boss and, unsurprisingly, isn’t interested in being caught with a fishing rod.
The fight is divided into three phases.
Phase 1 – Protect the Boat
The Megalodon circles your boat and attempts to ram it.
Watch for its breach animations. When the weak points around its gills become visible, that’s your opportunity to attack.
High-powered weapons and mounted equipment are particularly useful here.
The biggest mistake is focusing exclusively on the boss while ignoring the boat’s condition.
Your boat is effectively your health bar.
If you allow it to take too much damage, the entire team can be wiped even if the Megalodon itself is nearly defeated.
Phase 2 – Deal With the Minions
Eventually, the boss disappears beneath the water and sends smaller aggressive fish toward your boat.
This is where teamwork becomes extremely important.
Two players should focus on defending the deck with shotguns while the other players deploy explosives into the water.
Don’t have everyone attack the same target.
The minions exist to distract you, and if they’re allowed to overwhelm the deck, your team can lose control of the encounter very quickly.
Phase 3 – The Final Pull
The last stage is probably the most ridiculous part of the entire campaign.
The Megalodon grabs the primary harpoon line and initiates a huge tension struggle.
At this point, everyone needs to help with the winch.
Once the creature gets close enough to the boat, stop worrying about conserving ammunition.
Use everything.
Shotgun shells, explosives, heavy weapons—whatever you’ve saved should be spent here.
The objective isn’t elegance anymore. It’s survival.
Once the Megalodon finally goes down, you’ll receive the Mystic Propeller, which allows you to restore your original luxury boat and finally make your way home.
That’s the campaign completed.
Best Four-Player Co-op Strategy
If you’re playing How to Fish with four people, I’d avoid having everyone perform the same job.
The game becomes considerably more manageable when everyone has a purpose.
Recommended Team Setup
- Helmsman/Defender: Controls boat positioning and protects the vessel.
- Two Anglers: Handle casting, bait selection, and line tension.
- Executioner: Uses the shotgun or explosives to finish catches as soon as they reach the surface.
The Executioner role sounds silly until you start fighting larger fish. Then it suddenly makes perfect sense.
The angler can focus entirely on managing the line while the fourth player prepares the killing blow.
This setup also works extremely well during boss fights because nobody has to constantly switch between fishing and combat duties.
Is How to Fish (Dazed Games) Playable on Steam Deck? 2026 Compatibility & Performance Guide
How to Make Money Faster
The fastest way to build your equipment isn’t simply catching the largest fish you can find.
You should also pay attention to Trick Shots.
Stylish kills and unusual physics interactions can increase the value of your catches considerably. Shooting a fish in mid-air, throwing it into the storage bin from a distance, or using the environment creatively can produce much better payouts than simply killing everything on the ground.
This is one of the systems I particularly like because it rewards experimentation instead of turning the game into a pure numbers grind.
There’s also the gambling den located on the hidden tavern boat between Islands 2 and 3.
You can wager fish for potentially much larger rewards, but there is an obvious downside: losing means losing the fish.
My recommendation?
Don’t gamble anything you desperately need for progression.
Use common or surplus catches instead.
A lucky spin can accelerate your progression dramatically, but losing a rare fish you’ve spent fifteen minutes catching is the sort of mistake you remember for the rest of the session.
How to Fish (Dazed Games) Rare Fish Guide: Locations, Baits, and Strategies
Final Thoughts on How to Fish
How to Fish works because it doesn’t take its fishing concept remotely seriously.
The basic systems are surprisingly deep, but the game constantly throws ridiculous situations at you. You’re managing line tension one minute, firing a shotgun at a flying fish the next, and then arguing with your friends about who accidentally tipped the boat over.
That’s the charm.
If you approach How to Fish expecting a realistic fishing simulator, you’re probably going to be confused.
If you approach it as a physics-driven co-op adventure where fishing is basically an excuse to cause increasingly spectacular problems, it makes much more sense.
The campaign also does a good job of gradually introducing new mechanics. Island 1 teaches the fundamentals, Island 2 introduces combat and stronger fish, Island 3 demands better equipment and teamwork, and Island 4 turns everything you’ve learned into one final chaotic test.
My biggest advice is not to rush the progression.
Upgrade your line. Improve your boat. Buy weapons when they become available. Learn how different fish react to tension. And, especially in co-op, give everyone a clear role.
Once you understand that rhythm, the game becomes much less frustrating and much more fun.
And when you eventually drag the Megalodon King alongside your boat while four players unload every weapon they own into it, you’ll understand exactly why How to Fish is one of the strangest and most entertaining fishing games I’ve played in a long time.