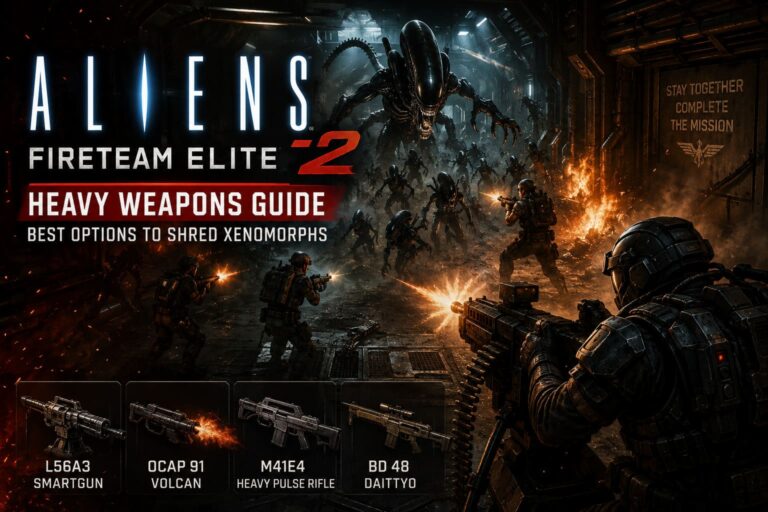
Drone Sector Weaponry Tier List: Gunship Loadout Guide (MicroProse 2026)
Drone Sector is the kind of game that can make you feel like an unstoppable airborne war machine one minute and a completely overwhelmed logistics officer the next. Developed by Icosphere and published by MicroProse, this tactical gunship simulation has entered Steam Early Access in July 2026 with a very specific pitch: combine the brutal firepower of an AC-130 with the tactical control and surveillance capabilities of a modern combat drone.
That sounds simple on paper. It is not.
You are not just pointing a crosshair at red targets and holding down the trigger. Drone Sector asks you to manage ammunition, monitor flight times, work with thermal and night-vision optics, collect strategic resources, research new technology, and keep autonomous allied squads alive while they move through hostile territory. A weapon can look incredible in the loadout menu and still feel completely useless once the battlefield becomes chaotic.
After spending time looking at the current Early Access meta, community discussions, demo impressions, early review builds, and the tactical role of each weapon, I have ranked the current arsenal from S-Tier meta staples to C-Tier niche picks. This is not a list based purely on raw damage numbers. In Drone Sector, reliability, ammunition economy, target flexibility, and the ability to protect your ground units matter just as much as explosive power.
Drone Sector Weapon Tier List: Quick Ranking
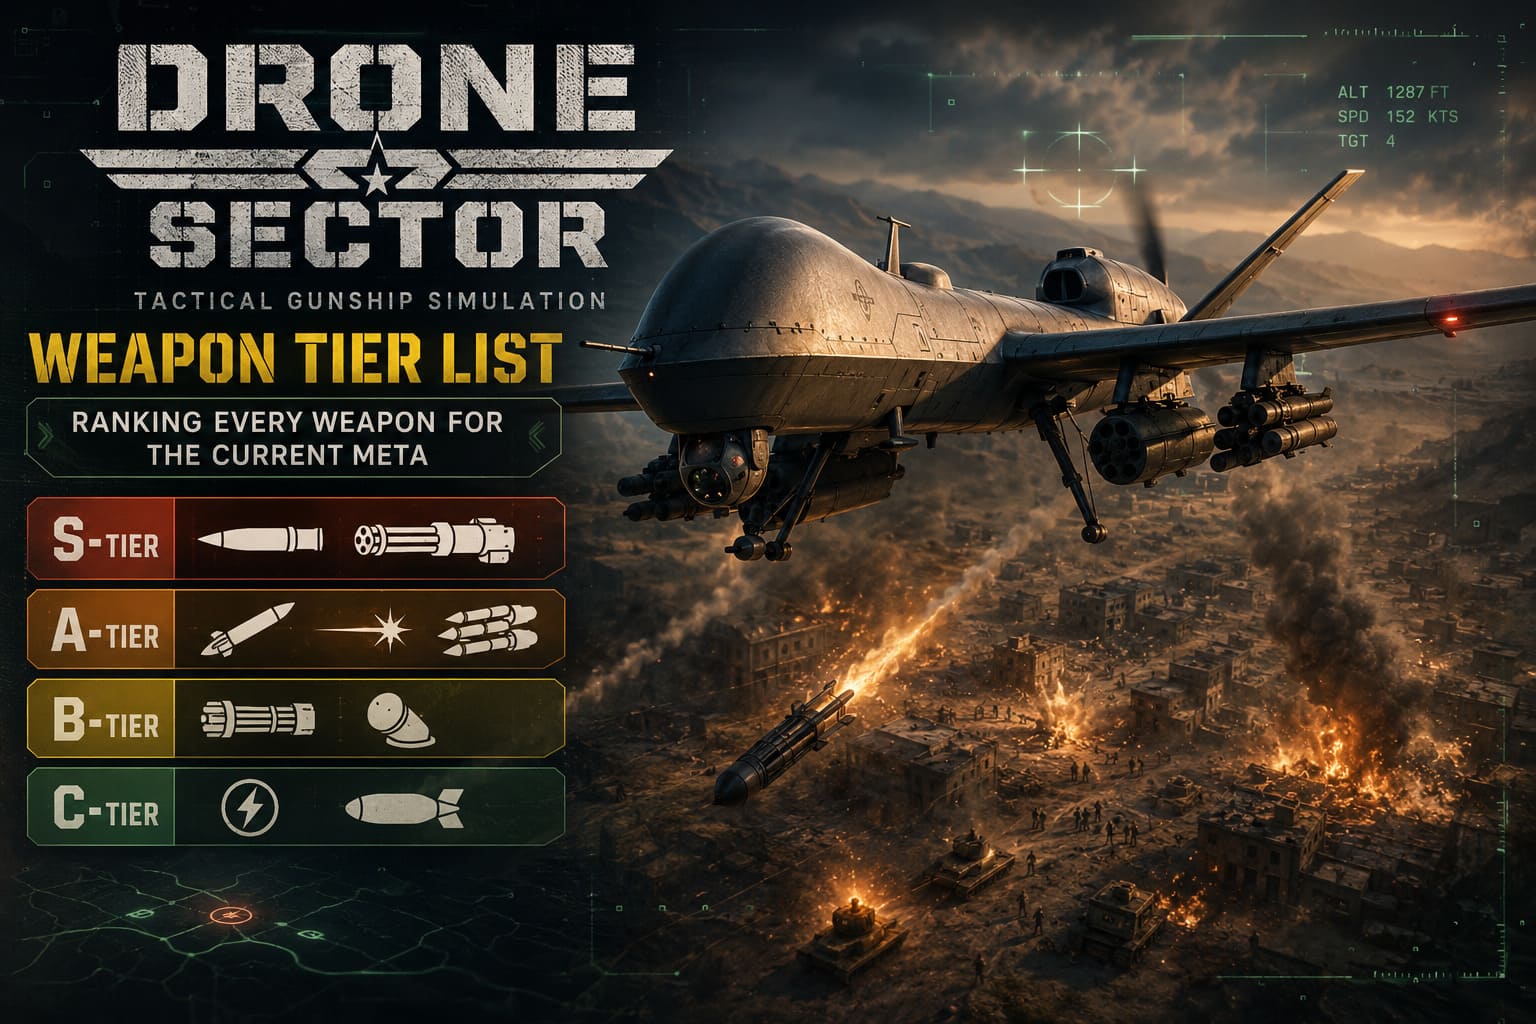
| Tier | Weapons | Best Use |
|---|---|---|
| S-Tier | AP Dart, Heavy Auto-Cannon | Armor Destruction, General-Purpose Fire Support |
| A-Tier | Precision Guided Missile, Tactical Suppression Laser, Fragmentation Rocket Pods | Specialized Strike Power And Battlefield Control |
| B-Tier | Standard Rotary Machine Gun, Proximity Airburst Mortar | Reliable Early Game And Situational Support |
| C-Tier | EMP Disrupter, Heavy Dumb-Bombs | Niche Objectives And High-Risk Scenarios |
S-Tier Weapons: The Core Of The Current Drone Sector Meta
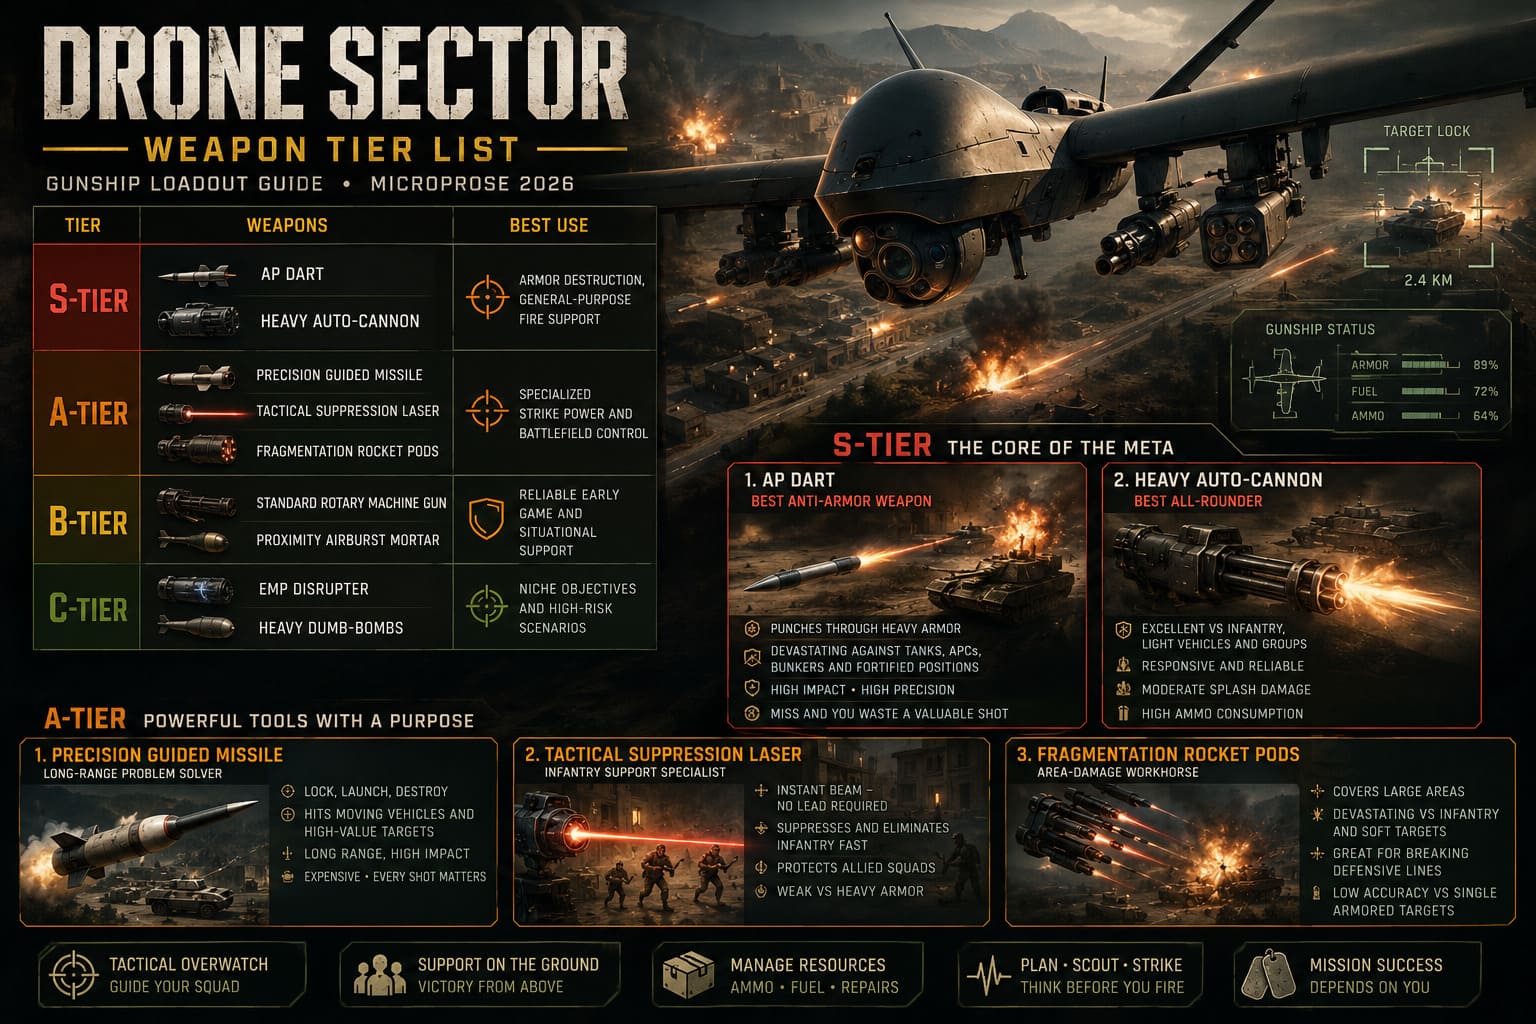
1. AP Dart – The Best Anti-Armor Weapon
If I had to pick one weapon that defines the current Drone Sector meta, it would be the AP Dart. This anti-armor kinetic projectile is brutally specialized, and that is exactly why it is so effective.
The AP Dart does not have a huge explosion. It does not clear an entire street. It will not save you from a swarm of infantry rushing toward one of your squads. What it does is punch through heavily armored targets with an efficiency that makes other weapons look almost embarrassing in the right situation.
Enemy tanks, armored personnel carriers, fortified bunkers, and hardened defensive positions are the AP Dart’s natural prey. A properly placed shot can cause a devastating mobility kill or destroy a critical armored target before it has a chance to disrupt your ground operation.
The catch is simple: you have to hit the target.
There is almost no room for sloppy aiming. Moving targets require proper lead calculation, and the projectile’s flight time means you need to think ahead rather than react at the last second. Miss the shot and you have effectively thrown away one of your most valuable pieces of ammunition.
My verdict: The AP Dart is one of the strongest weapons in the current game, but it rewards disciplined players. Keep it for tanks, bunkers, armored vehicles, and other targets that your regular guns cannot handle efficiently. Do not waste it on random infantry just because you have a clear shot.
2. Heavy Auto-Cannon – The Best All-Rounder
The Heavy Auto-Cannon is less flashy than the AP Dart, but it is arguably the weapon you will rely on more often during a long mission. The 30mm/40mm variants provide the kind of consistent firepower that makes them the backbone of a practical gunship build.
This is the weapon you bring when the battlefield is messy. Light vehicles, infantry groups, mixed enemy formations, and advancing hostile squads can all be handled with sustained cannon fire. The moderate splash damage is especially useful when several targets are packed together.
It also feels responsive. That matters more than some players might admit. When your ground squad is pinned down and enemy units are closing in, you do not always have time to set up a perfect missile lock or calculate a long ballistic trajectory. The Heavy Auto-Cannon lets you get on target quickly and start solving the problem immediately.
The biggest weakness is ammunition consumption. Hold the trigger too long and your reserves can disappear faster than expected. Drone Sector constantly asks you to think about logistics, and the Heavy Auto-Cannon is the weapon that punishes careless resource management the most.
My verdict: If you are building a loadout without the Heavy Auto-Cannon, you should have a very good reason. It is the best general-purpose weapon in the current arsenal.
A-Tier Weapons: Powerful Tools With A Clear Tactical Purpose
1. Precision Guided Missile – The Long-Range Problem Solver
The Precision Guided Missile is the weapon for players who like to plan an attack before the shooting starts. Once a target lock is established, the missile provides a reliable way to hit moving vehicles, dangerous defensive systems, and high-value targets from a safer distance.
It works particularly well with Drone Sector’s surveillance systems. Use the Blackhot or Whitehot thermal viewing modes to identify targets, establish your lock, and launch before the enemy has a chance to create more problems for your ground forces.
The downside is the economy. Guided missiles are not something you can casually spam throughout an operation. Their long reload times and expensive resource requirements make every launch matter.
A bad missile shot is not just a missed opportunity. It can affect your entire mission economy.
Best use: Opening strikes against convoys, anti-air systems, dangerous armored targets, and high-value enemy positions.
2. Tactical Suppression Laser – The Infantry Support Specialist
The Tactical Suppression Laser is one of the most interesting weapons in the current meta because it does not play by the same rules as conventional guns.
There is no traditional projectile flight time. The laser hits instantly, which means you do not need to lead targets moving across the screen. That alone makes it extremely comfortable to use during hectic engagements.
Its real strength comes from infantry control. The laser can quickly eliminate exposed enemy soldiers and apply suppression effects that give allied AI squads a better chance during firefights. When your ground troops are attempting an extraction or crossing dangerous terrain, this kind of immediate battlefield control can be more valuable than raw explosive damage.
But do not bring it expecting to destroy tanks. The Tactical Suppression Laser is terrible against heavy armor and fortified concrete structures.
Best use: Infantry suppression, emergency squad protection, and fast reaction support during close engagements.
3. Fragmentation Rocket Pods – The Area-Damage Workhorse
Fragmentation Rocket Pods are the answer when you need to cover an area quickly. Their wide spread makes them particularly effective against infantry concentrations, trenches, soft-skinned vehicles, and enemy rally points.
They are also more forgiving than precision weapons. You do not need to hit one specific pixel on a moving target to get value from a full volley. Fire into the general area, and the blast pattern can do the rest.
The trade-off is accuracy. Individual rockets can scatter widely, making the weapon inefficient against a single armored target. If you are trying to destroy one tank, you are probably bringing the wrong tool.
Best use: Breaking defensive lines, clearing dense infantry positions, and preparing an objective before sending your ground squads forward.
B-Tier Weapons: Useful, But You Need The Right Situation
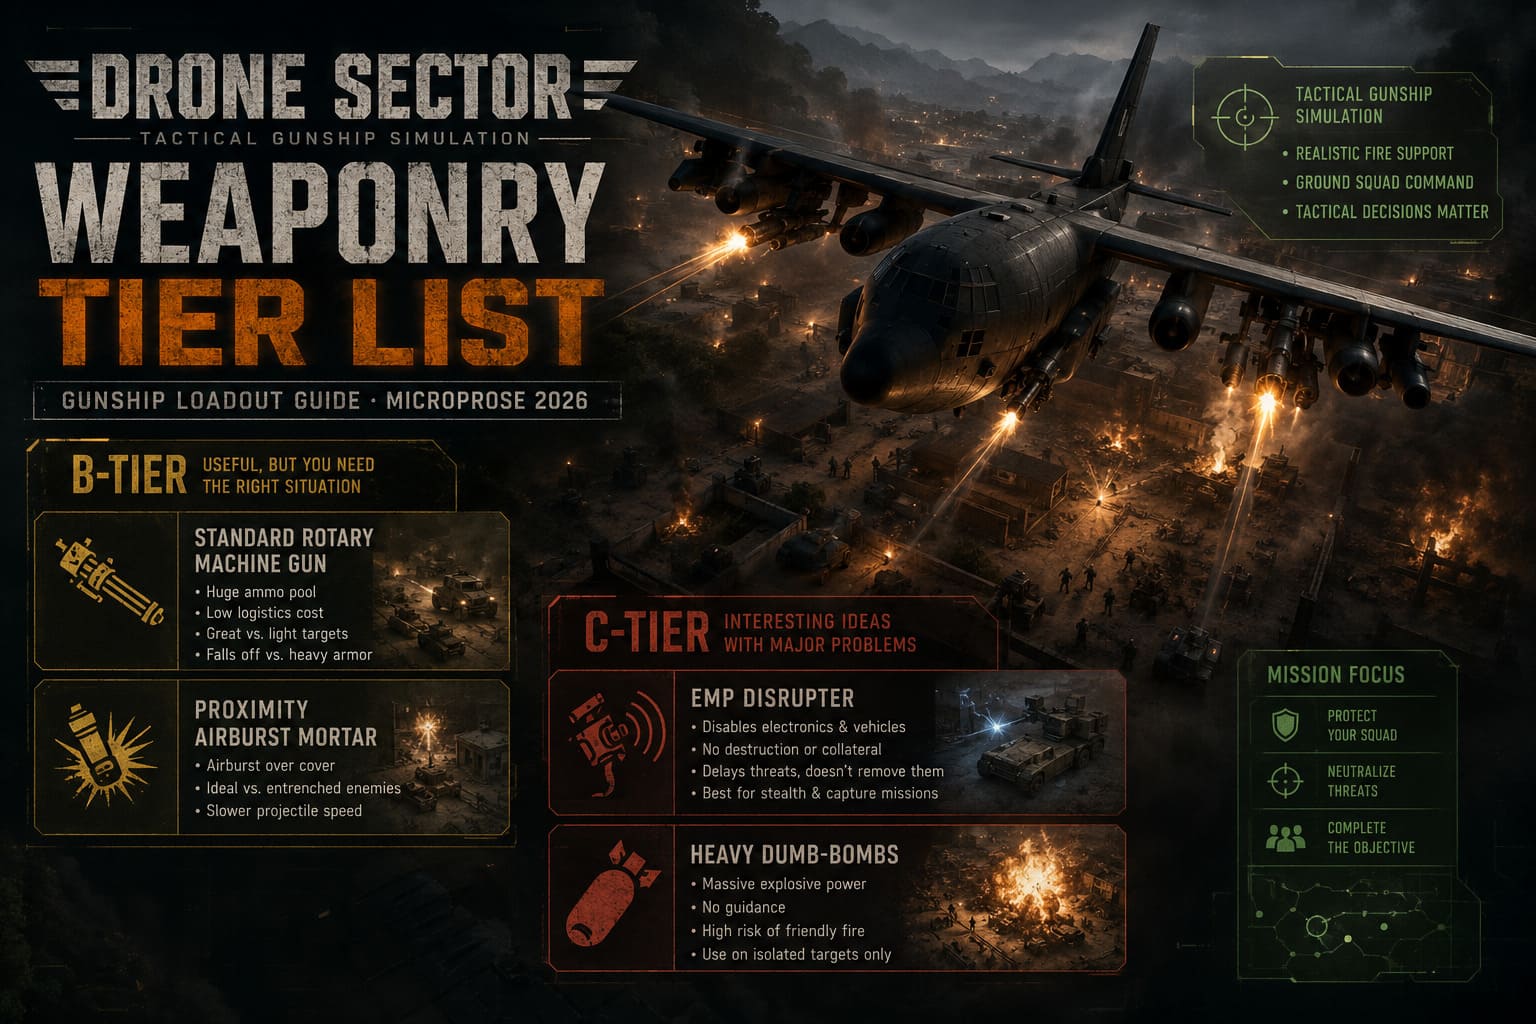
1. Standard Rotary Machine Gun
The Standard Rotary Machine Gun is the classic starter weapon, and honestly, it remains more useful than its position on the tier list might suggest.
It has a huge ammunition pool, low logistics costs, and responsive handling. Against lightly armored targets and basic infantry, it can still do serious work. Early in a campaign or mission progression, this weapon is perfectly capable of carrying your gunship through smaller engagements.
The problem appears later. Once heavier armor, bunkers, and medium tanks become regular threats, the weapon’s limitations become impossible to ignore. Armor deflection mechanics can turn your ammunition into nothing more than expensive noise.
Best use: Early-game combat, light targets, and finishing off damaged enemies without wasting premium ammunition.
2. Proximity Airburst Mortar
The Proximity Airburst Mortar is a specialized tool designed for targets that refuse to stand in the open.
Enemies hiding behind walls, shallow trenches, defilade positions, and other forms of cover can be difficult to hit with direct-fire weapons. The airburst effect allows the projectile to detonate before reaching the ground, sending fragmentation downward into areas that would otherwise be protected.
Its main weakness is projectile speed. Targets can sometimes move away before the shell arrives, especially if you misjudge the timing.
It is not a weapon I would recommend as a default choice for every mission, but on complex urban maps or missions with entrenched enemies, it can suddenly become one of the most useful tools in your arsenal.
C-Tier Weapons: Interesting Ideas With Major Problems
1. EMP Disrupter
The EMP Disrupter is a weapon with a strong concept but questionable value in the current Early Access balance.
It can temporarily disable enemy electronics, vehicles, and turret systems without destroying nearby resources or structures. That makes it potentially valuable for stealth missions, capture objectives, and operations where collateral damage is heavily restricted.
The problem is that Drone Sector is usually about keeping your ground forces moving forward safely. Disabling an enemy is not the same as removing the threat. If your squad still has to wait for the disabled vehicle or turret to become vulnerable again, you may simply be delaying the problem.
Best use: Specialized stealth and capture missions where destruction is not an acceptable solution.
2. Heavy Dumb-Bombs
Few weapons in Drone Sector can match the raw explosive power of Heavy Dumb-Bombs. When they land correctly, they can flatten entire compounds and erase everything inside a massive blast zone.
Unfortunately, getting them to land correctly is the hard part.
They have no guidance, and the gunship’s movement makes precise placement difficult. The potential for friendly fire is also extremely high. If one of your ground squads is anywhere near the target area, a missed bomb can turn a successful operation into a disaster in seconds.
These bombs are best reserved for isolated strongholds, remote enemy positions, or scorched-earth scenarios where there are no friendly units anywhere near the impact zone.
The Best Drone Sector Loadout For Most Players
If you want a practical build that can handle most battlefield situations, I recommend starting with a three-part combination:
- AP Dart for tanks, bunkers, and heavily armored targets.
- Heavy Auto-Cannon for general combat, light vehicles, and mixed enemy groups.
- Tactical Suppression Laser for immediate infantry support and emergency protection.
This combination covers the three problems that cause the most trouble during missions: armor, general battlefield clutter, and infantry pressure.
It is not the only viable setup, but it is the most consistently useful loadout for players who do not want to constantly rebuild their gunship around every individual mission.
Drone Sector Economy Guide: Resource Farming and Management Tips
Optics And Ballistics Matter More Than You Think
One of the easiest mistakes in Drone Sector is treating the weapon system and camera system as separate mechanics. They are not.
Thermal optics can make engine heat easier to identify, which is extremely useful when tracking armored vehicles or trying to land an AP Dart on a moving target. Night vision, meanwhile, can help you follow infantry formations and maintain awareness when the battlefield becomes difficult to read.
Ballistic weapons also demand patience. You need to account for projectile speed, target movement, gunship speed, and the time it takes for the round to reach the target. The best players are not simply faster with the mouse. They are already thinking about where the target will be when the projectile arrives.
That is the difference between firing constantly and actually providing effective close air support.
Drone Sector Career Mode Guide: Essential Beginner Tips & Strategies
Final Verdict: What Should You Research First?
For most players, the best research path is built around reliability rather than chasing the biggest explosion in the tech tree.
Prioritize the Heavy Auto-Cannon for dependable everyday fire support, then invest in the AP Dart to solve serious armor problems. After that, the Tactical Suppression Laser is an excellent addition for players who frequently struggle to keep ground squads alive during chaotic firefights.
Precision Guided Missiles and Fragmentation Rocket Pods are fantastic additions once your core loadout is established. EMP systems and Heavy Dumb-Bombs should be treated as mission-specific tools rather than default equipment.
The current Drone Sector meta will almost certainly change as Icosphere continues balancing the Early Access build. New drone systems, weapon adjustments, improved logistics mechanics, and future content could completely reshuffle this tier list. That is part of the fun, though. The arsenal already has enough variety to reward experimentation, and the best loadout is not always the one with the highest damage number.
For now, build around armor penetration, reliable sustained fire, and infantry protection. Keep your ammunition under control, watch your ground squads, and stop wasting premium weapons on targets that a basic cannon could have handled.
Because in Drone Sector, the difference between a clean tactical operation and a complete airborne disaster is often one bad shot, one empty ammo reserve, or one commander who forgot where his own infantry was standing.