Cobra Strike Tactical Map Guide: Mastering Mission Objectives and Resource Management
There is something incredibly satisfying about classic helicopter shooters. They were never just about holding down the trigger and watching explosions cover the screen. Games like Cobra Strike bring back that old-school feeling where every missile, every fuel container, and every dangerous flight path can decide whether you complete the mission or become another burning wreck on the battlefield.
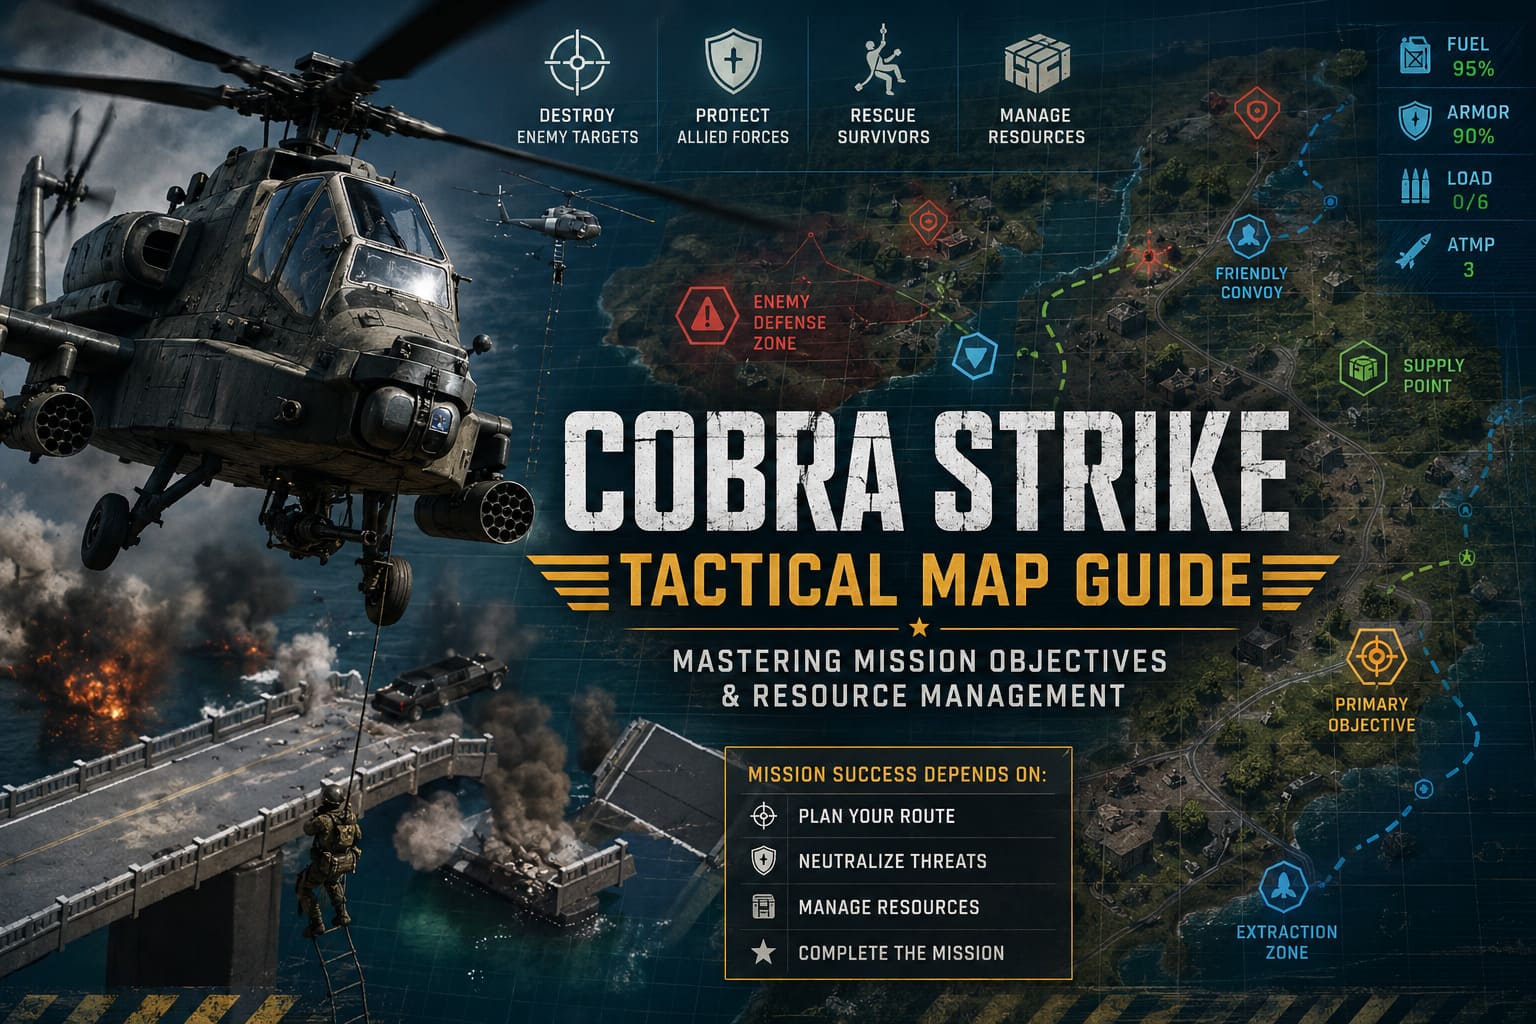
After spending countless hours flying through hostile zones, learning enemy patterns, and testing different approaches, one thing becomes obvious: the tactical map is not just a navigation feature. It is the command center of every operation. Players who understand how to read the battlefield, prioritize objectives, and manage resources will always have a massive advantage over pilots who simply rush into combat.
Master the Skies: Ultimate Cobra Strike Inertia Flight Controls Guide
Why the Tactical Map Is Your Most Important Tool in Cobra Strike
The tactical map in Cobra Strike works like a complete battlefield intelligence system. It shows mission objectives, enemy positions, defensive zones, friendly units, supply locations, and hidden opportunities waiting to be discovered.
Unlike modern shooters that constantly push players toward objectives with automatic directions and scripted paths, Cobra Strike gives you freedom. You decide the route, choose the order of objectives, and determine when the perfect moment to attack arrives.
This freedom is what makes the game exciting, but it also creates danger. Flying directly toward a target without checking the tactical situation can send your helicopter straight into missile defenses, enemy patrols, or an unavoidable resource shortage.
Before every deployment, experienced pilots should carefully study several important map elements:
| Map Element | Purpose | Recommended Strategy |
|---|---|---|
| Primary Objectives | Main mission targets that must be completed | Plan the safest attack route before engagement |
| Enemy Defense Zones | Radar systems, missile batteries, and fortified areas | Destroy dangerous defenses before major attacks |
| Friendly Units | Allied forces requiring protection | Monitor their status throughout the mission |
| Resource Locations | Fuel, ammunition, and repair opportunities | Collect supplies before critical shortages appear |
The tactical map is basically your second cockpit. Ignoring it means fighting blind, and Cobra Strike is a game that quickly punishes careless decisions.
Understanding Cobra Strike Mission Objectives
Every mission combines different objective types. Some targets are mandatory for mission completion, while others reward exploration with additional resources, intelligence, and strategic advantages.
Destroying Primary Strike Targets
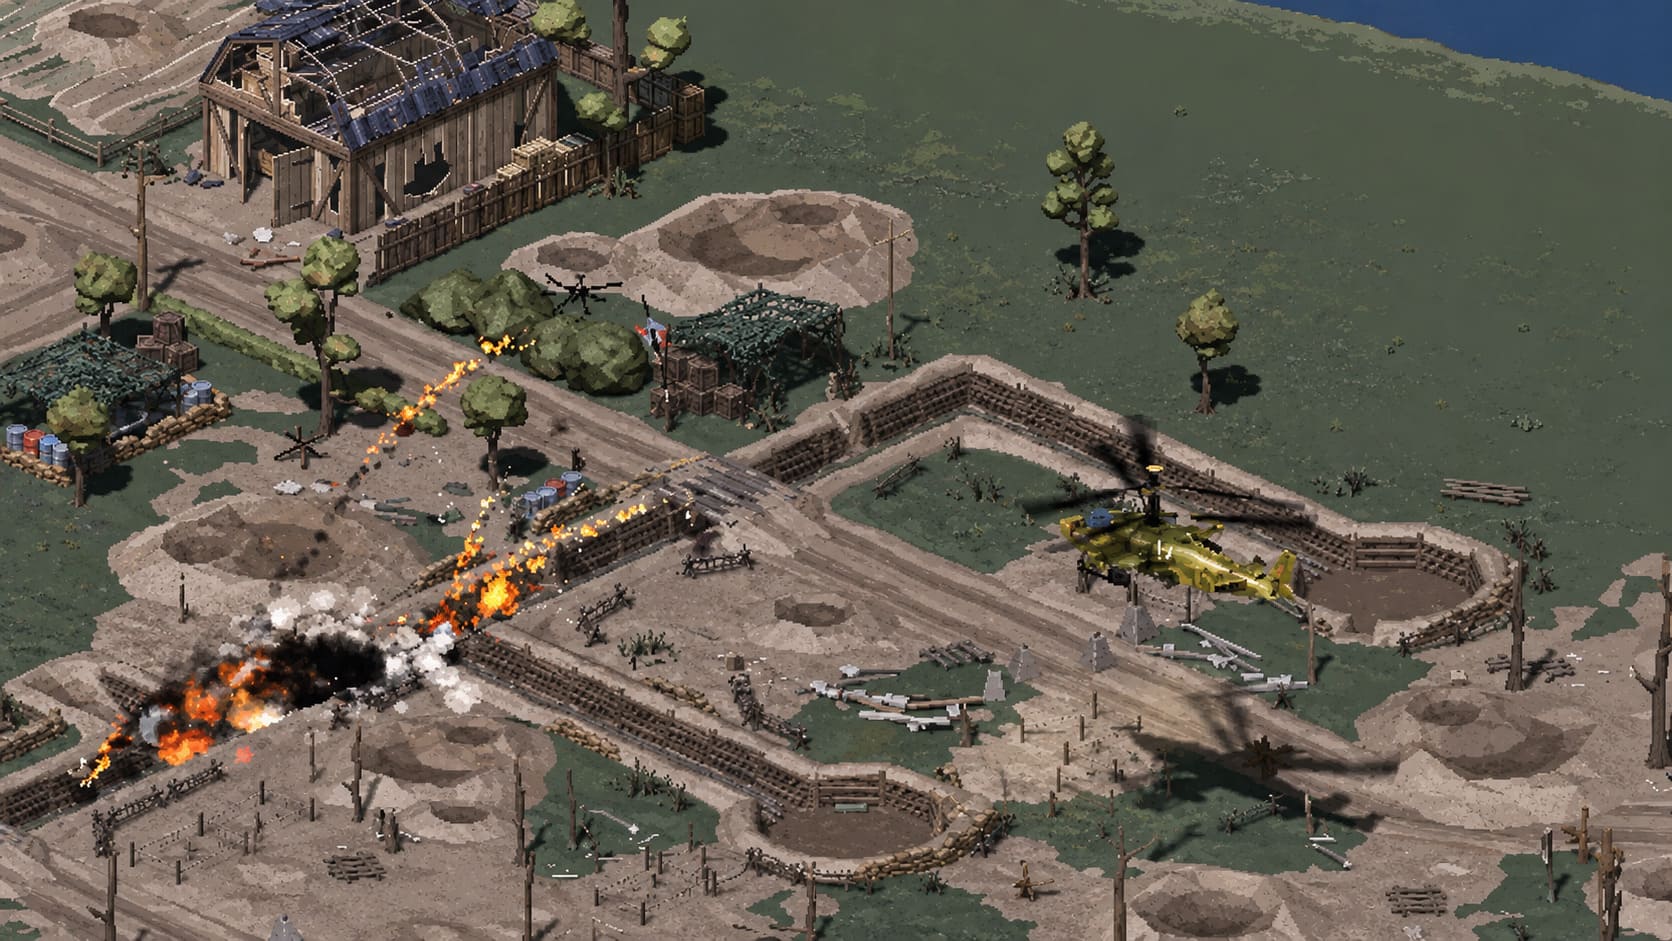
The biggest markers on your tactical map usually represent enemy military infrastructure. These targets can include command centers, armored formations, naval assets, supply bases, and advanced air-defense systems.
A common mistake among new players is attacking these targets immediately. While it may seem logical, charging into a heavily defended area without preparation often ends with a destroyed helicopter and a failed mission.
The smarter approach is to remove the defensive network first. Enemy radar stations and missile systems should become your opening targets because they control the entire battlefield.
- Locate enemy radar systems before attacking major objectives.
- Destroy missile defenses to create safer flight paths.
- Open the airspace before committing to large attacks.
Once enemy defenses are weakened, your helicopter becomes far more effective and you can move across the map with much greater confidence.
Protecting Allied Forces and Escort Missions
Cobra Strike is not only about destroying enemy forces. Some of the most intense missions require protecting friendly units marked on your tactical map.
Blue indicators represent allied convoys, military positions, and stranded troops that need your support. These units are vulnerable and can quickly collapse if enemy forces are ignored.
Successful escort missions require constant awareness. While you are destroying one enemy group, another attack may already be developing somewhere else on the map.
A reliable defensive strategy includes:
- Clearing nearby enemy positions before allied movement begins.
- Maintaining a position where you can quickly respond.
- Avoiding unnecessary ammunition waste.
A skilled pilot does not simply react to threats. A skilled pilot removes those threats before they become serious problems.
Rescue Operations and Helicopter Extraction Missions
Rescue missions are some of the most memorable moments in Cobra Strike because they completely change the pace of gameplay. Instead of focusing purely on destruction, players must perform careful helicopter maneuvers under pressure.
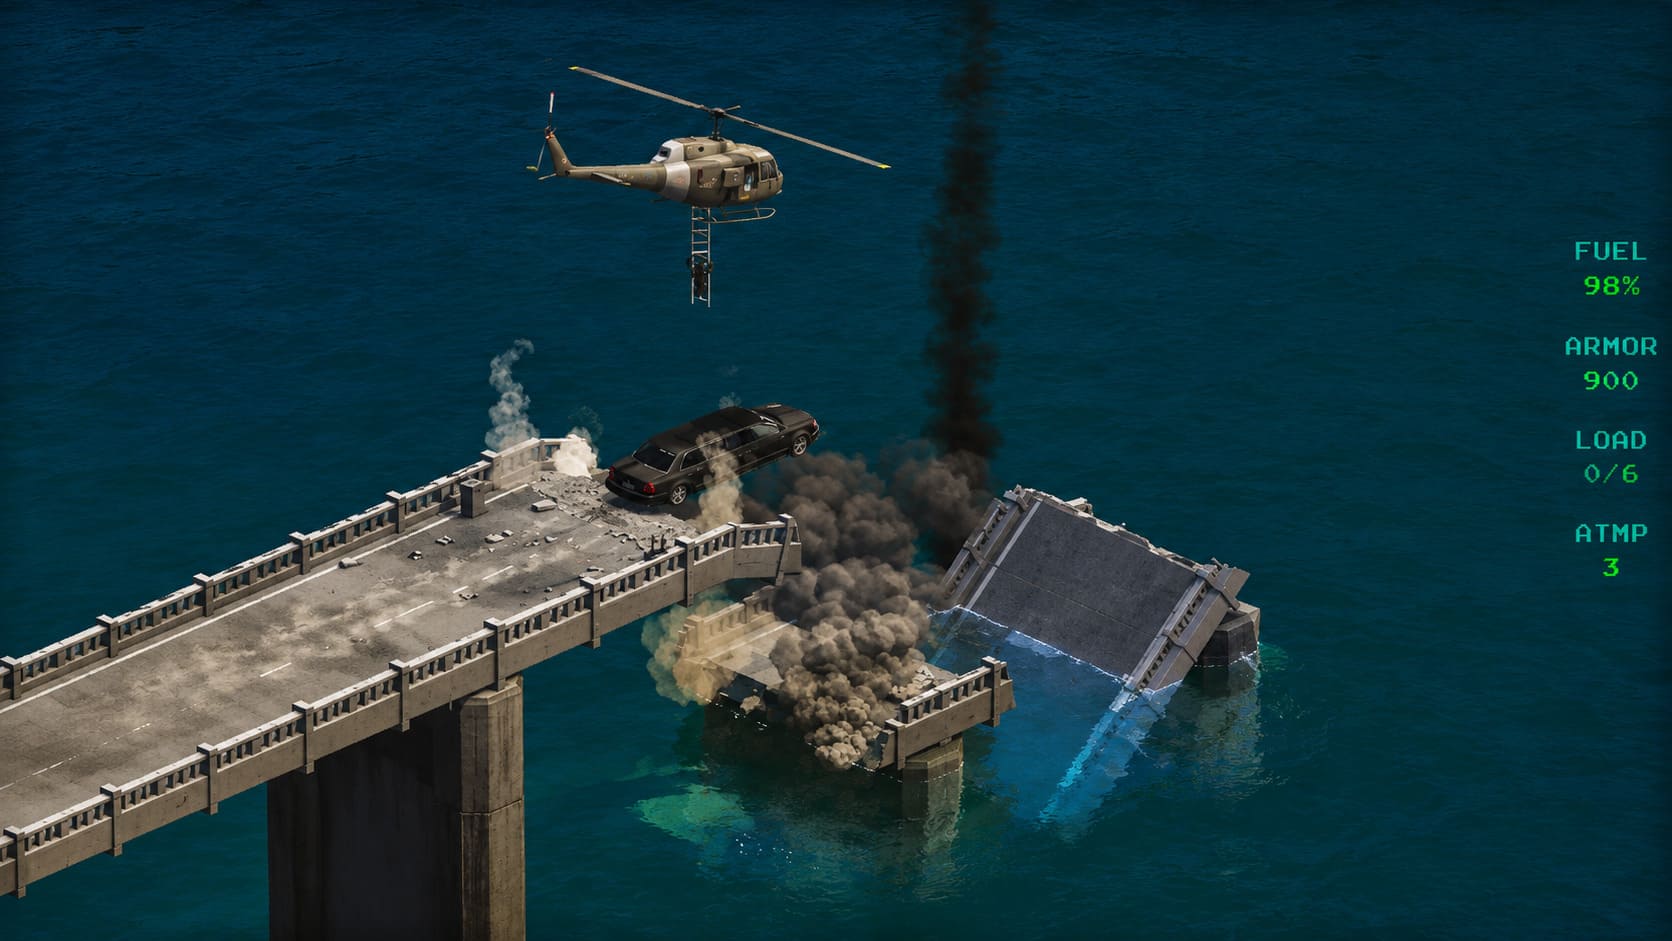
When the tactical map reveals a crashed pilot or isolated soldiers, the rope ladder system becomes one of your most important tools. Precision matters because aggressive movement can easily damage the helicopter or leave survivors behind.
| Step | Action |
|---|---|
| 1 | Locate the extraction zone using the tactical map |
| 2 | Eliminate nearby enemy threats |
| 3 | Position the helicopter carefully above the target |
| 4 | Deploy the rope ladder and complete extraction |
| 5 | Deliver survivors to the marked safe location |
These missions reward patience and control. Sometimes the best move is not firing another missile but carefully positioning your helicopter for the perfect rescue.
Capturing Enemy Intelligence Targets
One of the most interesting tactical elements in Cobra Strike is that not every valuable target needs to be destroyed. Some enemy personnel can escape damaged vehicles or destroyed command areas.
Using the rope ladder system, players can capture important targets and unlock additional information about the battlefield.
Successful intelligence captures can reveal:
- Hidden supply locations.
- Secret mission objectives.
- Enemy movement information.
- Additional resource opportunities.
This is where Cobra Strike rewards players who explore beyond the obvious mission markers. The battlefield contains more secrets than many players realize.
Managing Fuel, Armor, and Ammunition
Resource management is one of the biggest reasons Cobra Strike feels different from simple arcade helicopter games. Your helicopter is powerful, but every weapon fired and every minute spent flying consumes valuable supplies.
Three resources determine your survival:
| Resource | Problem When Low | Solution |
|---|---|---|
| Fuel | Limited flight range and possible crash | Collect fuel containers and use supply areas |
| Ammunition | Reduced combat effectiveness | Recover ammo crates and manage attacks carefully |
| Armor | Helicopter becomes vulnerable | Repair damage and avoid unnecessary battles |
The winch mechanic becomes extremely important during long missions. Instead of simply searching for supplies, you can physically recover battlefield resources and transport them where they are needed.
Destroy enemy fuel stations, search supply trucks, and collect equipment scattered throughout the map. On higher difficulties, smart resource management separates experienced pilots from players who constantly run out of options.
Choosing the Right Helicopter for the Mission
Each helicopter in Cobra Strike changes the way you approach objectives. The right aircraft can make difficult missions much easier, while the wrong choice can turn a simple operation into a nightmare.
| Helicopter | Best Use |
|---|---|
| Cobra | Fast attacks and aggressive combat missions |
| Apache | Heavy enemy destruction and powerful assaults |
| Huey | Balanced support missions and flexible operations |
| Chinook | Large-scale transport and rescue operations |
The Cobra is perfect for players who enjoy speed and direct attacks. The Apache dominates heavy combat situations. The Huey provides flexibility, while the Chinook excels when transportation becomes the main priority.
Advanced Tactical Map Strategies for Veteran Players
Once you understand the basics, Cobra Strike becomes a game of battlefield control. The tactical map should never be treated as a simple objective screen. It is a constantly changing puzzle where enemy positions, resources, and mission priorities evolve during every operation.
The strongest players follow one simple rule: prepare the battlefield before entering it.
Destroy radar systems. Remove missile threats. Secure supply routes. Protect important allies. Only then move toward the main objective.
The fastest route is not always the best route. Sometimes taking a safer path saves more time because you avoid emergency repairs, unnecessary fights, and failed mission attempts.
Final Thoughts: Become the Pilot Cobra Strike Demands
Cobra Strike rewards players who think like commanders instead of simple shooters. The tactical map is the foundation of every successful mission, helping you control objectives, manage resources, and predict enemy movements.
After countless battles across dangerous zones, the biggest lesson is simple: the best pilots are not the ones who fire the most missiles. They are the ones who understand when to attack, when to retreat, and when to prepare.
Master the tactical map, control your supplies, and treat every mission like a real military operation. Once you do, Cobra Strike transforms from a challenging retro helicopter shooter into a deeply satisfying tactical experience where every decision matters.