How to Upload, Migrate, or Reset a Valheim World: Dedicated Server Guide
If you have spent dozens or hundreds of hours building a home in Valheim, losing that world is basically the survival-game equivalent of watching your entire Viking saga burn to the ground. I have seen enough server migrations go wrong to know that most of the time, the problem isn’t some mysterious Valheim bug. Someone simply moved the wrong file, forgot part of the save, or started the server before the transfer was finished.
The good news is that moving, backing up, restoring, or resetting a Valheim world is actually pretty straightforward once you understand how the save system works. The important part is knowing which files matter and making sure the dedicated server is pointed at the correct world.
This guide covers the practical way to transfer a Valheim world from a local PC to a dedicated server, move it between hosting providers, create reliable backups, restore older versions, and start a completely fresh map without accidentally destroying your old one.
Valheim Building Guide 2026 Structural Integrity, Comfort, and Base Defense
The Two Valheim Files You Should Never Separate
The first thing every Valheim server owner needs to understand is simple: your world isn’t stored in one file.
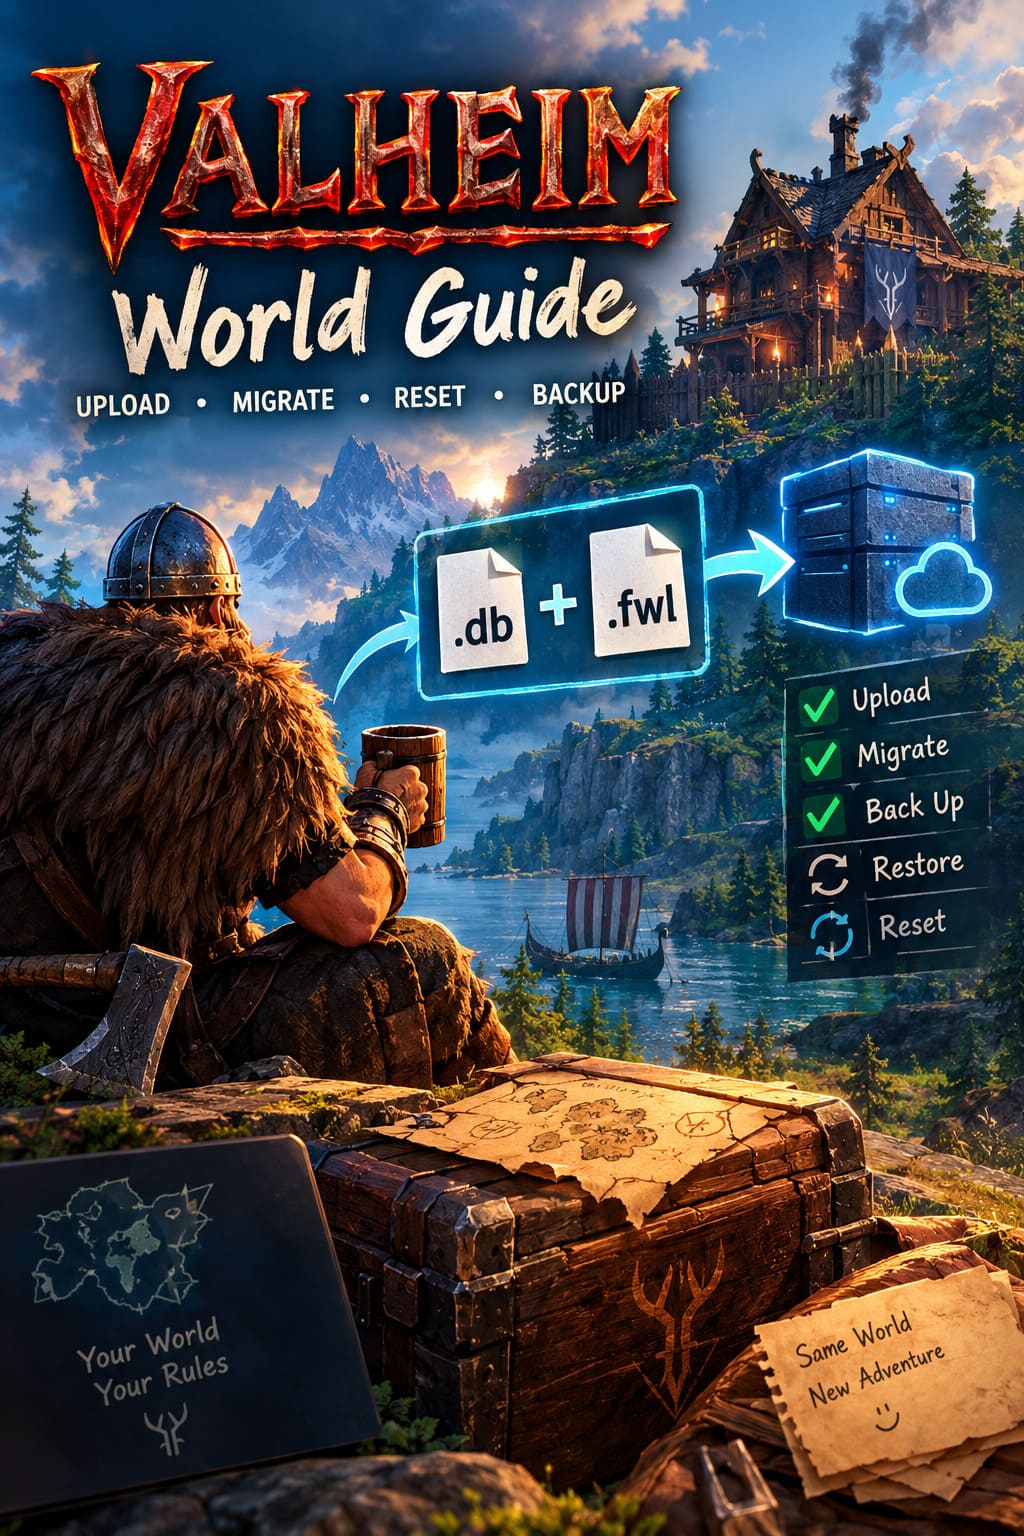
A normal world save is built around two matching files:
| File | What It Contains |
|---|---|
.db | Terrain changes, buildings, containers, items, world progress and other gameplay data |
.fwl | World metadata, including its identity and generation information |
For example, if your world is called VikingHome, you should normally have:
VikingHome.dbVikingHome.fwl
Think of these as a pair. The .db contains the meat of the world, while the .fwl file provides important information that tells Valheim what that data belongs to.
Never transfer only the .db file.
This is one of those mistakes that looks harmless until you boot the server and discover a completely fresh map. Your old base may still be sitting on the server’s storage, but Valheim won’t necessarily recognize it as the world you intended to load.
That’s why a supposedly ‘wiped’ server can sometimes be fixed simply by restoring the missing .fwl file and making sure the server’s configured world name matches the save name.
Where Valheim Stores Your World Saves
Before you can migrate anything, you need to find the save files on your computer.
Finding Valheim Saves on Windows
On Windows, the easiest method is using the Run dialog.
- Press Windows Key + R to open the Run dialog.
- Enter
%USERPROFILE%\AppData\LocalLow\IronGate\Valheim\worlds\_local. - Press Enter and Windows should open the local Valheim world directory.
This folder is where you’ll typically find the .db and .fwl files that are available locally.
Finding Valheim Saves on Linux
Linux users can usually access the local world directory through:
~/.config/unity3d/IronGate/Valheim/worlds_local
The exact setup can vary depending on how Valheim is installed and configured, so if the expected files aren’t there, don’t immediately assume the save has disappeared.
What to Do If Your World Is Stored in Steam Cloud
Steam Cloud can make Valheim saves slightly confusing because the world you’re looking for may not initially exist in your local save folder.
If your world doesn’t appear where expected, open Valheim and go to the world management screen.
Find Manage Saves, select the world you want to migrate, and use the option to Move to Local.
Once the save has been moved locally, Valheim should place the relevant files into the local world directory.
I strongly recommend doing this before attempting a server migration. It gives you direct access to the files and makes creating a proper backup much easier.
How to Upload a Valheim World to a Dedicated Server
Once you have your .db and .fwl files, you’re ready for the actual migration.
This is the part where rushing can cause problems, so take a minute and do it properly.
1. Shut Down the Server
Do not upload or replace world files while the Valheim server is running.
The server keeps world information in memory and periodically writes changes back to disk. If you replace the save while the server is still active, it can potentially overwrite your freshly uploaded files with the older data it already has loaded.
Stop the server through your hosting control panel or terminal and wait until it is completely offline.
Don’t just assume that clicking ‘Restart’ is enough. Wait for the server process to actually stop.
2. Find the World Directory
Use your hosting provider’s file manager or connect through an SFTP/FTP client such as FileZilla.
Look for the Valheim world directory, commonly:
.config/unity3d/IronGate/Valheim/worlds_local
Your hosting environment can use a slightly different structure, but the important destination is the server’s worlds_local folder.
3. Upload Both Files
Upload the matching pair together.
For example:
VikingHome.db
VikingHome.fwl
Don’t rename one file and forget the other.
If you’re transferring the files through an older FTP setup, check the transfer mode. Binary files should be transferred as binary rather than ASCII/text. SFTP is generally preferable because it avoids a lot of unnecessary FTP configuration headaches.
4. Set the Correct World Name
This is another huge migration trap.
Your server configuration needs to specify the world name correctly. If the files are VikingHome.db and VikingHome.fwl, then the configured world name should be:
VikingHome
Not VikingHome.db.
Not VikingHome.fwl.
Just the shared filename without the extension.
If the server is configured to load a different name, Valheim may simply create a new world instead of loading your existing one. That’s the moment when many players think their save has been deleted.
5. Transfer Your Server Lists if Necessary
Your world save isn’t the only data you may want to migrate.
If you’re moving from one server to another and want to preserve administrative settings, check for files such as:
adminlist.txtbannedlist.txtpermittedlist.txt
These can contain administrator permissions, bans, and permitted-player settings.
They aren’t part of the actual world save, so don’t expect copying the .db and .fwl files to automatically bring all your server administration settings with them.
6. Start the Server and Test It
Now start the dedicated server.
Before inviting everyone back onto the server, connect yourself and check the world carefully.
Look for your old base, familiar terrain, portals, storage rooms and other landmarks. If your giant mountain fortress is still standing exactly where you left it, congratulations—the migration worked.
If you spawn into an untouched world, stop the server before doing anything else. Don’t start building or exploring because that only makes troubleshooting messier.
Check the world name and confirm that both save files are present.
How to Back Up Your Valheim Server World
A backup is something you’ll appreciate about five minutes after something goes wrong.
I recommend keeping periodic local copies of your important Valheim world, especially before major updates, server migrations, mod changes, or large building projects.
The process is simple.
First, stop the server completely. Then open the worlds_local directory and download the matching .db and .fwl files.
Put them into a dedicated folder on your computer with a useful name, such as:
Valheim_Backup_2026-09-07
Don’t scatter the files across random folders. Future-you will thank you for having a clean backup structure.
Don’t Ignore .old Backup Files
You may also notice files with .old at the end, such as:
VikingHome.db.old
VikingHome.fwl.old
These are valuable.
Valheim can maintain older versions of world data, giving you a potential rollback option if something goes wrong with the current save.
When creating backups, I would download these files as well. Storage space is cheap compared with rebuilding a 200-hour base because of a corrupted save.
How to Restore an Older Valheim World Backup
Let’s say your current world has become corrupted or something went badly wrong after an update.
Stop the server first.
Then move or remove the current world files:
VikingHome.db
VikingHome.fwl
Take the backup versions and remove the .old suffix:
VikingHome.db.old → VikingHome.db
VikingHome.fwl.old → VikingHome.fwl
The names must match.
Restore both files as a pair.
Once the restored files are in place, start the server and check the world.
If everything went well, your server should load the earlier state rather than the damaged version.
How to Completely Reset a Valheim Server World
Sometimes you don’t want your old world back.
Maybe you’ve already explored everything, your group wants a clean playthrough, or you’re preparing for a major content release and want everyone to start from zero.
In that case, you can reset the world.
Make a Backup Before Wiping Anything
This is the one step I wouldn’t skip.
Download your current .db and .fwl files first.
Even if you’re convinced you’ll never return to the old world, keep a backup. Valheim bases have a funny habit of becoming nostalgic the moment they’re gone.
Delete the Existing World
Stop the server.
Open the worlds_local directory and remove the files belonging to the world you want to wipe:
<WorldName>.db
<WorldName>.fwl
Also check for matching .old files.
If you’re trying to guarantee a completely fresh generation, remove the relevant old backup files as well so the server doesn’t have an older version available to restore.
Start the Server Again
With the old save gone, start the server.
Valheim will see that the configured world doesn’t exist and generate a new map using that world name.
The result is a clean world with fresh terrain and a new seed.
A Better Way to Start Fresh: Change the World Name
Personally, this is my preferred method when I don’t absolutely need to delete the old save.
Instead of destroying VikingHome, change the server configuration to something like:
VikingHome_New
Start the server and Valheim will generate a completely separate world.
Your original VikingHome files remain untouched.
This is incredibly useful if you’re experimenting with a new update or simply want to start another playthrough without losing your old world.
You can effectively keep several worlds on the same server and switch between them by changing the configured world name, provided your hosting setup supports retaining those files.
Common Valheim World Migration Mistakes
Most migration disasters come from a surprisingly short list of mistakes.
- Uploading only the .db file instead of the .db and .fwl pair.
- Starting the server before replacing the save files.
- Using the wrong World Name in the server configuration.
- Renaming one save file but not the other.
- Forgetting about Steam Cloud when searching for a local save.
- Deleting a world before creating a backup.
- Ignoring .old files when a rollback might be needed.
- Testing a supposedly migrated world without checking whether the old structures are actually present.
The good news is that none of these problems are particularly difficult to avoid once you know what to look for.
My Valheim Save Management Routine
After enough time playing survival games, I’ve learned that backup management is boring right up until the moment it becomes the most important thing you’ve done all week.
For a serious Valheim server, I’d keep at least one local backup before every major update or server migration, plus occasional dated backups during long playthroughs.
A simple structure works perfectly:
Valheim Backups
├── 2026-08-20
├── 2026-09-01
└── 2026-09-07
Inside each folder, keep the .db, .fwl, and relevant .old files together.
That small habit can save an absurd amount of frustration.
Final Thoughts
Valheim’s save system isn’t complicated once you understand the relationship between the .db and .fwl files. The biggest rule is also the easiest to remember: treat those two files as an inseparable pair.
Stop the server before copying anything, make sure the configured World Name matches the save filename, keep backups offline, and test a migration before your whole Viking crew jumps back onto the server.
For a fresh start, changing the World Name is often safer than deleting the old world entirely. You get a new map while keeping your previous adventure safely stored on the server.
After spending hundreds of hours building bases, defeating bosses and covering the map with portals, I’d rather spend five minutes making a backup than gamble an entire Viking kingdom on one careless file operation.