STALKER 2 Cost of Hope Hidden Trophies Guide: How to Unlock All Secret PlayStation Trophies
There are few things in gaming quite like going back into the Zone after you thought you had finally escaped it. S.T.A.L.K.E.R. 2: Heart of Chornobyl has always been the kind of game that punishes careless decisions, rewards obsessive exploration, and occasionally makes you wonder why you decided to walk into that radioactive hole in the first place. The Cost of Hope expansion pushes that formula even harder, adding new locations, faction conflicts, side quests, secrets, and a fresh batch of trophies for players who want to squeeze every last drop out of the Zone.
If you’re chasing the Platinum or simply want to clear every hidden trophy attached to the expansion, this is not a DLC you should rush. Some objectives are tied to story decisions, others are buried behind exploration, and a few can potentially be missed if you progress too far without creating a backup save. I’ve spent enough hours in STALKER-style games to know the golden rule: save before you make a decision that looks remotely important. The Zone loves turning innocent dialogue choices into permanent consequences.
STALKER 2 Cost of Hope Achievements Guide: Full Steam List and How to Unlock Them
What Makes Cost of Hope Trophies Different?
The biggest thing to understand about Cost of Hope is that its trophy hunt isn’t simply a checklist of objectives you can clean up at the end. The expansion puts much more weight on the conflict between Duty and Freedom, and that rivalry directly affects several rewards. Choosing one side can close off content connected to the other, which means trophy hunters need to think about their save strategy before committing to a faction.
The expansion also takes Skif into areas that feel noticeably different from the familiar stretches of the Zone. The Iron Forest is particularly important, mixing hostile encounters, environmental hazards, anomalies, and hidden locations. The administrative areas surrounding the Chornobyl Nuclear Power Plant are just as dangerous, and exploration here can easily turn into a resource-draining fight if you arrive unprepared.
That’s why I wouldn’t recommend treating this like a traditional linear trophy guide. Keep your PDA open, investigate suspicious signals, check buildings that look completely irrelevant, and don’t assume a location is empty just because the main quest doesn’t send you there. STALKER rewards that kind of paranoia.
Cost of Hope Hidden Trophy List
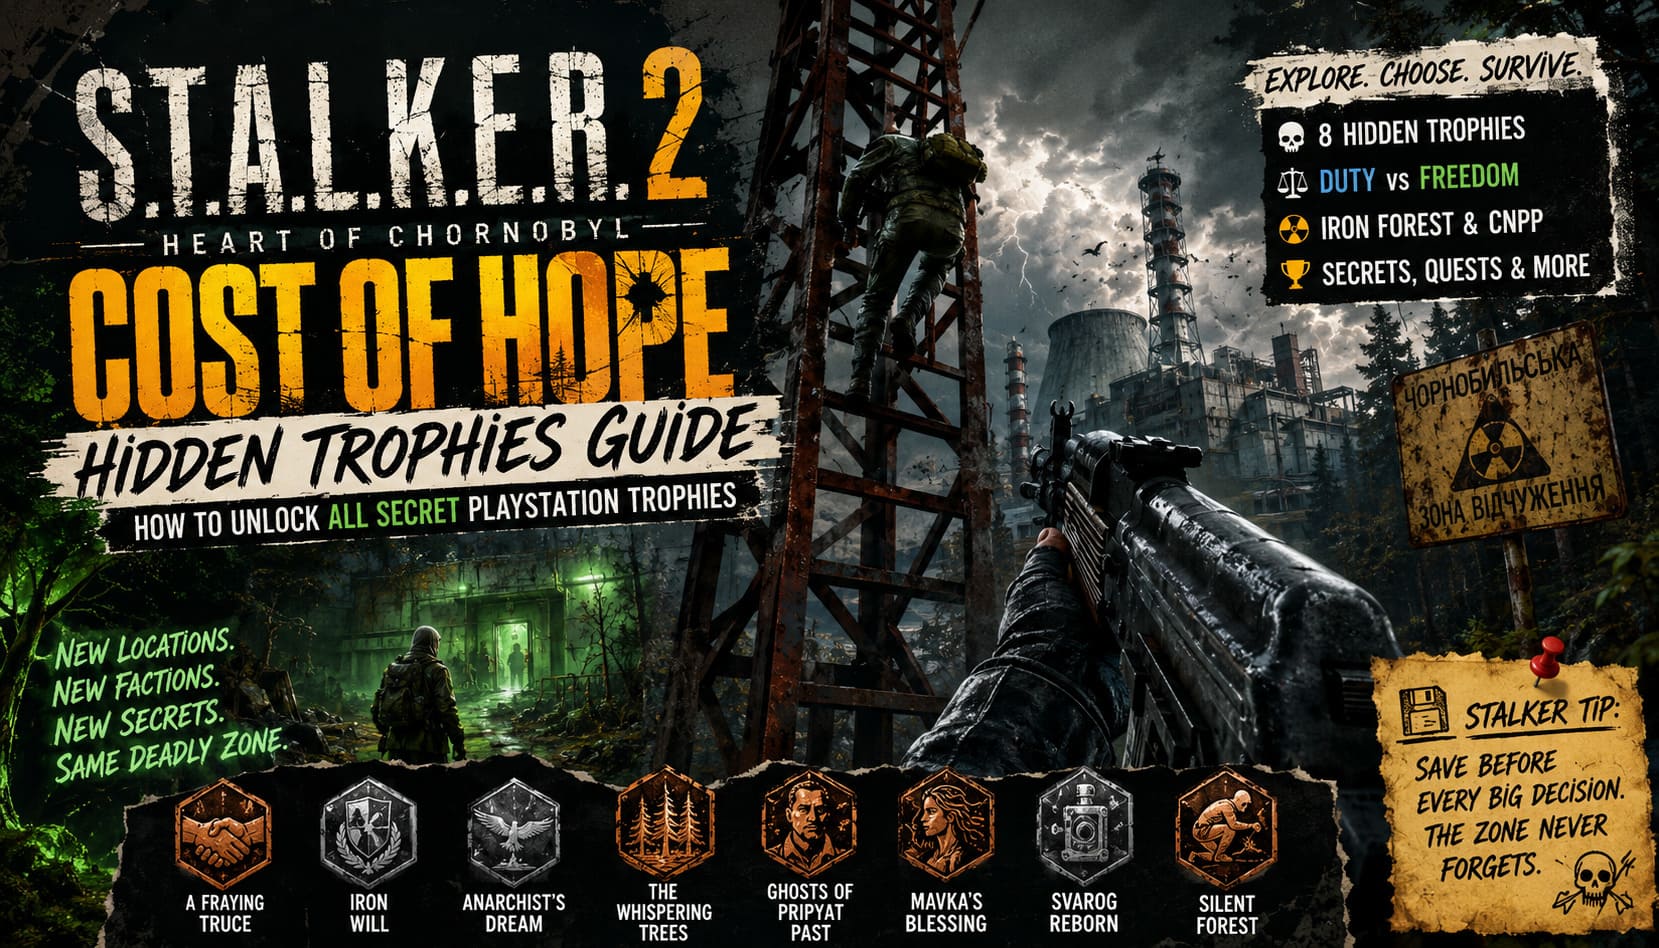
| Trophy | Rarity | Requirement | Missable? |
|---|---|---|---|
| A Fraying Truce | Bronze | Complete the expansion’s opening sequence | No |
| Iron Will | Silver | Complete the Duty faction path | Yes |
| Anarchist’s Dream | Silver | Complete the Freedom faction path | Yes |
| The Whispering Trees | Bronze | Discover the hidden Iron Forest laboratory | Potentially |
| Ghosts of Pripyat Past | Bronze | Help a returning character from the classic games | Potentially |
| Mavka’s Blessing | Bronze | Complete Mavka’s side-quest chain | Potentially |
| Svarog Reborn | Silver | Find and calibrate all Svarog components | Yes |
| Silent Forest | Bronze | Clear a hostile camp without triggering an alarm | Potentially |
A Fraying Truce – Bronze
How to unlock: Complete the opening sequence of the Cost of Hope storyline.
This is the easy one. You don’t need some obscure artifact or a ridiculous sequence of dialogue choices. Follow the expansion’s introductory objectives, investigate the mysterious transmission that appears on Skif’s PDA, and survive the initial confrontation between the rival factions.
Once the opening events establish the new conflict and you reach the expansion’s first safe area, A Fraying Truce should unlock automatically. If you’re worried about missing it, don’t be. This is effectively your introduction to the DLC and is designed as a story progression trophy.
Iron Will – Silver
How to unlock: Commit to the Duty side and complete its Iron Forest storyline.
This is where trophy hunting starts getting serious. The Duty route requires you to support the faction’s approach to controlling the increasingly unstable situation in the Zone. Several conversations and objectives eventually lead to a major allegiance decision involving sensitive information recovered from the CNPP.
Create a manual save before making the final faction decision. Seriously. Don’t rely entirely on autosaves. If you want both faction trophies without replaying the entire expansion, having a clean backup before the point of no return can save hours.
Once you’ve committed to Duty, complete the faction objectives and deliver the required administrative data to their leadership. The trophy should trigger after the final Duty sequence is completed.
Anarchist’s Dream – Silver
How to unlock: Support Freedom and complete its corresponding storyline.
Freedom offers the opposite philosophy. Instead of embracing Duty’s more restrictive approach, you’re helping independent stalkers maintain access to the Zone and its resources. The important part is not simply choosing a Freedom-related dialogue option once. You need to follow the faction route through its major objectives.
The Iron Forest becomes particularly important here, with missions involving hidden documents, anomalies, and valuable artifact locations. Follow the Freedom chain to its conclusion and complete the final sequence to unlock Anarchist’s Dream.
If you’re working toward both faction trophies, this is another reason to maintain a backup save. Replaying the entire DLC because of one dialogue choice is exactly the sort of thing that turns a fun trophy hunt into a controller-throwing session.
The Whispering Trees – Bronze
How to unlock: Discover the secret laboratory beneath the Iron Forest.
This trophy is all about exploration. The laboratory isn’t sitting conveniently beside a main quest marker, so players who sprint from objective to objective can easily walk straight past it.
While exploring the Iron Forest, pay attention to areas with heavy anomalies, radiation, and unusual vegetation. Look for a concealed vertical passage leading underground. The entrance can be easy to overlook because the surrounding environment is already packed with hazards and visual clutter.
Once you descend into the hidden facility and the location is properly discovered, the trophy should unlock. The laboratory itself is worth exploring beyond the trophy because it contains environmental storytelling and documents that add context to the Zone’s history.
Ghosts of Pripyat Past – Bronze
How to unlock: Find and assist the returning veteran hidden near the CNPP administration area.
This is the kind of trophy longtime STALKER fans will appreciate. Cost of Hope digs into the franchise’s history and brings an old face back into the chaos. The encounter is connected to a hidden radio signal near the administrative buildings surrounding the CNPP.
Follow the signal and you’ll eventually discover the character under attack by a group of dangerous mutants. Help clear the area, then make sure you speak to the character afterward rather than immediately wandering away.
Don’t treat this as just another random mutant encounter. The conversation after the fight is important for triggering the trophy. Players who simply clear the enemies and leave may wonder why nothing happened.
Mavka’s Blessing – Bronze
How to unlock: Complete all stages of Mavka’s side-quest chain.
Mavka’s storyline is one of the more interesting optional activities in the expansion because it asks you to slow down and pay attention to the Zone’s environmental conditions. You’ll encounter her at a neutral trader location before she sends you after a series of unusual artifacts.
The important detail is that these targets aren’t always straightforward to locate. Some appear during particularly dangerous weather and radiation conditions, so don’t assume the quest marker tells the entire story. Use your binoculars, scout from a safe distance, and keep an eye on anomaly activity before charging into an area.
There are three major stages to the questline. Finish each request and maintain the relationship through the final objective to receive Mavka’s Blessing.
Svarog Reborn – Silver
How to unlock: Collect the three Svarog calibration modules and activate the prototype detector.
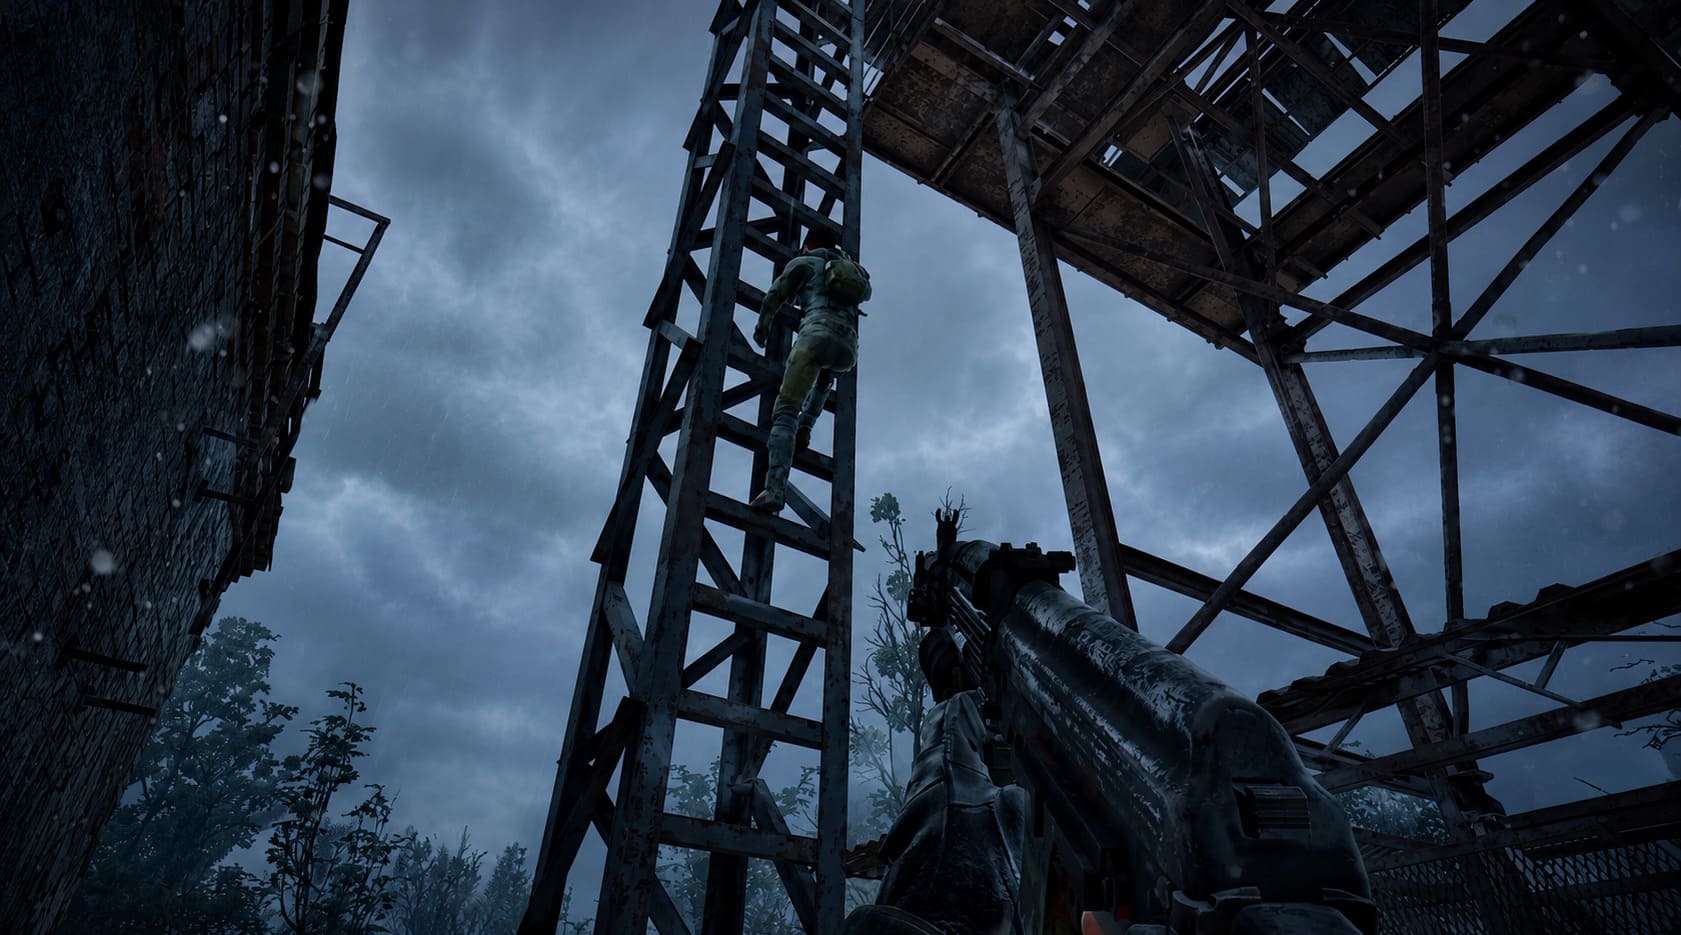
This is probably one of the trophies I’d expect to cause the most frustration. The three components are scattered around industrial areas connected to the CNPP, and they aren’t necessarily placed directly along the critical path.
The best strategy is to search every relevant structure before completing major story objectives. If you find one calibration component, don’t assume the others will be nearby. Check abandoned rooms, maintenance areas, underground sections, and locations that appear insignificant on the map.
Once you’ve collected all three modules, take them to the appropriate technician’s bunker and complete the calibration sequence. The Svarog prototype will then become fully operational and Svarog Reborn should unlock.
One warning: don’t leave this trophy until the final mission. If a story transition makes one of the locations inaccessible, you’ll potentially have to reload an earlier save or repeat a significant portion of the expansion.
Silent Forest – Bronze
How to unlock: Eliminate an entire hostile encampment without triggering its alarm.
Now we’re talking. This trophy is basically a small stealth challenge inside a game that often encourages you to solve problems with bullets, explosives, and several increasingly desperate healing injections.
Use a suppressed weapon with an optic and approach the camp patiently. The new arsenal introduced alongside the expansion’s broader gameplay changes can make this considerably easier, but equipment alone won’t save you if you start shooting before identifying every guard.
Weather matters. Heavy fog can reduce enemy visibility and give you more room to work. Scout the camp first, identify patrol routes, eliminate isolated targets, and keep bodies away from obvious sightlines when possible.
The trophy requires the entire camp to be cleared without the alarm being triggered. If someone spots you and the camp goes loud, reload your previous save rather than trying to improvise your way through a full firefight.
My Best Tips for a Clean Trophy Run
The easiest way to make this trophy list painful is to play the DLC blindly and assume you’ll clean everything up afterward. STALKER 2 isn’t built around that kind of forgiving progression. A little preparation goes a long way.
- Keep multiple manual saves. Save before faction decisions, major conversations, and missions that feel like obvious points of no return.
- Explore before advancing. If a new region opens, investigate it before pushing the main objective too far.
- Check your PDA constantly. Strange signals, side objectives, and environmental clues can lead to trophy-related content.
- Don’t rush artifact quests. Weather, anomalies, and exploration conditions can affect how you approach certain objectives.
- Use stealth for challenge trophies. A suppressed weapon, decent optic, patience, and a good save are often more useful than expensive ammunition.
How to Approach the Duty and Freedom Trophies
If your goal is efficiency, the faction trophies should be planned together. The smart approach is to keep a permanent save immediately before the decisive allegiance choice, finish one route completely, then reload and take the opposite path.
That method is far better than blindly playing the entire expansion twice. The exact amount of content you’ll need to replay depends on where your save sits and which optional objectives you’ve already completed, but a carefully maintained save file can dramatically reduce cleanup time.
And honestly, this is one of those situations where saving isn’t just a trophy-hunting trick. It fits STALKER perfectly. You’re supposed to be paranoid. You’re supposed to expect something awful to happen after opening an innocent-looking door. Your save system is basically another piece of survival equipment.
Is Cost of Hope Worth the Trophy Grind?
For completionists, absolutely. The hidden trophies are not just generic rewards for killing a certain number of enemies or collecting arbitrary items. Several of them encourage you to see parts of the expansion you could completely miss during a straightforward playthrough.
The faction trophies are especially useful because they push you toward experiencing the conflict from two different perspectives. The Whispering Trees and Svarog Reborn reward the kind of obsessive exploration that makes STALKER memorable, while Silent Forest gives stealth-focused players something to chew on.
The only real complaint I’d have is the possibility of missing content because of irreversible story decisions. That’s very STALKER, of course, but it can still sting when you’re several hours into a run and realize one earlier conversation quietly closed the door on a trophy.
Final Thoughts From a Trophy-Hunting STALKER Fan
The Zone has never been a place for players who want everything handed to them. Cost of Hope keeps that tradition alive with a trophy list that rewards patience, exploration, preparation, and a healthy distrust of anything that looks too convenient.
If you’re hunting every hidden trophy on PS5, don’t sprint through the main story. Keep manual saves, explore the Iron Forest properly, investigate strange radio signals, finish optional questlines before major story transitions, and treat the Duty/Freedom decision as the major fork that it is.
Most importantly, play like a STALKER. Check corners. Search abandoned buildings. Listen to your PDA. Save before doing something stupid. And when the Zone starts getting suspiciously quiet, believe it. That’s usually when the trouble starts.