Iron Dreadnought Meta Guide: Heavy Fortress Trampler Build in SAND Raiders of Sophie
In the brutal sandbox of SAND: Raiders of Sophie, the desert is not a place that rewards hesitation or lightweight optimism. The moment you step into late-game territory, you realize that speed-based survival builds start collapsing under coordinated fire and environmental pressure. This is where the Heavy Fortress Trampler, often called the Iron Dreadnought by veteran pilots, rises as a dominant alternative philosophy that rejects evasion and instead embraces overwhelming structural endurance and sustained firepower.
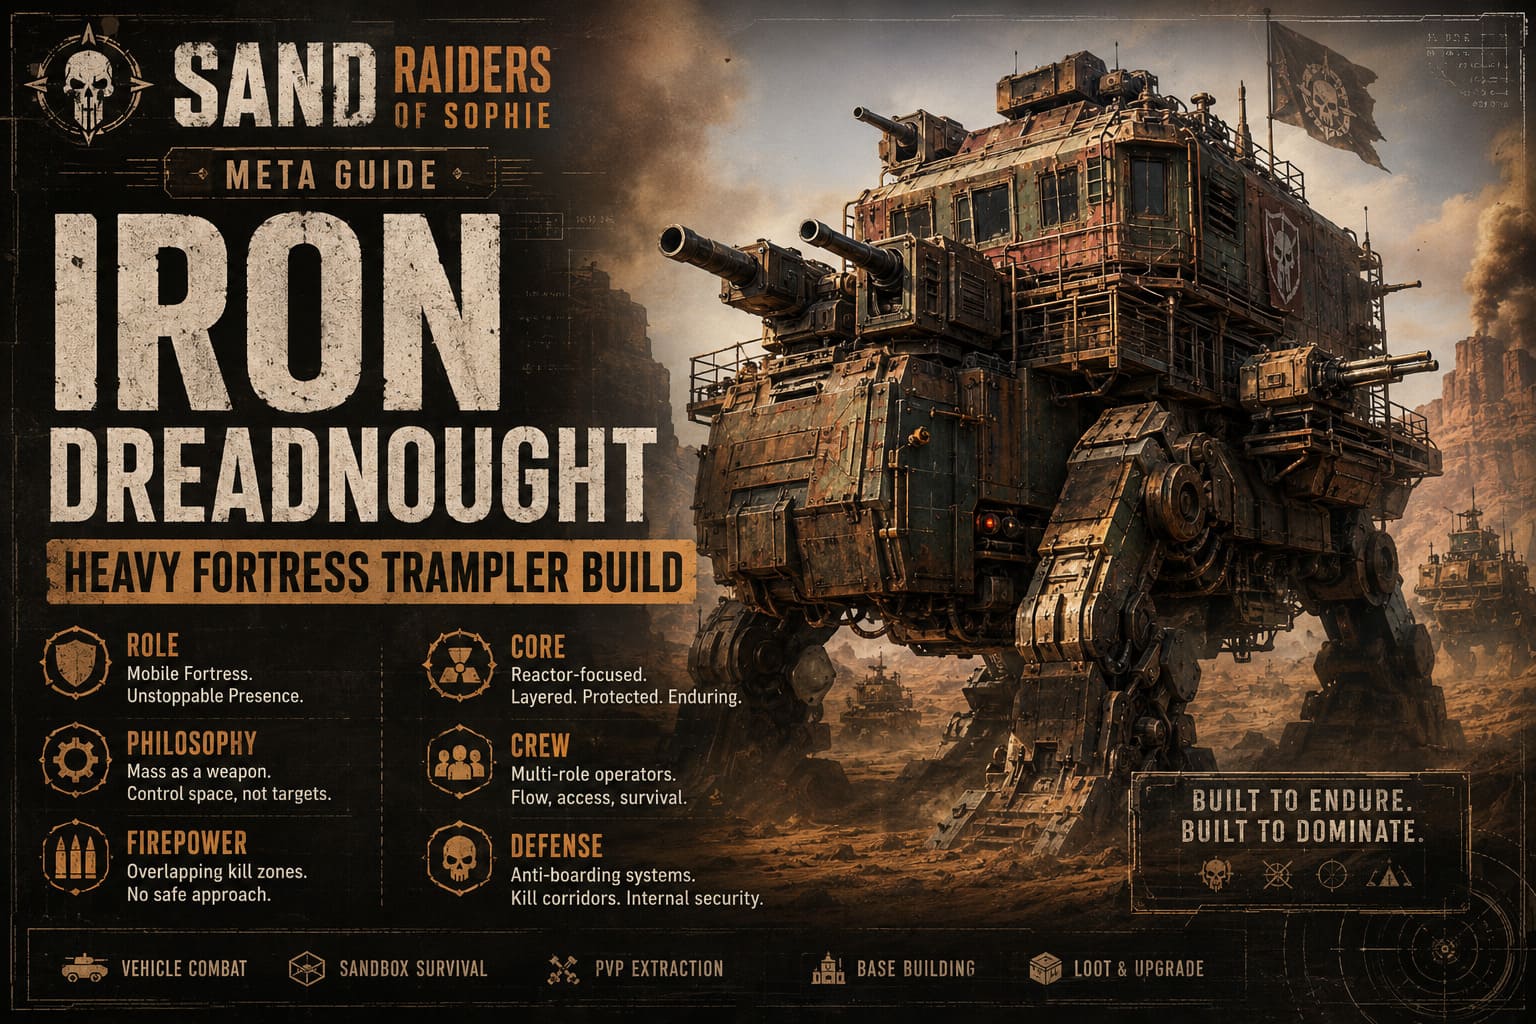
This build is not about escaping danger but about redefining it. Instead of avoiding confrontation, you engineer a mobile fortress that forces enemies to engage on your terms. The entire meta shift revolves around turning a walking machine into a battlefield anchor point that absorbs punishment while delivering devastating counter-pressure.
SAND: Raiders of Sophie – Ultimate Trampler Walker Builds Guide (Meta Breakdown for PvPvE Survival)
Core Philosophy: Mass as Both Liability and Weapon
The foundation of every Heavy Fortress Trampler begins with understanding the paradox of mass. In most builds, weight is a limitation that reduces speed and maneuverability, making you easier to track and surround. However, in this configuration, mass becomes your primary defensive layer and offensive stability system. The more controlled your structure becomes, the more effectively you can convert weight into survivability.
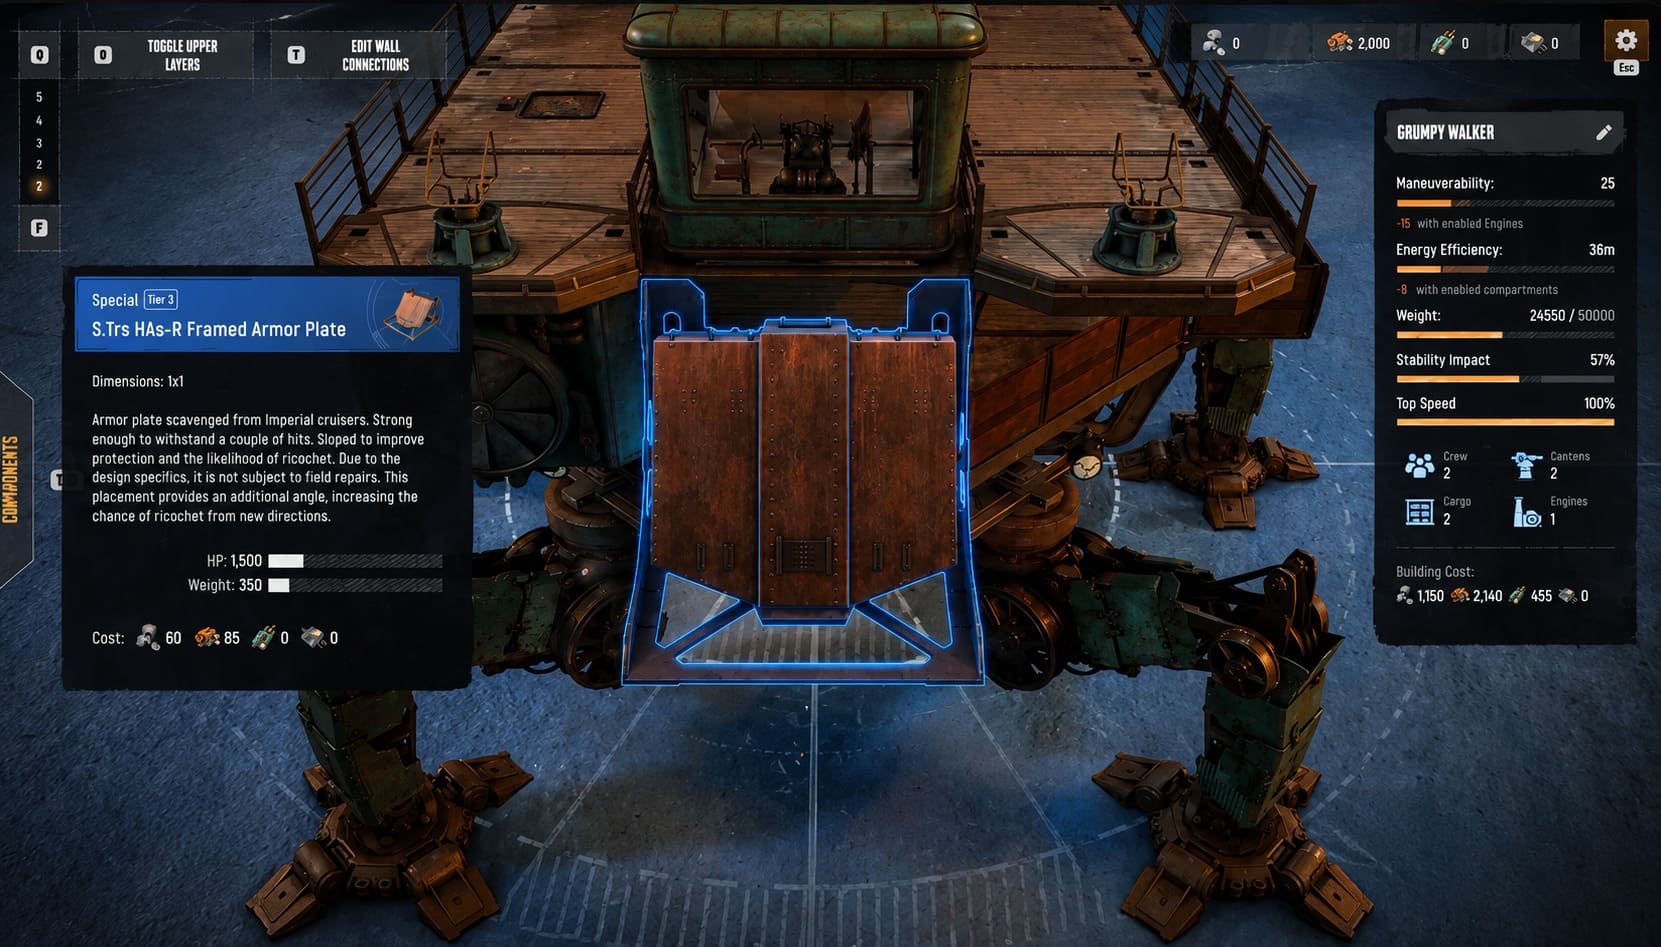
The goal is not to reduce mass but to distribute it intelligently across a layered architecture. Every additional armor plate, weapon mount, or storage module must serve a dual purpose: contributing either to structural resilience or to battlefield output. Anything that fails this test becomes dead weight that undermines the entire concept of the fortress.
Reactor-Centered Architecture and Structural Design
At the heart of the Iron Dreadnought lies the Heavy Reactor core, which functions as both an energy provider and a critical vulnerability point. Proper placement of this system defines whether your build becomes a walking apocalypse engine or a fragile metal coffin waiting for a single precision strike. Experienced builders always embed the reactor deep within the lower-central structure, surrounded by multiple redundant protective layers.
This internal layering system ensures that enemy fire must penetrate several independent defensive zones before reaching critical components. The surrounding architecture typically includes boiler systems, internal routing corridors, and secondary structural buffers that absorb shock damage. The idea is to prevent any single point of failure from immediately collapsing the entire machine.
Internal Layout: Flow, Access, and Tactical Movement
Unlike conventional vehicles, a Heavy Fortress Trampler requires internal mobility efficiency. Crew members must move between combat stations, repair zones, and ammunition depots without wasting time or exposing themselves to unnecessary risk. This means the interior cannot be designed as a static grid but instead as a functional combat ecosystem.
The command helm should be heavily protected and centrally positioned within the structure. It is not meant to be a permanent station but rather a control hub that players return to as needed. Once the machine is in motion, the pilot transitions into a multi-role combat operator, switching between navigation, weapon control, and repair coordination depending on battlefield conditions.
Weapon Systems: Creating Overlapping Kill Zones
The true strength of the Iron Dreadnought lies in its ability to project continuous damage across multiple vectors. A properly configured weapon layout removes safe engagement angles entirely. Enemy players should never feel like they can approach without entering at least one active firing zone.
Front-mounted heavy cannons serve as the primary destructive force, designed to break enemy armor and disable structural components. Side-mounted systems provide suppression and anti-flanking coverage, ensuring that mobility-based opponents cannot exploit blind spots. Flak and mid-caliber weapons fill in defensive gaps and handle boarding attempts or aerial threats when they appear unexpectedly.
Ammunition logistics are equally important. Every major weapon cluster should have localized supply access to prevent internal delays during combat. In high-intensity engagements, even a few seconds spent retrieving shells from distant storage can determine whether a fight is won or lost.
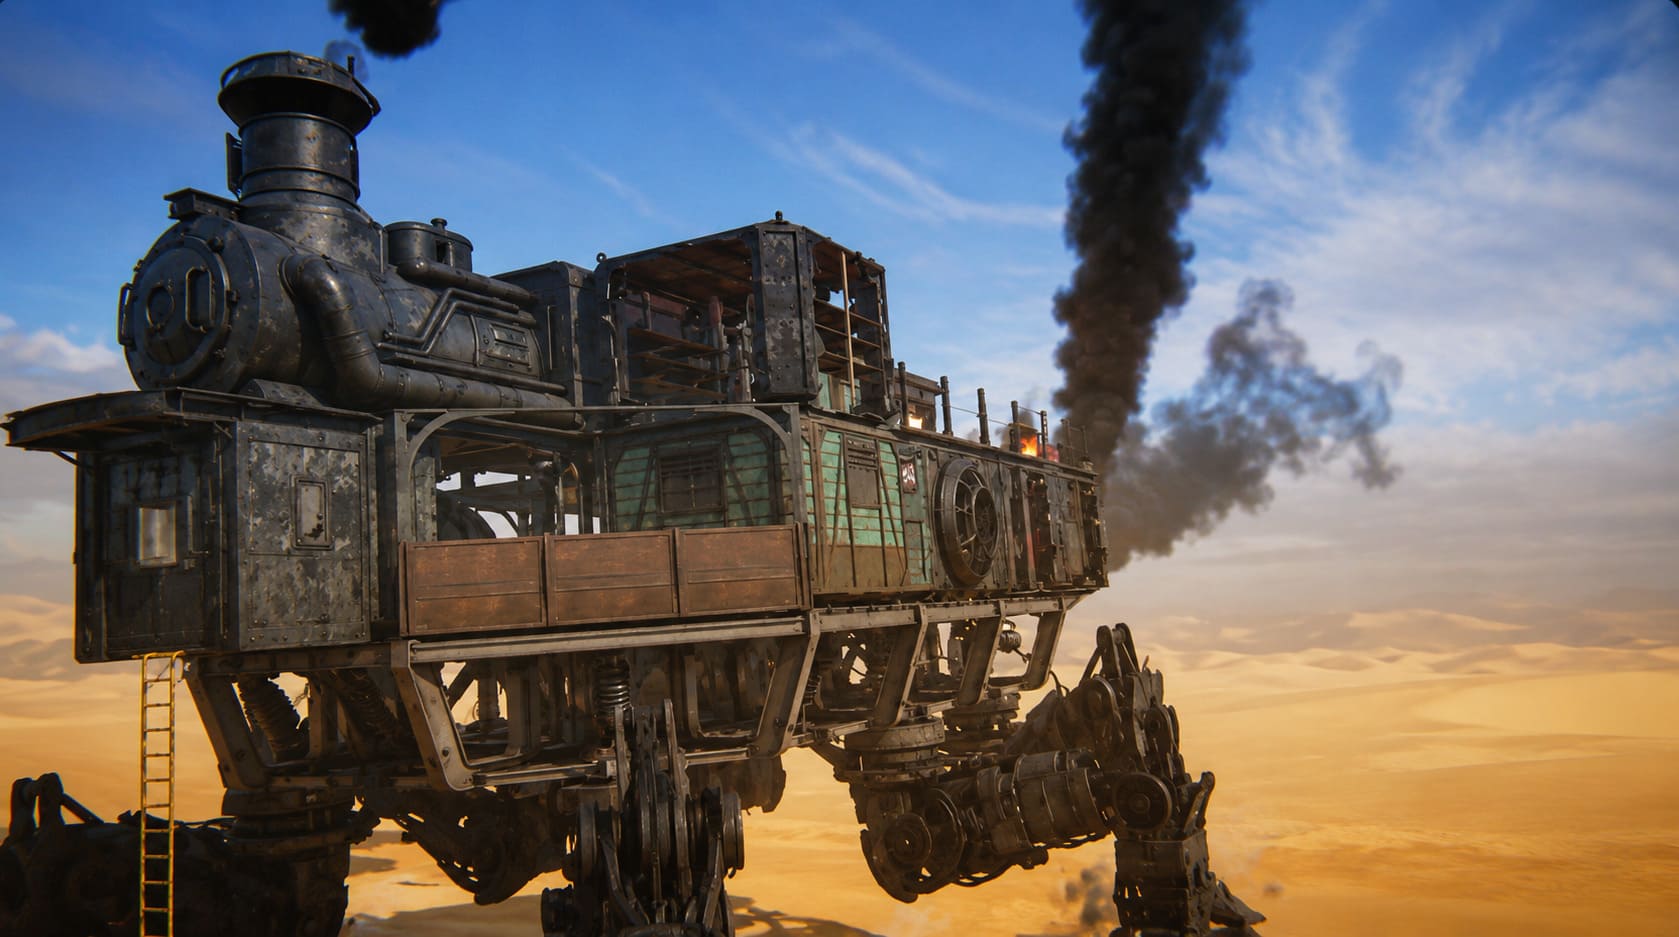
Combat Doctrine: Controlling Space Instead of Chasing Targets
Operating a Heavy Fortress Trampler fundamentally changes how combat is perceived. Instead of pursuing enemies, you control territory and force opponents into predictable movement patterns. The objective is to collapse available space around hostile units until they are forced into your firing arcs.
Priority targeting typically begins with enemy mobility systems. Destroying movement capabilities reduces evasive potential and forces opponents into static positions. Once immobilized, enemy weapon systems become vulnerable to focused fire, allowing for rapid neutralization of threats before boarding actions occur.
Anti-Boarding Defense and Internal Survival Systems
Boarding is not an occasional threat in this meta, it is an expected phase of every major engagement. Aggressive teams will attempt to infiltrate your structure using grappling systems or timed breaches. A successful boarding attempt can compromise entire runs if internal defense systems are not properly designed.
To counter this, internal defense zones must be segmented and equipped with controlled kill corridors. Shotguns, rifles, and timed explosive devices become essential tools for clearing intruders. The goal is not just to repel attackers but to isolate them within controllable sections of your fortress where they cannot access critical systems.
Stealth Limitations and Environmental Adaptation
Despite its massive presence, a Heavy Fortress Trampler is not completely incapable of stealth optimization. While true invisibility is impossible due to scale and engine output, signature reduction modules can significantly reduce tracking efficiency by minimizing environmental detection cues such as smoke trails and thermal output.
This allows for partial concealment during long-range traversal across desert biomes, especially when navigating between urban loot zones or canyon systems. However, stealth in this context is not about avoiding detection entirely but about delaying recognition long enough to choose engagement conditions more effectively.
Extraction Strategy: The Final Battle Phase
Extraction zones represent the most dangerous moment in any run because they compress all surviving players into a single high-value objective area. For Heavy Fortress pilots, this phase is where the build either demonstrates absolute dominance or suffers catastrophic loss due to overconfidence.
Positioning is critical during extraction. The fortress must be angled so that all likely enemy approach routes fall within overlapping firing coverage. Instead of reacting to attackers individually, the build functions as a static siege platform that punishes movement toward the extraction point itself.
As the extraction timer progresses, enemy desperation increases, often leading to poorly coordinated assaults. This is where sustained firepower and structural endurance converge, allowing the Iron Dreadnought to survive until evacuation is complete and all secured loot is safely extracted.
Conclusion: The Philosophy of Unstoppable Presence
The Heavy Fortress Trampler is not simply a build choice but a commitment to a specific way of playing SAND: Raiders of Sophie. It rejects speed as the primary survival metric and replaces it with controlled dominance, structural inevitability, and battlefield control. While it demands careful engineering and disciplined piloting, the reward is a machine that does not retreat, does not scatter, and does not break easily under pressure.
In a world where most builds are designed to escape danger, the Iron Dreadnought exists to absorb it, reshape it, and ultimately outlast everything around it through sheer mechanical authority.