SAND: Raiders of Sophie – Ultimate Trampler Walker Builds Guide (Meta Breakdown for PvPvE Survival)
There’s something brutally satisfying about dropping into the dunes of SAND: Raiders of Sophie and realizing very quickly that your survival hinges on a giant walking machine you barely understand. The Trampler isn’t just a vehicle—it’s your moving base, your bank account, and, more often than not, your coffin if you build it wrong.
After spending way too many hours watching squads implode over bad reactor choices and solo players getting vaporized because they thought “light armor equals speed equals safety,” one thing becomes obvious: building your walker is the real game. The shooting? That’s just the final exam.
This guide breaks down the most effective community-tested Trampler builds, mixing meta observations, PvPvE experience, and the kind of practical paranoia you only develop after losing a full cargo run to a guy hiding in a sandstorm.
Crimson Desert Inventory Guide: Where to Buy Extra Bag Slots and Find Hidden Extra Large Bags
Core Trampler Engineering Philosophy
Before jumping into builds, there’s a reality check every player eventually learns the hard way: weight is your invisible killer.
You can stack guns, armor, cargo, and fancy modules—but every piece drags your walker deeper into molasses-speed misery. Once you cross that threshold, you stop being a predator and become scenery.
The Trampler blueprint system forces you to balance four essential pillars: power supply, mobility, cargo efficiency, and combat readiness. A good build never maxes all four, and a great build sacrifices deliberately instead of accidentally.
Core design principles
Power supply determines how stable your systems run during combat. Mobility defines whether you control engagements or get farmed by faster squads. Cargo efficiency decides how profitable each run becomes, while combat readiness is what keeps you alive long enough to extract with anything at all.
The tension between these systems is where the real strategy lives. Every successful build is a compromise that leans hard into one identity instead of pretending to do everything at once.
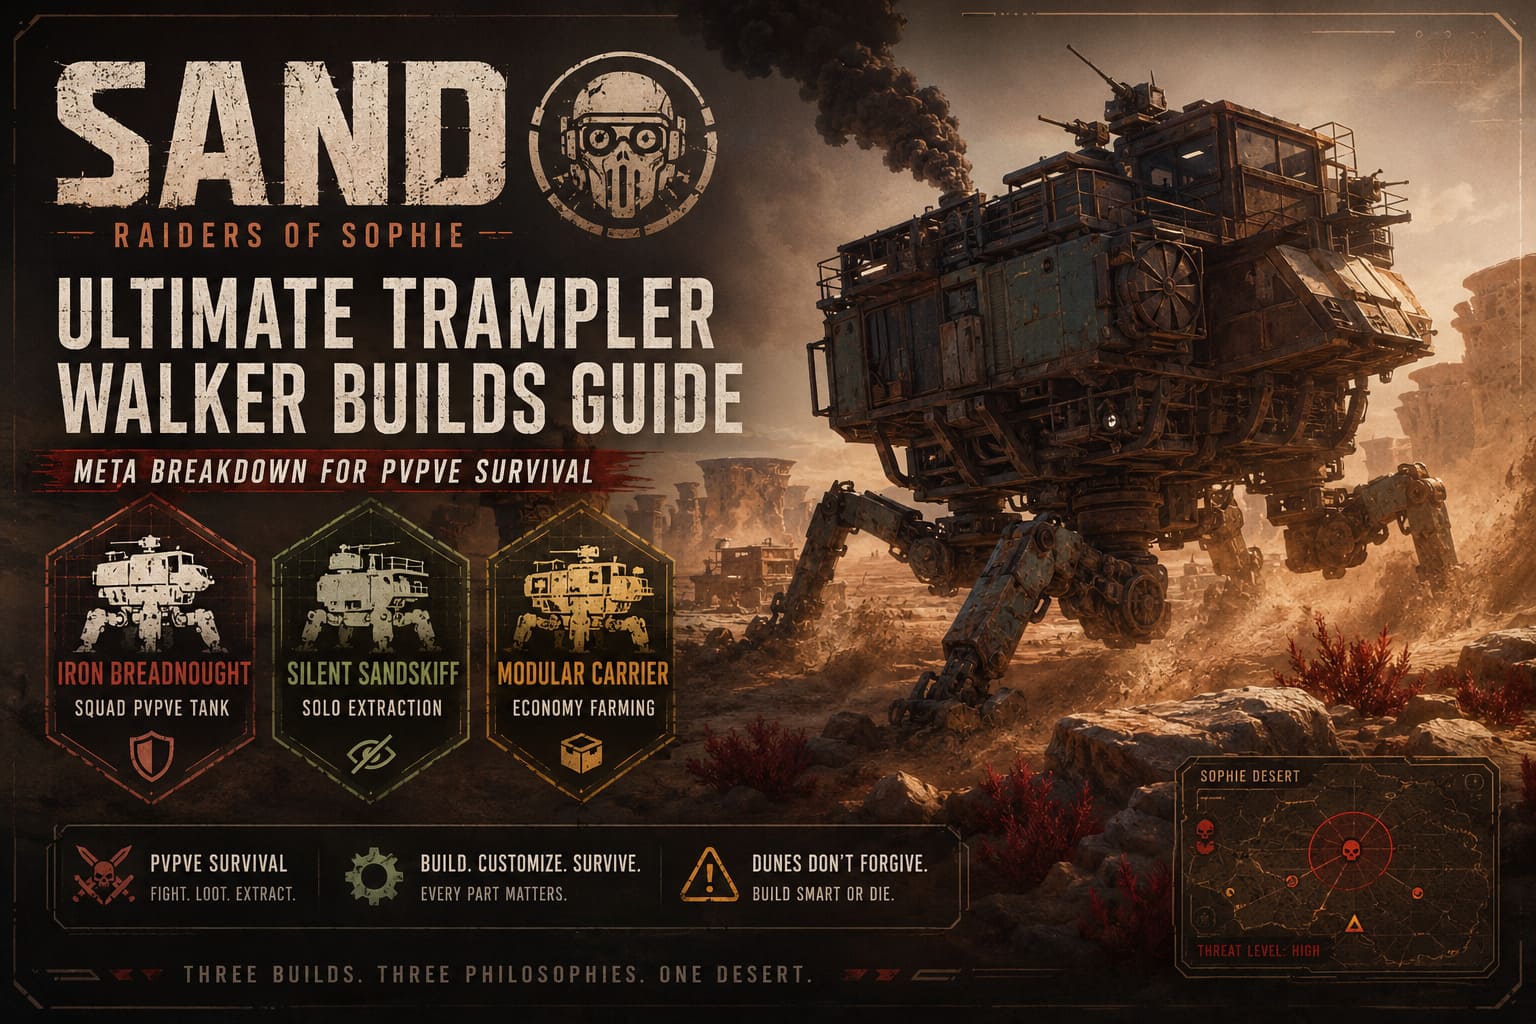
Build 1: Iron Dreadnought (Heavy PvPvE Combat Walker)
The Iron Dreadnought is the loudest possible answer to every problem in the desert. It is not subtle, it is not fast, and it is absolutely not designed for hesitation. If your squad wants to own extraction zones instead of sneaking through them, this is the machine that gets you there.
This walker is built like a moving fortress centered around a heavily shielded reactor core. Everything else exists to keep that core alive long enough to outlast whatever poor decision the enemy made by engaging you.
Weapon and defense layout
The broadside configuration defines this build’s identity. Heavy 40mm autocannons strip armor at range, while flak cannons and shotgun-style weapons shred anything that gets close enough to consider boarding you.
Armor plating is layered aggressively around internal compartments, turning the walker into a damage sponge that wins fights through endurance rather than agility.
Squad roles inside the Iron Dreadnought
A proper crew turns this build into a coordinated war engine. One player handles navigation, another manages artillery fire, and a dedicated engineer keeps systems alive under pressure. Without coordination, it becomes an expensive slow-moving target.
Build 2: Silent Sandskiff (Solo Stealth Extraction Build)
The Silent Sandskiff is the complete philosophical opposite of the Dreadnought. Where heavy builds scream dominance, this one whispers survival and leaves before anyone notices it existed.
Designed for solo players, it strips everything down to essentials. No excess armor, no unnecessary bulk, just enough structure to move fast, loot quickly, and vanish before conflict escalates.
Stealth-first architecture
The chassis is ultra-light and intentionally minimal. Cargo space is limited but optimized for high-value items only, forcing disciplined loot decisions rather than hoarding instincts.
Engine placement is optimized for rapid entry and exit flow, allowing fast repositioning during sudden encounters. The real advantage comes from reduced visibility and noise suppression systems that keep detection risk low across long sightlines.
Combat behavior
You do not fight with this build. You survive long enough to disengage. A single 40mm utility cannon acts as deterrence, while smoke tools create escape windows. Every encounter is treated as temporary and unwanted.
Build 3: Modular Carrier (Balanced Economy & Farming Build)
The Modular Carrier is where discipline meets practicality. It is designed for players who want consistent income, reliable extraction rates, and enough combat capability to avoid being completely helpless.
This build sits in the middle of the spectrum. It is not the fastest, not the strongest, and not the richest in any single category, but it is stable in all of them.
Cargo-focused structure
The internal layout prioritizes vertical and recessed cargo compartments that protect loot while maintaining accessibility. This reduces the risk of losing valuable materials during random engagements.
Defensive systems rely on automated turrets and mid-range cannons that handle threats without requiring constant player attention.
Gameplay role
This build is ideal for faction progression and steady farming. It rewards consistent play over risky improvisation and punishes reckless overextension less severely than specialized builds.
Build Comparison Overview
| Build Name | Role | Mobility | Combat Power | Cargo Capacity | Difficulty |
|---|---|---|---|---|---|
| Iron Dreadnought | Squad PvPvE Tank | Low | Very High | Medium | High |
| Silent Sandskiff | Solo Extraction | Very High | Low | Low | Medium |
| Modular Carrier | Economy Farming | Medium | Medium | High | Medium |
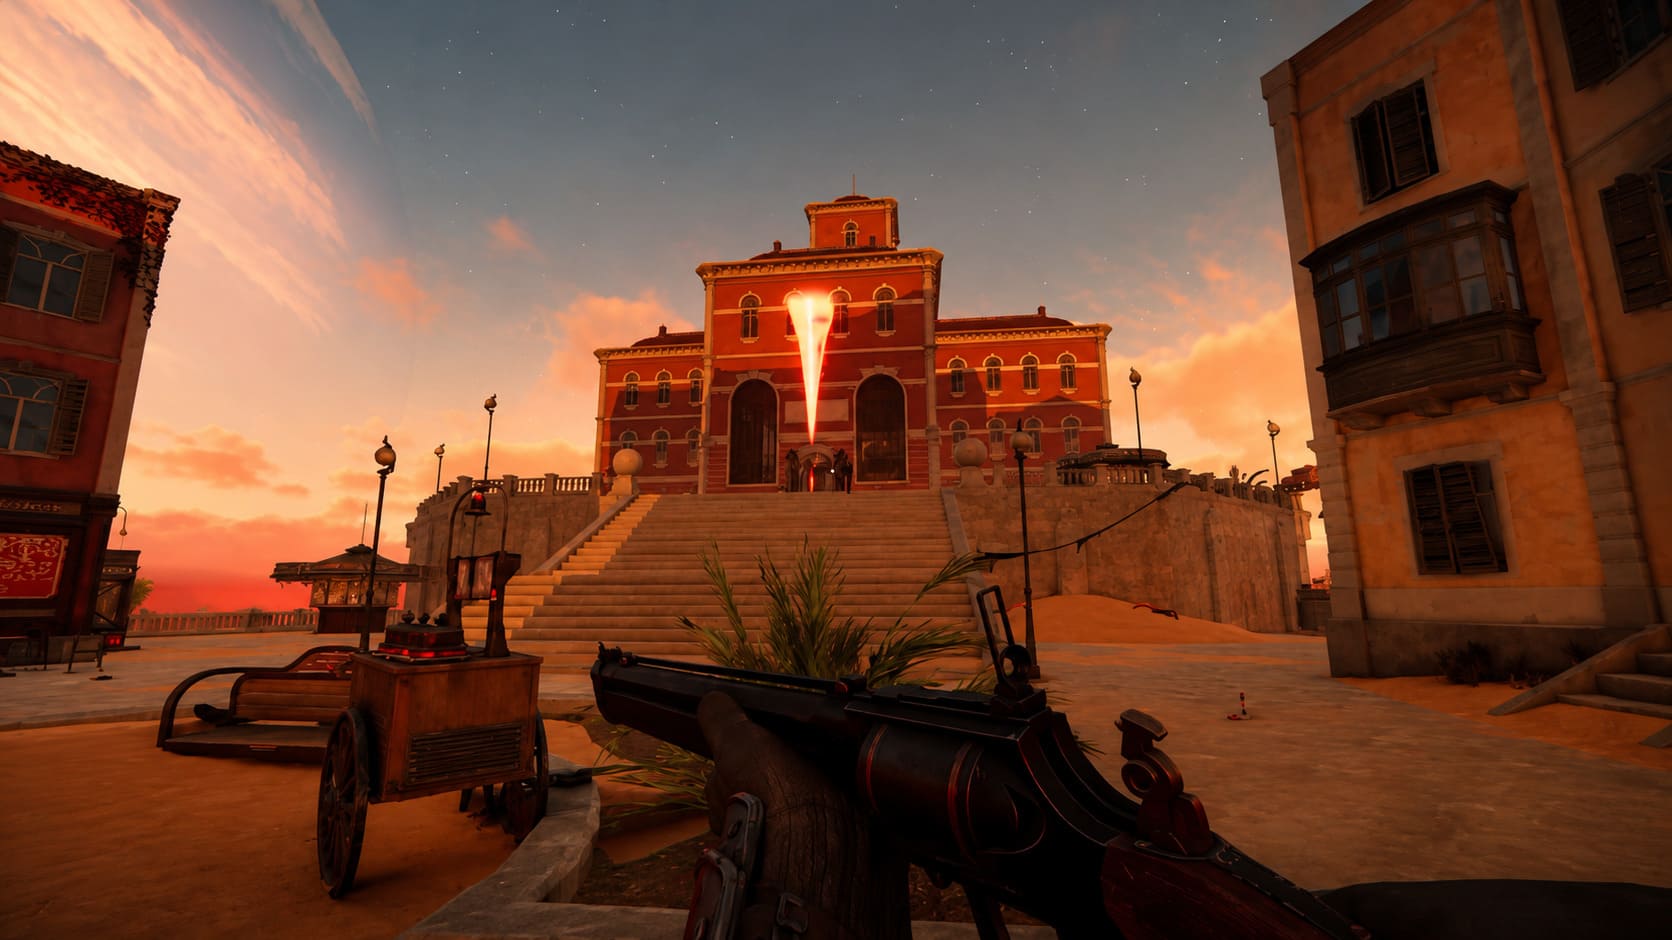
Combat Reality and Target Prioritization
Regardless of build quality, PvP engagements in SAND: Raiders of Sophie follow a predictable destruction sequence. Experienced players do not randomly shoot; they dismantle enemy walkers systematically.
The first priority is always mobility systems. Disabling legs removes positioning control and forces the enemy into a defensive spiral. Once movement is gone, weapon systems are targeted to neutralize retaliation. Only after that does finishing damage to the core become relevant.
Situational awareness and survival habits
Many players make the mistake of staying locked to the helm during travel. Veteran operators treat the walker as semi-autonomous, allowing them to manage inventory, repairs, and scouting while moving.
Extraction zones are particularly dangerous, as their visibility naturally attracts hostile squads. Treat them not as safety points but as contested combat arenas where attention matters more than armor.
Final Thoughts
Building a Trampler is less about optimization spreadsheets and more about identity. Each configuration reflects a different philosophy of survival, whether it is dominance through force, survival through invisibility, or stability through balanced progression.
The Iron Dreadnought refuses to retreat. The Silent Sandskiff refuses to be seen. The Modular Carrier refuses to gamble unnecessarily. None of them are objectively best in every scenario, but each becomes devastating when used with discipline and intent.
In the end, the desert does not reward perfection. It rewards commitment to a strategy that you actually understand before the sand starts moving under your feet.