How to Fix NBA 2K27 Memory Leak: Stop Stuttering and FPS Drops After Long Rec Sessions
There is a special kind of frustration that only shows up after you’ve already settled into a long NBA 2K session. Your first Rec game runs beautifully. The second feels just as clean. Then you queue into another one, and suddenly something feels… off. Your jumpshot timing feels slightly delayed, player movement becomes less responsive, and those previously stable frame times start looking like a heartbeat monitor during overtime.
After another couple of games, the problem can become impossible to ignore. FPS drops that weren’t there earlier start appearing, camera movement feels choppy, menus become sluggish, and some players eventually end up staring at the desktop after a crash.
On PC, this type of long-session performance degradation can be associated with memory pressure, VRAM buildup, shader caching problems, background software conflicts, or a genuine memory-management issue. The important part is that you don’t necessarily need to accept terrible performance simply because you’ve been playing for several hours.
The Rec is particularly demanding because it isn’t just rendering a basketball court and five players. The game is constantly dealing with online player models, custom MyPLAYER cosmetics, animations, clothing, hair, arena assets, spectators, lighting and other streamed data. Every new lobby can mean another batch of assets being loaded.
When that memory isn’t being released efficiently, your available RAM and VRAM can gradually shrink. Once the system starts running close to its limits, Windows may have to rely more heavily on virtual memory, while the GPU can begin struggling with its own memory budget. That’s when perfectly normal gameplay turns into micro-stutters, frame-time spikes and input delay.
Before You Start: Confirm You’re Actually Dealing With Memory Pressure
Don’t blindly change twenty Windows settings because a Reddit comment said they improved someone’s FPS. I’ve spent enough time troubleshooting PC games to know that this is how you end up fixing problems you never had in the first place.
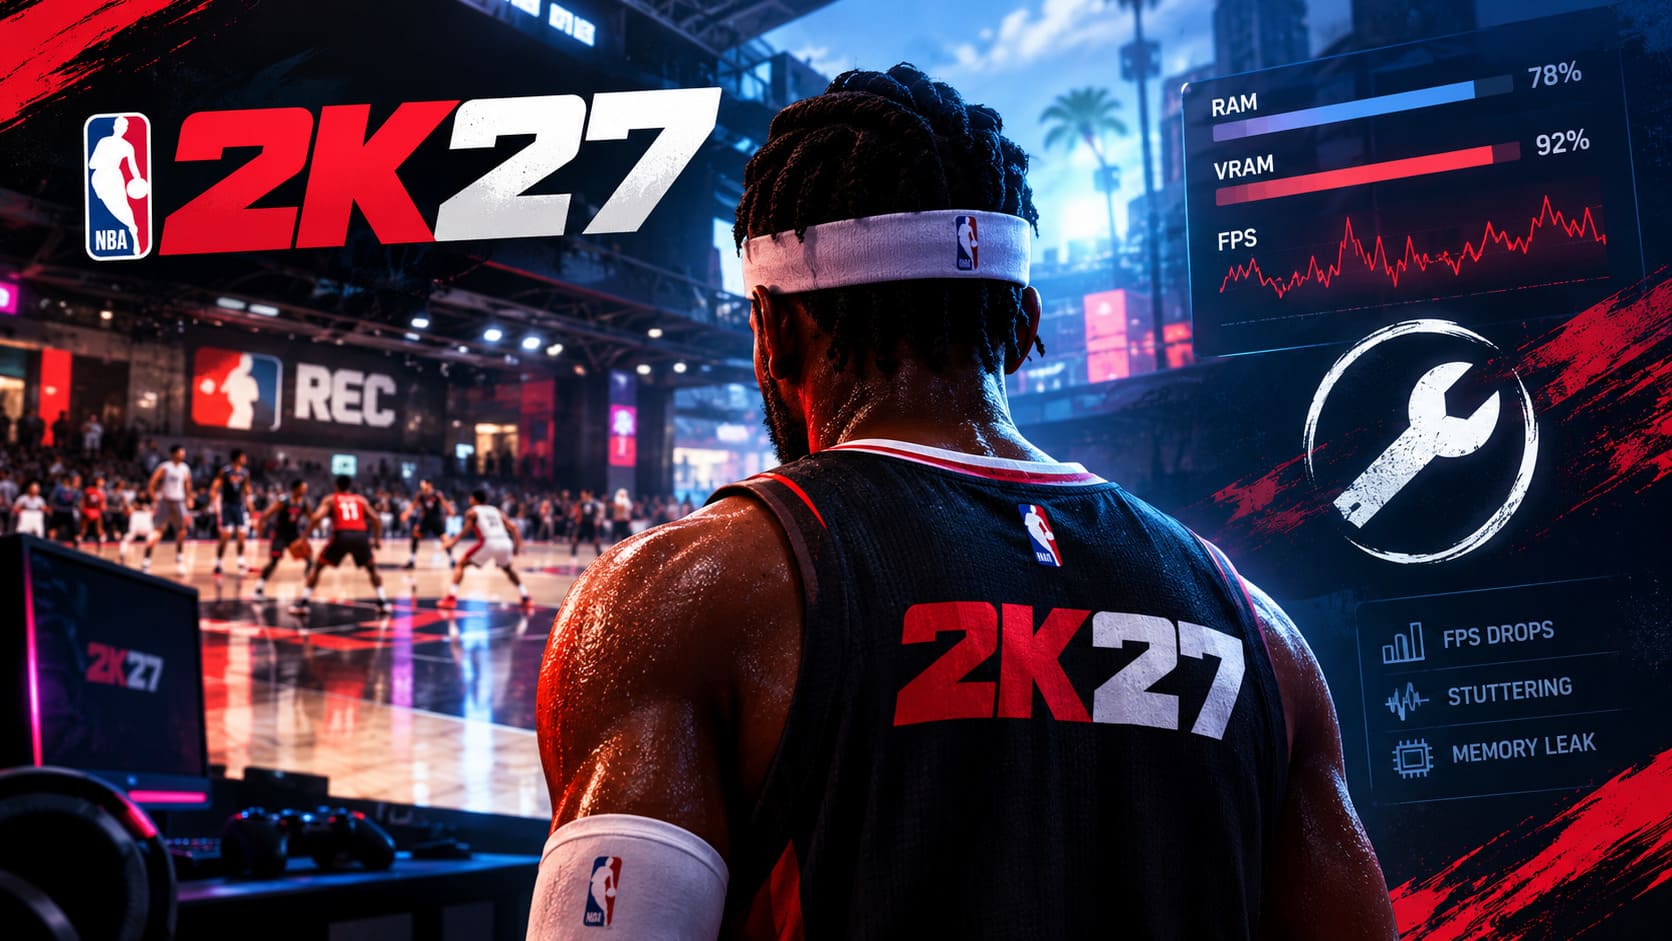
Start a Rec session and monitor your hardware with Task Manager or a trusted monitoring utility. Pay attention to system RAM, GPU VRAM usage, GPU utilization and frame-time behavior. If performance is excellent immediately after launching NBA 2K27 but progressively deteriorates after several matches, that pattern is much more interesting than a permanently low FPS number.
A genuine GPU bottleneck usually doesn’t magically disappear after restarting the game. A long-session memory problem often does.
| Symptom | Likely Area | What To Try First |
|---|---|---|
| FPS drops after several Rec games | Memory pressure / asset management | Restart the game and monitor RAM/VRAM |
| Sudden micro-stutters | Shader cache / streaming | Clear DirectX shader cache |
| Consistently low FPS | Graphics settings / GPU bottleneck | Reduce heavy rendering options |
| Input feels delayed after hours | Frame-time instability | Reduce background load and restart |
| Crash after extended play | Memory pressure / software conflict | Check RAM, VRAM and overlays |
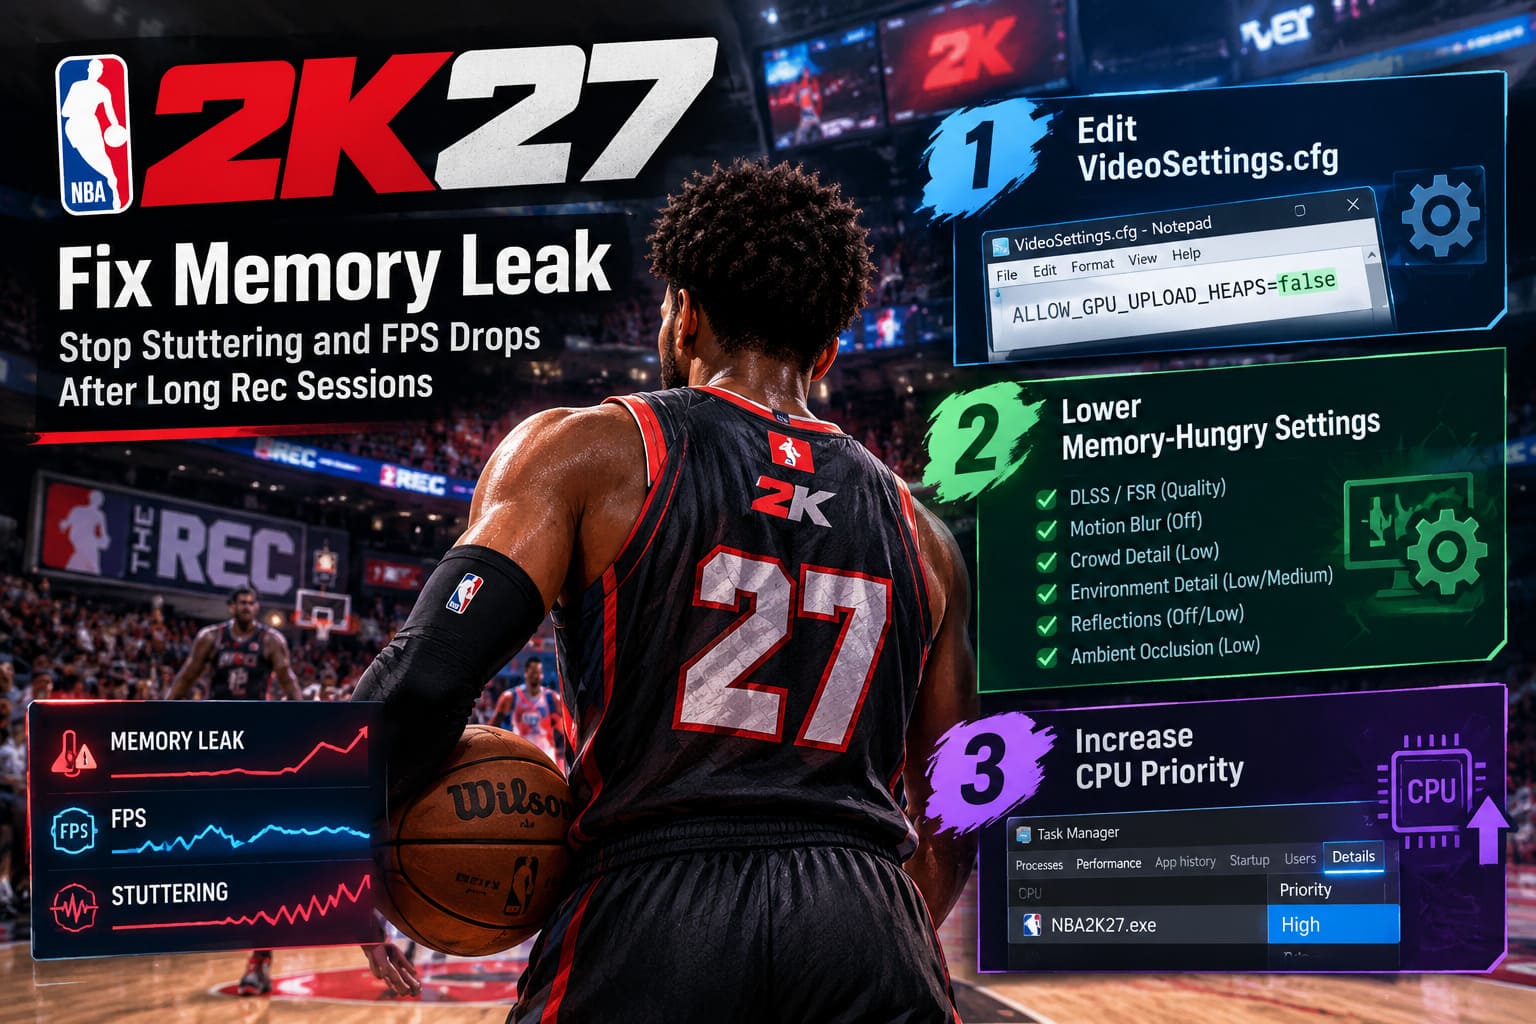
Fix 1: Check the VideoSettings.cfg Memory Option
This is the tweak I would test first if NBA 2K27 starts running progressively worse during a long Rec grind. Community troubleshooting around modern PC ports has focused heavily on hardware upload behavior, and one configuration parameter worth checking is ALLOW_GPU_UPLOAD_HEAPS.
Before touching the file, close NBA 2K27 completely. Don’t leave it sitting in the background while editing configuration data.
- Press Windows + R to open the Run dialog.
- Enter %localappdata% and press Enter.
- Look for the NBA 2K27 configuration directory under the relevant 2K Sports folder.
- Locate VideoSettings.cfg.
- Make a backup copy of the file before editing it.
- Open the configuration file with Notepad.
- Use Ctrl + F and search for ALLOW_GPU_UPLOAD_HEAPS.
- If the parameter exists, test changing its value from true to false.
- Save the file and launch NBA 2K27 again.
The important word here is test. Configuration files can differ between builds, and a setting that helps one PC can have no effect—or even hurt performance—on another. If the game behaves worse after the change, restore your backup.
Also, don’t expect a magical 80% FPS increase. The value of this tweak is potentially improving stability and reducing certain types of long-session stutter, not transforming a mid-range GPU into a monster.
Fix 2: Reduce the Settings That Eat Memory Without Improving Your Game
Here’s my favorite type of PC optimization: settings that you can lower without making your actual gameplay look dramatically worse.
You don’t need every spectator in the Rec stands rendered like they’re the main character. You’re trying to cook your opponent, not admire the 47th guy sitting behind the basket.
Start with these settings:
- Resolution Scaling: Use DLSS Quality on compatible NVIDIA hardware or an appropriate FSR Quality mode on supported AMD hardware.
- Motion Blur: Off. Competitive players generally gain nothing from it.
- Crowd Detail: Low. This is one of the easiest places to reduce background rendering overhead.
- Environment Detail: Low or Medium. The court and player models matter far more than distant environmental detail.
- Reflections: Reduce or disable them if you are fighting VRAM pressure.
- Ambient Occlusion: Lower it if your GPU is already close to its memory or performance limit.
Ray tracing can make NBA 2K27 look spectacular, but competitive Rec is not a screenshot competition. If disabling an expensive reflection effect gives you more consistent frame times, I’ll take the smoother gameplay every single time.
Fix 3: Give NBA 2K27 More CPU Priority
Windows normally does a decent job managing applications, but sometimes you can squeeze a little more consistency out of a game by manually increasing its process priority.
Launch NBA 2K27, then open Task Manager with Ctrl + Shift + Esc. Find the game’s executable under the Details section, right-click it, select Set Priority, and test High.
Don’t use Realtime. That’s the kind of “optimization” advice that sounds hardcore until it starts starving other Windows processes and creates a completely different mess.
Also keep expectations realistic. High process priority isn’t a memory-leak cure. It may help with scheduling consistency on some systems, but it won’t magically make leaked VRAM disappear.
Fix 4: Be Careful With SysMain
SysMain, formerly known as Superfetch, is one of those Windows services that gets blamed for almost everything in PC gaming. The reality is more complicated.
SysMain is designed to improve application loading by intelligently using system memory. On some systems, disabling it can reduce background activity or change how memory is being utilized. On others, there may be little or no benefit.
If you’re troubleshooting severe long-session instability, you can test it rather than treating the change as mandatory:
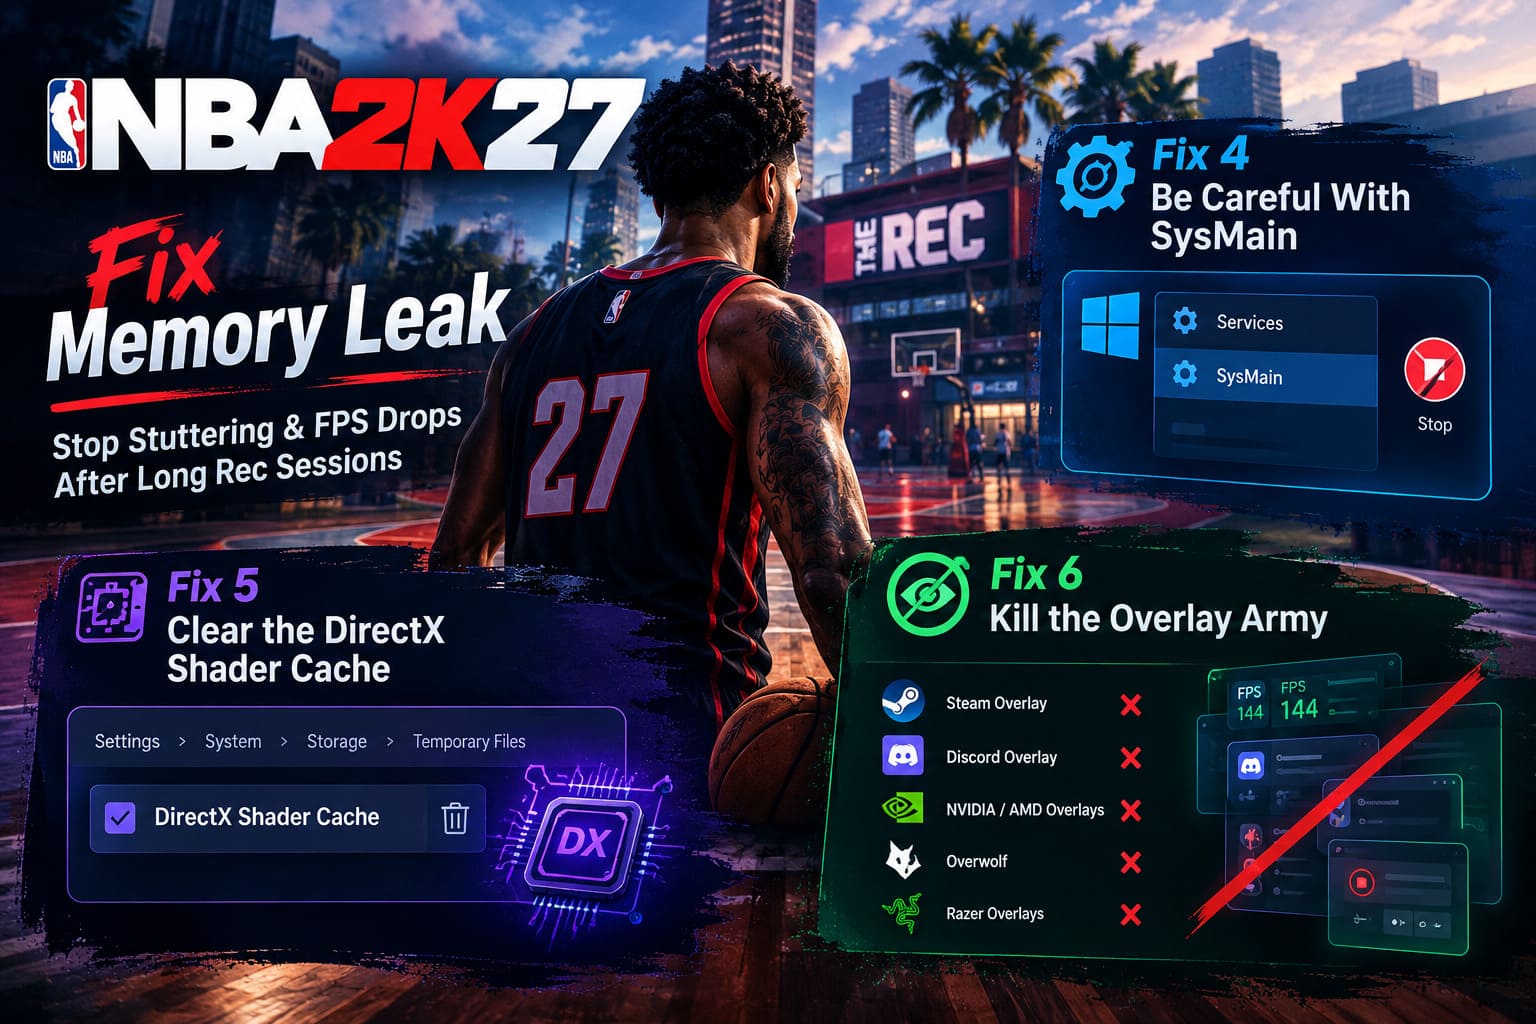
- Search Windows for Services and open the Services application.
- Find SysMain.
- Right-click it and select Properties.
- Stop the service temporarily.
- Test NBA 2K27 during a long Rec session.
- If there is no improvement, consider returning the service to its previous configuration.
I wouldn’t permanently disable Windows services simply because a gaming guide tells you to. PC optimization should be controlled experimentation, not digital superstition.
Fix 5: Clear the DirectX Shader Cache
Shader compilation is another potential source of ugly frame-time behavior. If your cache becomes outdated or corrupted after game updates, GPU driver updates or other changes, clearing it can be a useful troubleshooting step.
Open Windows Settings → System → Storage → Temporary Files. Look for DirectX Shader Cache, select it, and remove it.
Afterward, launch NBA 2K27 and give the game some time to rebuild what it needs. The first run after clearing a shader cache may not immediately feel better because the system has to recreate cached shader data.
If you’re using NVIDIA hardware, you can also review the Shader Cache Size option in NVIDIA Control Panel under Manage 3D Settings. A larger cache can be useful for games that generate substantial shader data, although there isn’t one universally perfect value for every PC.
Fix 6: Kill the Overlay Army
This is one of the simplest fixes and one of the first things I test whenever a PC game starts behaving strangely.
Overlays hook into games to provide notifications, recording tools, performance counters, chat features and other functionality. Most of the time they work perfectly. Sometimes they don’t.
For troubleshooting, temporarily disable:
- Steam Overlay
- Discord Overlay
- NVIDIA or AMD recording overlays
- Overwolf
- Razer-related game overlays
Don’t disable everything permanently. Turn them off, run the same type of Rec session, and compare the results. If the stuttering disappears, you’ve learned something useful.
The Most Practical Fix: Restart Before the Performance Falls Apart
This isn’t glamorous, but it works as a workaround for many long-session PC problems.
If NBA 2K27 runs perfectly after launch but begins deteriorating after four or five Rec games, don’t wait until you’re getting 35 FPS in the middle of a close fourth quarter. Restart the game while everything is still playable.
Back out to the main menu, close NBA 2K27 completely, make sure the process disappears from Task Manager, and launch it again.
Yes, it’s annoying. Yes, you shouldn’t have to do it in a modern PC game. But if restarting restores your original frame-time behavior, that’s valuable diagnostic information. It strongly suggests that something accumulated during the session rather than your hardware simply being incapable of running the game.
My Recommended NBA 2K27 Long-Session Setup
If I were setting up a PC specifically for several hours of Rec, I’d prioritize stable frame pacing over maximum graphical quality. A locked, consistent frame rate is much more useful in a competitive basketball game than occasional visual eye candy followed by stuttery gameplay.
| Setting | Recommended Starting Point | Reason |
|---|---|---|
| Upscaling | DLSS/FSR Quality | Reduces rendering workload while maintaining image quality |
| Motion Blur | Off | Cleaner competitive image |
| Crowd Detail | Low | Reduces background rendering load |
| Environment | Low/Medium | Lower overhead outside the active court |
| Reflections | Low/Off | Can reduce GPU workload and VRAM pressure |
| Overlays | Off for testing | Eliminates possible software conflicts |
How to Fix Controller Input Delay in NBA 2K27 on Steam (PC Latency Guide)
Don’t Confuse a Memory Problem With a Bad PC
This is probably the biggest point I want to make. If NBA 2K27 starts at 140 FPS and becomes dramatically worse several hours later, buying a more powerful GPU isn’t automatically the answer.
Likewise, if your game sits at 55 FPS from the moment you launch it, that’s probably not a memory leak. You’re looking at a hardware limitation, graphics configuration problem, driver issue, thermal throttling or another bottleneck.
The timeline matters.
Good performance after launch → progressively worse performance after repeated Rec games → restart restores performance is a very different pattern from consistently poor performance.
Twitch Drops for NBA 2K27: Guide to Free Rewards & Locker Codes (2026)
Final Verdict
NBA 2K27’s Rec experience can be brutally demanding on a PC during extended sessions, and long-session stuttering should not automatically be dismissed as “just your hardware.” Memory pressure, shader caching, asset streaming, overlays and configuration issues can all contribute to the problem.
My recommended order is simple: monitor RAM and VRAM first, test the VideoSettings.cfg option, reduce crowd and background-heavy graphics settings, clear the shader cache, disable overlays, and only then experiment with Windows process or service tweaks.
And if you’re planning one of those ridiculous six-hour Rec marathons, keep the restart trick in your back pocket. It isn’t a glamorous solution, but a clean restart can flush the accumulated memory state and get you back to the performance you had when the game was freshly launched.
The goal isn’t to make NBA 2K27 look like a 2010 basketball game. The goal is to keep the game consistent. In Rec, consistent frame pacing, responsive controls and reliable input timing are worth far more than a few extra reflection effects or ultra-detailed spectators in the stands.
If your performance collapses only after hours of play, troubleshoot the long-session behavior instead of immediately blaming your GPU. That’s where the real clue usually is.