DragonSword Awakening Dragon Shards Location Guide: How to Find and Farm Them Fast
If there’s one thing I’ve learned after spending dozens upon dozens of hours roaming every corner of DragonSword: Awakening, it’s this: the game rewards players who actually explore instead of rushing from quest marker to quest marker. Hound13 didn’t build another mindless loot grinder. They created an open-world action RPG where progression feels earned, and one resource proves that better than anything else—Dragon Shards.
Most players cruise through the opening chapters without thinking much about them. Then level 30 arrives, Master Skills become available, Karma upgrades start demanding absurd amounts of materials, and suddenly everyone asks the exact same question:
“Where do I farm Dragon Shards fast?”
After experimenting with dozens of routes, comparing drops from different activities, and seeing what experienced players have been doing since launch, it’s pretty clear that there isn’t a magical farming exploit. There is, however, a highly efficient routine that dramatically increases your shard income while letting you progress almost every other endgame system at the same time.
Here’s everything worth knowing.
Why Dragon Shards Become So Important
Dragon Shards aren’t just another crafting material filling your inventory.
They’re one of the main progression currencies that determine how powerful your team eventually becomes.
You’ll spend them on:
- Ascending basic Karmas
- Unlocking Master Skills
- Improving endgame builds
- Crafting stronger runes
- Supporting Awakening progression
Unlike many modern RPGs, DragonSword doesn’t simply let players bypass progression with premium purchases. The game expects you to fight bosses, discover hidden areas, and actually learn the world.
Personally, I think that’s one of the strongest design choices in the entire game.
Every powerful build feels earned instead of bought.
Understanding Karma Ascension
A mistake I constantly see newer players making is investing everything into random Karmas early.
Basic Karmas often begin with fairly modest stats.
For example:
| Karma Stage | Approximate Starting Value |
|---|---|
| Critical Chance | Around 6% |
| Critical Damage | Around 7% |
| Basic Effects | Limited |
| Endgame Potential | Low Without Ascension |
Those numbers don’t look terrible early on.
Against late-game enemies?
They’re nowhere close.
Field Giants, elite monsters, and raid encounters expect significantly stronger characters.
Ascending your Karmas increases their overall effectiveness, but every upgrade demands more Dragon Shards than the last. Maxing an entire team quickly becomes one of the biggest long-term investments in the game.
That’s why efficient farming matters.
The Best Dragon Shard Farming Method
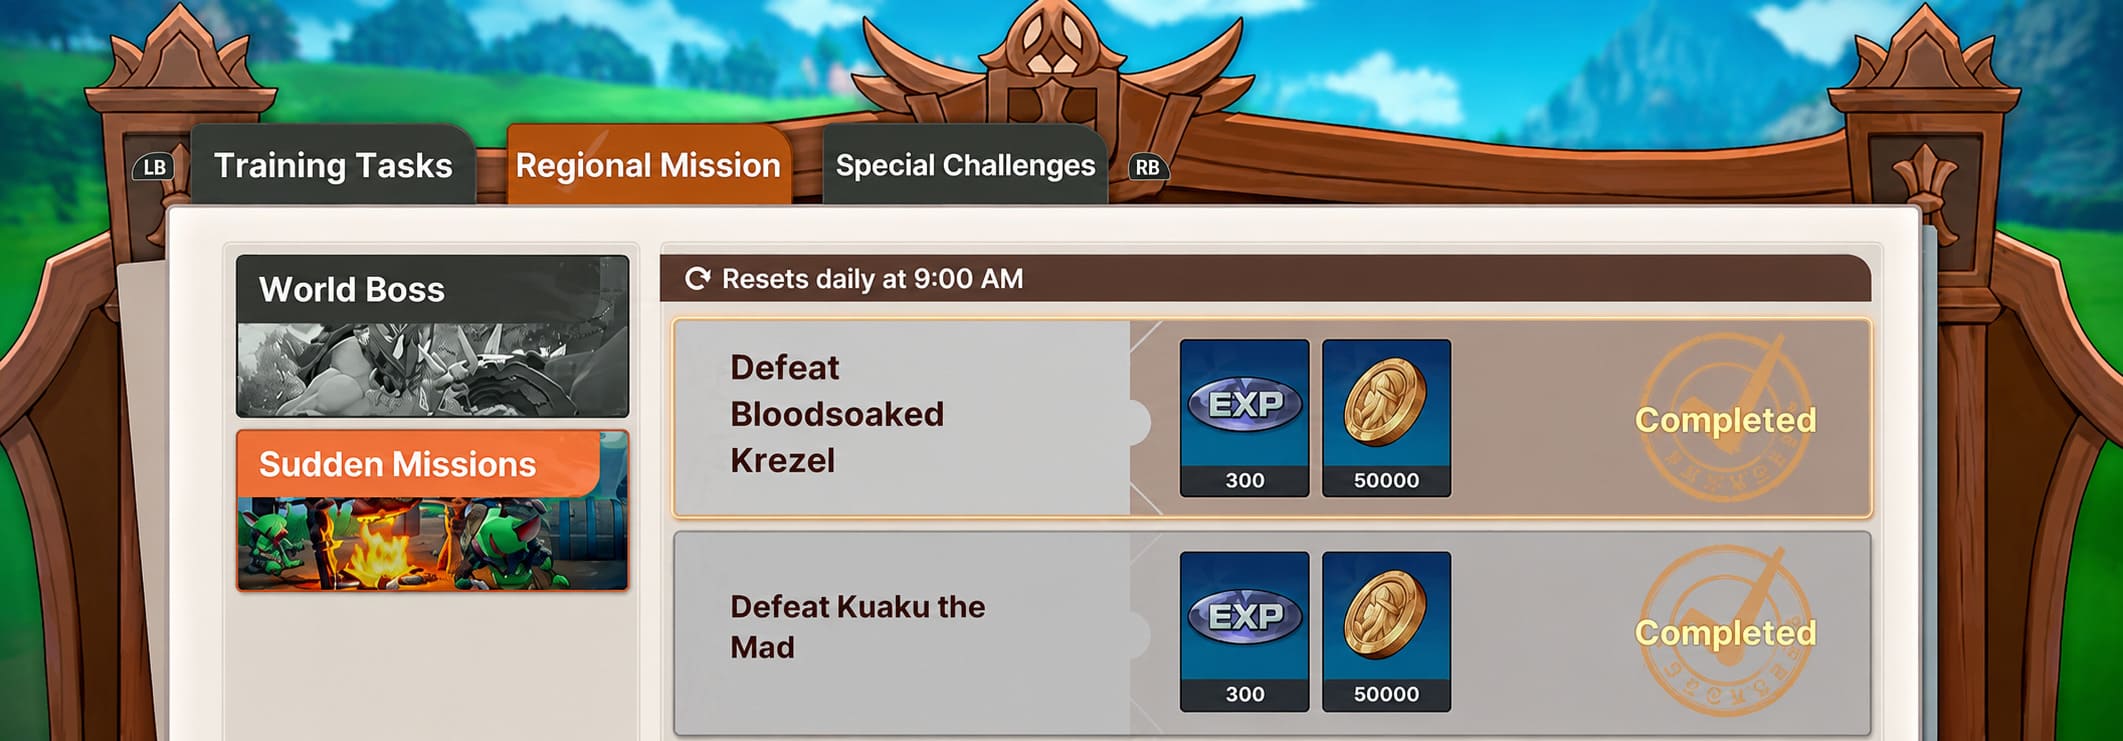
After trying nearly every activity available, World Bosses consistently provide the highest value for time invested.
Not because every kill guarantees Dragon Shards.
Because they drop multiple valuable progression materials simultaneously.
You’ll often leave with:
- Dragon Shards
- Karma materials
- Upgrade resources
- Equipment crafting items
- Currency-saving rewards
Instead of spending regional currencies at merchants, boss farming naturally supplies many of the materials you’d otherwise purchase later.
That’s a huge advantage.
Farm Every Field Giant You Can
If you’re skipping Field Giants because they’re difficult, you’re slowing your own progression.
These encounters aren’t designed around one overpowered character.
They’re built around DragonSword’s excellent tag-team combat system.
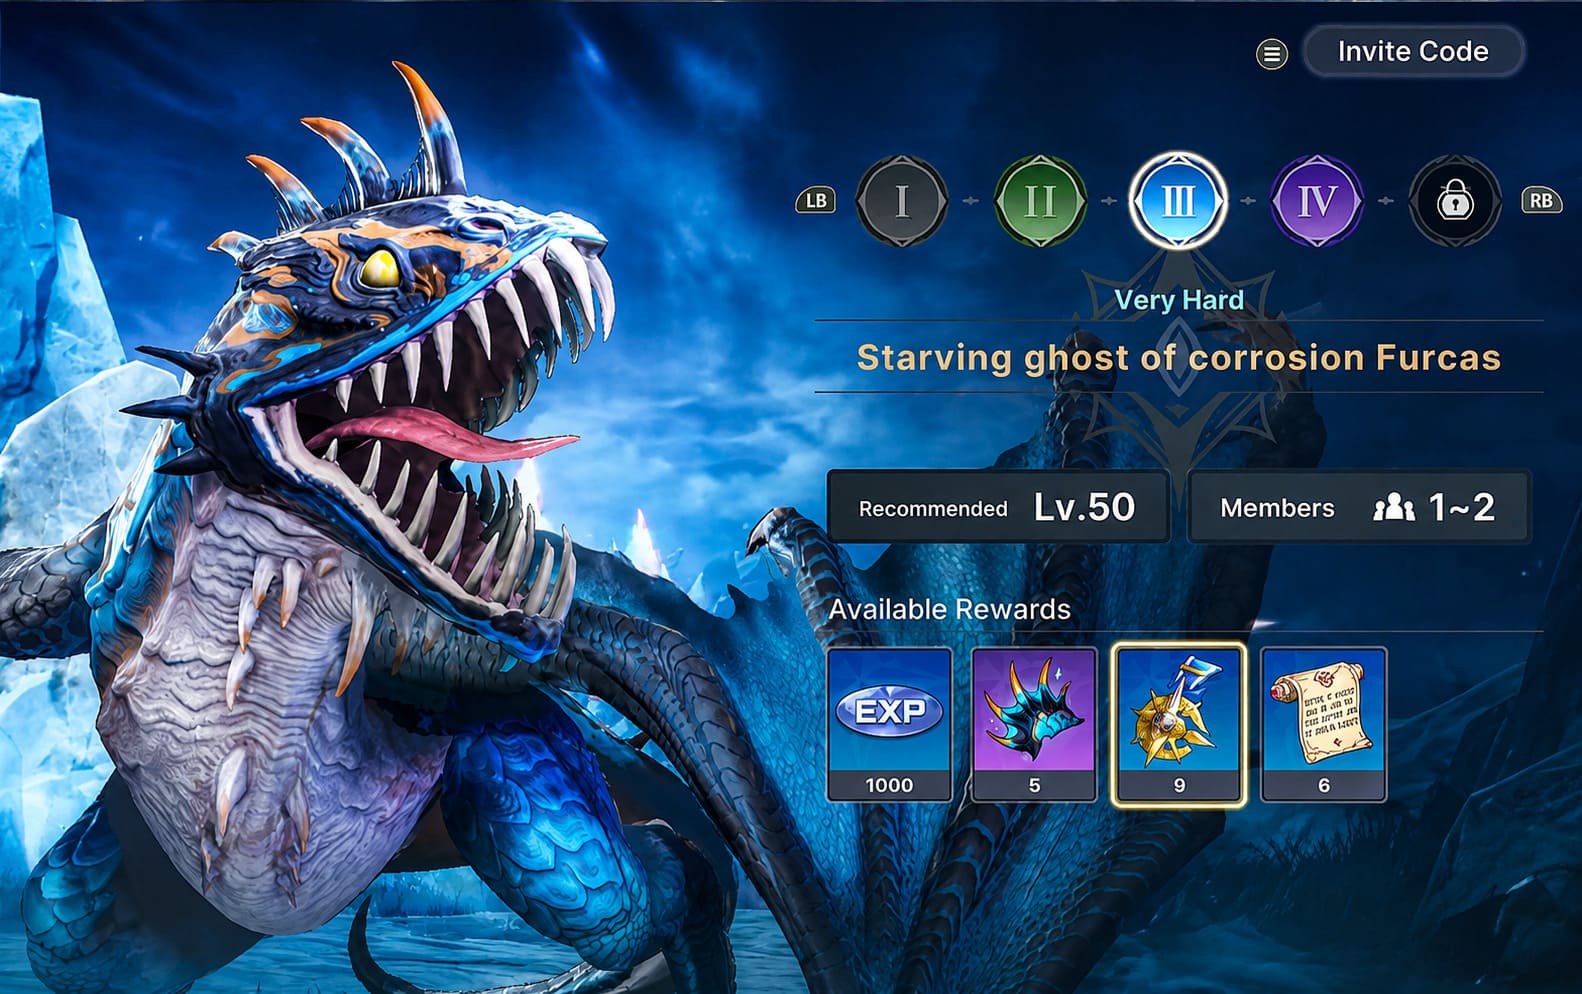
Here’s what works consistently:
- Open with a character that rapidly fills the enemy’s stagger or Shock Gauge.
- Swap immediately after triggering status buildup.
- Chain into your heavy damage dealer.
- Save ultimates for vulnerability windows.
- Repeat instead of spamming random abilities.
The faster your rotations become, the faster your farming sessions feel.
Eventually these bosses go from five-minute struggles to quick daily clears.
Hidden Exploration Chests Are Better Than Most Players Realize
One of my favorite parts of DragonSword is that exploration actually matters.
The game rarely places treasure directly in front of you.
Instead, it encourages curiosity.
Some of my biggest Dragon Shard hauls came from locations I’d normally ignore in other RPGs.
Keep checking places like:
- Waterfalls
- Narrow cliff paths
- Hidden caves
- Riverbanks
- Forest edges
- Elevated plateaus
Whenever the game highlights a search area, don’t assume the chest sits in the center.
It usually doesn’t.
The Cliff Trick Every Explorer Should Know
Here’s something I completely overlooked during my first playthrough.
When searching highlighted zones, climb above the objective instead of staying on ground level.
Looking downward reveals hidden treasure surprisingly often.
Bushes and dense vegetation hide numerous Awakening Chests that are nearly invisible from below.
Some reward:
- Dragon Shards
- Awakening Points
- Upgrade materials
- Rare crafting resources
It’s a tiny habit that pays off over dozens of exploration sessions.
Unlock Climbing Mounts As Soon As Possible
Movement upgrades don’t sound exciting.
Until you spend half an hour running around a mountain searching for a cave entrance.
Early climbing mounts completely change exploration.
Instead of following winding paths, you simply scale cliffs directly.
Benefits include:
- Faster chest collection
- Easier exploration completion
- Shorter farming sessions
- Better access to hidden routes
- Less stamina wasted
If you’re planning to collect every hidden resource on Orbis, mounts become one of the best quality-of-life upgrades available.
High-Difficulty Raids Are Mandatory Later
Eventually open-world farming starts slowing down.
That’s when raids become essential.
Higher difficulty instances don’t just increase enemy health.
They improve loot quality.
Expect better chances at:
| Activity | Dragon Shards | Rune Drops | Difficulty |
|---|---|---|---|
| Standard Dungeons | Medium | Medium | Easy |
| Elite Dungeons | High | High | Moderate |
| High-Tier Raids | Very High | Excellent | Hard |
| Endgame Co-op | Excellent | Excellent | Very Hard |
Running harder content may feel slower initially.
Over time, though, the improved rewards easily compensate for longer clear times.
Build Around Team Synergy Instead Of Favorites
This is probably my biggest piece of advice.
Don’t become attached to a single character.
DragonSword constantly rewards flexible teams.
Different bosses have different weaknesses.
Elemental counters matter.
Status effects matter.
Character swapping matters.
Some players try forcing one damage dealer into every encounter.
That works…until it suddenly doesn’t.
A balanced squad clears content much faster than three individually powerful characters with poor synergy.
My Daily Dragon Shard Farming Rotation
1. Check Boss Timers Immediately
Never start random exploration before checking World Boss schedules.
Missing one spawn can cost valuable resources.
2. Complete Daily High-Level Dungeons
These provide reliable progression materials every single day.
Treat them as mandatory.
3. Explore Remaining Map Areas
Use climbing mounts to revisit highlighted regions.
Always investigate:
- Waterfalls
- Elevated cliffs
- Bush-covered ledges
- Hidden caves
Many players leave free Dragon Shards behind simply because they rush.
4. Join Every Available Field Giant
Even if you don’t need the immediate rewards, future upgrades certainly will.
Think long-term.
5. Upgrade Smart, Not Fast
Avoid spending Dragon Shards the second you earn them.
Instead:
- Decide which Karmas are permanent.
- Invest in your main team.
- Save resources for stronger late-game builds.
This prevents wasting hundreds of shards replacing early equipment later.
DragonSword Awakening Best Free Mounts Guide: How to Get Top Early Game Mounts
Common Farming Mistakes
I’ve seen these mistakes repeated constantly.
- Ignoring exploration — The map hides far more rewards than people expect.
- Skipping World Bosses — They’re among the highest-value activities in the game.
- Only playing solo — Raid efficiency improves dramatically with organized groups.
- Upgrading everything — Resources disappear incredibly fast if you upgrade every Karma you find.
- Forgetting vertical exploration — Many hidden chests are above—or below—where players normally search.
DragonSword Awakening Status Ailment Tag Team Mechanics Explained: Combat Guide
Final Thoughts
Dragon Shards are designed to slow progression, but they’re also one of the reasons DragonSword: Awakening stays engaging well into the endgame. Every upgrade feels meaningful because you worked for it instead of simply buying it from a shop.
If I had to recommend one approach after hundreds of boss fights and countless hours wandering across Orbis, it would be this: never focus on a single farming activity. Rotate between World Bosses, Field Giants, exploration, and high-level raids. That balanced loop keeps your inventory stocked with Dragon Shards while also feeding every other progression system the game throws at you.
DragonSword rewards players who pay attention to the world around them. Check every cliff edge, dive behind every waterfall, climb mountains instead of walking around them, and don’t ignore cooperative content once it becomes available. Those habits may seem small at first, but over time they make the difference between constantly running out of Dragon Shards and having enough resources to fully awaken your strongest Karmas without hitting frustrating progression walls.