S-Class Chaos Build Guide in Neverness to Everness (NTE): Best Arcs, Modules, Teams, and Rotation (2026)
Version 1.1 completely changed the damage meta in Neverness to Everness, and after spending dozens of hours testing different builds, rotations, and team combinations, I can confidently say that Chaos is one of the most satisfying DPS characters the game has released so far.
He’s fast, flashy, and rewards players who actually enjoy mastering mechanics instead of simply mashing buttons. At first glance, Chaos looks like another standard hypercarry, but once you understand how his Warrant, Crime Gauge, and Remora interactions work together, his damage output reaches a completely different level.
I’ve tested multiple builds, watched plenty of high-end clears, compared community theorycrafting, and one thing became obvious: Chaos isn’t difficult because of his stats—he’s difficult because he demands proper timing. Players who learn his rotation will be rewarded with one of the highest sustained damage outputs currently available in Version 1.1.
If you’re planning to main him, here’s everything you actually need to know before investing your resources.
Why Chaos Is One of the Best DPS Characters in Version 1.1
Unlike many characters that rely almost entirely on skill spam, Chaos spends most of his field time dealing damage through empowered Basic Attacks. His gameplay has a satisfying rhythm that constantly rewards proper execution instead of random button presses.
A typical combat cycle follows a simple pattern, but mastering its timing is what separates average players from experienced ones.
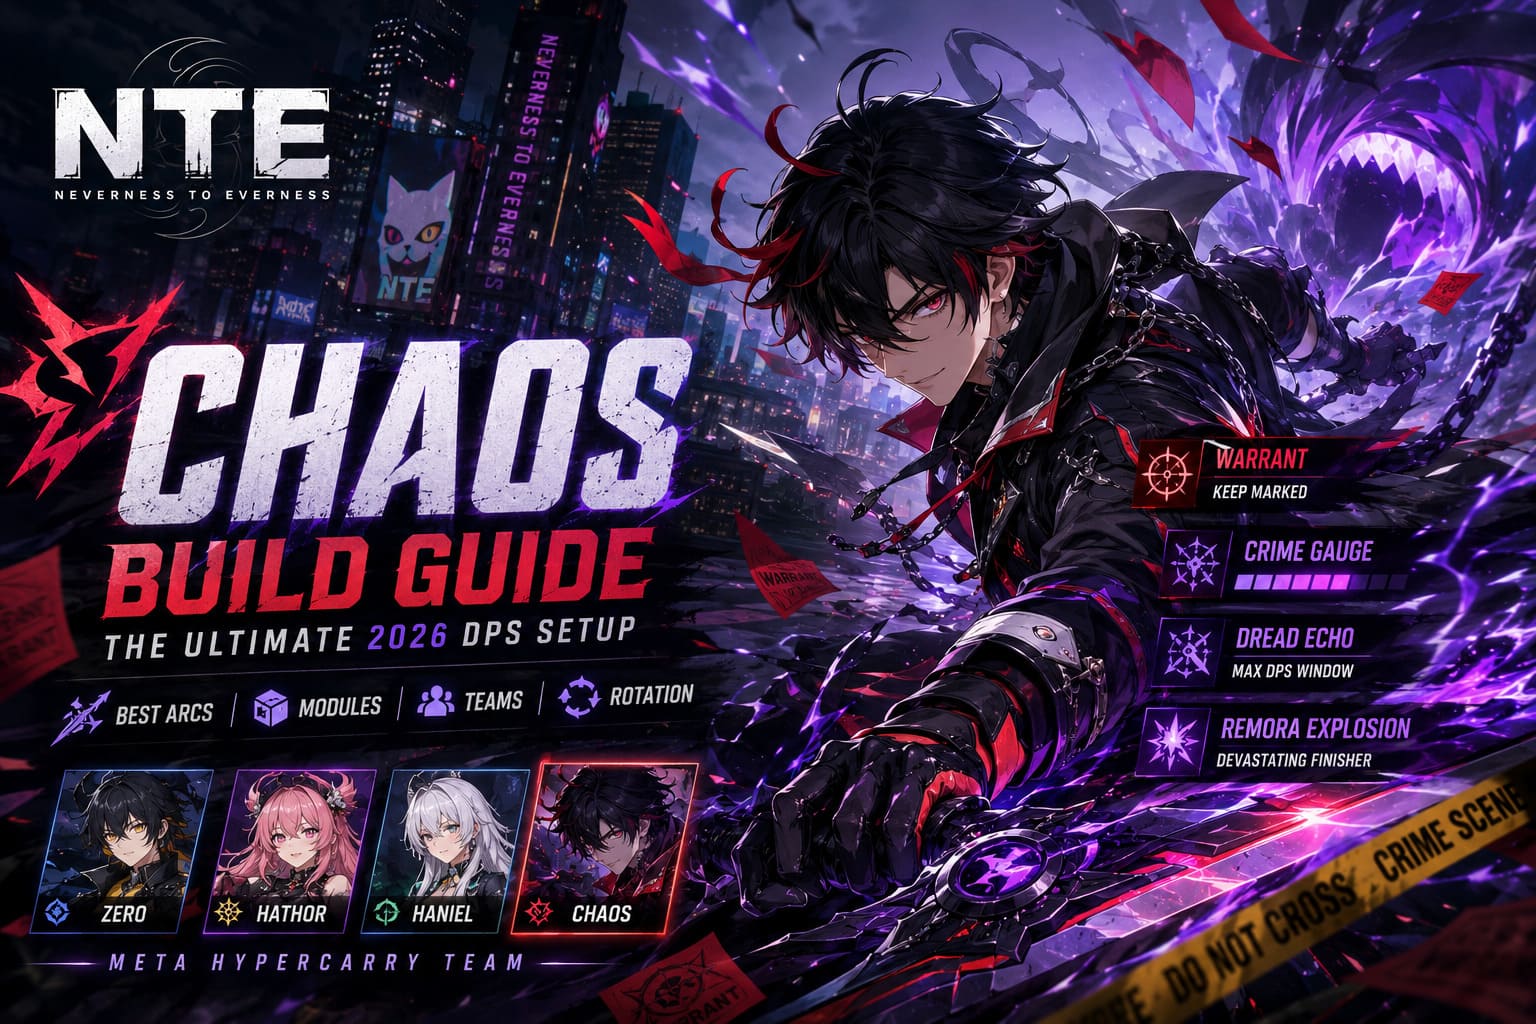
- Apply Warrant to enemies.
- Generate Crime through continuous attacks.
- Activate Dread Echo using the Ultimate.
- Spend Crime on devastating Heavy Attacks.
- Finish the rotation with an enormous Remora explosion.
Every mechanic naturally flows into the next one. Once everything comes together, Chaos barely gives enemies enough time to recover before another devastating combo begins.
Understanding Chaos’ Core Mechanics
Before choosing equipment or teammates, it’s important to understand why Chaos deals so much damage. His numbers don’t come from a single skill—they come from the interaction between multiple mechanics working together.

Warrant Marks
Chaos applies a special debuff called Warrant through both his Skill and Ultimate. This mark is the foundation of his entire kit, and keeping it active should always be your highest priority.
Enemies affected by Warrant allow Chaos to build Crime much faster, enabling stronger Heavy Attacks and much smoother damage rotations. If the mark expires, your overall DPS immediately drops because every following mechanic depends on it.
Simply put, no Warrant means no consistent damage.
Crime Gauge
The Crime Gauge is Chaos’ personal combat resource. Every successful attack against a marked target fills the gauge, and once enough Crime has been collected, Chaos unlocks his enhanced Heavy Attacks.
These Heavy Attacks are responsible for a huge percentage of his total damage output during longer encounters.
If you ever feel like your Heavy Attacks aren’t available often enough, the problem usually isn’t your build—it’s your rotation.
Dread Echo
Chaos’ Ultimate, Retribution, does much more than deliver a burst of Condensate damage.
After activating it, Chaos enters Dread Echo, a powerful combat state that completely changes how his kit functions.
- Crime generation becomes significantly faster.
- Heavy Attacks receive massive damage boosts.
- Area-of-effect pressure increases dramatically.
- Boss damage reaches its highest point.
This is the window where nearly all of Chaos’ burst potential comes from, so entering Dread Echo with every available team buff already active is essential.
Remora Explosion
Personally, this is my favorite mechanic in Chaos’ entire kit.
Most damage dealers finish their combo once their Ultimate animation ends. Chaos keeps dealing damage even after his main rotation is over.
When the Remora reaction naturally expires, it triggers an enormous delayed explosion. What’s even more impressive is that this explosion scales according to how long the reaction remained active before detonating.
Longer Remora duration equals a much stronger finishing hit.
With the proper team composition, this delayed explosion alone can remove an enormous portion of a boss’ health bar, making Chaos feel incredibly rewarding to play.
Skill Priority
Upgrade materials are limited, so investing them correctly makes a noticeable difference during progression.
| Priority | Skill | Why It Matters |
|---|---|---|
| ★★★★★ | Basic Attack | Main source of sustained DPS and empowered Heavy Attack scaling. |
| ★★★★☆ | Ultimate | Improves burst damage while strengthening Dread Echo. |
| ★★★☆☆ | Skill | Mainly used to apply Warrant and reposition quickly. |
| ★★☆☆☆ | Support Skill | Lowest priority because Chaos spends almost all combat time on the field. |
Maxing Basic Attacks first provides the biggest increase in overall damage because most of Chaos’ field time revolves around empowered attack strings rather than repeated skill usage.
Best Arcs for Chaos
Your Arc selection has a huge impact on Chaos’ final damage output. While several options perform well, a few clearly stand above the rest.
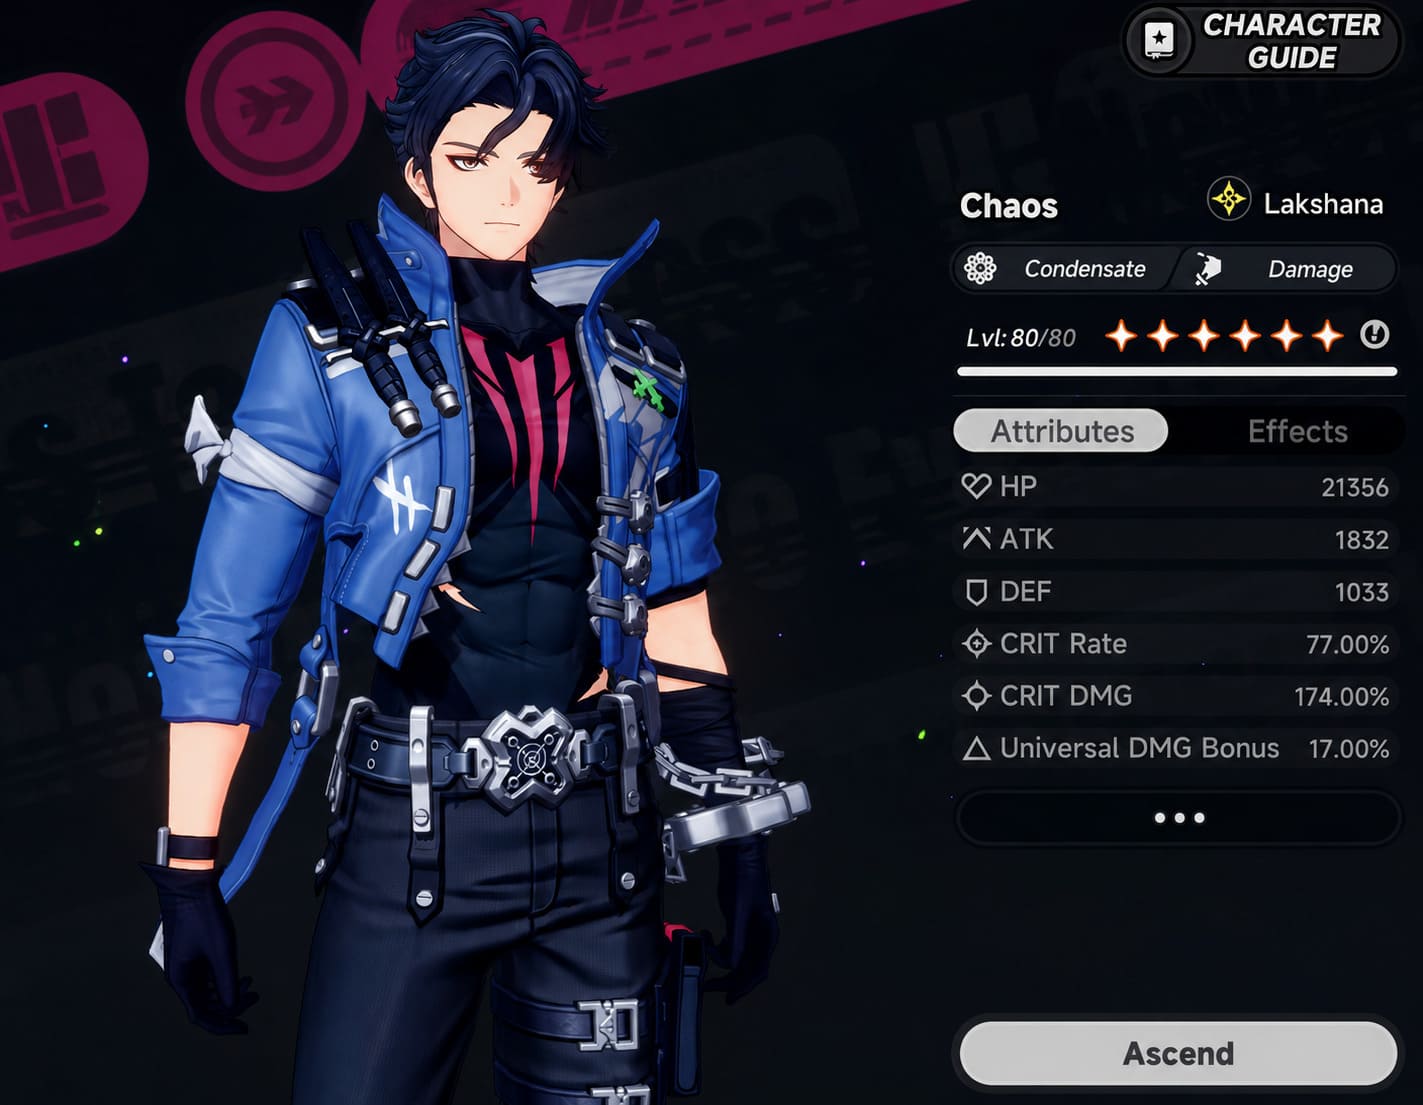
Best Overall — Golden Fleece
If you own Chaos’ signature Arc, there is little reason to use anything else.
Golden Fleece grants a valuable Lakshana Damage bonus while also providing a massive Critical Damage increase after using either a Redirect Skill or Ultimate. Since Chaos naturally cycles his Ultimate throughout combat, the passive maintains excellent uptime without requiring any special setup.
The result is consistently higher burst damage during every rotation.
Premium Alternative — Console
Console is easily one of the strongest alternatives for players who skipped the signature weapon.
Its passive increases Critical Damage based on the number of equipped Type III Modules. As your Module setup improves, Console becomes even stronger, making it an excellent long-term investment for endgame players.
With a properly optimized Module board, the difference between Console and Golden Fleece becomes surprisingly small.
Best Free-to-Play Choices
Fortunately, Chaos doesn’t require a premium weapon to perform well.
Two excellent budget choices are:
- Knight’s Candy
- A Time Will Come
Knight’s Candy deserves special praise because Chaos attacks incredibly quickly. Every critical hit increases Critical Damage, allowing the weapon to reach maximum stacks almost immediately after entering combat.
Players saving premium currency for future banners can comfortably use either of these options without feeling significantly weaker during most content.
Best Module Build
If there’s one mistake I constantly see among new Chaos players, it’s investing far too heavily into Critical Rate.
Don’t make that mistake.
Chaos naturally gains a considerable amount of Critical Rate through his base kit, Bond progression, team buffs, and Module bonuses. Once you exceed 100% Critical Rate, every additional point becomes completely wasted.
Instead, focus on increasing the stats that directly improve your final damage output.
Recommended Stat Priority
- Lakshana DMG%
- ATK%
- Critical Damage
- Critical Rate (only until comfortable)
Stacking offensive multipliers produces significantly better results than blindly chasing perfect Critical Rate numbers.
Best Module Set
The clear winner is the Street Boxer set.
Its bonuses perfectly complement Chaos’ aggressive playstyle, rewarding continuous on-field combat while increasing the damage of his Basic and Heavy Attack rotations.
The set feels like it was specifically designed for him.
Recommended Module Layout
For maximum efficiency, prioritize Type III Modules wherever possible.
- Equip as many Type III Modules as your board allows.
- Use additional 3-slot Modules to maximize Critical Damage scaling.
- Finish remaining space with a 2-slot Module if necessary.
This layout not only strengthens Street Boxer but also unlocks the full potential of the Console Arc.
Best Cartridge Stats
Choosing the right Cartridge is just as important as selecting the proper Arc or Module set. A poorly rolled Cartridge can significantly reduce Chaos’ overall damage, even if the rest of your build is fully optimized.
Fortunately, his stat priorities are very straightforward once you understand how his kit scales.
| Main Stat | Priority |
|---|---|
| Lakshana DMG% | Best Overall Choice |
| Critical Damage | Excellent Alternative |
Recommended Substats
- ATK%
- Flat ATK
- Critical Damage
- A small amount of Critical Rate
One stat that should be avoided is Cycle Intensity. While it can be incredibly valuable for reaction-based supports, it contributes almost nothing to Chaos’ personal damage. Every roll invested into Cycle Intensity is a missed opportunity to improve the stats that actually matter.
Best Team Compositions
Chaos performs well on his own, but the right teammates elevate him from a strong DPS into one of the best carries currently available in Neverness to Everness. His ideal team focuses on maintaining buffs, enabling elemental reactions, and creating the perfect conditions for his Remora explosion.
Team One — The Meta Hypercarry Composition
| Character | Role |
|---|---|
| Chaos | Main DPS |
| Zero | Reaction Enabler / Sub DPS |
| Hathor | Critical Support |
| Haniel | Attack Buffer |
This lineup remains my favorite after extensive testing because every character contributes something meaningful to Chaos’ damage window.
Zero acts as the engine that keeps the entire rotation moving. Her Skills rapidly trigger elemental reactions while dealing respectable off-field damage. She also helps activate the Street Boxer Module bonuses consistently throughout every combat cycle.
Instead of stacking Cycle Intensity on Zero, I actually prefer building her as a secondary damage dealer with Critical Rate and Critical Damage. Her personal contribution becomes surprisingly noticeable during longer boss encounters.
Hathor is arguably Chaos’ strongest teammate. Besides providing a valuable Critical Rate aura for the active character, she dramatically increases the damage multiplier of Chaos’ Remora explosion. The difference is immediately noticeable against high-health bosses, where that delayed explosion often removes an enormous portion of their remaining HP.
Haniel completes the composition with a powerful Attack buff. Her enhancement window isn’t particularly long, so timing becomes important. Swap into Haniel briefly, activate her buffs, and immediately hand the field back to Chaos before valuable seconds are wasted.
Team Two — Charged Reaction Composition
If you don’t own both Zero and Hathor, don’t worry. Chaos still performs extremely well inside a Charged-focused team.
| Character | Role |
|---|---|
| Chaos | Main DPS |
| Cosmos | Reaction Support |
| Anima | Elemental Setup |
| Sakiri / Giwan | Buffer or Defense Shred |
This composition emphasizes continuous elemental application rather than maximizing a single burst window. Charged reactions occur frequently, helping Chaos stagger enemies while grouping smaller targets together for his Heavy Attack chains.
Although this setup generally produces slightly lower burst numbers than the premium composition, it remains reliable throughout virtually every piece of endgame content.
The Rotation I Recommend
Chaos rewards players who follow a disciplined rotation. Every support buff should already be active before he enters the battlefield, allowing him to spend every possible second dealing damage instead of preparing for it.
Step 1 — Preparation
Open the fight with your primary support.
Deploy every available buff, summon, or lingering field effect before swapping characters. The goal is to prepare the battlefield for Chaos rather than having him waste valuable field time doing setup work himself.
Step 2 — Activate Reactions
Switch to Zero.
Cast her Skill immediately, then follow with her Ultimate.
This quickly establishes the necessary elemental reactions while simultaneously activating the Street Boxer Module bonuses.
Step 3 — Apply Final Buffs
Swap into Hathor or Haniel.
If you’re using Haniel, activate both her Skill and Ultimate before immediately switching back out.
If Hathor is your support, make sure her abilities have successfully marked the target before Chaos takes the field. This ensures the upcoming Remora explosion reaches its maximum potential.
Step 4 — Chaos Takes Control
Now the fun begins.
Immediately cast Chaos’ Skill to apply Warrant.
Follow with his Ultimate to enter Dread Echo.
Once inside Dread Echo, begin chaining empowered Heavy Attacks while continuously building and spending Crime.
One small trick that many experienced players use is animation cancelling the second Heavy Attack by holding a movement direction during the attack sequence. It slightly reduces recovery time and keeps your combo flowing much more smoothly.
It doesn’t look dramatic, but over an extended boss fight the additional damage becomes very noticeable.
Step 5 — Finish the Rotation
Continue attacking until Dread Echo expires.
Moments later, the Remora reaction reaches the end of its duration, triggering one final massive explosion.
Landing this delayed detonation at the end of every rotation is one of the most satisfying moments in Chaos’ gameplay.
Once the explosion has resolved, rotate back into your supports, rebuild energy, refresh buffs, and repeat the cycle.
Neverness to Everness Beginner Guide 2026: Progression Tips, Combat Meta, and City Tycoon Strategy
Awakening Priorities
If you’re planning to invest additional pulls into Chaos, some Awakening levels offer significantly better value than others.
| Awakening | Value | Opinion |
|---|---|---|
| A1 | ★★★★★ | Excellent quality-of-life upgrade with much faster Crime generation. |
| A2 | ★★★★★ | Fantastic damage increase through Defense Ignore against marked enemies. |
| A4 | ★★☆☆☆ | Mainly useful for clearing groups of weaker enemies. |
| A6 | ★★★★★ | The ultimate endgame investment with enormous overall damage gains. |
Personally, I think A1 offers the best balance between investment and performance. The faster Crime generation makes Chaos feel much smoother to play and noticeably shortens every rotation.
A2 is another fantastic stopping point thanks to its Defense Ignore effect, which becomes increasingly valuable against high-level bosses with larger defensive stats.
A6, of course, transforms Chaos into an absolute monster. Instantly filling the Crime Gauge after using his Ultimate dramatically increases burst potential while simultaneously reducing enemy Lakshana Resistance. It’s an incredible upgrade, but realistically aimed at players willing to invest heavily.
As for A4, I simply don’t consider it a priority. Its effect shines mostly during mob farming, while offering relatively little value during difficult single-target boss encounters where Chaos spends most of his time.
Neverness to Everness Active Redeem Codes (June 2026) and Fons Tycoon Shop Management Guide
Final Thoughts
After spending countless hours experimenting with different builds, Module combinations, and team setups, Chaos has easily become one of my favorite characters in Neverness to Everness.
What makes him stand out isn’t just the impressive damage numbers. It’s the way his entire kit rewards good execution. Every properly timed Warrant application, every perfectly managed Crime Gauge, every animation cancel, and every massive Remora explosion makes you feel like you’re constantly improving as a player.
The biggest advice I can give anyone building Chaos is simple: don’t fall into the Critical Rate trap. His kit already provides more than enough consistency, so investing into Lakshana Damage, Attack, and Critical Damage will always produce better long-term results.
If you have access to Golden Fleece, the Street Boxer Module set, and premium teammates like Zero and Hathor, you’ll unlock one of the strongest damage loops currently available in Version 1.1. Even players using free-to-play weapons can still achieve excellent results by learning proper rotations and optimizing their equipment.
Chaos isn’t the kind of character who reaches his full potential on day one. The more time you spend mastering his timing and understanding how every mechanic interacts, the stronger he becomes.
Once his rotation feels natural, Chaos doesn’t simply deal impressive damage—he completely dominates every encounter, making even the toughest endgame challenges feel far more manageable.