The Blood of Dawnwalker: All 9 General Store Locations & Merchant Guide
If there’s one thing I’ve learned while playing The Blood of Dawnwalker, it’s that a good merchant is worth remembering. You can have the perfect build, a bag full of crafting materials, and enough confidence to take on something that absolutely should kill you — and then realize you’re completely out of healing items.
That’s where the General Stores come in.
There are 9 General Store locations scattered throughout the world of The Blood of Dawnwalker. Some are simple places to restock consumables, while others are much more interesting, selling ingredients, Skill Manuals, Recipes, Accessories, and other useful gear. One merchant is particularly unusual because you can’t simply walk up to their shop and buy anything until you complete a specific side quest.
I actually like this approach. The stores don’t feel like identical vending machines scattered around the map. Their inventories and conditions give you a reason to pay attention to where you are and what you’ve unlocked.
So, if you’re hunting for all General Store locations in The Blood of Dawnwalker, trying to complete your collection, or simply want to stop wasting time searching for that one merchant you vaguely remember seeing three hours ago, here’s the full breakdown.
How General Stores Appear on the Map
Before you start running across the entire map looking for tiny buildings, there’s an important detail to understand.
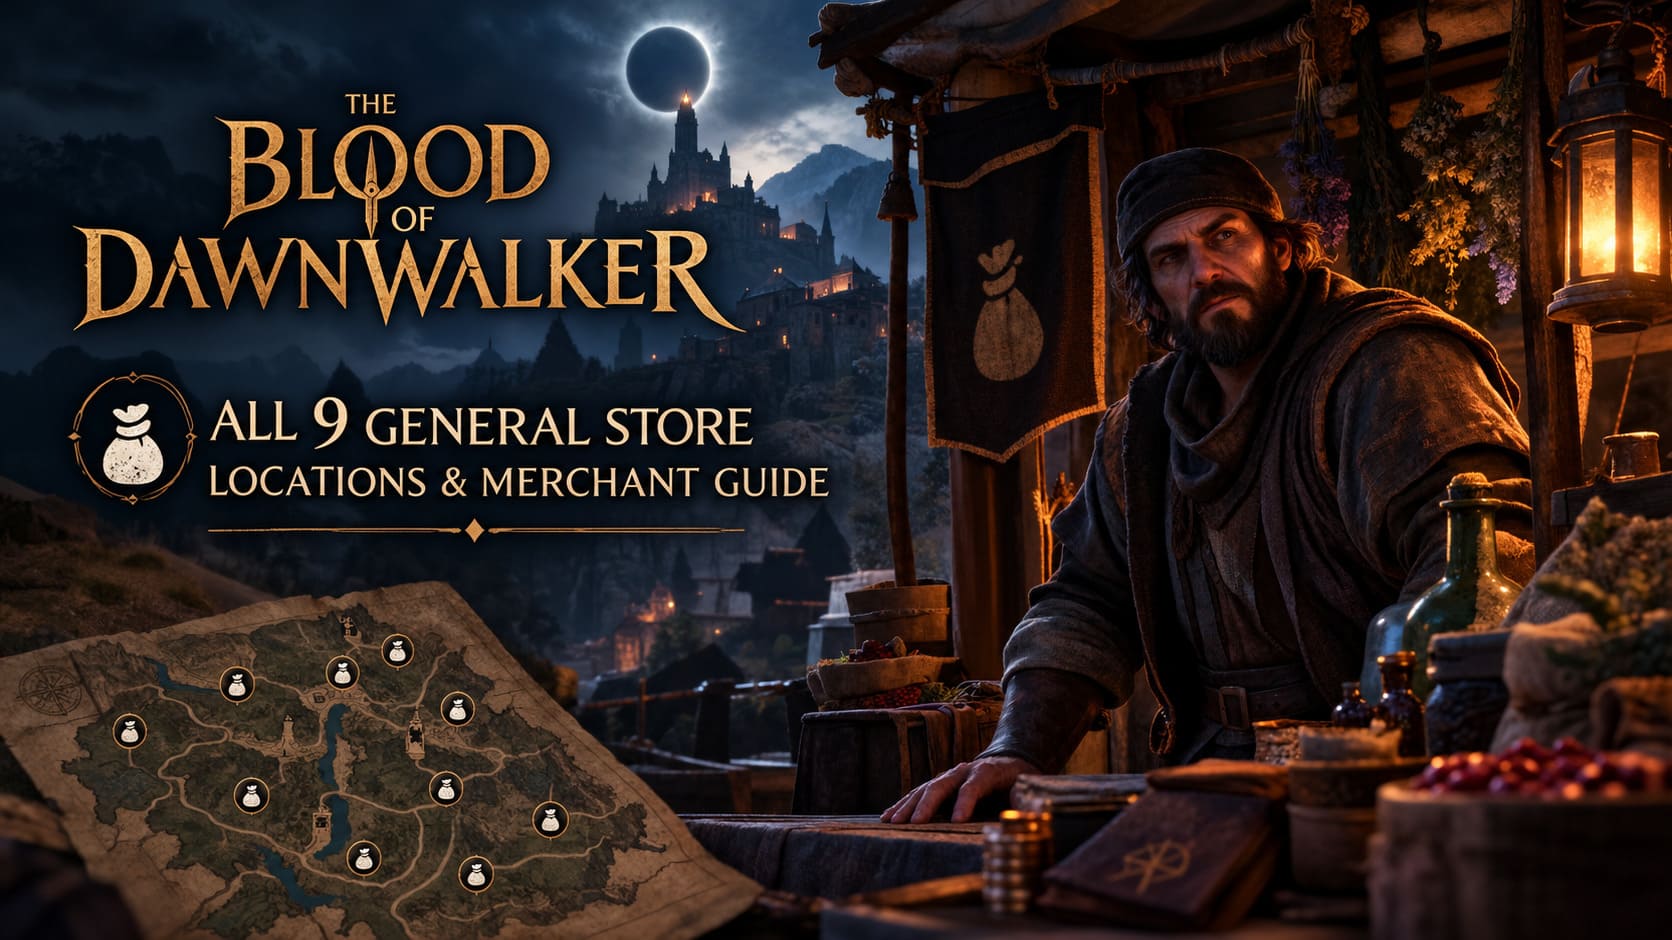
General Stores are represented by a white pouch icon on the map. The problem is that these merchant markers aren’t simply handed to you from the beginning.
To reveal regional points of interest, including General Stores, you need to explore and climb the game’s 11 Towers.
Once you synchronize a Tower, the surrounding fog of war is cleared and various locations become visible. This is easily one of the best things you can do early in a region because it saves an enormous amount of blind exploration later.
And trust me, the world of The Blood of Dawnwalker is beautiful, but after you’ve spent ten minutes climbing over rocks because you thought a merchant was “probably just over there,” you’ll appreciate having the map properly revealed.
My Tip for Faster Exploration
If you’re actively hunting merchants, don’t ignore your mobility abilities.
- Shapeshift — Vampirism: Excellent for covering ground quickly and making long-distance exploration less tedious.
- Mercurial Fervor — Witchcraft: Provides a major movement-speed boost, making it especially useful when you’re bouncing between objectives and merchant locations.
If you’re doing a completionist run, these abilities aren’t just combat tools. They’re fantastic quality-of-life options.
All 9 General Store Locations
Here’s the quick overview before we get into what makes each merchant worth visiting.
| Store | Main Stock | Special Requirement |
|---|---|---|
| General Store #1 | Consumables, Ingredients, Manuals, Recipes, Accessories | None |
| General Store #2 | Consumables | None |
| General Store #3 | Consumables, Ingredients, Manuals, Recipes, Accessories | None |
| General Store #4 | Consumables | None |
| General Store #5 | General Goods, Mixed Supplies | None |
| General Store #6 | Regional Supplies | Daytime Only |
| General Store #7 | Regional Supplies | Daytime Only |
| General Store #8 | Regional Supplies | Daytime Only |
| General Store #9 | Specialized Sanzhana Goods | Pearly and Precious |
Now let’s look at them individually.
General Store #1 — The Early All-Rounder
The first General Store is one of the merchants I would make a point of remembering.
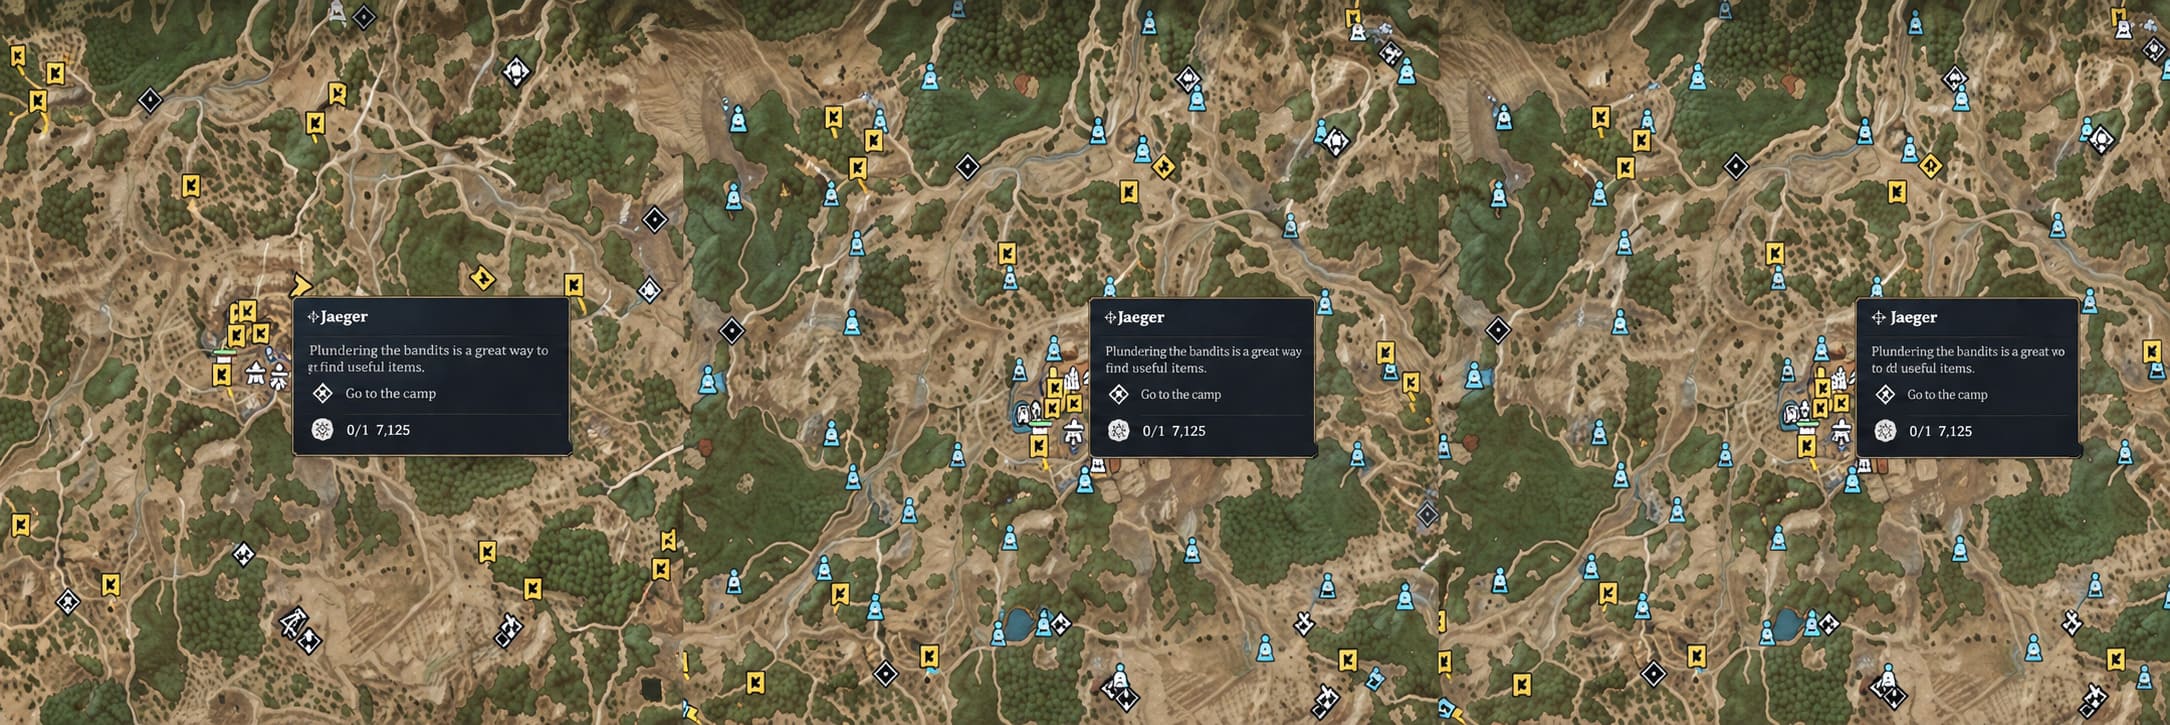
Its inventory covers a surprisingly useful range of categories:
- Consumables
- Ingredients
- Skill Manuals
- Recipes
- Accessories
That’s a much better selection than a basic potion vendor.
If you’re still developing your character and experimenting with different abilities, this store can be particularly valuable. Skill Manuals and Accessories can make a noticeable difference to your build, while ingredients and recipes give you more options for crafting and preparation.
Personally, I wouldn’t walk past this shop just because you’re already carrying enough healing items. The Manuals, Recipes, and Accessories are the real reason to check the inventory.
General Store #2 — Stock Up and Get Out
General Store #2 is much more straightforward.
This is primarily a consumables merchant, so don’t expect a huge catalog of specialized equipment. That’s not necessarily a bad thing, though.
Sometimes you don’t need another fancy item. You just need healing and recovery supplies before heading into a dangerous area.
If your inventory is looking embarrassingly empty after a difficult sequence, this is the sort of store you want nearby.
I especially recommend checking consumable merchants before major encounters rather than assuming you’ll find enough supplies during the next section. Games like The Blood of Dawnwalker have a nasty habit of making you regret that kind of optimism.
General Store #3 — Another Big Shopping Stop
General Store #3 is another major merchant hub and one of the more important locations for players working toward 100% completion.
Its stock includes:
Consumables, Ingredients, Skill Manuals, Recipes, and Accessories.
In other words, it fills almost the same broad role as General Store #1.
For a casual playthrough, you might only visit when you need something specific. For a completionist run, however, these broader merchants deserve much more attention.
If you’re collecting every Manual and Recipe, I recommend making a habit of checking the inventory instead of assuming you’ve already seen everything.
General Store #4 — The Consumable Specialist
General Store #4 keeps things simple.
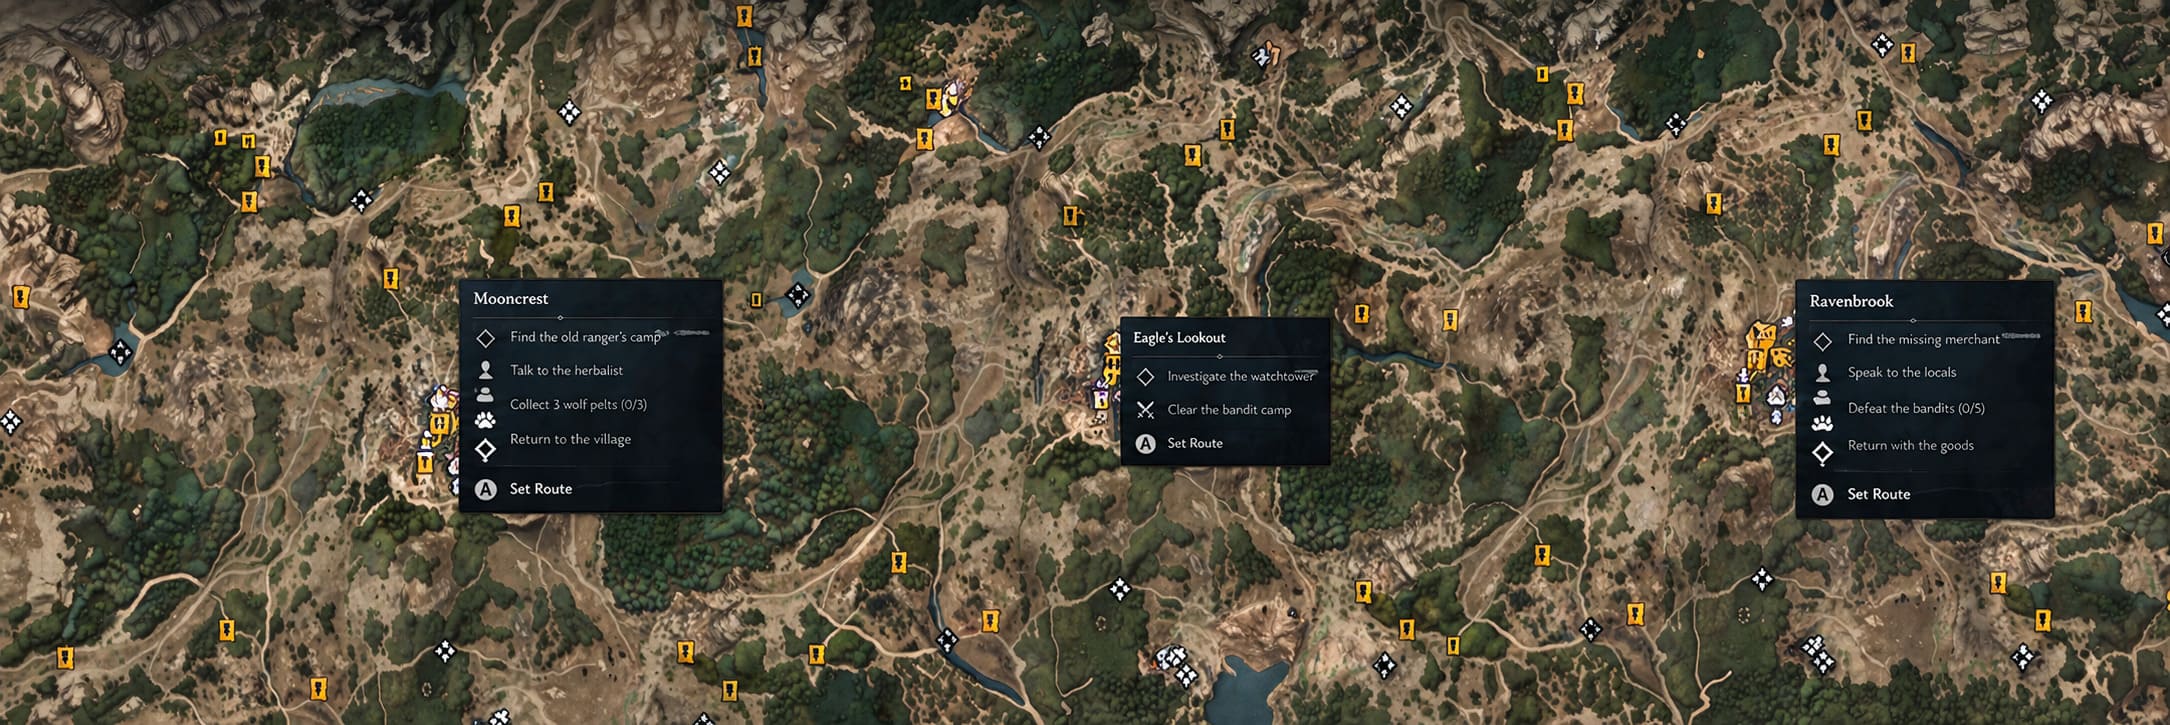
This merchant specializes in consumables, making it another convenient place to replenish your recovery supplies.
There’s not much reason to spend ages browsing here, but that’s actually the appeal. If you know what you need, you can get in, buy your supplies, and get back to whatever questionable decision you were making in the wilderness.
For players who frequently rely on healing or other consumable effects, don’t ignore these smaller merchants. They can save you a trip later.
General Store #5 — The General-Purpose Merchant
General Store #5 takes a more traditional approach.
Instead of being heavily focused on one particular category, this merchant provides a mixed selection of general goods and regional supplies.
The exact usefulness of this shop will depend on where you are in your progression, but it’s worth checking whenever you’re passing through the area.
I wouldn’t make a special cross-map trip just for this store unless you’re hunting completion objectives. But if it’s nearby? Absolutely stop and take a look.
General Store #6 — Daytime Only
Now things get slightly more interesting.
General Store #6 is only accessible during the daytime.
This is one of those details that can easily catch you out. You can arrive at the location expecting to trade, only to discover that the merchant isn’t available because you’ve shown up after dark.
The store focuses on specialized regional stock, making it worth visiting when you’re already exploring the surrounding area.
My advice here is simple: plan your route around the day/night cycle.
If you know you need this merchant, don’t leave it until the last few minutes before nightfall. There’s nothing more annoying than reaching the storefront just as the world decides it’s bedtime.
General Store #7 — Another Day-Restricted Vendor
General Store #7 follows the same basic rule.
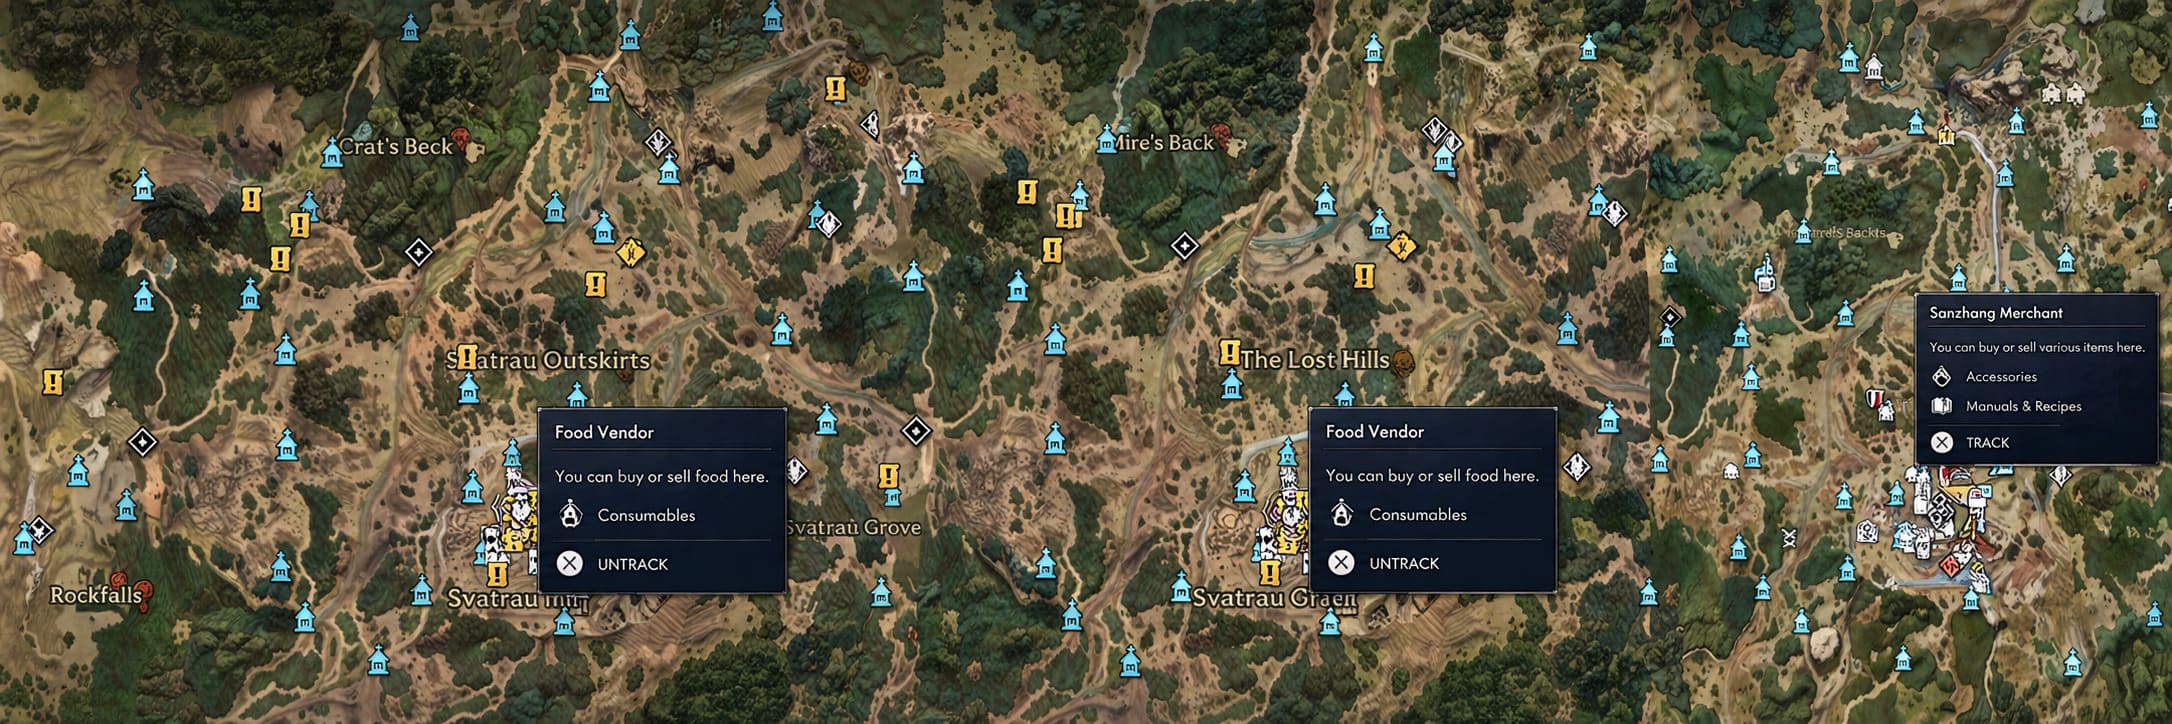
It’s a daytime-only merchant, meaning you need to visit while the sun is up.
The inventory is focused on specialized regional supplies, so this isn’t necessarily a store you’ll visit constantly. However, it can become important when you’re collecting ingredients or looking for region-specific goods.
If you’re exploring with a checklist, mark this one down as a daytime objective rather than treating it like a normal permanent merchant.
That small distinction will save you a surprising amount of backtracking.
General Store #8 — The Final Day Merchant
General Store #8 is the third merchant with a strict daytime restriction.
Again, its stock is geared toward specialized regional goods, and again, the shop becomes unavailable after nightfall.
This is another location where good route planning makes a difference.
If you’re already traveling through the region during the day, visit it while you’re there. Don’t assume you’ll be able to return whenever you want.
That’s one of the things I enjoy about The Blood of Dawnwalker: the world systems can actually affect something as mundane as shopping. The merchants don’t always feel like they’re frozen in place waiting for the player.
General Store #9 — The Sanzhana Merchant
And finally, we have the most unusual merchant of the nine.
The Sanzhana Merchant isn’t unlocked through ordinary exploration. Instead, you need to complete the side quest “Pearly and Precious.”
This is the General Store you should pay the most attention to if you’re trying to complete everything.
How to Unlock the Sanzhana Merchant
The requirement is straightforward:
Complete the entire “Pearly and Precious” side quest.
Once you’ve finished the quest, the merchant will initially appear at the location where the quest concludes.
That’s your first chance to access the Sanzhana Merchant’s specialized inventory.
But there’s an important catch.
Where Does the Sanzhana Merchant Go?
After you leave the area or reload the zone, the merchant doesn’t simply remain where you first encountered them.
Instead, the Sanzhana Merchant permanently relocates to the Yawning Burrow.
This is where you’ll need to go for future visits.
The Yawning Burrow is also the primary base associated with the Sanzhana Leader, so don’t expect this merchant to behave like the ordinary stores scattered around the map.
Once you’ve unlocked them, remember:
Pearly and Precious → Initial merchant location → Merchant relocates → Yawning Burrow becomes the permanent destination.
That sequence is important because otherwise you may finish the quest, return later, and wonder why the merchant has apparently vanished.
Why You Should Visit Every General Store
If you’re simply rushing through the main story, you don’t necessarily need to obsess over every merchant.
But if you’re aiming for 100% completion, building a powerful character, or collecting everything the game has to offer, the General Stores become much more important.
The broader merchants can provide:
- Skill Manuals for expanding your options.
- Recipes for crafting and preparation.
- Accessories that can complement your build.
- Ingredients needed for crafting.
- Consumables for difficult encounters.
- Regional goods that may be harder to obtain elsewhere.
The biggest mistake is treating every General Store as if it’s selling the same inventory.
They aren’t.
Some are basically supply depots, while others are much more useful for character progression and collection hunting.
A Better Way to Hunt All 9 Merchants
If I were doing a fresh playthrough specifically for completion, I wouldn’t just run from one store to another randomly.
I’d approach it like this:
- Climb all 11 Towers first. This makes the map far easier to navigate and exposes regional points of interest.
- Keep merchant icons visible on your map. Don’t accidentally hide the filter and then wonder why locations aren’t appearing.
- Visit the broad-inventory stores first. Stores #1 and #3 are particularly useful for Manuals, Recipes, Accessories, and Ingredients.
- Buy consumables before difficult encounters. Stores #2 and #4 are perfect for quick restocking.
- Track the day-only merchants separately. Stores #6, #7, and #8 should be visited while daylight remains.
- Complete “Pearly and Precious.” This is mandatory if you want access to the Sanzhana Merchant.
- Remember the Yawning Burrow. Once the Sanzhana Merchant relocates, that’s your permanent destination.
It’s a much cleaner approach than trying to remember every location while simultaneously fighting monsters, completing quests, and getting distracted by whatever interesting thing happens to be glowing in the distance.
The Blood of Dawnwalker All Medic Locations Guide: Where to Find Every Doctor in Vale Sangora
Don’t Forget the Other Merchants
General Stores aren’t the only merchants worth tracking down.
For a truly optimized character, you should also keep an eye out for Armourers, Blacksmiths, Silver Traders, and specialized Witchcraft Vendors.
These merchants can complement the General Store network and give you access to additional equipment and progression options.
Think of General Stores as one piece of the larger preparation system rather than the entire economy.
And honestly, that’s probably how I’d recommend playing The Blood of Dawnwalker anyway. Don’t just follow the critical path. Explore, climb the Towers, check unusual locations, and revisit merchants when your character has progressed.
The Blood of Dawnwalker Trophy Guide & Platinum Achievement Roadmap
Final Thoughts
The 9 General Stores in The Blood of Dawnwalker are easy to overlook when you’re caught up in quests and exploration, but they’re surprisingly important once you start building a character seriously.
The biggest ones to remember are General Stores #1 and #3 for their broader inventories, #6 through #8 for their daytime restrictions, and #9 for the Sanzhana Merchant and its “Pearly and Precious” requirement.
My biggest piece of advice? Don’t wait until the end of the game to start checking merchant inventories. Skill Manuals, Recipes, Accessories, and useful ingredients can make the journey considerably smoother, and you’ll avoid the classic RPG problem of discovering something you desperately needed hours after you could have bought it.
And if you’re going for 100%, definitely keep track of all nine.
Once you’ve climbed the 11 Towers and properly revealed the map, the whole process becomes much easier. Add some movement-speed abilities into the mix, plan your daytime visits, and the merchant hunt turns from a tedious checklist into a pretty manageable part of exploring this massive world.