STALKER 2 Cost of Hope Steam Workshop Mod Compatibility Guide
If there is one thing I have learned after spending way too many hours in STALKER 2: Heart of Chornobyl, it is that the Zone does not need much help finding ways to ruin your evening. A mutant jumping out of the darkness? Fine. A hidden anomaly sending Skif flying? Classic. But launching the game after installing a dozen mods and getting kicked straight back to the desktop? That is the kind of horror I did not sign up for.
The arrival of the Cost of Hope expansion alongside Update 2.0 makes this problem even more important. The new content pushes players back into familiar but dangerous territory, while the technical changes behind the scenes can create serious headaches for anyone running a customized installation. If you use Steam Workshop mods, Nexus Mods downloads, custom .pak files, visual tweaks, gameplay overhauls, or other community creations, compatibility should be your first concern before starting the new campaign.
I have always liked modding STALKER. The vanilla game already has an incredible atmosphere, but the right modifications can make survival feel harsher, the weapons more satisfying, the interface cleaner, and the whole experience much more personal. The problem is that major updates can completely change the rules. Update 2.0 is exactly that kind of update.
STALKER 2 Cost of Hope Best Ammo Type for Mutants Guide
Why Cost of Hope and Update 2.0 Are a Big Deal for Modders
The Cost of Hope release is not simply another content package sitting on top of the old version of STALKER 2. Update 2.0 introduces substantial technical changes that affect how the game handles assets, systems, performance, AI behavior, environmental effects, and other underlying components.
That matters because mods are often built around very specific versions of those components. A modification that worked perfectly yesterday can suddenly become useless when the game receives a major engine or system revision.
The biggest problem is not always obvious. A weapon texture mod might continue working without any trouble, while a seemingly harmless gameplay tweak could crash the game because it relies on an asset, script, or data structure that was changed during the update.
For players, this creates a simple rule: never assume an old mod is compatible just because the game launches with it installed.
A mod can appear to work while quietly causing missing effects, broken quests, incorrect UI behavior, damaged save compatibility, or random crashes several hours later.
Steam Workshop vs Nexus Mods: Where Things Get Messy
This is where things can become confusing, especially if you use both Steam Workshop subscriptions and manually installed mods.
Steam Workshop is convenient because Steam handles downloads and updates for you. That convenience is fantastic when everything is working. It becomes considerably less attractive when you are trying to control exactly which version of a modification is installed.
Nexus Mods and similar platforms generally give players more direct control. You download a file, place it where it belongs, and decide when to update it. That is useful for serious mod setups because you know exactly what changed.
The trouble starts when both approaches are mixed without keeping track of what is actually installed.
Imagine you have a weapon balance mod installed manually. You also subscribe to another Workshop modification that changes the same weapon values. Both may contain overlapping assets. The game does not magically understand which version reflects your intentions.
The result can be anything from one mod simply overriding another to much uglier problems involving missing assets or crashes.
My personal rule is simple: if two mods touch the same system, assume there is a conflict until you prove otherwise.
How to Check STALKER 2 Mod Compatibility After Update 2.0
Before running Cost of Hope with your existing mod list, take a few minutes to audit everything. It is much faster than spending an entire evening trying to figure out why the game crashes during the opening sequence.
1. Check the Mod’s Supported Game Version
Start with the mod page itself. Look for an update date, compatibility statement, changelog, or comments from the author confirming support for the current version of STALKER 2.
Do not rely purely on the download page still being available. An old mod can remain online long after it becomes obsolete.
Pay particular attention to modifications that alter:
- Gameplay scripts
- AI behavior
- Weapons and combat systems
- Quests
- Economy systems
- Character progression
- Spawn systems
- Major UI functions
These are much more likely to break after a major game update than simple texture replacements.
2. Check Your Mods Folder
For manually installed .pak modifications, your directory structure matters.
A commonly used location is:
Steam/steamapps/common/STALKER 2 Heart of Chornobyl/Stalker2/Content/Paks/~mods
That ~mods folder is important. A surprisingly large number of mod installation problems come from nothing more complicated than putting the files in the wrong directory.
If you are troubleshooting, do not assume your folder structure is correct just because you copied the instructions once months ago. Check it.
3. Watch Your Load Order
Mod conflicts are another major source of trouble.
When multiple files modify the same assets, the order in which they are processed can determine which changes win. Renaming files with prefixes can sometimes help establish an intended order, although this is not a universal solution for every mod type.
A simple naming convention such as a zzzzz_ prefix is often used to push a particular archive later in the alphabetical sequence.
But don’t treat load order as magic. If two mods fundamentally modify the same system, changing filenames will not automatically make them compatible.
You need to know what each mod actually changes.
4. Consider Mod Organizer 2
If you have five mods and mostly play vanilla STALKER 2, you probably do not need an elaborate setup.
If your mod list has grown into a monster with dozens of files, however, manual management becomes increasingly annoying.
A tool such as Mod Organizer 2 can make large setups easier to control by separating your modifications from the game’s native files and giving you a clearer view of what is active.
That is especially useful when troubleshooting.
Instead of deleting half your game folder because you cannot remember which files you installed three months ago, you can disable modifications systematically and identify the problem.
For hardcore modders, that organizational advantage is huge.
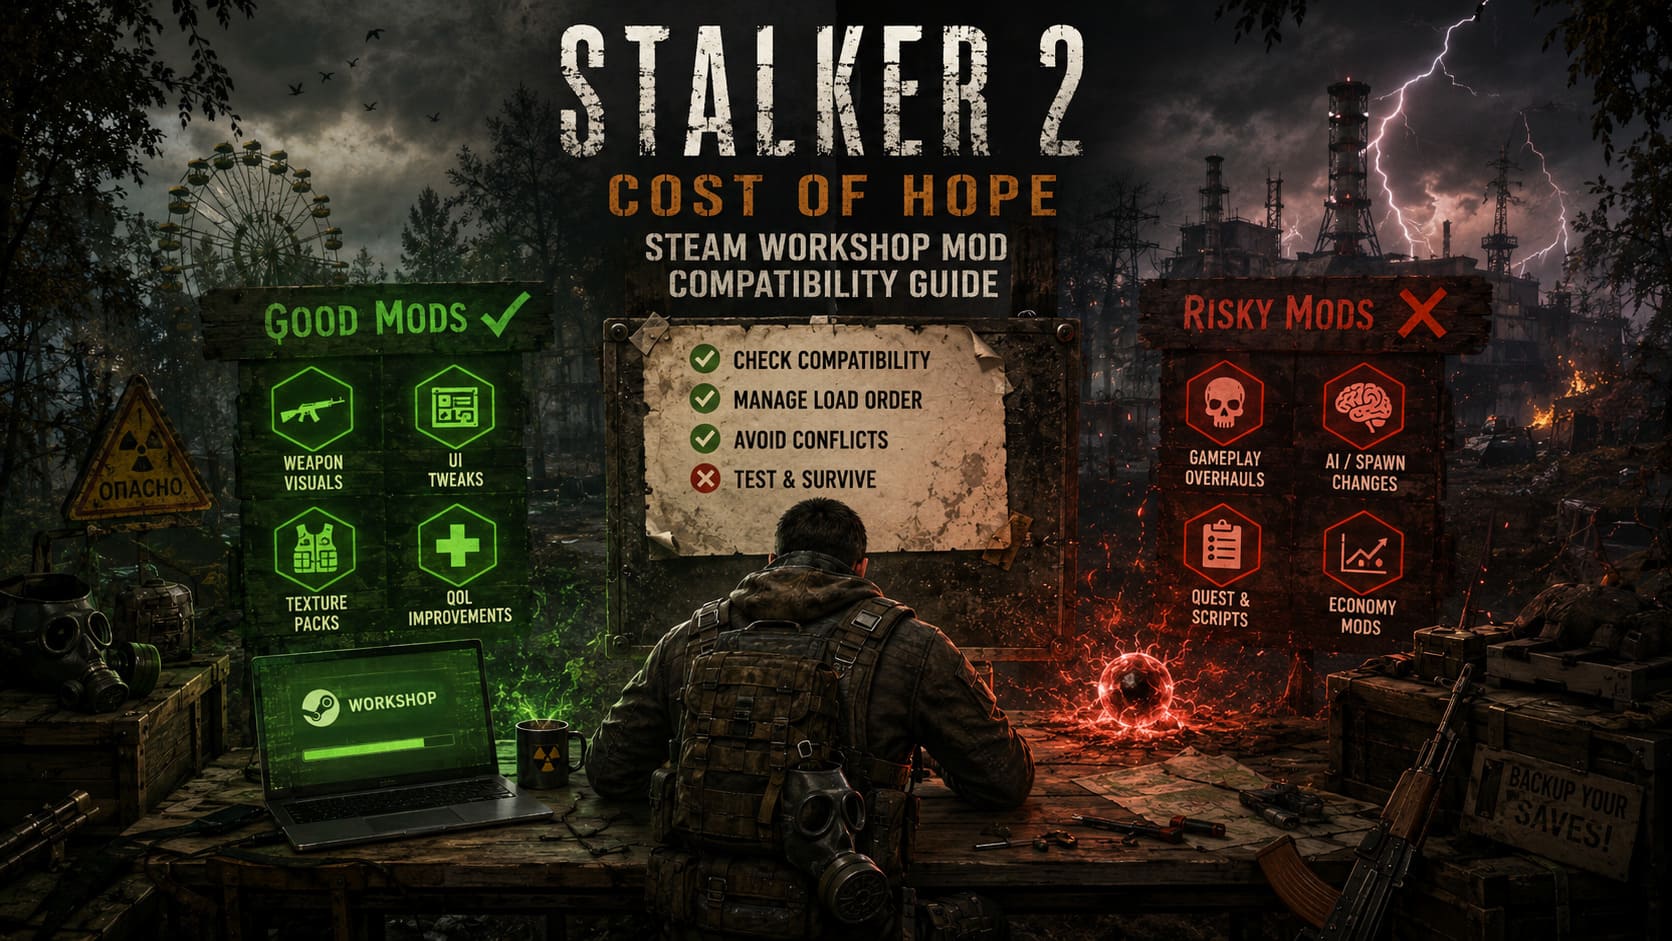
What Mods Are Most Likely to Survive Cost of Hope?
Not every modification is equally vulnerable to Update 2.0.
Some of the safest mods are cosmetic. If a modification replaces a texture or changes a visual element without touching gameplay logic, there is a decent chance it can survive a major update with little or no trouble.
Gameplay modifications are another story.
| Mod Type | Expected Compatibility | Risk Level |
|---|---|---|
| Texture Replacements | Usually High | Low |
| UI Tweaks | Often High | Low-Medium |
| Quality-of-Life Mods | Variable | Medium |
| Weapon Balance Mods | Variable | Medium-High |
| AI/Game System Mods | Low Until Updated | High |
| Quest/Script Overhauls | Very Low Until Updated | Very High |
Texture and Visual Mods
These are usually the first mods I would test after installing a major update. Texture replacements, menu backgrounds, weapon appearances, and similar cosmetic changes often have fewer dependencies on game logic.
That does not mean they are guaranteed to work. An update can replace or restructure an asset they depend on. Still, compared with a full gameplay overhaul, the risk is considerably lower.
Quality-of-Life Mods
QoL modifications occupy the middle ground.
Something that changes stamina, item durability, trader prices, mouse behavior, inventory rules, or other gameplay values may continue working perfectly—or completely fall apart.
The key question is what the mod edits under the hood.
If Update 2.0 changed the relevant data structure, the mod needs an update even if its feature sounds incredibly simple.
Large Gameplay Overhauls
This is where I would be extremely cautious.
Total conversions, advanced AI modifications, custom quest systems, large combat overhauls, and complex progression changes are heavily dependent on the game’s internal architecture.
After a major technical update, these mods should be considered broken until the creator confirms otherwise.
That may sound pessimistic, but it is a much better attitude than blaming the game after installing an outdated overhaul.
My Recommended Cost of Hope Modding Strategy
If I were preparing a heavily modded installation for Cost of Hope, I would not simply launch the expansion with my old setup and hope for the best.
I would start with a completely clean vanilla configuration.
Disable your Workshop subscriptions and temporarily remove or deactivate manually installed modifications. Launch the game and test the unmodified version first.
Play long enough to confirm that the base game is stable on your hardware. Check loading, combat, exploration, saving, and the areas affected by the new content.
Only after that would I start adding modifications back.
And I would add them one at a time.
It sounds painfully slow. It is not. It is much faster than installing ten mods simultaneously, getting a crash, and then trying to remember which one caused it.
After adding each mod, launch the game and test it.
If everything works, move to the next one.
Eventually, you have a stable mod list rather than a pile of questionable .pak files and crossed fingers.
What About Existing Saves?
This is another area where I would play conservatively.
If a mod heavily alters gameplay systems, removing it from an existing save can sometimes create problems of its own. A save may contain information generated while that modification was active.
That is why I strongly recommend keeping separate backup saves before experimenting with major changes.
For a large expansion like Cost of Hope, I would also keep a clean vanilla save available. It gives you an escape route if your customized installation becomes unstable.
Nothing is more frustrating than discovering that your favorite save has become unusable because you experimented with a mod five hours earlier.
The Zone Is Better With Mods—When They Actually Work
I love modded STALKER 2. The right modifications can turn an already atmospheric survival shooter into something that feels much more personal. But major updates are not the time to blindly trust an old mod list.
Cost of Hope and Update 2.0 demand a little patience from the modding community.
Start clean. Check compatibility dates. Keep Workshop and manually installed modifications organized. Watch for conflicts. Be especially careful with scripts, AI systems, quests, and large gameplay overhauls.
And if a favorite mod has not been updated yet, wait.
I know. Nobody likes waiting.
But there is a certain irony in spending an evening preparing for the Zone only to have the game crash before you even reach the first anomaly. I’d rather spend twenty minutes rebuilding my mod setup than lose an entire weekend chasing a mysterious conflict.
For me, that is the best way to approach Cost of Hope: experience the new content in a stable vanilla environment first, then slowly rebuild the modded version you actually want to play. The Zone is already unpredictable enough. Your mod folder doesn’t need to be.