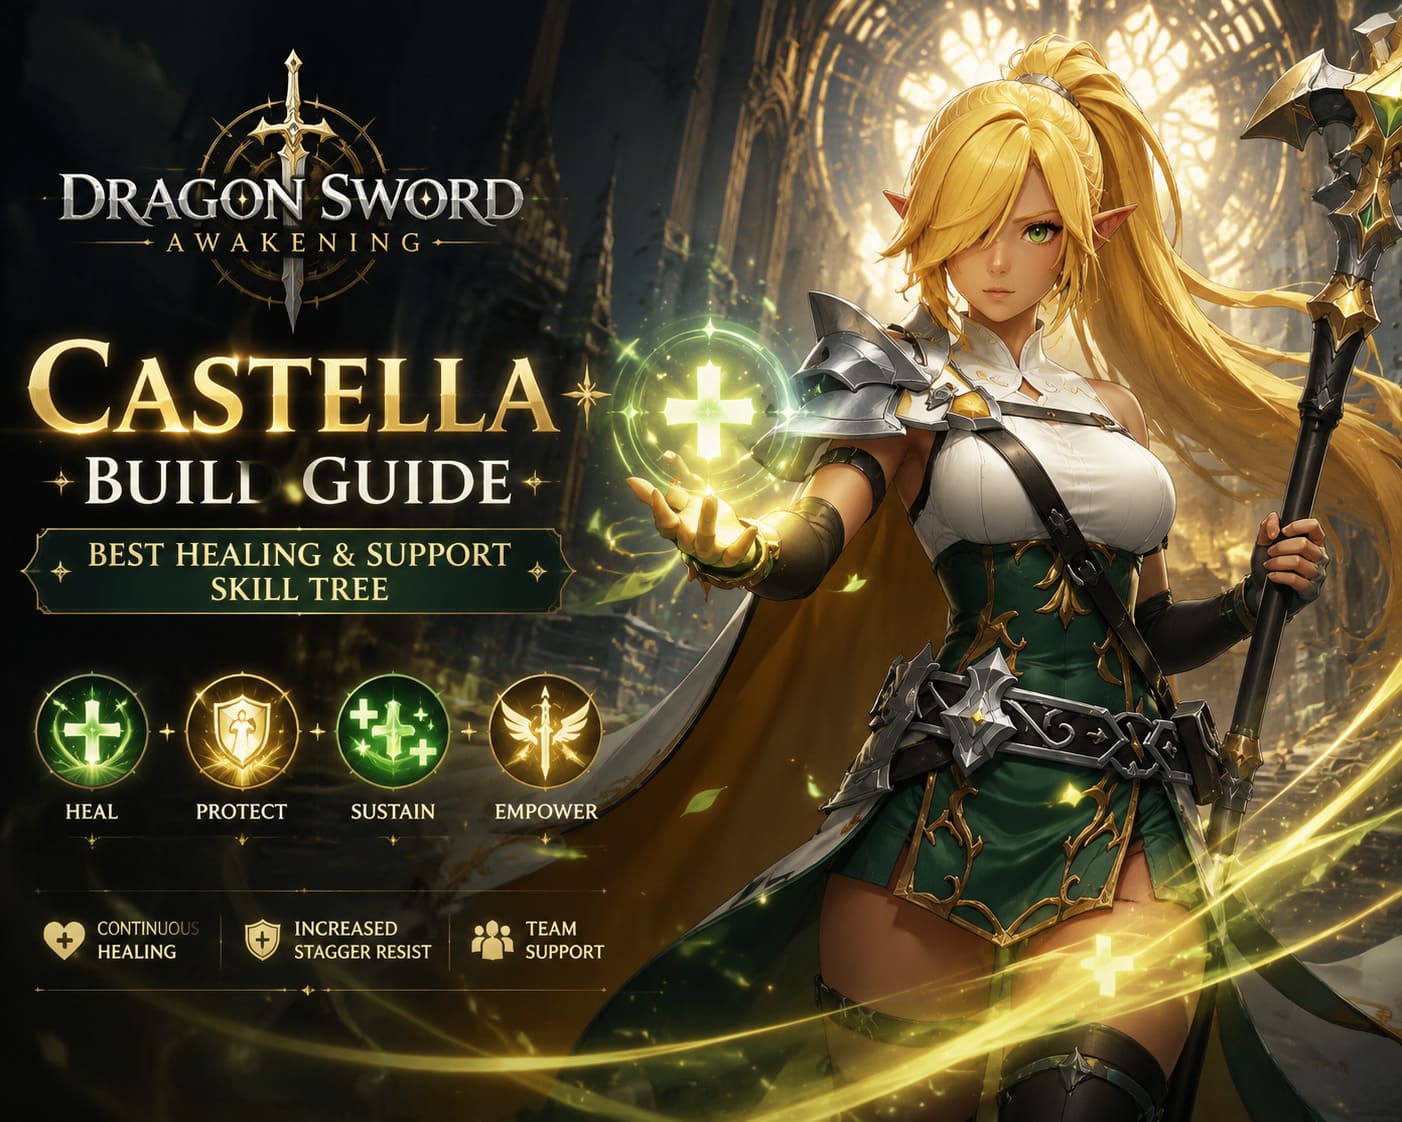
DragonSword Awakening Castella Build Guide: Best Healing and Support Skill Tree
When I first unlocked Castella in DragonSword Awakening, I did exactly what almost everyone else did—I treated her like another burst damage character. Her flashy Signal Skills hit hard, her entrance animations looked incredible, and early community discussions mostly focused on squeezing every possible point of damage out of her kit.
After dozens of hours pushing harder content, though, my opinion completely changed.
The deeper I got into late-game dungeons and elite boss encounters, the more I realized something important: DragonSword Awakening isn’t a game that rewards reckless damage. It rewards consistency, survival, and maintaining pressure during long encounters. That’s exactly where Castella transforms from a good character into one of the most valuable teammates you can bring.
Instead of forcing her into another damage role, I rebuilt her around healing, utility, and posture support—and honestly, I haven’t looked back since.
If you’re struggling with difficult bosses or simply want a team that feels smoother during longer fights, this is the build I’d recommend every single time.
Why Support Castella Is Better Than Most Players Think
Many players see “support” and immediately assume slower gameplay.
That couldn’t be further from the truth.
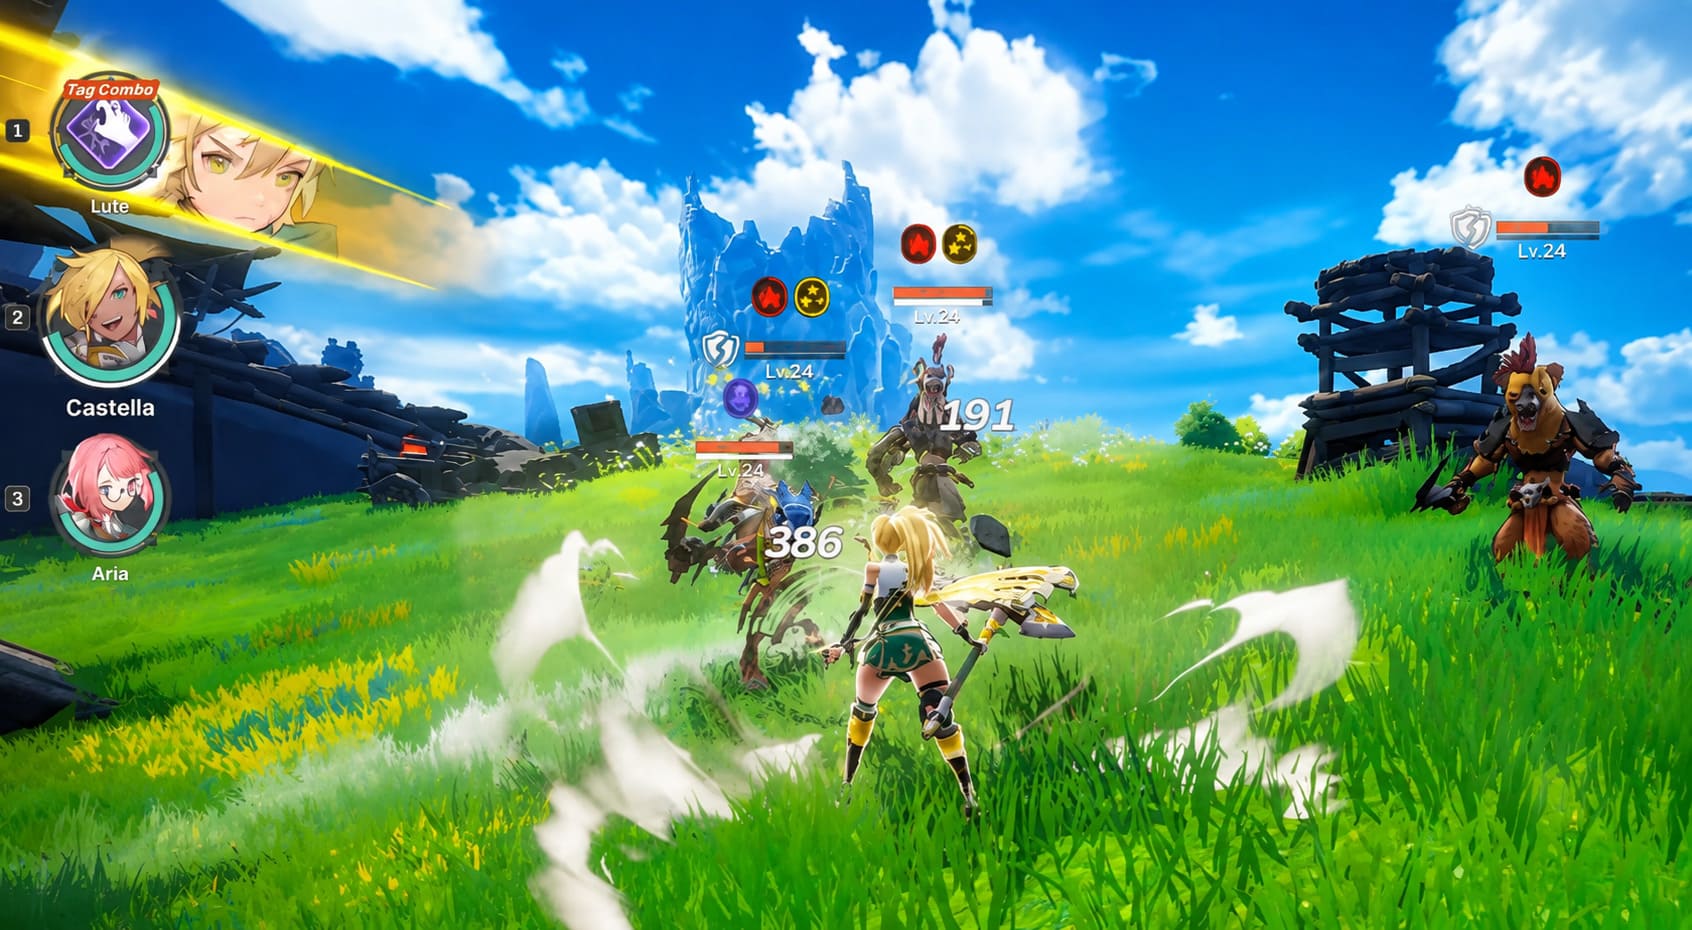
One of DragonSword Awakening’s greatest strengths is its seamless character switching. Unlike classic RPG healers who stand in the back casting lengthy recovery spells, Castella barely needs field time.
She jumps in.
She heals.
She buffs.
She leaves.
Meanwhile, your main DPS continues tearing through enemies with almost no interruption.
That’s what makes her so satisfying to play.
Instead of sacrificing damage for survivability, you’re actually maintaining offensive momentum while dramatically reducing the chance of getting wiped by boss mechanics.
Once I started treating Castella as a tactical support instead of a secondary damage dealer, every difficult encounter became noticeably more forgiving.
The Skill Tree You Should Prioritize
If resources are limited—and they usually are during your first playthrough—you should avoid spreading points across multiple branches.
Focus on healing first.
1. Hopeful Prayer (Highest Priority)
This is easily the centerpiece of the entire build.
Rather than delivering one quick heal, Hopeful Prayer becomes significantly stronger after investing in its upgrade path.
The healing-over-time effect is what truly makes this skill shine.
Even after Castella leaves the battlefield, your active fighter continues recovering health while staying aggressive.
The additional stagger resistance is another huge advantage.
Bosses that constantly interrupt combos become much easier to handle because your frontline character can maintain pressure much longer.
2. Sacred Heart
This passive tree is surprisingly powerful.
Automatic healing during Signal Skills and Tag Attacks means you’re constantly receiving value without thinking about it.
Passive bonuses are often overlooked because they aren’t flashy.
In reality, these upgrades save countless healing resources throughout long dungeon runs.
Another bonus I really appreciate is the increased posture damage after receiving healing.
Breaking enemy armor faster means reaching damage windows earlier.
That translates directly into faster clears.
3. Sacred Light
Initially this skill feels fairly average.
After investing into its enhancement nodes, however, it becomes one of the most flexible abilities in Castella’s arsenal.
The lingering healing zone gives your team additional sustain while cleansing harmful effects can completely change certain elemental encounters.
Status effects become increasingly dangerous later in the game, making this utility much more valuable than early players realize.
4. Blessed Touch
Don’t rush this skill immediately.
It requires significant investment before showing its full potential.
Once upgraded, however, Blessed Touch becomes your emergency panic button.
Large instant healing.
Party-wide protection.
Temporary offensive bonuses.
Few ultimates swing difficult fights as dramatically as this one.
Recommended Skill Progression
If I were starting over today, my upgrade order would look like this:
- Hopeful Prayer → Max immediately.
- Unlock Enduring Grace as early as possible.
- Build into Sacred Heart for passive healing.
- Upgrade Sacred Light for utility and cleansing.
- Finish with Blessed Touch for endgame encounters.
This progression gives the best balance between survivability and long-term scaling.
Best Stats for a Healing Build
One mistake I see quite often is players stacking offensive attributes simply because they feel every character should contribute damage.
Castella gains far more value from utility stats.
| Priority | Attribute | Why It Matters |
|---|---|---|
| ⭐⭐⭐⭐⭐ | Maximum HP | Directly improves healing effectiveness. |
| ⭐⭐⭐⭐☆ | Healing Power | Boosts every recovery ability. |
| ⭐⭐⭐⭐☆ | Cooldown Reduction | More healing and buffs during extended fights. |
| ⭐⭐⭐☆☆ | Energy Recovery | Faster access to Blessed Touch. |
| ⭐⭐☆☆☆ | Defensive Stats | Nice bonus but secondary compared to HP. |
I generally avoid investing heavily into pure offensive gear unless you’re intentionally experimenting with hybrid builds.
Teams That Really Benefit From Support Castella
The beauty of this build is that it fits almost everywhere.
Still, some team compositions clearly benefit more than others.
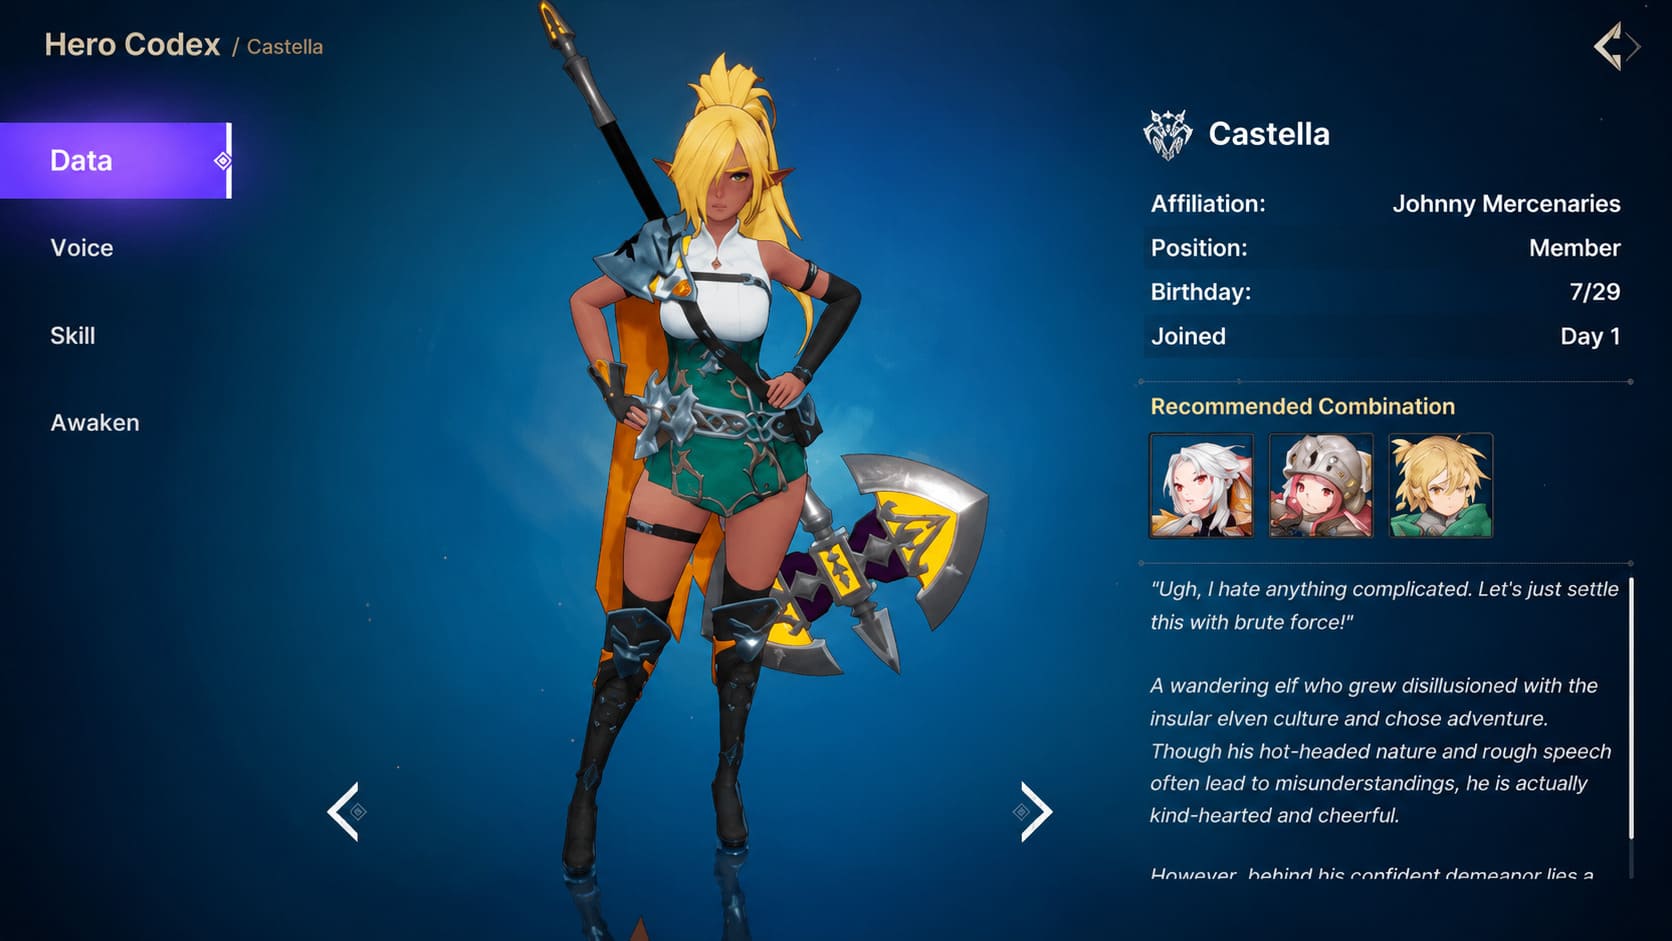
Charlotte + Reina + Castella
This is probably my favorite lineup so far.
Charlotte constantly pressures enemies.
Reina excels during aerial combo windows.
Castella quietly keeps both alive while improving posture damage.
The overall combat flow feels incredibly smooth because nobody has to stop attacking for long.
Whenever mistakes happen—and they always do against difficult bosses—Castella immediately patches everything up.
Cerese + Othello + Castella
If you prefer safer gameplay, this composition performs wonderfully.
Ranged characters naturally avoid many dangerous mechanics.
Adding Castella makes them surprisingly difficult to kill.
The extra defensive tools allow the team to survive encounters that would otherwise punish even minor positioning errors.
Rotation That Feels the Smoothest
One lesson I learned after experimenting for many hours is that Castella should almost never remain on the battlefield longer than necessary.
Here’s the rotation I use most often:
- Begin combat with your primary damage dealer.
- Break the enemy’s posture.
- Swap into Castella through a Signal Skill.
- Cast Hopeful Prayer immediately.
- Perform a quick attack chain.
- Switch back to your main DPS.
The entire sequence takes only a few seconds.
Meanwhile your frontline returns with:
- Continuous healing
- Increased survivability
- Better stagger pressure
- Strong support buffs
The combat rhythm stays incredibly fast without sacrificing safety.
Common Mistakes Players Make
During my time with DragonSword Awakening, I’ve noticed several recurring mistakes among newer players.
Trying to play Castella like a main DPS
She certainly deals respectable damage, but that’s not where her greatest value lies.
Ignoring passive upgrades
Passive healing may sound boring, yet those bonuses constantly work in the background throughout every encounter.
Overcommitting field time
Castella performs best as a rotational support.
Long attack strings simply reduce your team’s overall damage output.
Prioritizing attack equipment
Healing scales much better from HP and support-oriented attributes.
Trying to force offensive gear usually produces disappointing results.
DragonSword Awakening: How to Unlock Every Character for Free (Complete Guide)
Equipment Priorities
If you’re farming equipment specifically for this build, these are the bonuses I’d actively chase.
| Priority | Recommended Bonus |
|---|---|
| 1 | Maximum HP |
| 2 | Healing Effectiveness |
| 3 | Cooldown Reduction |
| 4 | Energy Regeneration |
| 5 | Defensive Resistance |
Perfect gear isn’t necessary immediately.
Even moderate investments into these stats noticeably improve overall team consistency.
DragonSword Awakening Steam Deck Performance Settings: How to Get 60 FPS
Is Support Castella Worth Building?
Absolutely.
In fact, I’d argue she’s considerably stronger as a dedicated support than many early tier lists suggested.
DragonSword Awakening rewards players who can survive extended boss encounters while maintaining constant offensive pressure.
Castella does exactly that.
She isn’t designed to dominate the damage charts.
Instead, she quietly makes every other character stronger.
Your primary DPS spends more time attacking.
Your team survives mistakes.
Boss posture breaks happen faster.
Healing becomes almost effortless.
Those advantages may not produce flashy screenshots, but they absolutely win difficult fights.
As the game continues receiving balance updates and new endgame activities, I expect sustain, cooldown efficiency, and posture control to remain some of the strongest mechanics in the entire combat system. Because of that, investing in Castella’s healing path feels like one of the safest long-term decisions you can make. Even if future characters arrive with higher damage ceilings, reliable support will always have a place in challenging content. If you’re looking for a character that consistently improves every team instead of chasing temporary burst numbers, Castella’s support build is one I can genuinely recommend after spending countless hours exploring Orbis.